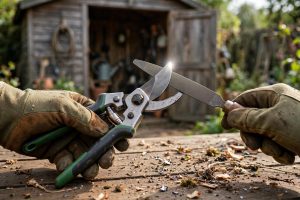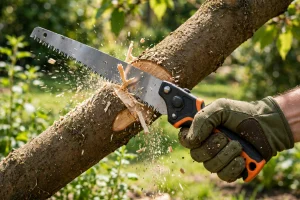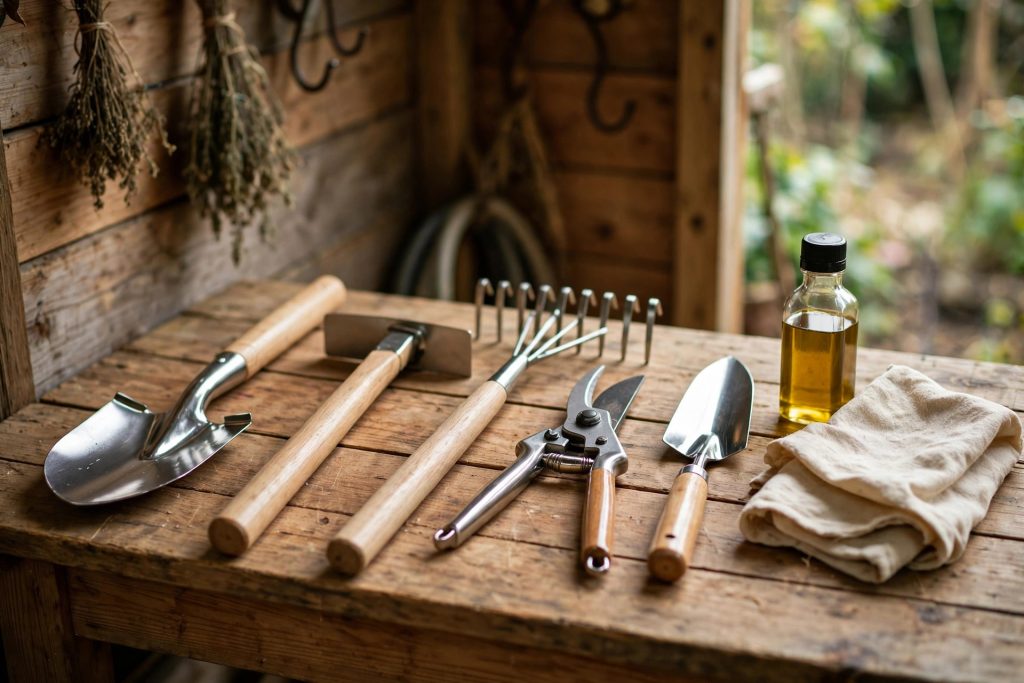

If you have ever pulled your favorite pruners out in spring only to find them stiff, rusty, and dull, you already know the cost of skipping tool care. Learning how to clean garden tools properly takes less than an hour once a season, and it is the difference between tools that last five years and tools that last twenty. This guide walks you through the whole job: washing, disinfecting, removing rust, oiling metal and wooden handles, and storing everything so it survives winter in good shape.
The method below follows university extension guidance, not garden folklore. You need no special equipment, just a bucket, a brush, some oil, and a dry afternoon.
The Quick Answer
| Routine | When | What to do |
|---|---|---|
| Quick clean | After every use | Knock off soil, wipe blades dry, hang the tool up |
| Blade disinfect | After cutting diseased plants, or between plants | Wipe blades with a 1 part bleach to 9 parts water mix, then dry fully |
| Deep clean and oil | Once a season, best in fall | Wash, disinfect, remove rust, oil metal, oil wooden handles |
| Winter storage | Before the last frost | Deep clean, sharpen, then hang in a dry shed or garage |
If you only have twenty minutes today, do the quick clean on every tool and the deep clean on your pruners. Pruners carry plant disease more than any other tool, so they repay the attention first.
Why Cleaning Your Tools Matters
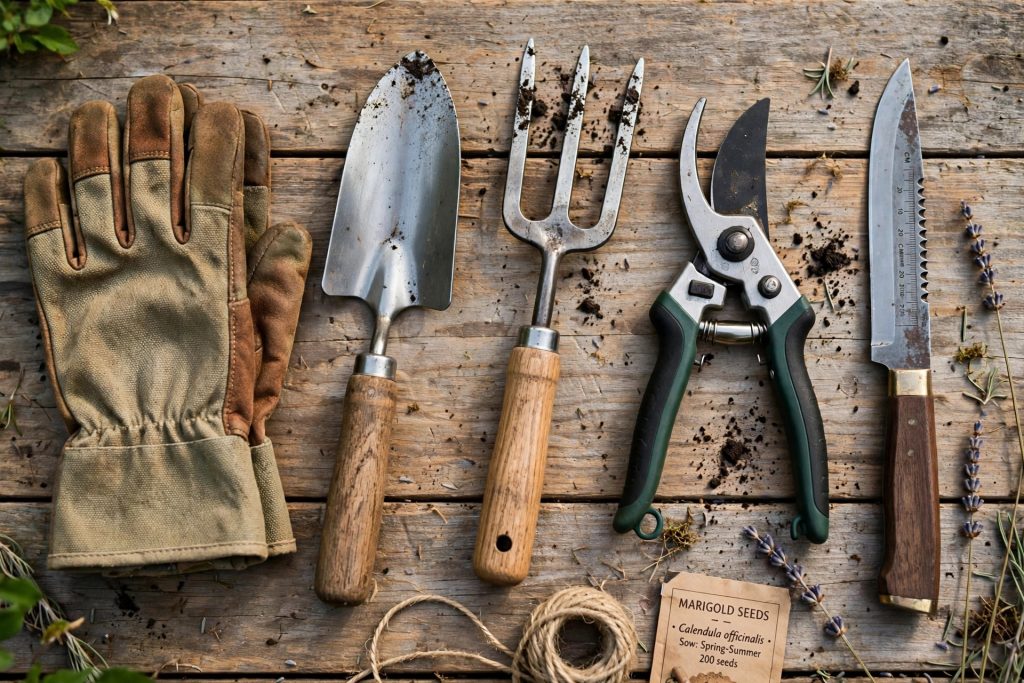
Three things damage garden tools: moisture, soil, and plant sap. Soil left on a blade holds moisture against the metal, and that is how rust starts. Sap dries into a sticky film that makes cutting tools drag and tear instead of slicing cleanly. Worst of all, soil and sap carry fungi and bacteria from one plant to the next, so a dirty pruner can spread disease through a whole hedge.
The University of Arkansas Extension puts it plainly: cleaning tools regularly helps avoid spreading pathogens from tool to soil and back again, and it prolongs tool life. Cleaning at least once a year is the minimum they recommend, with fall and winter the natural time to do it. The University of Georgia Extension adds the other half of the rule: tools must be clean and dry before storing, because a tool put away damp will rust in the shed over winter.
There is also a money argument. Good hand tools are expensive, and a shovel or pair of shears that is cleaned, oiled, and sharpened each fall will outlast three cheap replacements. An hour of care in October saves a hardware store trip in April.
What You Need
- A stiff brush and an old wire brush for caked soil
- A bucket, dish soap, and clean rags
- Household bleach for disinfecting cutting blades
- Sandpaper (80 to 120 grit) or fine steel wool for rust
- White vinegar for soaking heavily rusted small parts
- Light machine oil, mineral oil, or WD-40 for metal
- Boiled linseed oil for wooden handles
- A mill file or whetstone if any edge needs sharpening
- Gloves and eye protection for the rust and sharpening steps
- A 5 gallon bucket of dry sand for the oiled sand trick in Step 6.
Do not use raw linseed oil on handles. Boiled linseed oil dries and hardens; raw linseed oil stays sticky for weeks. And never soak wooden handles in water. A quick wash is fine, but a long soak swells the wood and loosens the head.
Step by Step: How to Clean Garden Tools
Step 1: Knock Off Soil and Wash
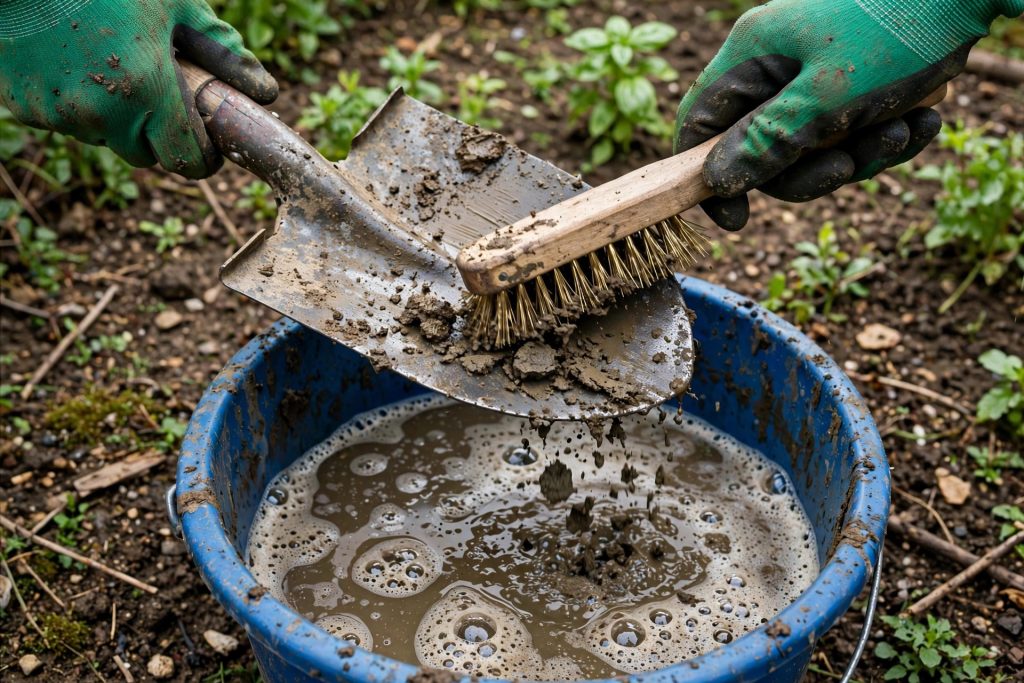
Start with the dirtiest job. Bang each tool lightly to drop loose soil, then use the stiff brush or wire brush to remove caked mud from blades, sockets, and tines. For digging tools, a strong stream from the hose does most of the work. Then wash every tool in warm soapy water and scrub the corners where soil hides, especially where the handle meets the metal head.
For sticky sap on pruners and shears, rub the blades with alcohol or mineral spirits. Sap that has hardened may need a few minutes of soaking before it softens. Rinse everything and move straight to the next step while the tools are still in hand.
Step 2: Disinfect Cutting Blades
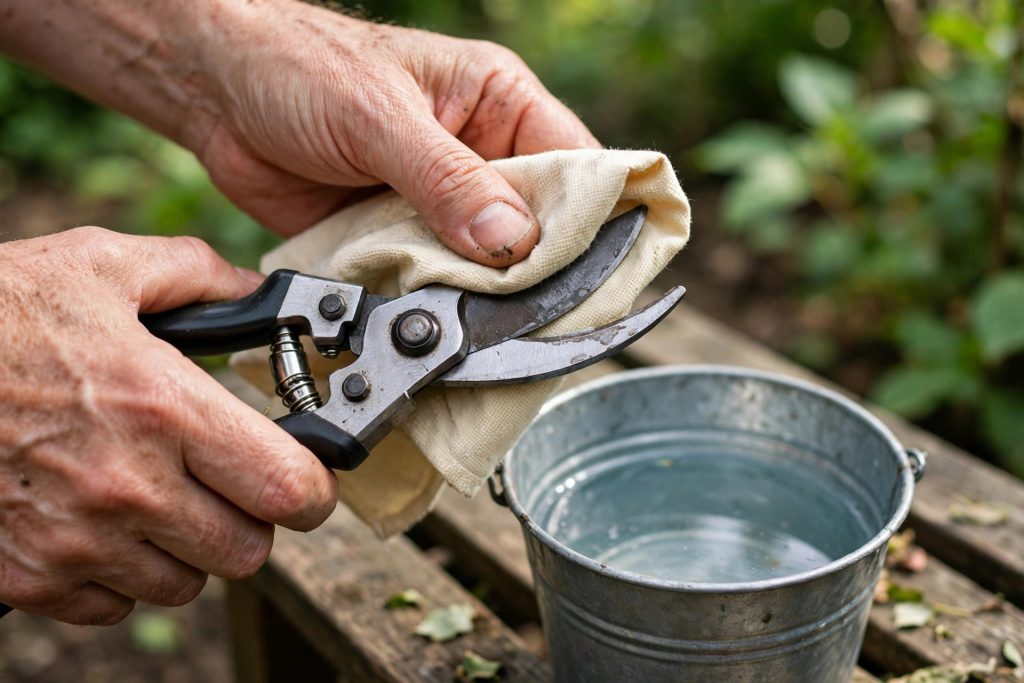
Pruners, loppers, shears, and knives deserve a disinfecting step that digging tools do not need. Mix 1 part household bleach with 9 parts water, the ratio the University of Arkansas Extension recommends, and wipe or dip the blades. Let the mix sit on the metal for a few minutes, then rinse with clean water.
Disinfecting matters most after cutting diseased wood, and between plants when you are pruning a hedge or an orchard row. A blade that just cut a cankered branch will carry that fungus to the next healthy cut if you skip this step. If you dislike bleach, rubbing alcohol is a simpler alternative for routine wiping, though extension sources favor the bleach mix for a full seasonal clean.
Dry the blades immediately after rinsing. Bleach left sitting on steel will cause the very rust you are trying to prevent, so this step only works if drying follows at once.
Step 3: Dry Fully and Remove Rust
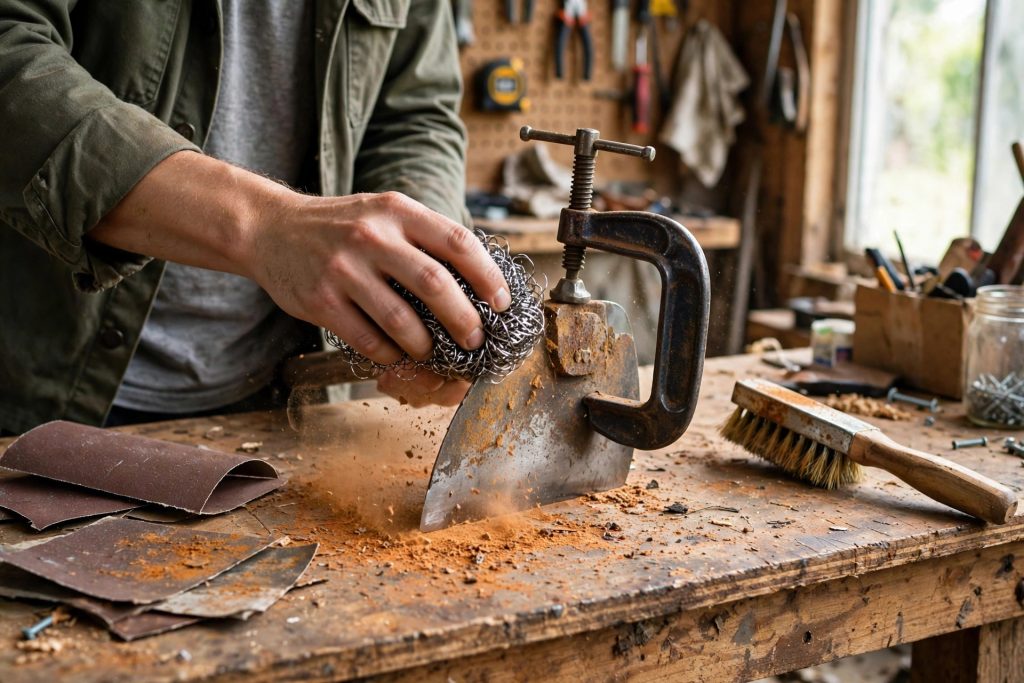
Drying is the step people skip, and it is the step that decides whether your tools rust over winter. Towel every tool dry, then leave them in the sun or a warm, airy spot until no dampness remains in sockets, joints, and springs. The Arkansas Extension warns that skipping the final dry risks more rust accumulating, even on a tool you just cleaned.
Once dry, inspect every metal surface. Light rust comes off with fine steel wool or sandpaper, worked along the surface until bright metal shows. For small parts with heavier rust, an overnight soak in white vinegar loosens the scale, and a wire brush finishes the job. Check pruner blades for nicks and cracks while you are at it. A cracked blade is a safety problem, not a cleaning problem, and it should be replaced.
Step 4: Oil the Metal
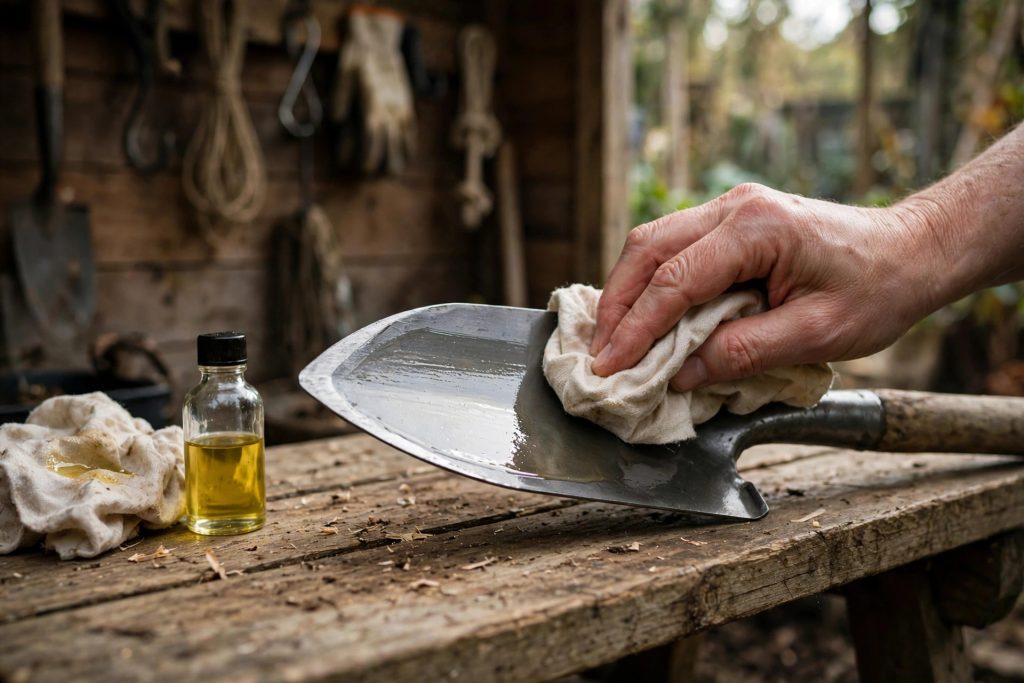
With the metal clean and dry, wipe a thin coat of oil over every metal surface. Light machine oil, mineral oil, or a spray like WD-40 all work; the University of Georgia Extension recommends a thin coating of WD-40 or another light machine or engine oil to protect tools through winter. Put the oil on a rag, not straight on the tool, so you control the amount, and wipe away the excess. The surface should look lightly sheened, not dripping.
Pay attention to joints and springs on pruners and loppers. A drop of oil worked into the pivot keeps the action smooth and stops the joint seizing over winter. The same wipe covers the screw heads and bolts, which rust first because water collects around them.
Do not use heavy grease on cutting tools. Grease attracts dust and grit, and it transfers to plant tissue on the first spring cut. A thin oil film is the right protection.
Step 5: Sand and Oil Wooden Handles
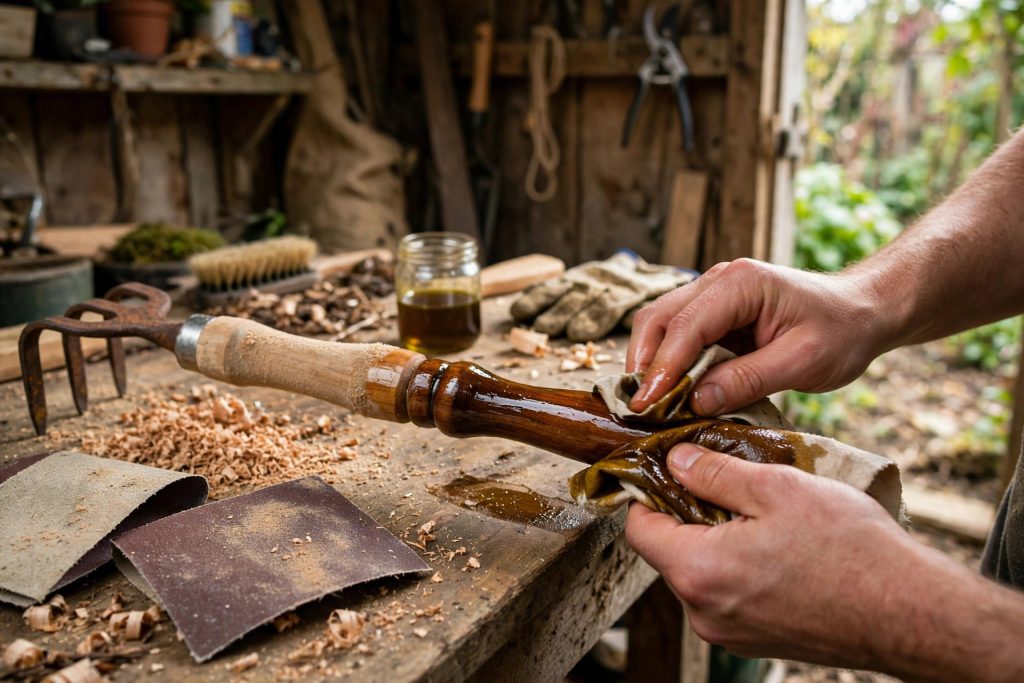
Wooden handles dry out, splinter, and crack when they are ignored, and a splintered handle is both uncomfortable and unsafe. Sand away rough spots and splinters with sandpaper until the handle feels smooth in your hand. Wipe off the dust, then rub in a light coat of boiled linseed oil with a rag, working it into the grain. Let it soak for fifteen minutes, then wipe off what has not absorbed.
The Illinois Extension recommends boiled linseed oil, which is oil from dried flax seeds, polished smooth with a dry soft cloth. One coat is enough for a handle in good shape; a badly dried handle may take a second coat after the first has dried overnight. Painted handles need a different treatment: sand off loose paint and touch up the bare spots, since paint seals the wood from moisture.
A safety note that matters: rags soaked in boiled linseed oil can catch fire on their own as the oil dries. Lay used rags flat outdoors to dry, or soak them in water in a metal container, and never ball them up in a bin.
Step 6: Sharpen, Then Store Them Right
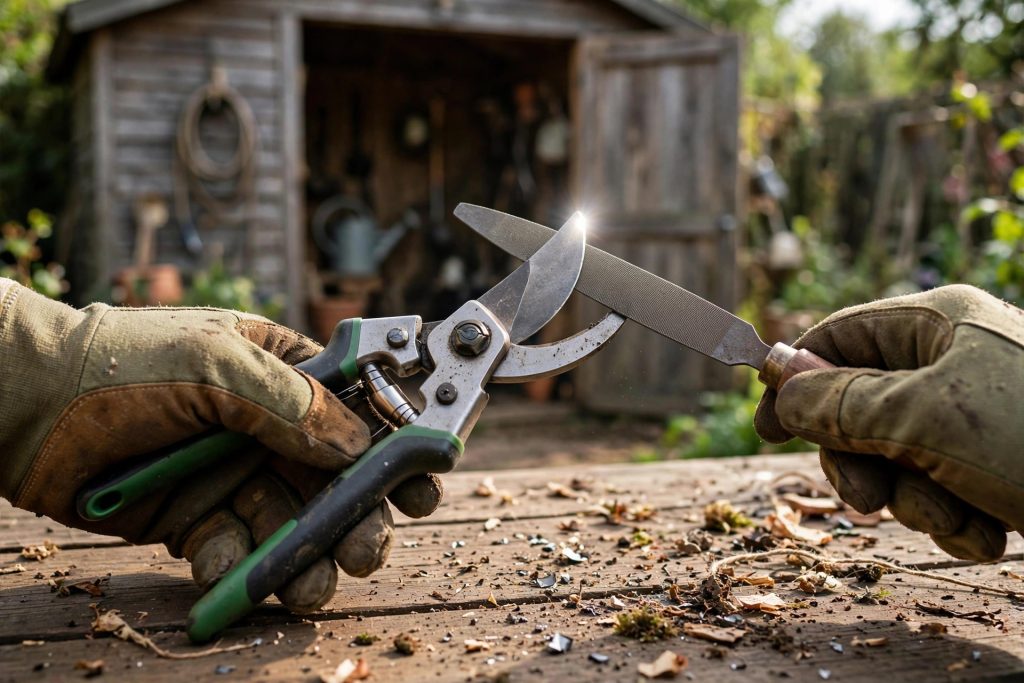
Sharpening belongs at the end of the cleaning job, because a freshly sharpened edge stored clean stays sharp. File digging edges and hoe blades along the original bevel, in long strokes away from your body, and finish pruners and shears with a whetstone. If you want the full method, our companion guide covers it in detail.
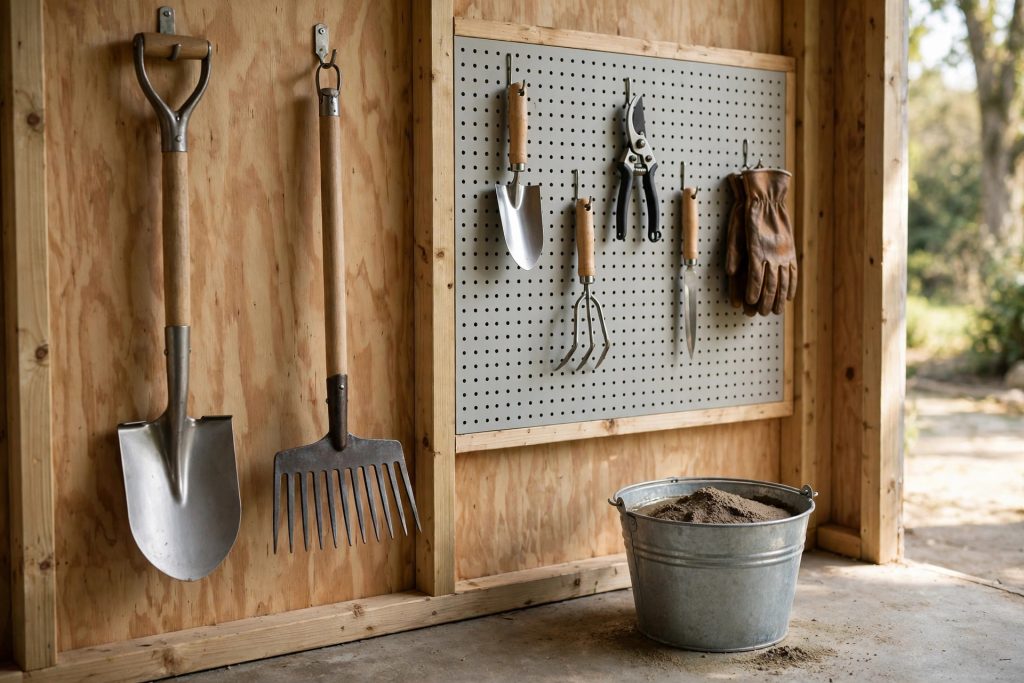
For storage, hang tools rather than piling them. Hanging keeps edges off the ground, keeps moisture away, and keeps you from stepping on a rake. The University of Georgia Extension gives one specific safety rule: store rakes with the teeth pointing down, because stepping on an exposed rake is dangerous for children and adults alike.
Small hand tools can live in a bucket of oiled sand, the classic trick the LSU AgCenter recommends: fill a bucket two thirds full of clean sand, mix in a little oil, and plunge each washed tool in a few times. The sand scrubs off remaining dirt and the oil coats the metal. Do not use the sand bucket for pruners or knives, since sand dulls a cutting edge.
Whatever system you choose, the storage spot itself must be dry. A damp shed corner will undo a perfect cleaning job in one winter. Keep tools off concrete floors, which draw moisture, and away from the dampest wall of the shed.
Tool by Tool Care
Not every tool needs the same treatment. Use this table as a quick reference when you work through your shed:
| Tool group | Clean | Oil | Store |
|---|---|---|---|
| Shovels, hoes, spades | Hose and brush, soapy wash | Thin oil on the blade and socket | Hang head down or upright, off the floor |
| Pruners, loppers, shears | Wash, disinfect 1 to 9 bleach mix, dry at once | Oil the blades and the pivot joint | Hang closed, or in a holster, away from damp |
| Trowels and hand forks | Wash and dry, scrub rust with steel wool | Light oil wipe on metal parts | Oiled sand bucket or pegboard hooks |
| Rakes | Brush tines clean, wash if muddy | Oil the head lightly if steel | Teeth pointing down, hung on the wall |
| Wooden handles, all tools | Sand smooth, wipe dust off | Boiled linseed oil, one coat | Same dry, hanging spot as the tool |
| Power tools and mowers | Clean decks and air filters, empty fuel or add stabilizer | Per the maker manual | Dry garage or shed, fuel handled per manual |
Power equipment gets a mention because the same fall afternoon is the right time for it. Empty the fuel tank or add stabilizer, check the spark plug, change the oil, and clean the air filter, and your mower will start in spring instead of sulking.
Mistakes That Ruin Good Tools
- Putting tools away wet. This is the single most common cause of winter rust, and it undoes every other step.
- Skipping the dry after disinfecting. Bleach left on steel causes rust, so a disinfected blade must be dried twice, not once.
- Oiling over dirt. Oil seals whatever is under it, so a muddy blade oiled for winter comes out muddy and rusty in spring.
- Using the sand bucket on pruners. Sand cleans digging tools beautifully and dulls cutting edges just as thoroughly.
- Soaking wooden handles. A long soak swells wood and loosens heads. Wash handles quickly and dry them.
- Balling up linseed oil rags. Boiled linseed oil rags can self ignite. Dry them flat outdoors or soak them in water.
- Storing rakes teeth up. A rake left teeth up on the floor is a foot injury waiting for a dark shed visit.
- Forgetting the pivot. A pruner blade can be spotless while its joint seizes. Oil the moving parts, not just the flat surfaces.
Final Thoughts
Knowing how to clean garden tools is not a complicated skill, and it pays for itself the first spring you open the shed to bright blades and smooth handles instead of rust and splinters. Wash after use, disinfect the cutting tools, dry everything completely, oil the metal, feed the wooden handles, and hang it all in a dry spot. Do the deep version once each fall and the quick version the rest of the year, and your tools will still be working when the cheap replacements have gone to the scrap pile.
If your edges are dull after cleaning, sharpening is the natural next job, and it takes less time on a clean blade than on a dirty one. Start with the pruners, since they do the most precise work in the garden, and work outward from there.
References
- University of Georgia Extension, Forsyth County, Garden Tool Maintenance, Before You Store! (thin oil coating on clean dry metal, sandpaper for rust, linseed or mineral oil for wooden handles, sharpening along the original bevel)
- University of Arkansas Extension, How to Clean Your Garden Tools (clean at least once a year, 1 part bleach to 9 parts water disinfecting mix, mineral oil on blades, linseed oil for wooden handles)
- University of Illinois Extension, Proper maintenance extends lifespan, saves money on garden tools (tools must be clean and dry before storing, boiled linseed oil for wooden handles, sharpen at the original bevel angle)
- LSU AgCenter, An Easy Way to Care For Your Garden Tools (bucket two thirds full of sand with a little oil, plunge washed tools to clean and oil in one step, not for cutting tools)
- University of Georgia College of Agricultural and Environmental Sciences, Clean garden tools well before storing them away (soap and water wash, sharpen blades, light coat of household oil, sand and linseed oil for handles, store rakes teeth down)
Frequently Asked Questions
How often should I clean my garden tools?
Wipe soil off and dry tools after every use, disinfect cutting blades after diseased plants, and do the full wash, rust removal, and oiling job once a season, ideally in fall before winter storage.
What oil should I use on garden tools?
Use a light machine oil, mineral oil, or WD-40 on metal parts, and boiled linseed oil on wooden handles. Avoid heavy grease on cutting tools, since it attracts grit and transfers to plants.
Can I use bleach to disinfect pruners?
Yes. Mix 1 part household bleach with 9 parts water, wipe or dip the blades, rinse with clean water, and dry immediately. Bleach left on steel causes rust, so drying right after is essential.
How do I remove rust from garden tools?
Scrub light rust with fine steel wool or sandpaper down to bright metal. For heavier rust on small parts, soak overnight in white vinegar, then finish with a wire brush before oiling.
Is boiled linseed oil safe for wooden handles?
Yes, and it is the finish extension services recommend. Sand the handle smooth first, rub in one coat, wipe off the excess, and dry oil soaked rags flat outdoors, since they can self ignite when balled up.
What is the best way to store garden tools for winter?
Hang them in a dry shed or garage with edges protected, rakes teeth down, and small hand tools in a bucket of oiled sand. Keep everything off damp floors and away from the wettest wall of the shed.

Thesis Link : https://saulibrary.edu.bd/daatj/public/uploads/BAU200601_19-Pp_5.pdf
- How to Clean, Oil and Store Garden Tools - October 26, 2026
- When to Start Seeds Indoors by Zone - October 26, 2026
- How to Sharpen Garden Tools (Shears, Loppers, Hoes) - October 26, 2026