
Learning how to start seeds indoors is one of the most useful skills a home gardener can pick up. It gives you a head start on the season, it lets you grow varieties that never appear on garden center benches, and it usually costs far less than buying the same number of transplants. A packet of tomato seed, a bag of seed starting mix, and a tray on a warm shelf can turn into dozens of plants.
It also goes wrong in predictable ways. Seeds started too early grow tall and weak before the weather is ready for them. Seeds kept too wet rot before they sprout. Seedlings raised on a dim windowsill stretch toward the light and never recover their strength. Almost every failure comes back to timing, light, water, or air, and all four are easy to control once you know what to watch.
This guide walks through the whole process in order: working out when to sow, setting up trays, sowing at the right depth, keeping seeds warm and moist, giving seedlings strong light, and hardening them off before they move outside. The numbers here come from university extension guides, and each source is linked in the References section at the end.
Quick Answer: How to Start Seeds Indoors in 6 Steps
The short version of how to start seeds indoors is this:
- Count back from your last frost date using the weeks on the seed packet.
- Fill clean containers with moist, soilless seed starting mix, never garden soil.
- Sow at the depth on the packet, usually about twice the width of the seed, and cover the tray to hold moisture.
- Keep the mix warm, around 70 to 75 degrees Fahrenheit or the temperature on the packet, until seeds sprout, then remove the cover.
- Give seedlings strong light for 14 to 16 hours a day, with the light just a few inches above the leaves.
- Harden seedlings off over 7 to 10 days, then transplant after the danger of frost has passed.
What You Need Before You Sow
You do not need an expensive setup. Most first time seed starters already own half of this list, and the rest costs little.
- Seeds from a reliable supplier, plus the packets themselves, because the packet carries the timing and depth for that variety.
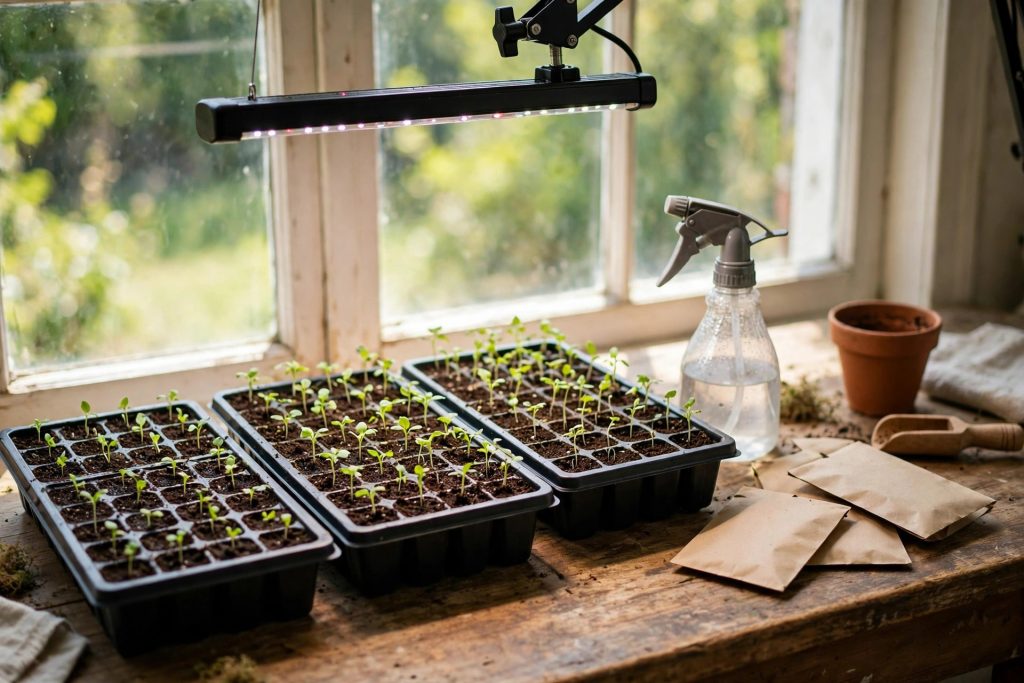
- Containers with drainage holes: cell trays, small pots, peat pots, or recycled containers with holes cut in the bottom. A solid tray underneath catches drips and lets you water from below.
- Soilless seed starting mix, not garden soil and not heavy potting soil. Good mixes are fine, uniform, and made mostly from peat moss or coir with perlite or vermiculite for drainage.
- A spray bottle for gentle watering, plant labels, and a marker that will not wash off.
- A warm spot for germination, and a light source for after sprouting. A simple shop light or LED grow light on a timer works well.
- Optional but helpful: a clear plastic dome or plastic wrap for humidity, a heat mat for heat loving crops like peppers and tomatoes, and a small fan for air movement.
Clean reused containers before you fill them. University of Massachusetts Extension advises sanitizing used trays and pots in a 10 percent bleach solution, one part bleach to nine parts water, then rinsing. This one habit removes a major source of the fungi that kill young seedlings.
When to Start Seeds Indoors
Timing is the first decision when you learn how to start seeds indoors, and it is the step most beginners get wrong, and it matters more than any gadget. Starting seeds indoors too early is a common mistake: the plants outgrow their pots, stretch for light, and arrive at transplant time weak instead of strong. The fix is simple. Work backward from the day each crop can safely go outside.
Find your average last frost date first. Your local extension service or the seed packet will point you to it. Then count back the number of weeks listed on the packet for that crop. If tomatoes go outside six weeks after your last frost date, and the packet says to start them six to eight weeks before transplanting, you sow them six to eight weeks before that outdoor date, not before.
The University of Massachusetts Extension gives these indoor start windows, counted back from the transplant date:
| Crop group | Weeks indoors before transplanting |
|---|---|
| Broccoli, Brussels sprouts, cabbage, cauliflower | 4 to 7 weeks |
| Cucumbers, summer squash, melons | 2 to 3 weeks |
| Lettuce | 3 to 5 weeks |
| Eggplant | 7 to 9 weeks |
| Onions, tomatoes, peppers | 6 to 8 weeks |
Crops to Start Indoors, and Crops to Sow Direct
Not every crop benefits from an indoor start. Crops that transplant well and need a long season, such as tomatoes, peppers, eggplant, broccoli, cabbage, and onions, are the classic indoor starts. Crops with roots that resent disturbance, such as carrots, parsnips, beans, peas, corn, and most root crops, are usually better sown directly in the garden where they will grow.
Cabbage is a good example of a crop that rewards an indoor start. Our cabbage guide covers the crop from transplant to harvest, and starting its seed indoors 6 to 8 weeks before transplanting is how most gardeners get firm heads before summer heat arrives.

If you are unsure about a variety, trust the packet over any general chart. The packet is written for that variety, and varieties of the same crop can differ by weeks.
Step by Step: How to Start Seeds Indoors
Step 1: Moisten the Mix and Fill the Containers
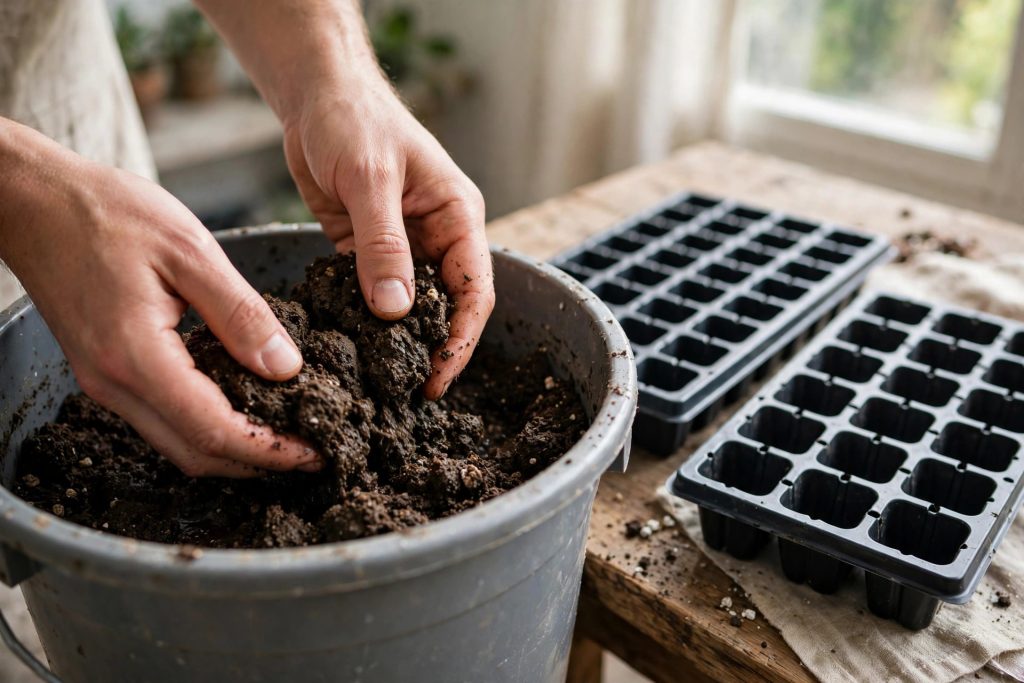
Put the seed starting mix in a bucket and add water a little at a time, mixing with your hands until it feels like a wrung out sponge: damp all the way through, but not dripping. Dry mix is hard to wet evenly once it is in a tray, and sowing into dry mix leaves some seeds sitting in dry pockets.
Fill the containers loosely to the top and level them off. Do not pack the mix down hard. Roots need air as much as they need water, and packed mix stays wet and airless. Leave about a quarter inch of space at the top so water does not run straight off when you water.
Step 2: Sow at the Right Depth
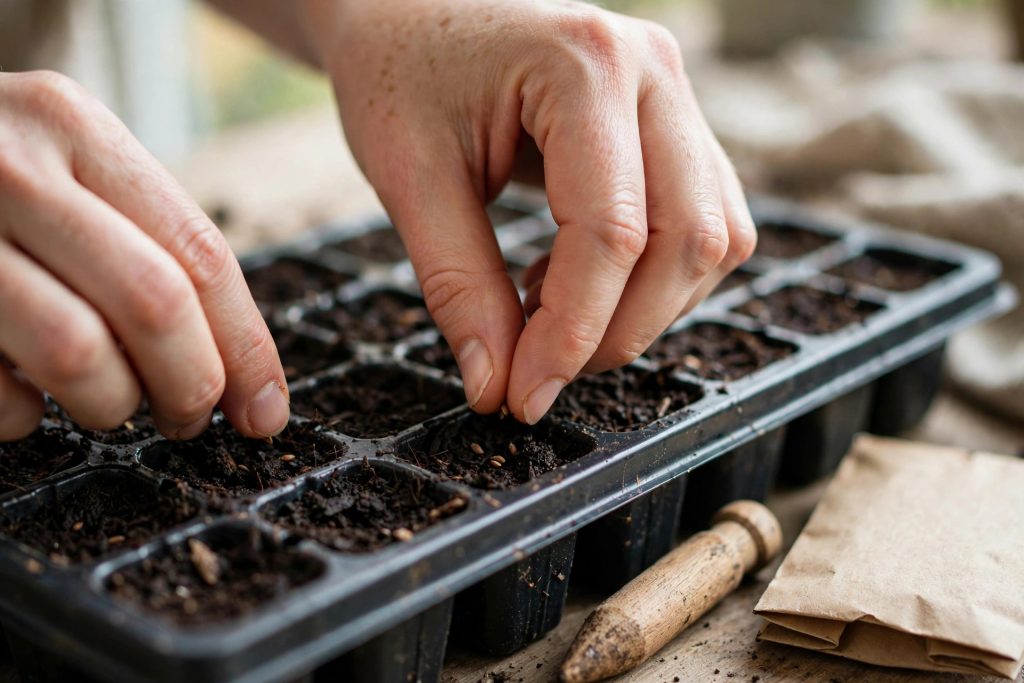
A useful general rule is to sow a seed about twice as deep as the seed is wide. Large seeds such as cucumber or squash go about a quarter inch deep. Small seeds need only a light covering, and some, such as lettuce, need light to germinate, so they should sit on the surface with just a sprinkling of mix over them. Read the packet before you sow. The depth printed there for your exact variety overrules any general rule in this guide, because varieties of the same crop can need different depths.
Sow two or three seeds per cell or pot. This covers the seeds that fail to germinate, and you will thin to the strongest seedling later. Press the mix gently over the seeds so every seed has good contact with damp mix, then mist the surface with the spray bottle. A hard stream of water can wash small seeds out of place, which is why the spray bottle matters at this stage.
Label every container now, with the variety name and the sowing date. Trays of bare mix all look identical a week later, and guessing wastes the whole point of starting named varieties.
Step 3: Cover, Warm, and Wait
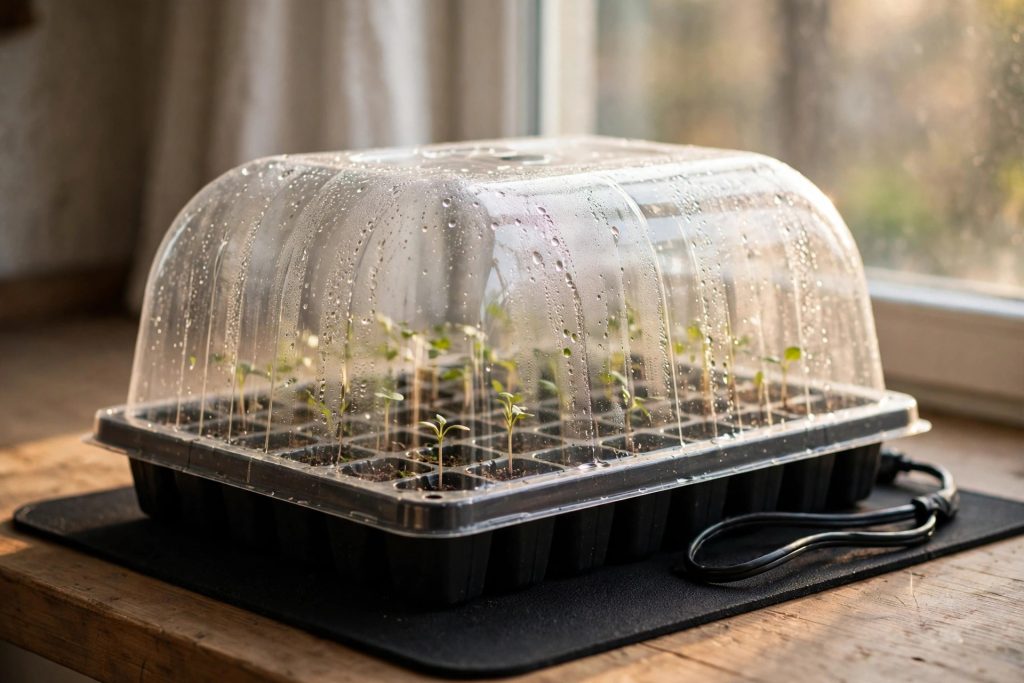
Cover the tray with its clear dome, a sheet of plastic wrap, or a plastic bag. The cover holds humidity the way a small greenhouse does, so the mix stays moist while seeds germinate. Lift the cover once a day to check the seeds and let fresh air in. If water is dripping from the cover, vent it for a while, since constantly dripping wet conditions invite disease.
Put the covered tray somewhere warm. Most seeds germinate between 65 and 75 degrees Fahrenheit, and the University of Massachusetts Extension recommends 70 to 75 degrees until seeds sprout. Those are general ranges only. If the packet for your variety lists a different germination temperature, follow the packet, not the range above. Heat loving crops are the exception: tomatoes germinate best near 80 degrees, which is why a heat mat earns its place for peppers, eggplant, and tomatoes. If your house runs cool, a heat mat under the tray is a better fix than moving trays onto a radiator, where temperatures swing wildly.
Germination takes days to weeks depending on the crop. Check daily, keep the mix moist but never soggy, and resist the urge to dig seeds up to see if they are growing. Disturbing a germinating seed usually kills it.
Step 4: Uncover at First Sprouts and Thin to the Strongest
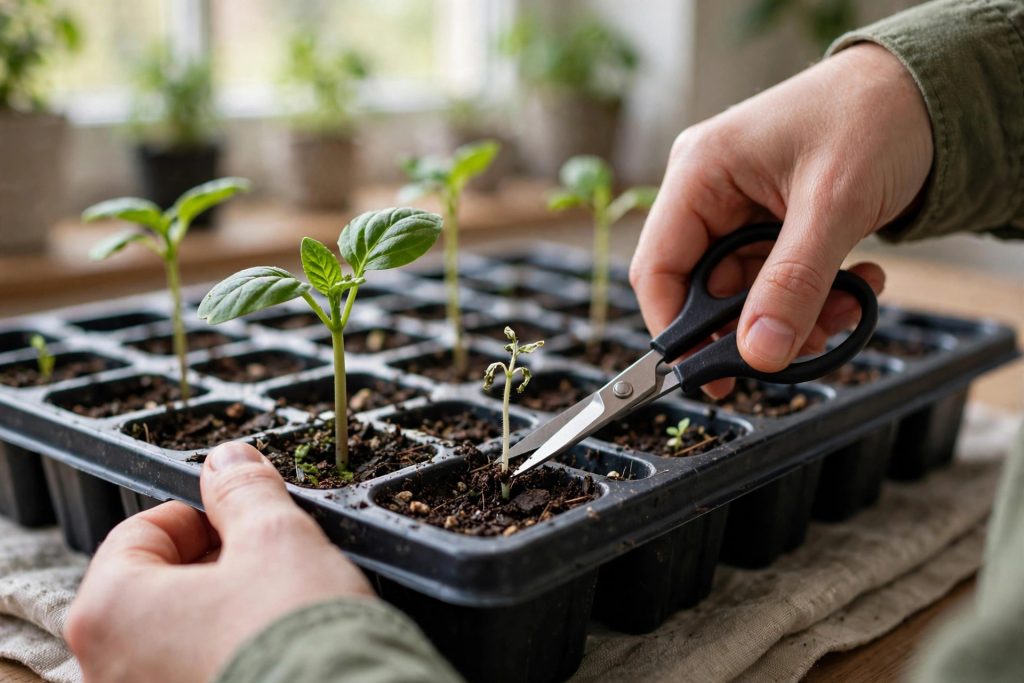
As soon as seedlings appear, take the cover off and move the tray into strong light. This is the moment the setup changes from warm and humid to bright and breezy, and leaving the cover on after sprouting is one of the fastest ways to invite damping off, the fungal disease that pinches seedlings at the soil line and kills them.
When the first true leaves appear, thin each cell to one plant. True leaves are the second set of leaves, shaped like the plant itself, unlike the smooth seed leaves that emerge first. Keep the strongest seedling and snip the others off at the soil line with small scissors instead of pulling them. Pulling can disturb the roots of the seedling you want to keep.
Step 5: Give Seedlings Strong Light
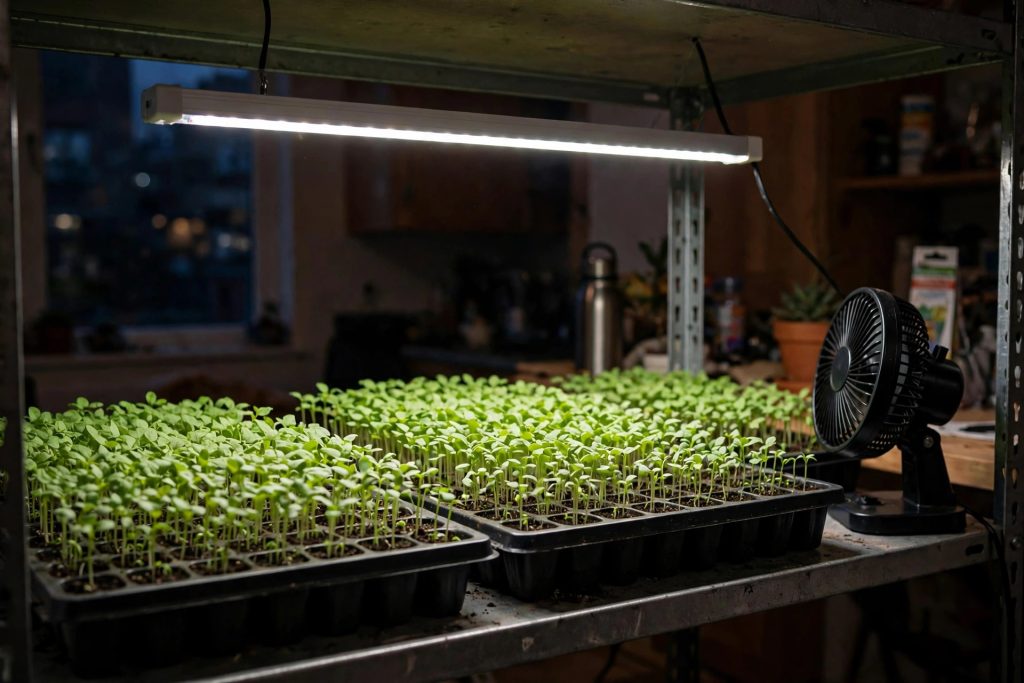
Light is where most indoor seed starting succeeds or fails. A sunny windowsill sounds bright, but in practice it is usually too dim, too one sided, and too cold at night. Seedlings grown there stretch toward the window and develop long, pale, weak stems. University of New Hampshire Extension notes that seedlings without enough light grow leggy as they reach for it, and a simple fluorescent or LED fixture hung close above the trays prevents this.
Hang the light 2 to 4 inches above the seedlings and raise it as they grow, so the tops stay just below the light. Run it 14 to 16 hours a day on a timer. Two ordinary 40 watt fluorescent tubes, or an equivalent LED shop light, are enough for a standard tray. Turn the trays a quarter turn each day if the light comes from one side, so seedlings do not lean.
A small fan on its lowest setting, running a few hours a day, helps in two ways. Moving air strengthens stems, and it dries the mix surface slightly, which discourages the fungi behind damping off. Keep the fan gentle: seedlings should tremble, not bend sideways.
Step 6: Water From Below, Feed Lightly, and Pot Up
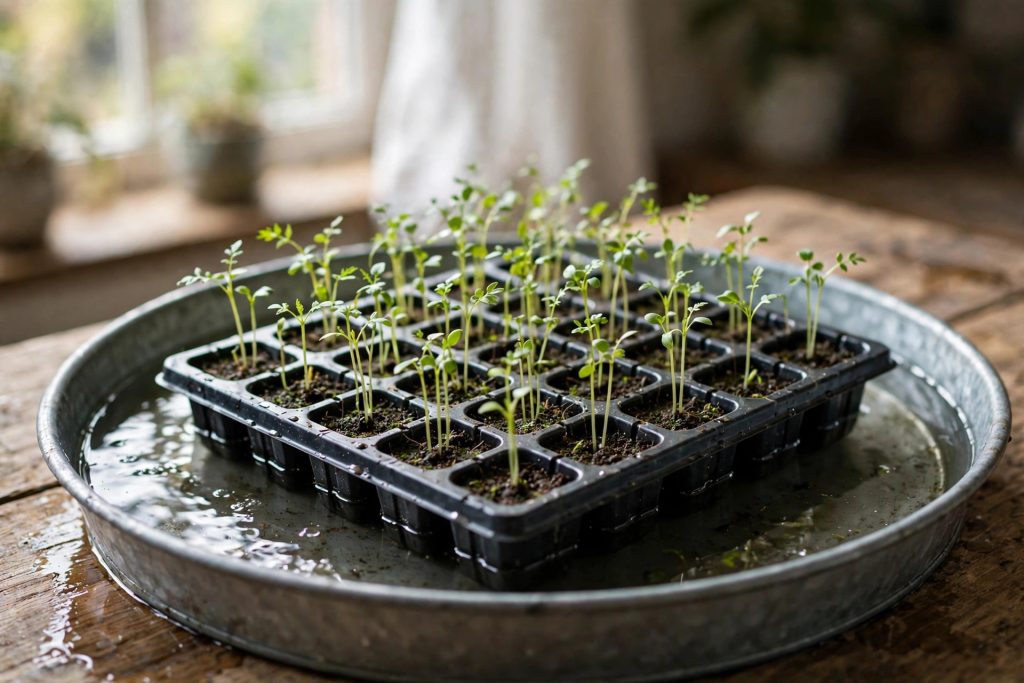
Once seedlings are up, switch to watering from below. Set the tray in a shallow pan of water for 10 to 20 minutes, let the mix draw water up, then drain away any excess. Bottom watering keeps stems dry, which is the single best damping off prevention habit, and it encourages roots to grow downward.
Seed starting mix contains almost no fertilizer, so feeding starts once true leaves appear. Use a liquid fertilizer at half the label strength, about once a week to once every two weeks, and rinse the leaves with plain water after feeding so fertilizer salts do not burn them. Pale, slow growing seedlings after the true leaf stage are usually hungry, not diseased, but do not overfeed to compensate: weak, overfed seedlings are soft and transplant badly.
Pot seedlings up when roots fill the cell or start circling the bottom. Move each seedling into a larger pot of fresh mix, handling it by a leaf or the root ball, never by the stem. A crushed stem does not recover. Water the new pot well and return it to strong light for a few days before it faces anything more stressful.
Hardening Off: The 7 to 10 Day Plan
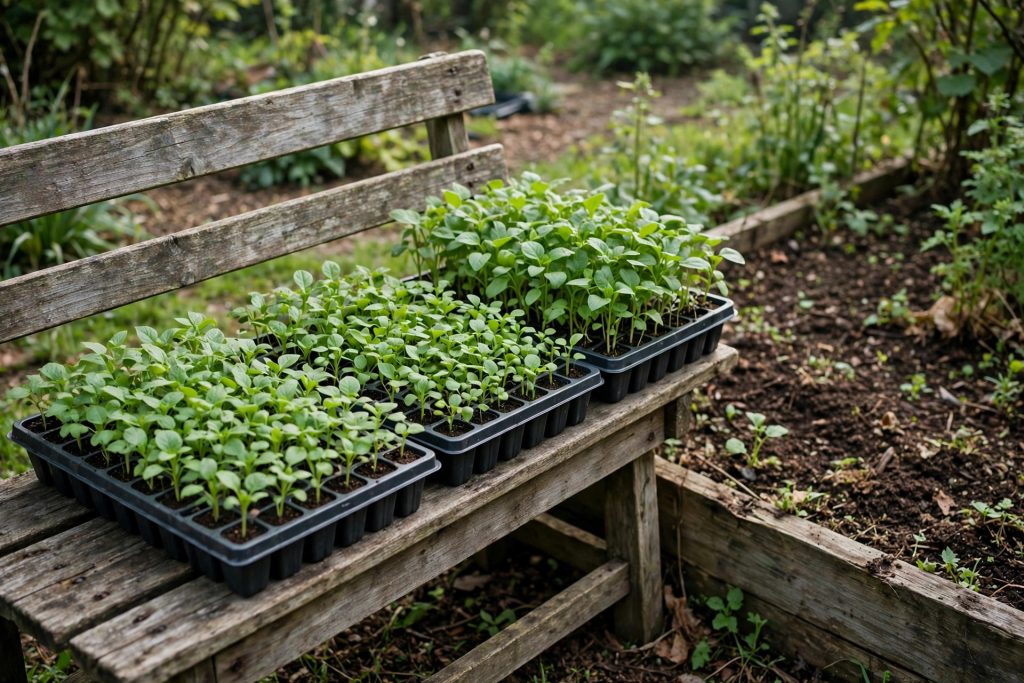
Seedlings raised indoors have never met real sun, wind, or cool nights. Moving them straight into the garden scorches leaves, wilts stems, and can set plants back weeks. Hardening off, the last stage of how to start seeds indoors, is the gradual introduction that prevents this, and it takes 7 to 10 days.
A simple plan that works for most crops:
- Days 1 to 2: set trays outside in shade, sheltered from wind, for 1 to 2 hours, then bring them back in.
- Days 3 to 4: increase to 3 to 4 hours, with an hour or two of gentle morning sun.
- Days 5 to 6: leave them out for most of the day in increasing sun, bringing them in at night.
- Days 7 to 10: leave them out overnight only if the night stays within the range for that crop: above about 50 degrees for tender crops such as tomatoes, peppers, and squash, and above about 45 degrees for hardy crops such as cabbage, broccoli, and onions. Plant them out the next day.
Skip hardening off on very windy days, and never leave seedlings out when the night falls below the limit for that crop: about 45 degrees for hardy crops, about 50 degrees for tender crops such as tomatoes and peppers. Reduce watering slightly during this week, but do not let plants wilt. Tender crops such as tomatoes, peppers, and squash should go out only after the last frost date, and once night temperatures stay above about 50 degrees. Hardy crops such as cabbage, broccoli, and onions can go out around the last frost date itself.
Troubleshooting: Damping Off and Other Common Problems
| Problem | What you see | The fix |
|---|---|---|
| Damping off | Seedlings collapse at the soil line and die | Start over with fresh sterile mix and clean containers, water from below, improve air flow, and do not keep the mix soggy |
| Leggy seedlings | Tall, pale stems leaning toward light | Lower the light to a few inches above the leaves, increase hours to 14 to 16 a day, and add a gentle fan |
| Seeds never sprout | Nothing emerges after the expected days | Check warmth first, then depth: seeds sown too deep or in cold mix fail most often, and old seed loses viability each year |
| Yellow leaves | Pale or yellowing leaves after true leaves appear | Feed at half strength, since seed starting mix has almost no nutrients, and check that trays are draining |
| Mold on the mix surface | White or green fuzz on damp mix | Vent the cover, water from below, let the surface dry slightly between waterings, and improve air movement |
Damping off deserves special attention because it cannot be cured once it starts. The fungi behind it, including Pythium and Rhizoctonia, thrive in wet, still air. Prevention is the whole strategy: fresh sterile mix, clean containers, drainage, bottom watering, and air movement. Remove any collapsed seedling at once so spores do not spread to its neighbors, and do not reuse mix from a tray where damping off appeared.
If you grow microgreens as well as garden seedlings, the same habits apply on a smaller scale. Our microgreens guide uses bottom watering and quick uncovering for exactly the same reasons, and it is a good low stakes place to practice the routine before your tomato seed goes in.
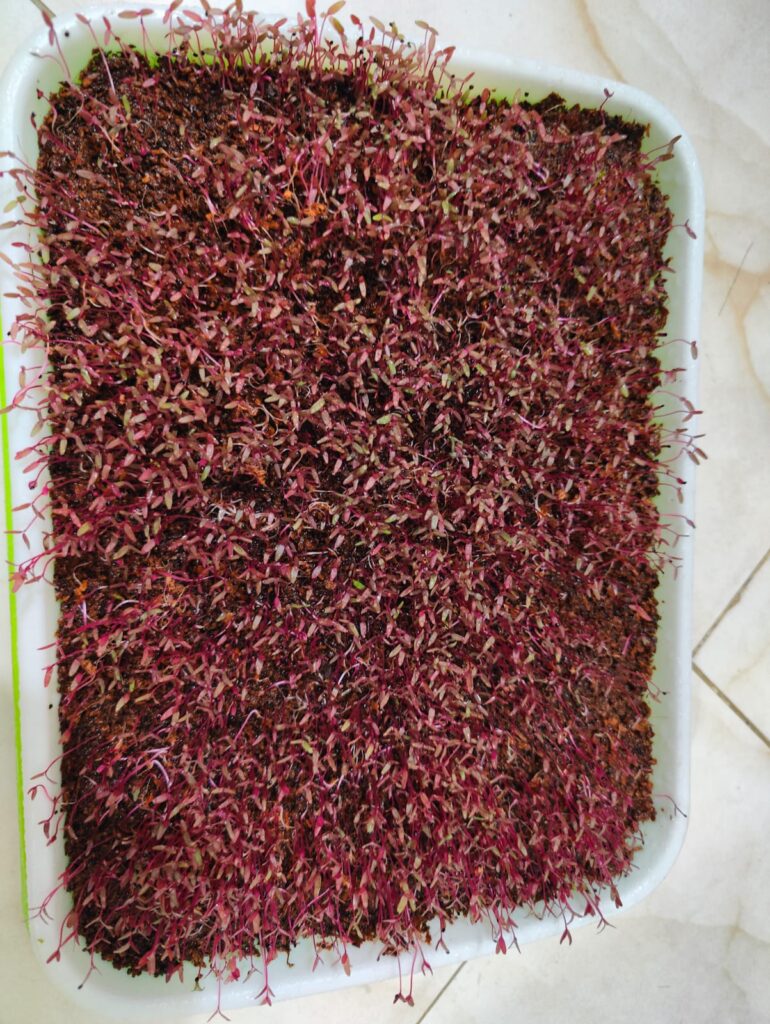
Coriander is another crop many gardeners start indoors, especially where summers are hot enough to make it bolt outdoors. The same tray, mix, and light setup in this guide works for it, with one difference: coriander dislikes root disturbance, so sow it in the pot it will grow in where you can.

Final Thoughts
How to start seeds indoors comes down to a short list of habits: count back from your last frost date, use clean containers and soilless mix, sow at the right depth, keep seeds warm and moist until they sprout, then switch to strong light, bottom watering, and fresh air. None of these steps is difficult on its own. The skill is doing them in order and on time, especially the two transitions beginners miss: uncovering at first sprouts, and hardening off before transplanting.
Start small in your first season. Two or three crops, one tray each, teach you more than ten trays started at once. Keep notes on sowing dates, germination days, and transplant dates, and next year your own records will beat any general chart, because they will be tuned to your house, your light, and your garden.
When your seedlings are ready for the garden, the next skill in this cluster is hardening them off properly, followed by choosing trays, lights, and heat mats that fit your space. Those guides are coming next in this series, and each one builds on the routine you have just learned.

References
- University of Massachusetts Extension. Starting Seeds Indoors: timing by crop, containers, soilless mix, and the five planting steps. https://www.umass.edu/agriculture-food-environment/home-lawn-garden/fact-sheets/starting-seeds-indoors
- University of New Hampshire Extension. Seed Starting Basics: starting media, bottom watering, light, temperature, timing, and hardening off. https://extension.unh.edu/blog/2018/03/seed-starting-basics
- University of Massachusetts Extension. Starting Seeds in Greenhouses: damping off organisms and prevention, growing media pH 5.7 to 6.2. https://www.umass.edu/agriculture-food-environment/greenhouse-floriculture/fact-sheets/starting-seeds-in-greenhouses
- University of Minnesota Extension. How and when to start your seeds: monthly start windows, light, heat, humidity, and soil contact. https://extension.umn.edu/news/how-and-when-start-your-seeds
- University of Vermont Extension. Vegetable Transplants: the hardening off process for home grown seedlings. https://www.uvm.edu/d10-files/documents/2026-04/HardeningOffTransplants_factsheet.pdf
Frequently Asked Questions
How early should I start seeds indoors?
Count back from your transplant date using the weeks on the seed packet. Most vegetables need 4 to 8 weeks indoors, with eggplant up to 9 weeks. Starting earlier usually produces weak, leggy plants, not earlier harvests.
Can I use garden soil for starting seeds indoors?
No. Garden soil stays too wet in small containers and can carry weed seeds, insects, and disease organisms. Use a fine, soilless seed starting mix made from peat moss or coir with perlite or vermiculite.
How much light do seedlings need indoors?
Give seedlings 14 to 16 hours of strong light a day, with the fixture 2 to 4 inches above the leaves. A windowsill alone is usually too dim and produces leggy seedlings.
Why did my seedlings fall over and die?
That is usually damping off, a fungal disease that attacks seedlings at the soil line in wet, still conditions. Prevent it with fresh sterile mix, clean containers, bottom watering, and air movement. Affected seedlings cannot be saved.
When can I transplant seedlings outside?
Harden them off over 7 to 10 days first, then transplant after your last frost date. Tender crops like tomatoes and peppers need night temperatures above about 50 degrees, while hardy crops like cabbage can go out around the last frost date.
Do I need a heat mat to start seeds indoors?
Not for most crops, but it helps heat loving ones. Most seeds germinate at 65 to 75 degrees Fahrenheit, while tomatoes prefer near 80 degrees. A heat mat is most useful for tomatoes, peppers, and eggplant in a cool house.

Thesis Link : https://saulibrary.edu.bd/daatj/public/uploads/BAU200601_19-Pp_5.pdf
- How to Start Seeds Indoors - October 25, 2026
- Best Pruning Saws: 10 Top Picks for 2026 - October 25, 2026
- How to Stripe a Lawn Like a Pro - October 24, 2026