
Learning how to aerate a lawn is mostly about loosening soil that has been pressed too tight. Feet, mower wheels, pets, kids playing in the same corner every weekend, and heavy rain all push soil particles together over time. The grass does not die straight away. It thins. Roots stay shallow, water sits on top or runs toward the driveway, and feeding seems to make less difference each year. Aeration fixes the cause instead of covering the symptoms.
The job itself is not hard, and for most home lawns it only comes round every few years. What matters is doing the right kind of aeration, at the right time of year, on soil that is moist enough for the machine to work properly. Get those three things right and the seven steps below are straightforward. Get one of them wrong, especially the timing, and you can spend a Saturday working hard for very little change.
Quick Checklist: How to Aerate a Lawn in 7 Steps
Keep this list open on the day. The whole job follows this order:
- Water the lawn the day before.
- Mow a little shorter than usual and clear the surface.
- Mark sprinkler heads, shallow utility lines and hidden obstacles.
- Run a core aerator over the whole lawn in one direction.
- Make a second pass at right angles on compacted or high traffic areas only.
- Leave the soil plugs on the surface.
- Overseed and fertilize straight after, if planned.
What Aeration Does, and Why Core Beats Spike
Healthy soil is not solid. Roughly half of it should be pore space, tiny gaps that hold air and let water move down to the roots. Compaction squeezes that space out, and it starts at the surface. Extension guidance notes that a compacted layer only 1/4 to 1/2 inch thick can already slow water and air movement in a serious way. Roots respond by staying near the surface, in the top 1 to 2 inches, where they are first to suffer in a dry week.
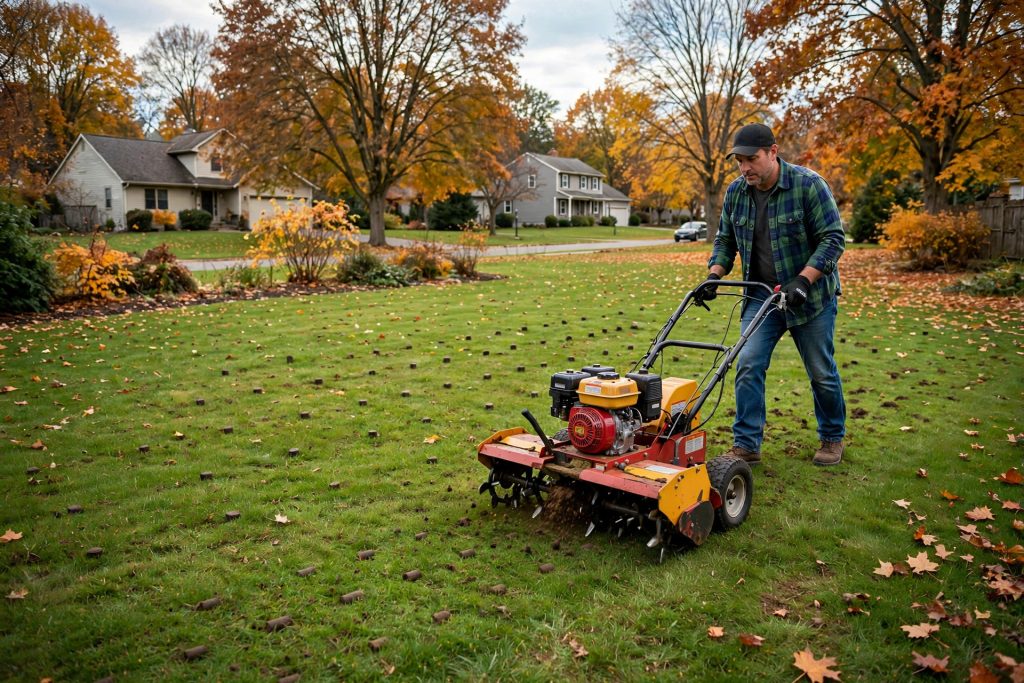
A core aerator, also called a plug aerator, uses hollow tines to pull small plugs of soil out of the ground and leave them on the surface. Each hole is a channel. Rain enters instead of running off. Air reaches the roots. Seed, lime and fertilizer applied afterwards can drop into the holes and arrive closer to the root zone. As the plugs break down, the soil they carry, and the microbes in it, work back into the lawn and help digest thatch.
A spike tool does something different, and the difference matters:
| Method | Removes soil? | Effect on compaction | Best for |
|---|---|---|---|
| Core (plug) aerator | Yes, pulls plugs out | Relieves it, creates open channels | Compacted home lawns, clay soil, overseeding prep |
| Solid spike or tine | No, pushes soil aside | Can make it worse around each hole | Very light use on loose, sandy soil only |
| Aerator shoes | No, pushes soil aside | Little real change, and slow work | Not a substitute for core aeration on a whole lawn |
This is why extension services are consistent on one point: solid tines and spikes should not be mistaken for aerating equipment. They compress the soil into a denser mass around each hole. If you rent or buy one tool for this job, make it a core aerator with hollow tines.
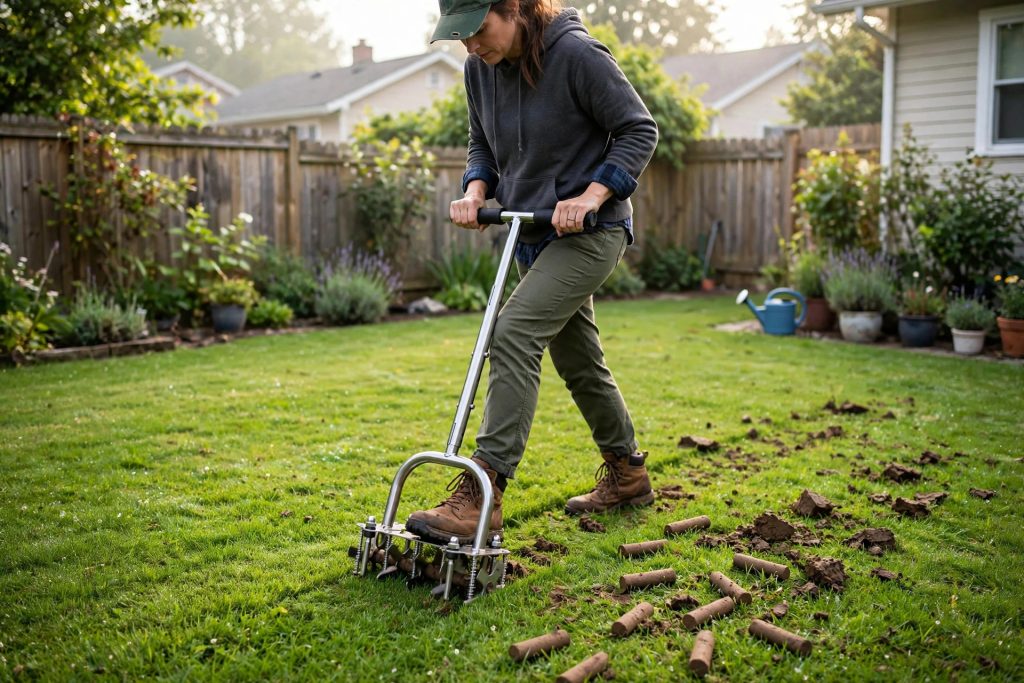
For smaller lawns, a manual coring tool can do the same job in sections, without a rental. Our manual aerator roundup below compares the hand tools that suit that work.
Signs Your Lawn Needs Aerating
Not every thin lawn is compacted, and aerating a healthy, loose lawn on a schedule you copied from a neighbour wastes effort. Look for several of these signs together:
- Water pools after rain or runs off a slope instead of soaking in.
- The lawn is heavily used, by children, dogs, games, or a regular walking route across it, and it looks tired exactly in those areas.
- The soil is heavy clay, which compacts far more readily than loam or sand.
- Roots are shallow. Cut a small wedge of turf and look: if most roots sit in the top 1 to 2 inches, compaction is a likely cause.
- Thatch is building up past about 1/2 inch, and the surface feels hard rather than spongy underneath it.
- The lawn thins and wilts fast in dry weather even though you water and feed it on schedule.
One simple check helps before you rent anything. Push a long screwdriver into moist soil in a few places. On loose soil it slides in with steady hand pressure. On compacted soil you have to force it, and it may barely reach half its length. Test the worn areas and a quiet corner separately. Many lawns only need the traffic lanes and the area in front of steps and gates done thoroughly, with a lighter pass elsewhere.
Two lawns should wait. A newly seeded or newly sodded lawn should not be aerated in its first year, because the roots are not yet anchored well enough to take the disturbance. And a dormant lawn should never be aerated, for the timing reasons in the next section.
Best Time to Aerate a Lawn
Aerate only while the grass is growing vigorously, so it can fill the holes and recover fast. That gives you two clear windows, and they depend on your grass type:
- Cool season lawns (tall fescue, Kentucky bluegrass, perennial ryegrass, fine fescues): fall is best. The grass is coming out of summer stress, roots are growing strongly, weed competition is low, and the lawn has weeks of mild weather to recover. In much of the Mid Atlantic, late August into September is the prime slot, with early fall still workable further north and in the transition zone. Early spring is a second choice.
- Warm season lawns (Bermuda, zoysia, St. Augustine, centipede): late spring into summer, with June to July the standard recommendation. These grasses need warm, active growth to recover, and aerating them as they head toward dormancy does real harm.
Never aerate a stressed lawn either. A lawn baking in a heat wave, sitting dormant in a drought, or frozen and dormant in winter cannot use the holes you make, and the extra damage lands at the worst possible moment. If your planned weekend turns out hot, dry and windy, water well, wait for milder weather, and keep the rental for another day. Rental shops are busiest on fall weekends for exactly this job, so booking ahead, or planning a weekday slot, is practical advice rather than a sales line.
How often depends on use, not habit. Lawns that take heavy foot traffic usually need core aeration once a year. A typical home lawn on decent soil does well every 2 to 3 years. Sandy, lightly used lawns may need it less often still. Let the signs above, and the screwdriver test, make the call.
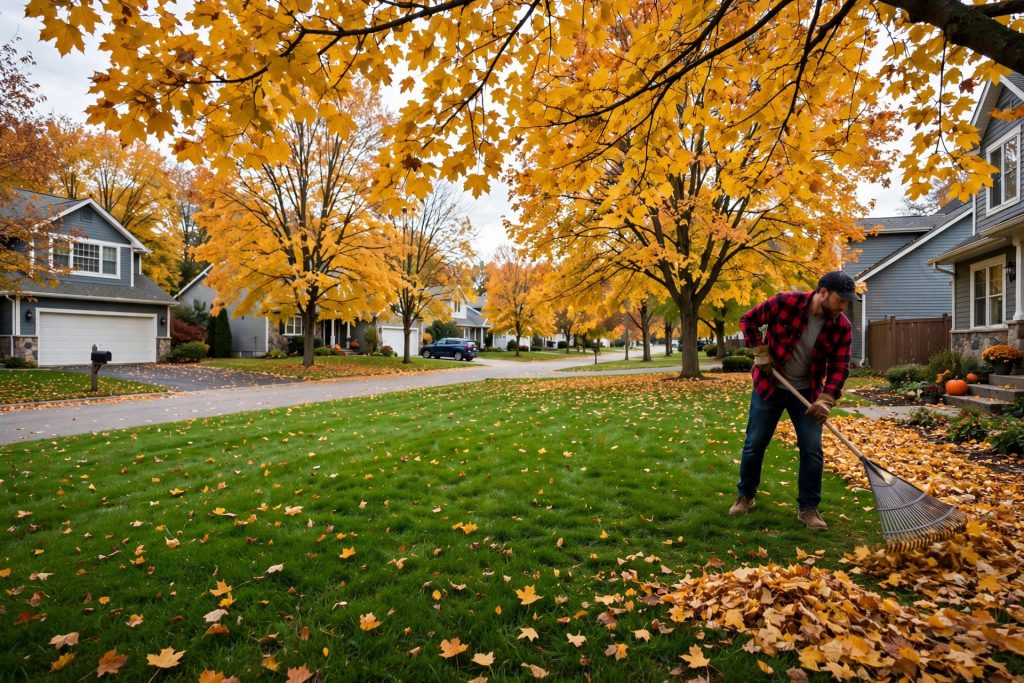
Aeration sits inside a bigger fall sequence for cool season lawns, alongside overseeding, feeding and leaf control. Our fall checklist below puts that order in one place.
What You Need Before You Start
- A core aerator with hollow tines. For a small lawn, a manual coring tool. For most suburban lawns, a rented walk behind power aerator. For a large lawn, a tow behind model if you already own a tractor or riding mower to pull it.
- A mower you can set a little lower than usual, and a rake for clippings and debris.
- Small flags or markers for sprinkler heads and shallow lines. Bright tape on sticks works if you have no flags.
- A hose and sprinkler, or irrigation, for watering the day before and for aftercare.
- Grass seed and fertilizer only if you plan to use the open holes straight away, plus a broadcast spreader to apply them evenly.
- Sturdy shoes and gloves. A walk behind aerator is heavy, vibrates, and is awkward to turn. Plan your route so you are not dragging it backwards up a slope.
A note on renting, because it shapes the day: these machines are large and heavy, and most people need a vehicle that can carry one safely, plus a second person to load and unload. Sharing the rental with a neighbour on the same day is common for a reason. You both get the machine while the soil moisture is right, and the transport problem is halved.
How to Aerate a Lawn, Step by Step
Step 1: Water the Lawn the Day Before
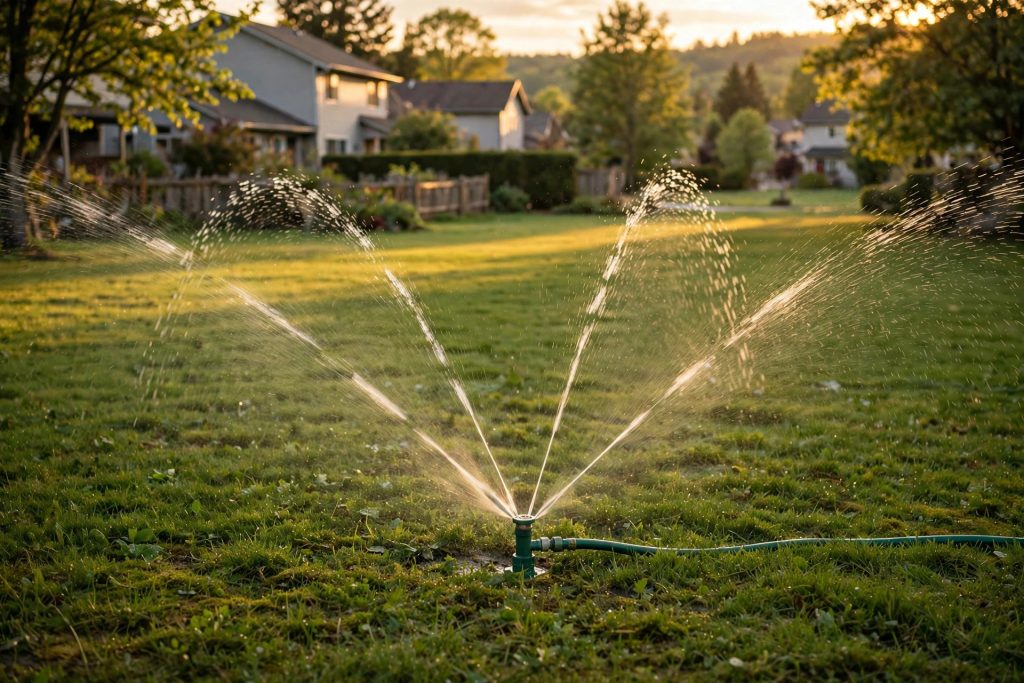
Soil moisture decides whether this job works. The soil should be moist, but not wet, when you aerate. If it is dry, tines bounce, plugs come out short or not at all, and you get scratches instead of channels. If it is saturated, cores stick inside the hollow tines and the machine smears the surface.
Water thoroughly one to two days beforehand if rain has not done it for you, aiming for about 1 inch of water. A straight sided can or a rain gauge set on the lawn tells you when you have applied that much. Then let the surface drain so it is damp to dig in, not muddy to walk on.
Step 2: Mow a Little Shorter and Clear the Surface
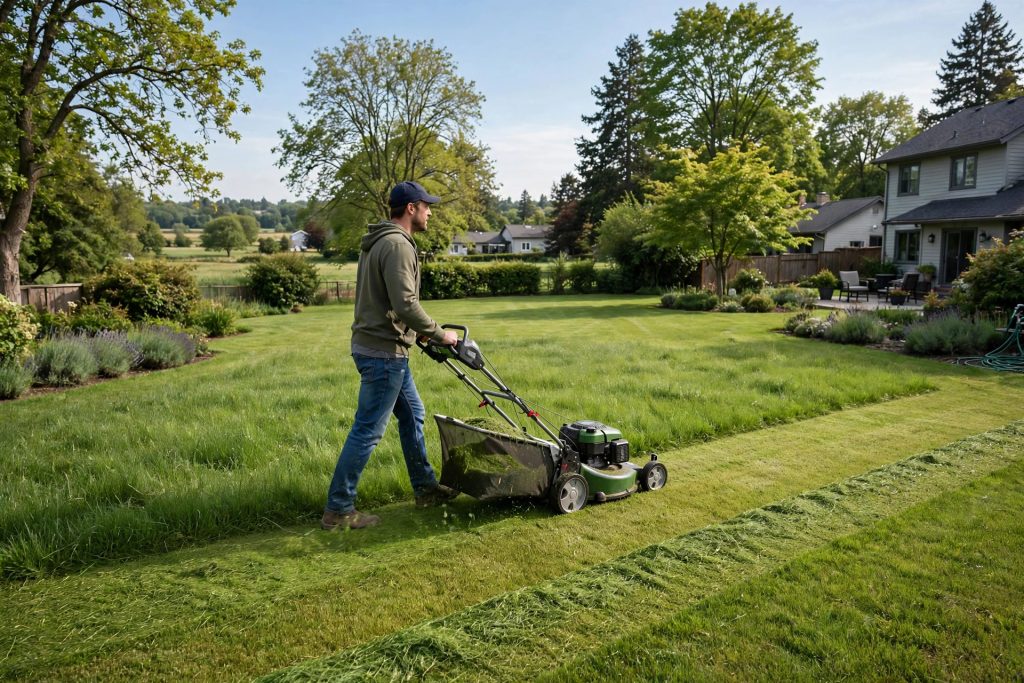
Mow slightly shorter than your normal height, and pick up the clippings this time. A shorter canopy lets the machine sit evenly and lets you see the plugs and the pattern of holes as you work. Rake up leaves, sticks and loose debris, and clear toys, hoses and furniture off the whole area. Anything left on the lawn becomes either a missed strip or a damaged object.
Do not scalp the lawn to do this. Take off a little extra, within the usual rule of never removing more than one third of the leaf at one mow. The grass needs its leaves to recover after aeration.
Step 3: Mark Sprinkler Heads and Shallow Lines
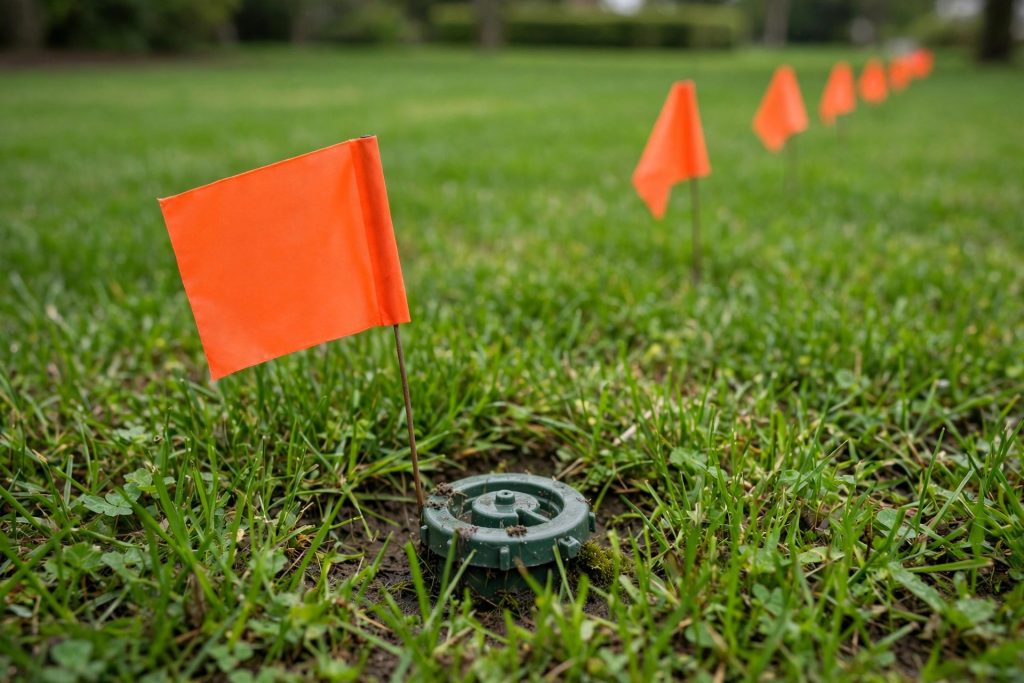
Walk the lawn before the machine starts and flag every sprinkler head, valve box, shallow irrigation line you know of, invisible fence wire, and low utility run. Aerator tines reach 2 to 4 inches down, which is exactly the depth of a lot of shallow domestic lines. A flag costs seconds. A cut line costs the rest of the weekend.
Mark obstacles you cannot move as well: tree roots near the surface, drain covers, and the edges of paths and beds. You will work around them rather than through them.
Step 4: Run the Aerator in One Direction
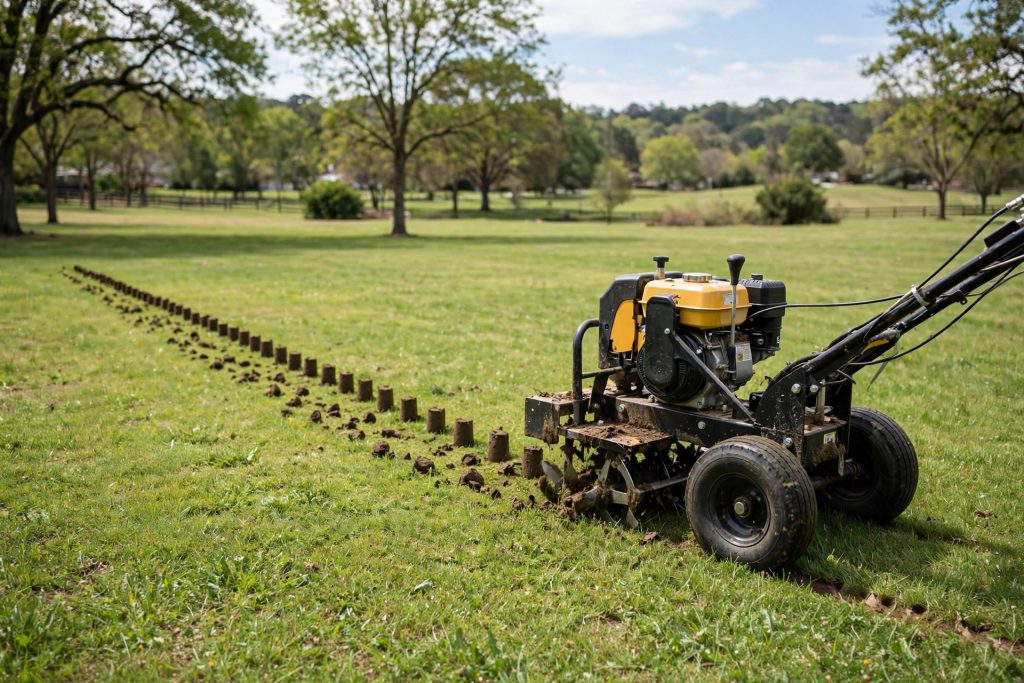
Start on a straight edge and work across the lawn in parallel passes, the way you would mow, overlapping very slightly so there are no untouched stripes. Keep a steady, moderate pace. Rushing gives shallow, uneven plugs. Let the weight of the machine do the work rather than pushing down on the handles.
Check your work after the first pass. You should see clean plugs on the surface, roughly finger length, and holes spaced a few inches apart. On many home machines a single pass leaves wider spacing than the ideal, which is why the next step matters on the areas that need it most. If plugs are barely an inch long, stop and deal with soil moisture or tine depth before covering the whole lawn badly.
Step 5: Second Pass at Right Angles Where It Counts
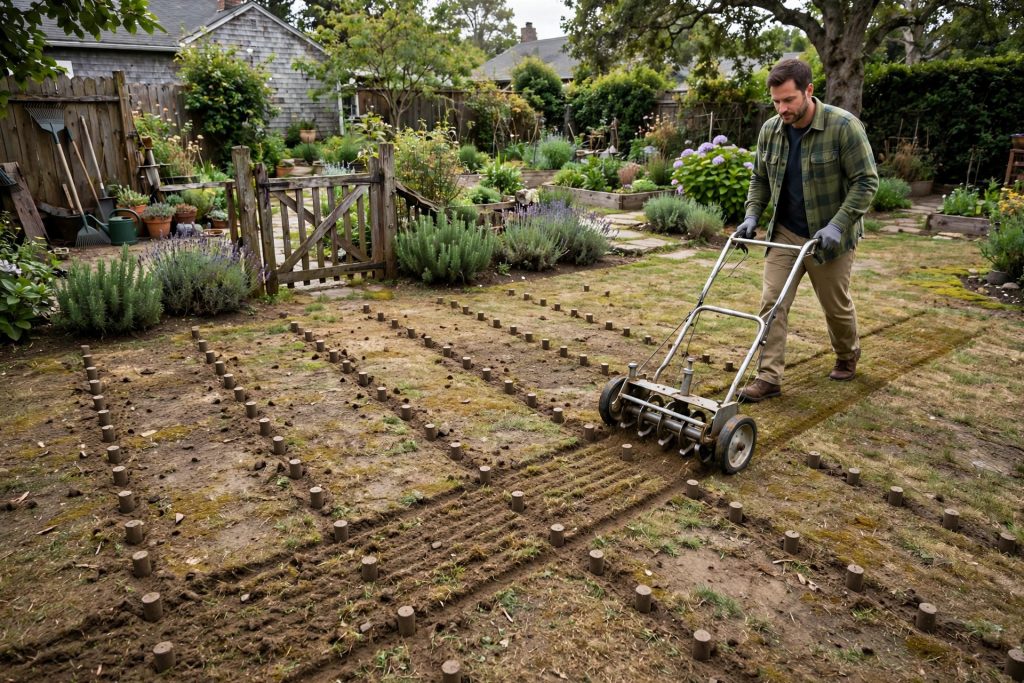
Go over the compacted and high traffic areas a second time, this time at right angles to your first pass. That cross pattern roughly doubles the holes where the soil needs them most and brings the spacing closer to the 2 to 6 inch range across the worn ground. Areas such as the route to the gate, the play area, and the strip in front of steps usually earn this second pass. Quiet corners rarely do.
There is a limit worth respecting. Very open, heavily worked soil dries out faster around the holes, and tearing a weak lawn to pieces in one afternoon does not help it. Two passes on the worst ground, one pass elsewhere, is the pattern extension guidance supports for home lawns.
Step 6: Leave the Plugs Where They Fall
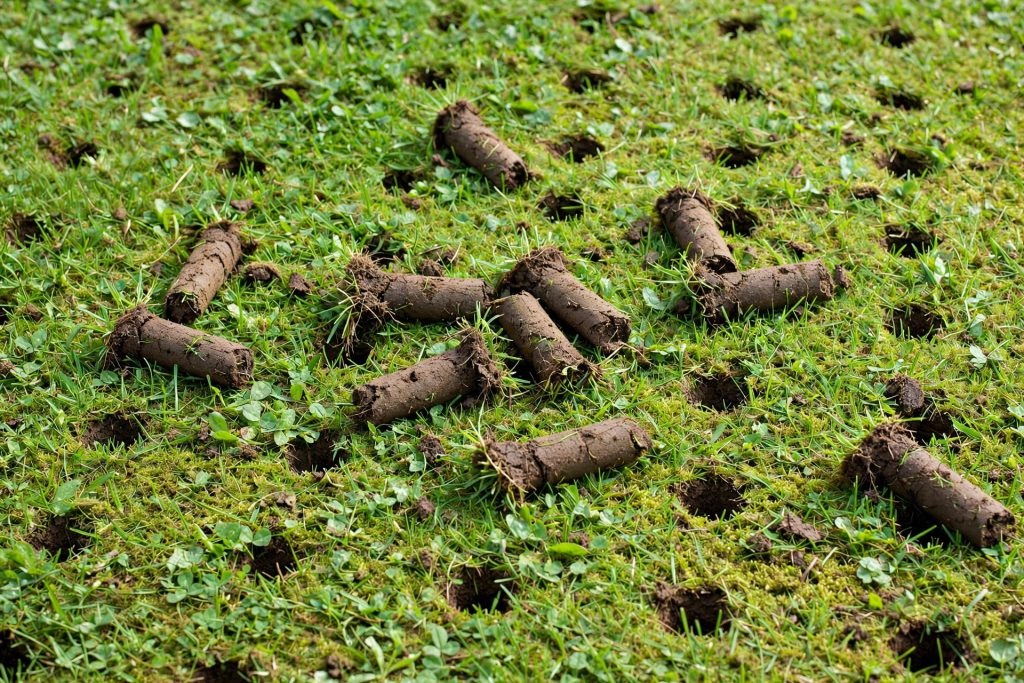
This is the step new aerators most often get wrong, usually because the lawn looks messy for a few days. Leave the plugs on the surface. They will break down and disappear in about two weeks, faster with rain and mowing, and as they crumble they return soil and active microbes to the surface, where those microbes help break down thatch.
If the look bothers you, mow over the plugs once they have dried a little, or water lightly to help them soften. Do not rake them up and throw away the very soil you pulled out to help the lawn. The mess is temporary, and it is part of the treatment, not a side effect to clean up.
Step 7: Overseed and Fertilize Right After, If Planned
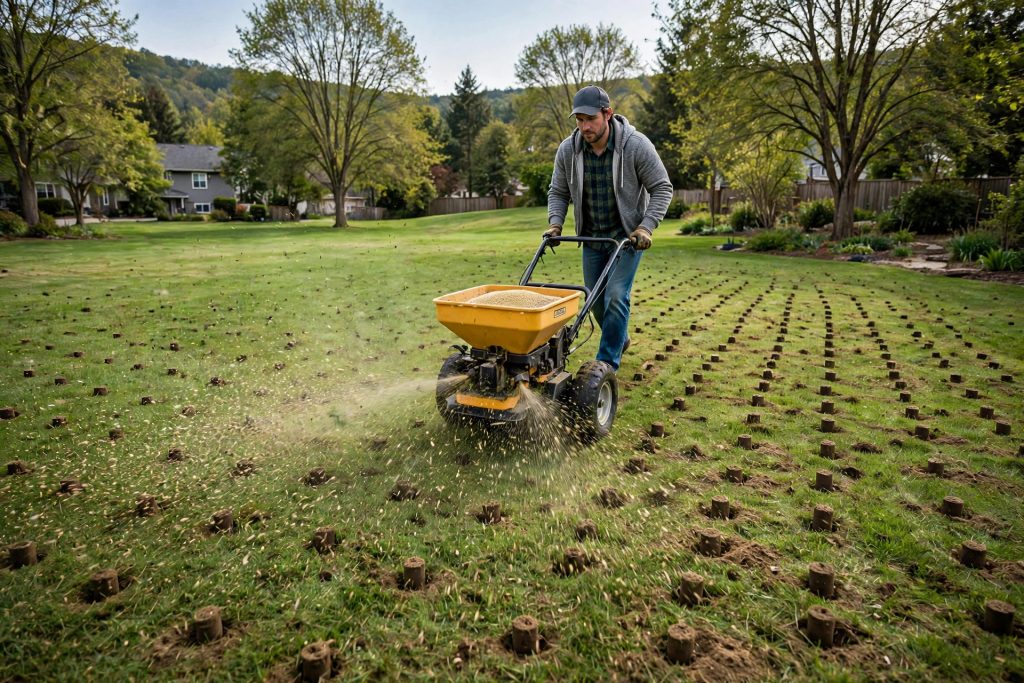
Aeration and overseeding are natural partners, and if thickening the lawn is part of your goal, seed on the same day while the holes are open. Seed that falls into a hole sits in firm contact with moist soil, sheltered from birds and from drying wind, which is exactly what germination needs. Spread seed evenly with a broadcast spreader, in two half rate passes at right angles, rather than throwing it all in one direction.
Our overseeding guide below walks through seed choice, rates by grass type, and the watering that follows.
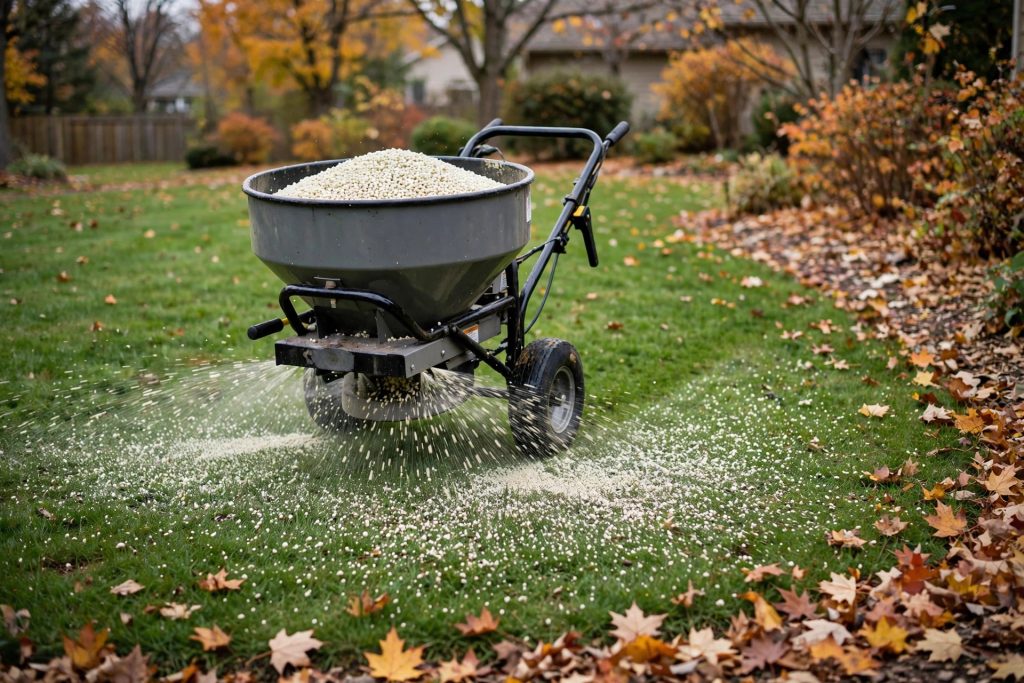
Fertilizer, where a soil test or your fall programme calls for it, also belongs in this window, applied at the label rate. Nutrients wash into the holes and reach the root zone more reliably than they do from a hard, closed surface. One warning that cannot be repeated too often: skip pre emergent herbicide on any area you have just seeded, or plan to seed. The barrier that stops weed seed sprouting stops grass seed in exactly the same way.
Aftercare in the Two Weeks After Aerating
The job is not finished when the rental goes back. In the first two weeks:
- Keep a seeded lawn consistently moist, with light, frequent watering until the seed sprouts, then shift gradually to deeper and less frequent watering so roots grow down.
- On an aerated lawn with no new seed, water normally, about 1 inch a week including rain in dry spells, so the grass can grow into the loosened soil.
- Mow as usual once the grass needs it, with a sharp blade, and avoid scalping recovering areas.
- Keep heavy traffic, parked equipment and regular games off the most worked areas where you reasonably can, until the lawn has settled.
- Watch the plugs disappear. Once they have crumbled in, the surface returns to normal, and the change you are looking for, better drainage and stronger growth, builds over the following weeks rather than overnight.
If no seed went down and the lawn was healthy apart from compaction, recovery is quick. If you overseeded, judge the result by germination timing for your grass type, not by the first green shoots you see. Ryegrass can appear in about a week, tall fescue a little later, and Kentucky bluegrass can take three weeks or more.
Should You Aerate or Dethatch?
Homeowners mix these two jobs up constantly, because both open a lawn up and both are often rented on the same weekend. They fix different layers.
Aerate when the problem is in the soil: hard ground, runoff, shallow roots, heavy use. Dethatch when the problem is above the soil: a spongy layer of stems and roots, thicker than about 1/2 inch, that keeps water, air and seed from reaching the ground at all. A lawn can need both, in which case dethatch first, rake up the debris, then aerate, so the plugs and holes are working on soil rather than on a mat you were about to remove.
Our dethatching guide below shows you how to measure thatch with a simple wedge test before you decide.
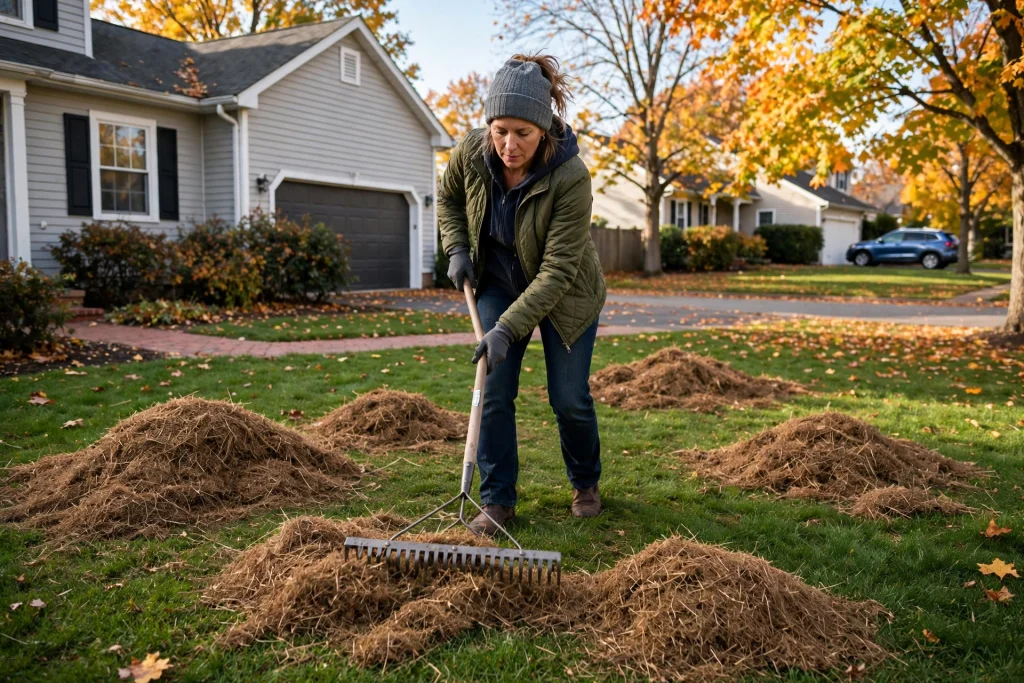
Core aeration also helps control thatch over time, because the soil plugs feed the microbes that digest it. But aeration is not a substitute for dethatching a lawn where the layer is already thick. Use the measurement, not a guess.
Common Mistakes That Waste an Aeration Day
- Using a spike tool and calling it aeration. Solid tines push soil aside and can increase compaction around each hole.
- Aerating dry soil. The tines cannot reach depth, the plugs are poor, and the lawn takes damage for almost no benefit.
- Aerating a dormant or heat stressed lawn. The grass cannot recover, and open holes in dormant turf invite weeds and drying.
- Aerating a brand new lawn in its first year. Young roots are not anchored enough for the disturbance.
- Raking up all the plugs. You remove the soil and microbes that were meant to work back into the surface.
- Forgetting to mark sprinkler heads and shallow lines. The most expensive mistake on the list, and the easiest to prevent.
- Seeding, then applying pre emergent. One of those two jobs has to wait. Together, the seed simply fails.
Final Thoughts on How to Aerate a Lawn
How to aerate a lawn well comes down to a short, honest sequence: confirm the soil is actually compacted, choose the growing season for your grass type, water the day before, pull proper plugs with a core aerator, leave those plugs alone, and use the open holes for seed and food while you have them. None of that needs specialist skill. It needs timing and a hollow tine.
If your cool season lawn is showing the signs this fall, this is your window, and the work you do now is what stronger roots and better drainage next spring are built on. If your lawn is warm season, put the job in the diary for June and July instead, and spend this fall on the jobs that do belong there. Either way, test before you rent, and let the soil, not the calendar on its own, tell you when this job is due again.
How This Guide Was Checked
This guide was prepared and reviewed by Sayed Zahur Ahmed, founder and editor of Agribloom (BSc Agriculture and MSc in Plant Pathology, Bangladesh Agricultural University). The steps, measurements and timing windows were cross-checked against the university extension publications listed in the References, so you can verify every figure yourself.
Agribloom does not claim hands-on product testing for this guide, and the photographs are illustrative. Where a recommendation depends on your soil and grass type, the guide says so rather than giving one rule for every lawn.
References
- University of Maryland Extension, Lawn Aeration. Supports the plug size, depth and spacing figures and the aeration timing windows used in the steps.
- Virginia Cooperative Extension, Aerating Your Lawn. Supports the signs of compaction and the warning not to aerate a newly seeded or sodded lawn in its first year.
- University of Massachusetts Amherst, Management of Compaction: Coring. Supports the core versus spike comparison.
- Virginia Cooperative Extension, Gardener Handbook, Chapter 11: Lawns. Supports the timing and frequency guidance.
- University of Maryland Extension, Lawn Renovation and Overseeding. Supports aerating immediately before overseeding.
Frequently Asked Questions
When is the best time to aerate a lawn?
Fall is best for cool season grasses such as tall fescue and Kentucky bluegrass, while they are growing strongly after summer. Warm season grasses such as Bermuda and zoysia are best aerated in June to July. Never aerate a dormant lawn.
How deep should aeration plugs be?
A good core aerator pulls plugs about 1/2 to 3/4 inch in diameter and 2 to 4 inches deep, spaced about 2 to 6 inches apart. Shallow, crumbly plugs usually mean the soil was too dry or the tines need attention.
How often should I aerate my lawn?
Lawns with heavy foot traffic usually need it once a year. A typical home lawn does well every 2 to 3 years. Use signs such as pooling water, shallow roots and hard soil, rather than aerating on a fixed habit.
Is a spike aerator good enough?
Usually not. Solid spikes push soil aside and can increase compaction around each hole. A core aerator removes plugs and creates open channels, which is what actually relieves compaction in a home lawn.
Should I remove the plugs after aerating?
No. Leave them on the surface. They break down in about two weeks, returning soil and helpful microbes to the lawn, and those microbes help digest thatch. Mowing or light watering can speed up the crumbling if the look bothers you.
Should I aerate before overseeding?
Yes. Aerating right before overseeding is one of the best pairings in lawn care, because seed falls into the holes, makes firm contact with moist soil, and stays sheltered while it sprouts. Seed on the same day if you can.

Thesis Link : https://saulibrary.edu.bd/daatj/public/uploads/BAU200601_19-Pp_5.pdf
- How to Aerate a Lawn: Step by Step Guide - October 15, 2026
- 10 Best Loppers for Thick Branches - October 14, 2026
- Fall Lawn Care Checklist – 9 Jobs Before Winter - October 14, 2026