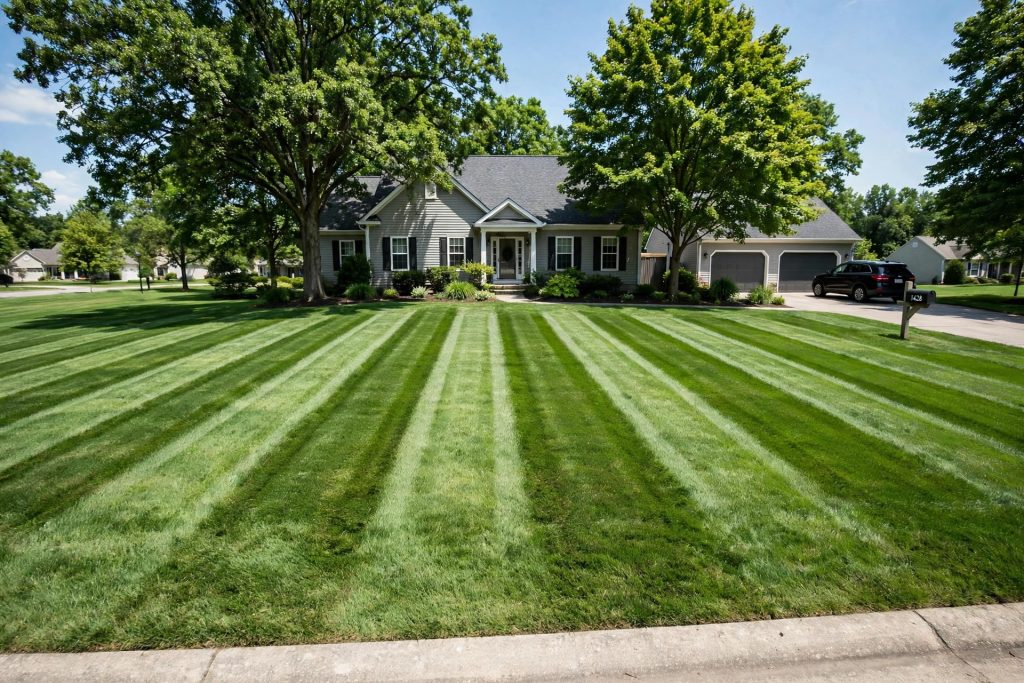

You have seen them on baseball outfields and in the nicest yards on the block: bold alternating bands of light and dark green that make a lawn look professionally manicured. The good news is that you do not need a stadium grounds crew to get them. Learning how to stripe a lawn comes down to bending grass blades in alternating directions as you mow, and the sunlight does the rest.
This guide walks through the full process: the mowing height that makes stripes pop, the equipment that actually matters, six classic patterns, and how to fix the problems that make stripes fade.
Quick Answer: How Lawn Striping Actually Works
Striping is physics, not paint. Turfgrass expert Florence Semmons explains that the pattern comes from light reflection, the surface area of the leaf blades catching that light, and where the viewer stands. A common misconception is that mowing rearranges the sides of the leaves. What really happens is that blades bent toward the viewer look darker, and blades bent away reflect more light and look lighter.
That explains why grass choice matters so much for contrast. Cool-season grasses like Kentucky bluegrass and perennial ryegrass give the most distinctive stripes because their finer blades bend readily. Tall and fine fescue create a softer contrast. Warm-season grasses such as Bermuda, zoysia, St. Augustine, and centipede usually produce the lightest striping because their blades are stiffer and harder to bend.
The Right Mowing Height for Stripes
Deck height is the single most important factor in how bold your stripes look, more important than any attachment you can buy. Short grass cannot bend, so there is nothing for the light to reflect off and the stripes wash out. Most lawn owners cut too short when they start striping.
A practical rule: set the deck about half an inch higher than your normal setting when striping is the goal. Taller blades bend further in the direction of travel, which deepens the contrast between light and dark bands. Taller grass also grows deeper roots, shades out weed seeds, and recovers faster from stress, so the habit pays off beyond the looks.
Keep one consistent cutting height across the whole striped area. Use this table as a starting point, then adjust to your grass species and conditions:
| Grass type | Best striping height | Notes |
|---|---|---|
| Tall fescue | 4 inches | Fine blades stripe well at this height. |
| Kentucky bluegrass | 3.5 inches | Strongest contrast of the cool-season grasses. |
| Perennial ryegrass | 2.5 inches | Shorter but bends easily. |
| St. Augustine | 4 inches | Best contrast of the warm-season group. |
| Zoysia | 2.5 inches | Keep expectations modest. |
| Bermuda | 2.5 inches | Lightest stripes, stiff blades. |
Purdue Extension turfgrass specialists recommend 3 to 3.5 inches for most cool-season home lawns, and the one-third rule governs when to cut: never remove more than one-third of the blade in a single mowing. A lawn maintained at 3 inches should be cut when it reaches about 4.5 inches. If the lawn has grown tall, walk the height down gradually over several mowings instead of scalping it in one aggressive cut. A numbered mower setting does not always equal that many inches, so measure the blade tip on a flat surface with a tape measure at least once.
Perennial ryegrass tolerates a shorter cut, so 2.5 inches is its striping height, while 3-3.5 inches is the general guidance for mixed cool-season lawns.

Do You Need a Striping Kit?
You do not need special equipment to make stripes. Any mower that bends grass as it passes will create some pattern, and a mower with a rear roller already presses blades down in the direction of travel. But a roller or striping kit makes the contrast noticeably deeper and more even.
Your options, from simplest to most serious:
- Rear-roller rotary mower. Some walk-behind mowers have a roller built in. Stripes come naturally.
- Reel (cylinder) mower. The classic striping tool. The full-width rear roller lays blades down smoothly, which is why ballparks use them. Overkill for most homeowners, but unmatched results.
- Bolt-on striping kit. A weighted roller bar or brush that attaches behind a push mower or rider. Many fill with sand or water for extra weight. Match the kit to your mower’s deck width.
- Tow-behind lawn roller. A heavy roller pulled by a rider or lawn tractor flattens the grass after mowing. Works, but adds a second pass to the job.
- No kit at all. Mowing high, straight, and in alternating directions still produces visible stripes, especially on bluegrass or ryegrass.
One rule applies no matter what you use: keep the blades sharp. Purdue turfgrass researchers warn that dull blades tear leaves, increase water loss, and leave a ragged cut that ruins the clean look stripes need. Sharpen or replace the blade at the start of the season and check it mid-summer.
How to Stripe a Lawn: 6 Steps
Start with straight stripes on your first attempt. The pattern below is the same routine professional lawn care crews use, scaled down to a home lawn.
Step 1: Clear the lawn and set up the mower
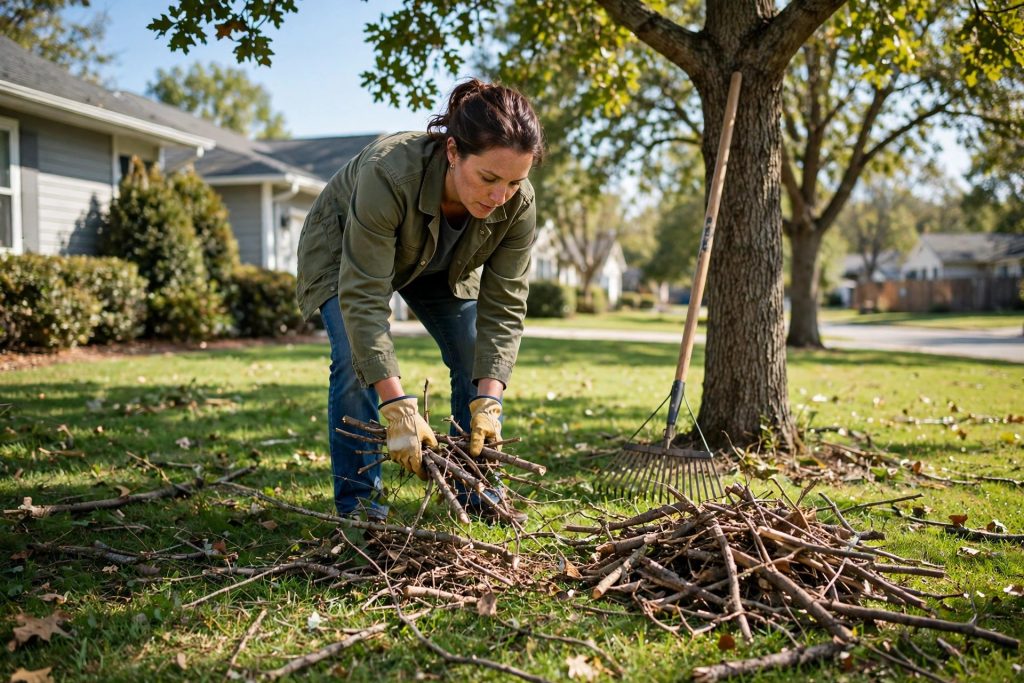
Walk the lawn and remove sticks, rocks, dog toys, and anything else that could damage the mower or roller. Set the deck to your striping height from the table above. Mow when the grass is dry if you can: wet grass clumps, tears, and leaves uneven bands.
Step 2: Pick your pattern and a sighting target
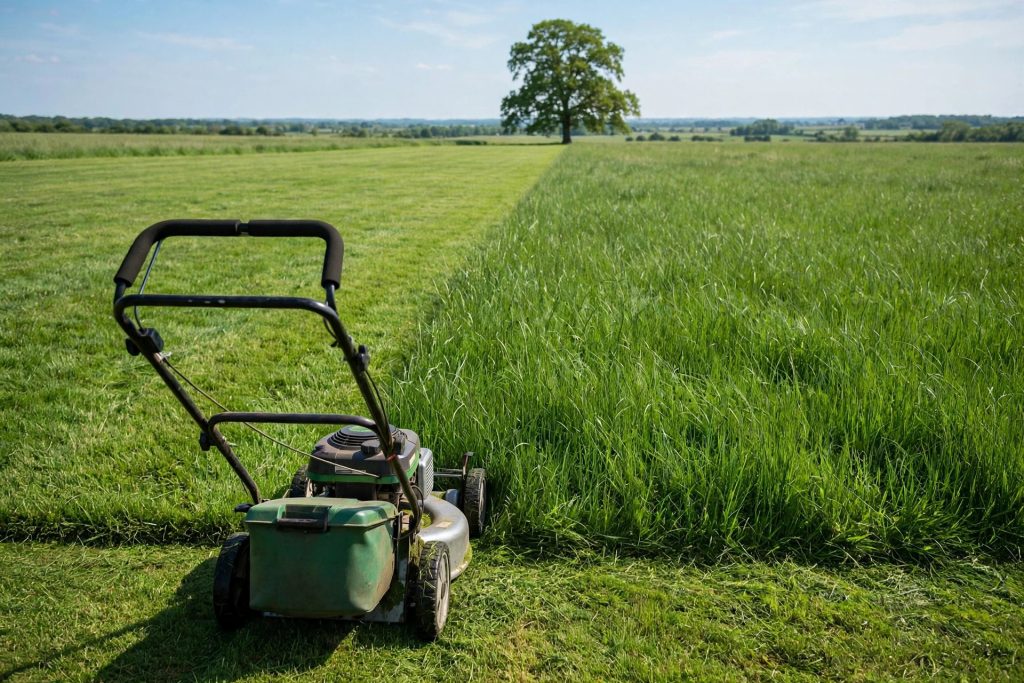
Choose a straight stripe pattern for your first try, and decide where the stripes should run. Long stripes parallel to the street or the house usually look best. Then pick a fixed sighting point at the far end of your first pass: a fence post, a tree, or the corner of a shed. Landscapers use this trick constantly because it is far more reliable than judging direction by looking at the grass under the mower. One more planning note: start in the middle of the lawn where the stripes will be longest, and give yourself turning room at the ends so you are not repeatedly crossing the finished pattern.
Step 3: Mow the first stripe
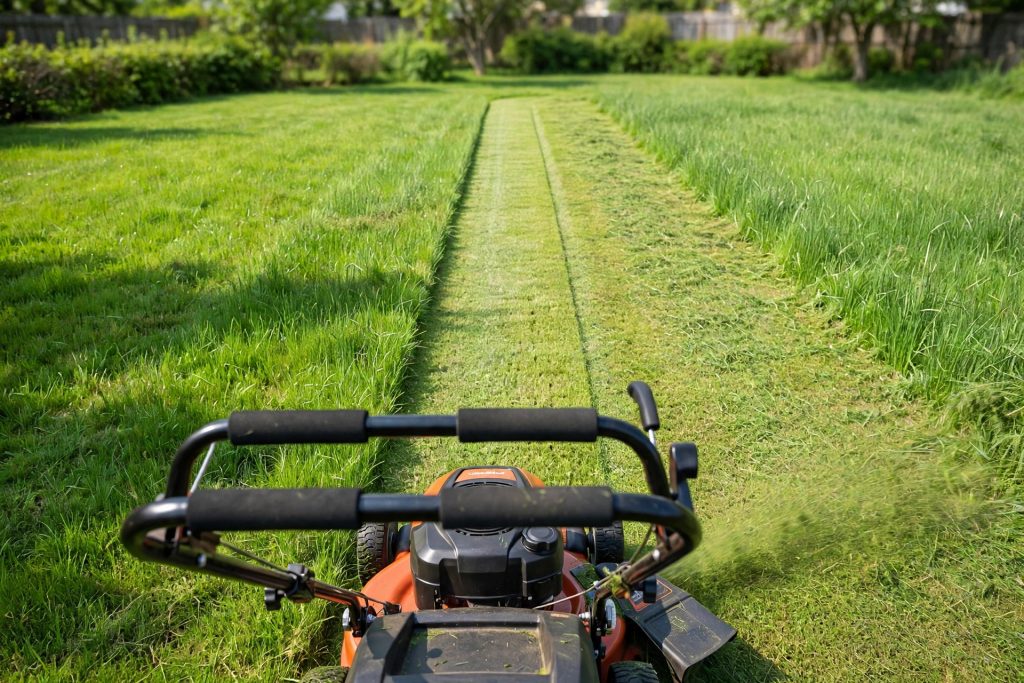
Make one long, straight pass at a steady pace. Avoid constant small steering corrections: looking only at the grass right in front of the wheels makes it harder to notice drift, so keep your eyes on the sighting target. If the first line develops a curve, fix it early. Every stripe beside it will repeat the same bend, and small wobbles get magnified across the lawn.
Step 4: Turn gently and mow back
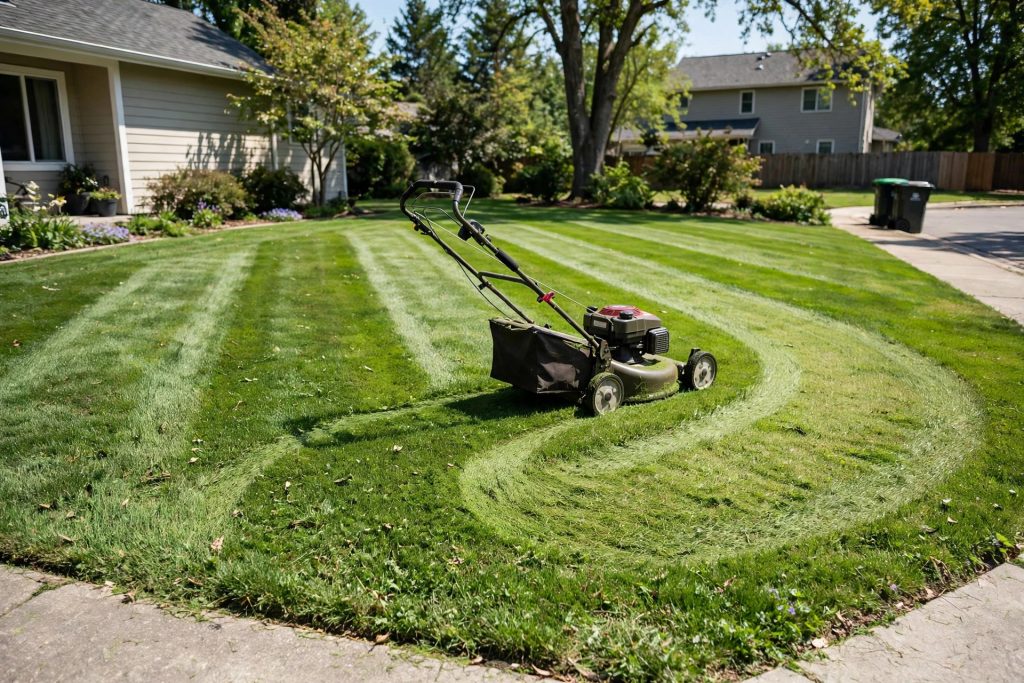
At the end of the pass, make a wide, gentle Y-turn rather than a sharp spin. On zero-turn mowers this matters most: sharp turns dig up grass and leave bare patches that wreck the pattern. Overlap the previous stripe by an inch or two so no uncut sliver breaks the pattern, and mow back in the exact opposite direction. That reverse pass is what creates the dark stripe next to the light one.
Step 5: Repeat the alternating passes
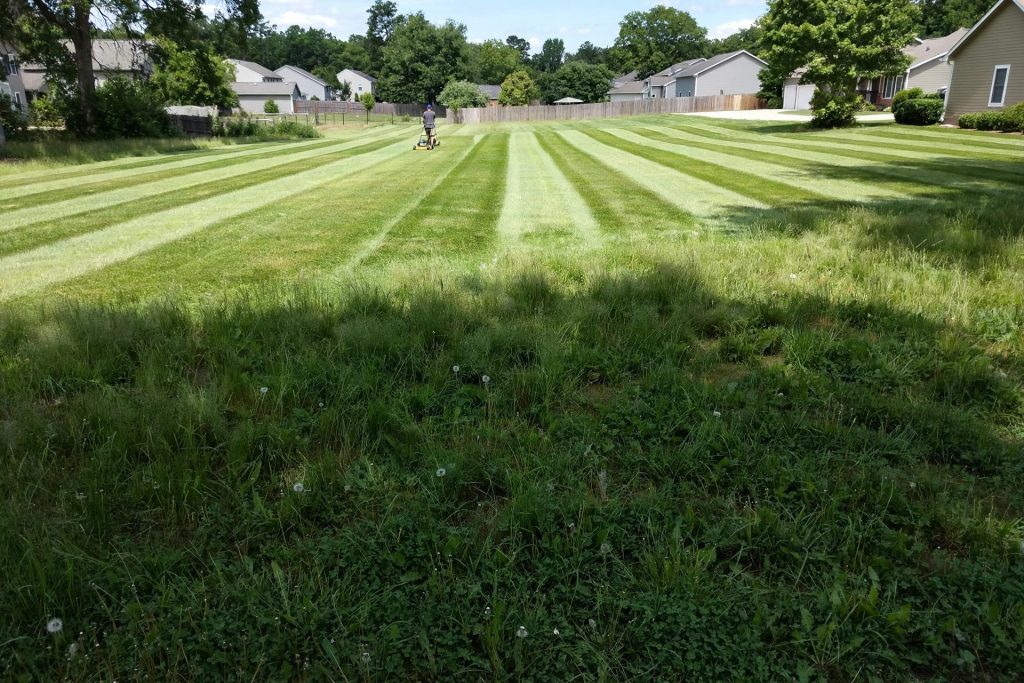
Keep working across the lawn, alternating direction on every pass and holding the same steady speed. Uniform stripes come from uniform passes. If you want deeper contrast, go over a stripe a second time in the same direction, matching your deck width to the existing stripe. When you finish, resist the urge to drive straight across your work to reach the garage. Drive around the outside of the pattern instead, or you will leave one random tire stripe across the masterpiece.
Step 6: Frame the lawn with a border pass
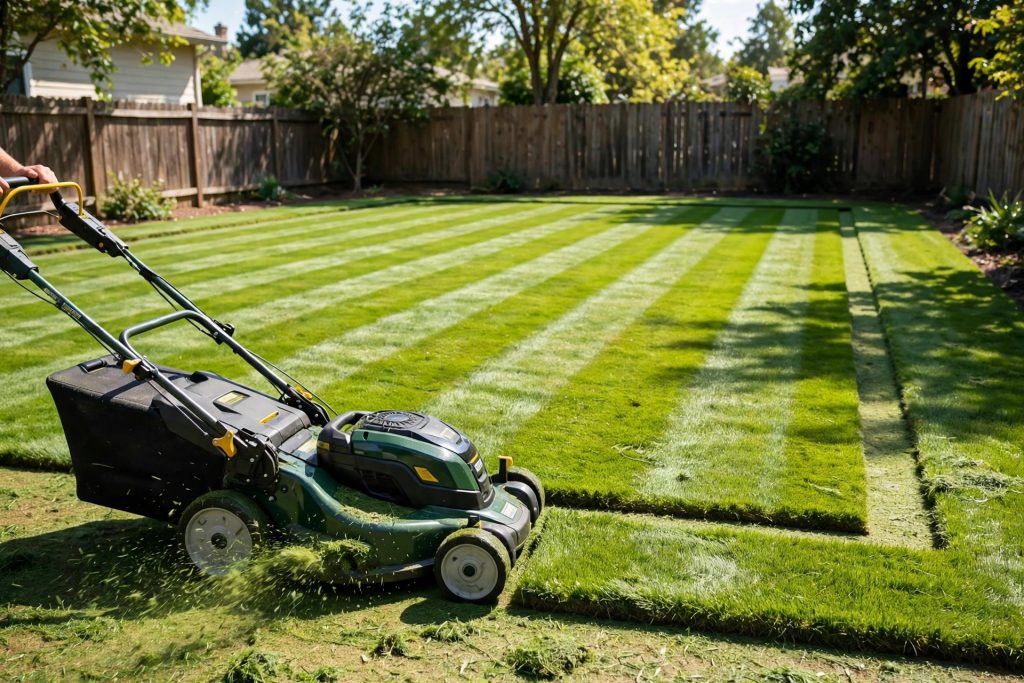
Finish by mowing one or two passes around the entire perimeter of the striped area. This picture-frame border defines the pattern, hides the turn marks at the ends of the rows, and gives the whole lawn a finished look. A string trimmer or edger along the sidewalk and driveway edges completes the professional look.
6 Classic Lawn Stripe Patterns
Once straight stripes feel easy, the same technique scales into fancier patterns. Every pattern below is just stripes mowed in different directions or curves:
| Pattern | How to mow it | Difficulty | Looks best on |
|---|---|---|---|
| Straight stripes | Alternate parallel passes across the lawn | Easy | First attempts, any lawn shape. |
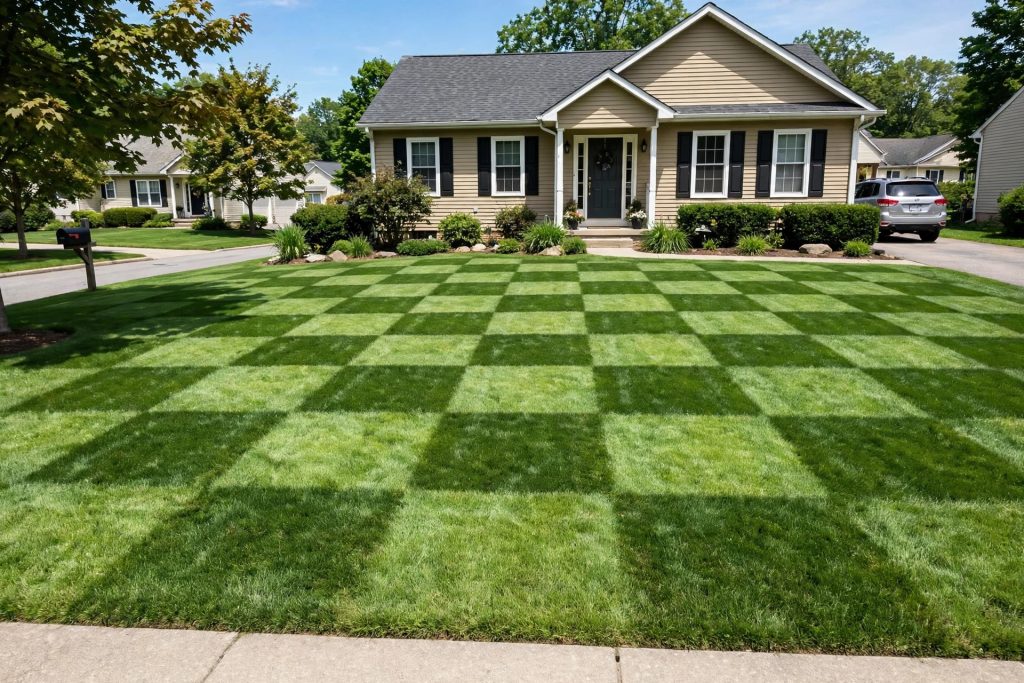
| Checkerboard | Mow straight stripes, then mow the whole area again at 90 degrees | Easy | Large square or rectangular lawns. |
| Diamonds | Mow diagonal stripes at 45 degrees, then repeat at the opposite 45 | Medium | Square lawns viewed from a corner. |
| Waves | Gentle S-curves, steering slowly and smoothly | Medium | Irregular lawns, long narrow yards. |
| Rings | Concentric passes around a center tree or bed | Medium | Lawns with a central feature. |
| Arches | Angled passes that converge toward a focal point | Advanced | Show lawns, sports fields. |
For the checkerboard, mow your first set of stripes, then make the second set at a right angle to the first, matching each pass to the same width. The double pass also evens out the cut and spreads clippings. Diamonds work the same way with the second set at 45 degrees to the first. With waves and rings, plan the route before you start, because improvising mid-mow usually ends with a pattern that looks accidental.
Which Method Fits Your Lawn
The best pattern is the one your lawn, mower, and grass can actually support. Start with the simplest option that fits, and save the fancier patterns for a lawn with room to turn and grass that bends well.
For a small lawn with a push mower and no kit, stick with straight stripes. You need only a straight pass and a simple turn at the end of each row, while a checkerboard needs room to turn and re-mow the whole area at a right angle, which a tight lawn rarely allows.
On a large lawn with a rider or zero-turn, checkerboard and diamonds become practical, because you have the space to turn and repeat passes in another direction. A kit also pays off here: it bends more grass on every pass, so the wider pattern stays readable across a large area.
On slopes, mow across the slope, never up and down, and avoid sharp turns on the slope itself. Straight passes across the slope keep the pattern steady and the mower easier to control.
For a shady lawn, keep the cut taller and stick with straight stripes. Shaded grass is usually thinner and weaker, so keep contrast expectations modest rather than chasing a bold pattern.
For stiff warm-season grass such as Bermuda and zoysia, double-cut in the same direction for deeper contrast. Even then, keep expectations modest, since stiff blades do not bend as easily as cool-season grass.
Finally, wait for dry grass. Wet stripes fade fast, and wet grass clumps and tears, so a pattern mowed in wet conditions will look uneven by the time it dries.
Why Your Stripes Look Faded or Uneven
Stripes are a good diagnostic tool. When they look weak, the lawn is telling you something specific. Match your symptom to the table:
| Symptom | Likely cause | The fix |
|---|---|---|
| Stripes fade within a day | Grass cut too short, or lawn going dormant | Raise the deck half an inch; stripe during active growth. |
| Wavy, wandering stripes | No sighting target, steering corrections | Aim at a fixed far point and look ahead, not down. |
| Weak contrast despite a kit | Thin or stressed turf | Feed on schedule, overseed thin areas, water deeply. |
| Gaps between stripes | Passes not overlapping | Overlap each pass by an inch or two; double-cut wide decks. |
| Tattered brown bands | Dull mower blade | Sharpen or replace the blade. |
| Pattern breaks on bumps | Uneven surface mutes the bend | Level the lawn with topdressing before the season. |
| Stripes look different each week | Viewing angle and sun position changed | Stripes are best viewed from the direction you mowed toward. |
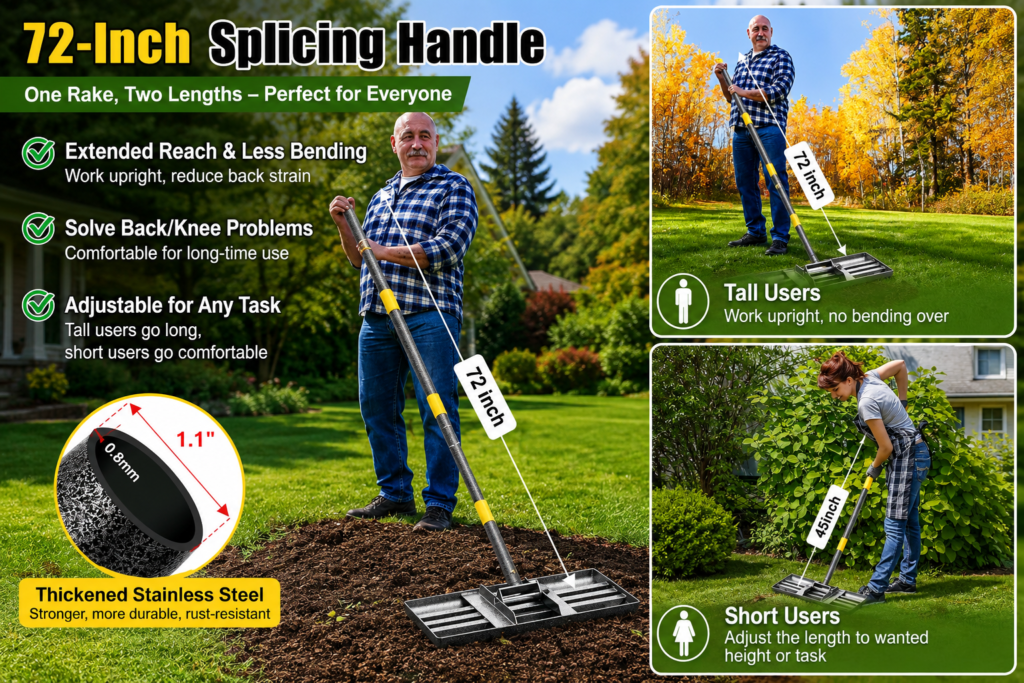
A bumpy lawn deserves special attention because it is the most common hidden cause of weak stripes. Low spots do not bend evenly, so no amount of rolling will fix the contrast. Leveling the lawn with sand or a sand-and-compost topdressing mix, worked in with a leveling rake, gives the flat surface stripes need. It is a spring project worth doing before the striping season starts.
Keeping Stripes Sharp All Season
Stripes fade as grass grows, so the pattern is really a routine, not a one-time project. Restripe on every mow, and rotate the whole pattern 90 degrees each week. Changing direction keeps soil from compacting in the same wheel tracks and makes the stripes look fresh, because the grass never fully settles into one pattern.
Mow on the grass’s schedule, not the calendar’s: every five to seven days during peak spring and fall growth, less often in summer heat, always by the one-third rule. Keep the blade sharp all season, and keep the turf itself dense and healthy, because lush dense grass shows the most dramatic stripes while thin stressed grass shows almost none. A lawn that is fed on schedule and watered deeply is doing most of the striping work before the mower even starts.
Final Thoughts
Striping a lawn like a pro is simpler than it looks: mow a half inch higher than usual, keep the blade sharp, mow straight passes with a fixed sighting target, alternate direction every pass, and frame the result with a border. A roller or striping kit deepens the contrast, but the technique matters more than the equipment. Rotate the pattern each week and keep the turf healthy, and the stripes will take care of themselves. Try the straight stripes first, and when they feel easy, the checkerboard is one extra mowing away.
References
- Purdue Extension: Ending Lawn Activities and Looking Toward Spring
- Purdue Agriculture: Horticulture professor shares essential advice for a healthy lawn
- Purdue Landscape Report: Streaking across the Lawn
- The Spruce: How Lawn Pros Get Perfect Mowing Stripes Every Time
- Garden Patch: 6 Steps to Get the Perfect Lawn Stripes
Do I need a striping kit to stripe my lawn?
No. Mowing high, straight, and in alternating directions produces visible stripes, especially on Kentucky bluegrass or ryegrass. A striping kit or rear roller deepens the contrast and makes the pattern more even, but technique matters more than equipment.
What mowing height gives the best stripes?
About 3 to 3.5 inches for cool-season grasses, with tall fescue at 4 inches; bluegrass at 3.5 inches, the top of the range. Warm-season grasses stripe best around 2.5 inches, except St. Augustine at 4 inches. Grass cut too short cannot bend, so short mowing is the most common reason stripes look weak.
Why do my stripes fade after a few days?
Grass grows and the bent blades stand back up, so stripes always fade between mowings. Rain and wind accelerate it. Restriping on every mow and rotating the pattern 90 degrees each week keeps the look fresh. If stripes vanish almost immediately, the deck is probably set too low.
Can you stripe a bumpy lawn?
You can, but the contrast will be weak because low spots do not bend evenly. Level the lawn with a sand or sand-and-compost topdressing mix in spring, then stripe. A flat surface is the hidden foundation of bold stripes.
How do I mow a checkerboard pattern?
Mow straight stripes across the lawn first. Then mow the entire area a second time at 90 degrees to the first set, matching each pass to the same width. The second pass also evens out the cut and spreads clippings.
How often should I restripe my lawn?
Every time you mow during the growing season, usually every 5 to 7 days in spring and fall. Change the pattern direction each week to avoid compacting the soil in the same wheel tracks.

Thesis Link : https://saulibrary.edu.bd/daatj/public/uploads/BAU200601_19-Pp_5.pdf
- How to Stripe a Lawn Like a Pro - October 24, 2026
- Spring Lawn Care Checklist: 10 Jobs for a Strong Start - October 24, 2026
- 10 Best Garden Trowels for 2026: Top Picks Compared - October 23, 2026