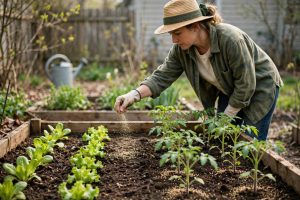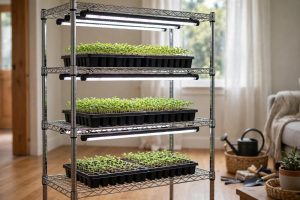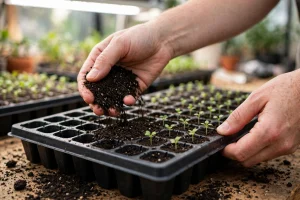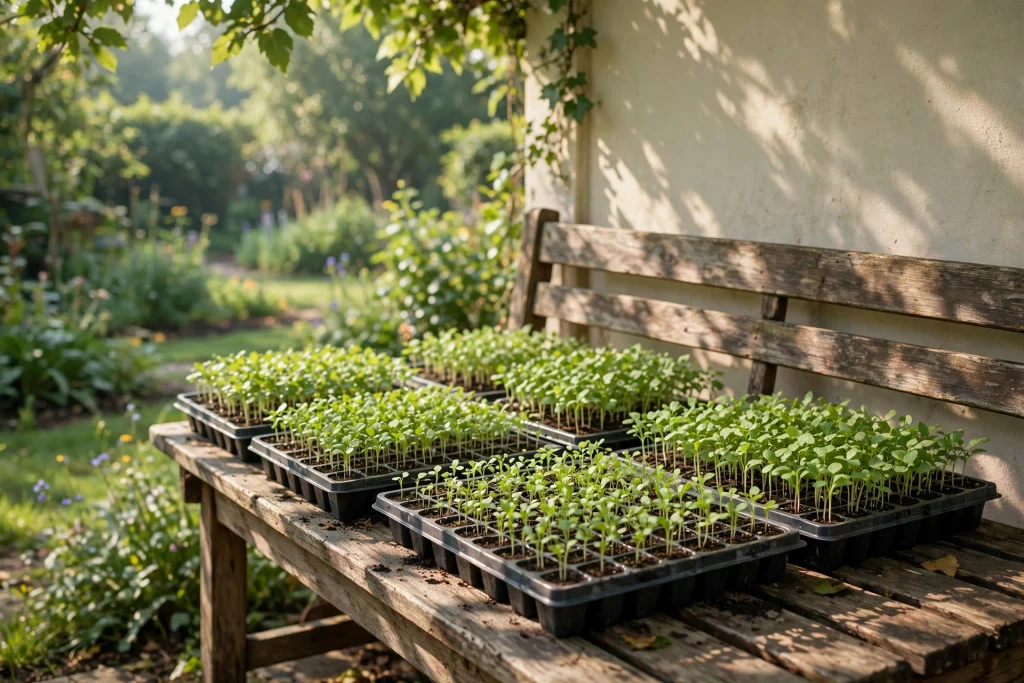

Seedlings that look perfect on a windowsill can collapse in their first afternoon outside. The light is stronger than any indoor lamp, the wind pulls moisture from leaves that have never felt a breeze, and a cool night can undo weeks of steady indoor growth. Learning how to harden off seedlings is the step that prevents that shock, and it is simpler than it sounds: move plants outside a little at a time, over 7 to 10 days, until a full day outdoors feels normal to them.
Hardening off is not a test of toughness. It is a gradual change in the plant itself. Leaves grow a thicker surface, stems stiffen, and growth slows just enough to cope with sun, wind, and temperature swings. Rush it, and you get white, scorched leaves, wilted stems, and plants that sit still for weeks after planting. Stretch it too far in the other direction, and you can stall growth as well, especially for heat lovers. This guide gives you a day by day plan, clear temperature limits for tender and hardy crops, and fixes for the problems most gardeners meet in that first week outside.
Quick Answer: How to Harden Off Seedlings in 10 Days
Start 1 to 2 weeks before your planned planting date, on a calm, mild day. Days 1 to 2: set trays outside in shade, sheltered from wind, for 1 to 2 hours, then bring them back in. Days 3 to 4: increase to 3 to 4 hours, with an hour or two of gentle morning sun. Days 5 to 6: leave them out for most of the day in increasing sun, bringing them in at night. Days 7 to 10: leave them out for the full day, and leave them out overnight only when the night stays within the range for that crop.
Above about 50 degrees Fahrenheit for tender crops such as tomatoes, peppers, and squash, and above about 45 degrees for hardy crops such as cabbage, broccoli, and onions.
Plant them out the next day, ideally in the evening or before a cloudy spell. Treat these limits as starting points from extension guidance, not as one rule for every plant: exact limits vary by crop variety and by your local weather, so check your seed packet and your forecast before you leave a tray out.
If the forecast turns windy, stormy, or frosty, pause the plan and bring the trays in. One bad afternoon can do more damage than a skipped day ever will, and the schedule below is built to bend around real spring weather.
Why Indoor Seedlings Struggle Outside
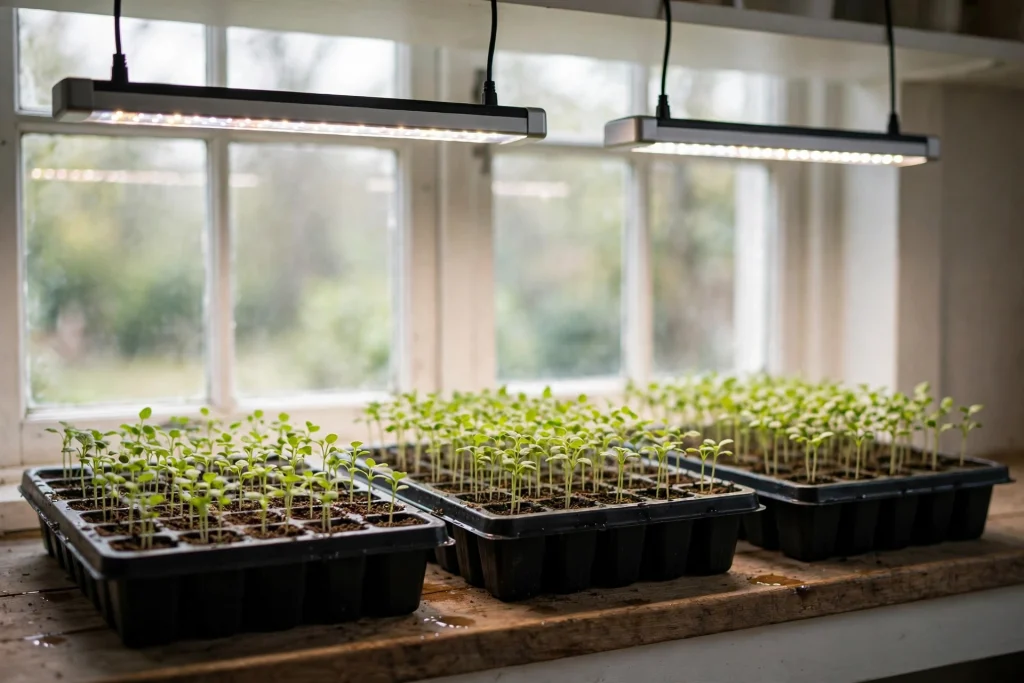
A seedling raised indoors has lived in near ideal conditions. The temperature barely changes, the light comes from the same direction at the same strength, water arrives on schedule, and there is no wind at all. Outdoors, every one of those conditions changes at once, and the plant has no protection ready.
Sun is the first shock. Outdoor sunlight, including its ultraviolet part, is far stronger than light through a window or from a grow light. Leaves grown in soft light have a thin surface, so they bleach and scorch when they meet full sun without preparation. That bleached, papery patch is sunscald, and the damaged leaf does not recover, though the plant can grow past it if the rest of the plant is healthy.
Wind is the second shock. A breeze strips moisture from leaves and bends stems that have never had to hold themselves against moving air. A seedling that flops in its first gust is not necessarily ruined, but repeated battering dries the mix fast and snaps soft stems.
Temperature is the third shock. Indoor nights are warm and steady. Outdoor nights can drop 20 degrees or more below the daytime high, and a tender plant that spent the night at 68 degrees indoors can be badly chilled by a 45 degree night outside. That is why the night limits in this guide matter as much as the daytime hours.
The good news is that plants adapt quickly when the change is gradual. A few short outings in shade, then a little morning sun, then a breeze, then a full day, gives leaves and stems time to toughen. The University of Maryland Extension describes the result plainly: hardening changes soft, succulent growth into firmer, harder growth that can withstand outdoor conditions.
When to Start Hardening Off
Start hardening off 1 to 2 weeks before you plan to plant out. That timing comes from extension guidance, and it leaves room for bad weather days without pushing planting back. If you can only manage a week, a full week of steady progress is still far better than no hardening at all. The University of Vermont Extension puts the minimum the same way: spend at least one week hardening off before transplanting homegrown seedlings, even if you speed the process up.
Do not start on the first warm day just because it feels like spring. Check three things first. First, the seedlings themselves: they should be sturdy, with at least two sets of true leaves, and roots that hold the mix together without the plant falling apart when you lift it.
A seedling that is still all stem and seed leaves is not ready for wind, whatever the calendar says. Second, the forecast: you want a run of mild days, with no frost, no hard wind, and no heat wave in the next few days. Third, your planting date: hardy crops can go out 2 to 4 weeks before the last frost, while tender crops wait until 1 to 2 weeks after it, so the two groups start hardening at different times even in the same garden.
A practical example helps. If your last frost is around April 20, and you plan to plant tomatoes on May 1, start hardening the tomatoes around April 21 to 24. If you plan to plant broccoli on April 6, start hardening that tray around March 27 to 30. The same 10 day plan serves both, but the calendar moves with the crop, and the night temperature rule changes with it.
For timing by zone and by crop, the companion guide on when to start seeds indoors by zone works through the counting back from transplant day in detail. The hardening step sits at the end of that calendar, not apart from it.
The 10-Day Hardening Off Schedule
Use this table as your daily checklist. The hours are for time in direct outdoor conditions, not time sitting in a garage with the door open, and every step assumes you bring the plants in at night until the overnight step says otherwise. If a day is cloudy, plants can stay out longer in that soft light, but keep the direct sun time close to the table. If a day is windy or stormy, skip it and repeat the previous day when the weather clears.
| Day | Time outside | Light | Wind and shelter | Night |
|---|---|---|---|---|
| Days 1 to 2 | 1 to 2 hours | Shade only, no direct sun | Sheltered from wind, near a wall or fence | Bring in |
| Days 3 to 4 | 3 to 4 hours | 1 to 2 hours of gentle morning sun, shade the rest | Light breeze is fine, still sheltered from strong wind | Bring in |
| Days 5 to 6 | Most of the day | Increasing sun, part shade at midday | Open to a normal breeze | Bring in |
| Days 7 to 8 | Full day | Full sun for sun loving crops, as the crop prefers | Normal garden wind | Bring in unless the night stays above the crop limit |
| Days 9 to 10 | Full day and night, if nights allow | Full sun for sun loving crops | Normal garden wind | Leave out only if the night stays above the crop limit, otherwise bring in |
Days 1 to 2: Shade and Shelter
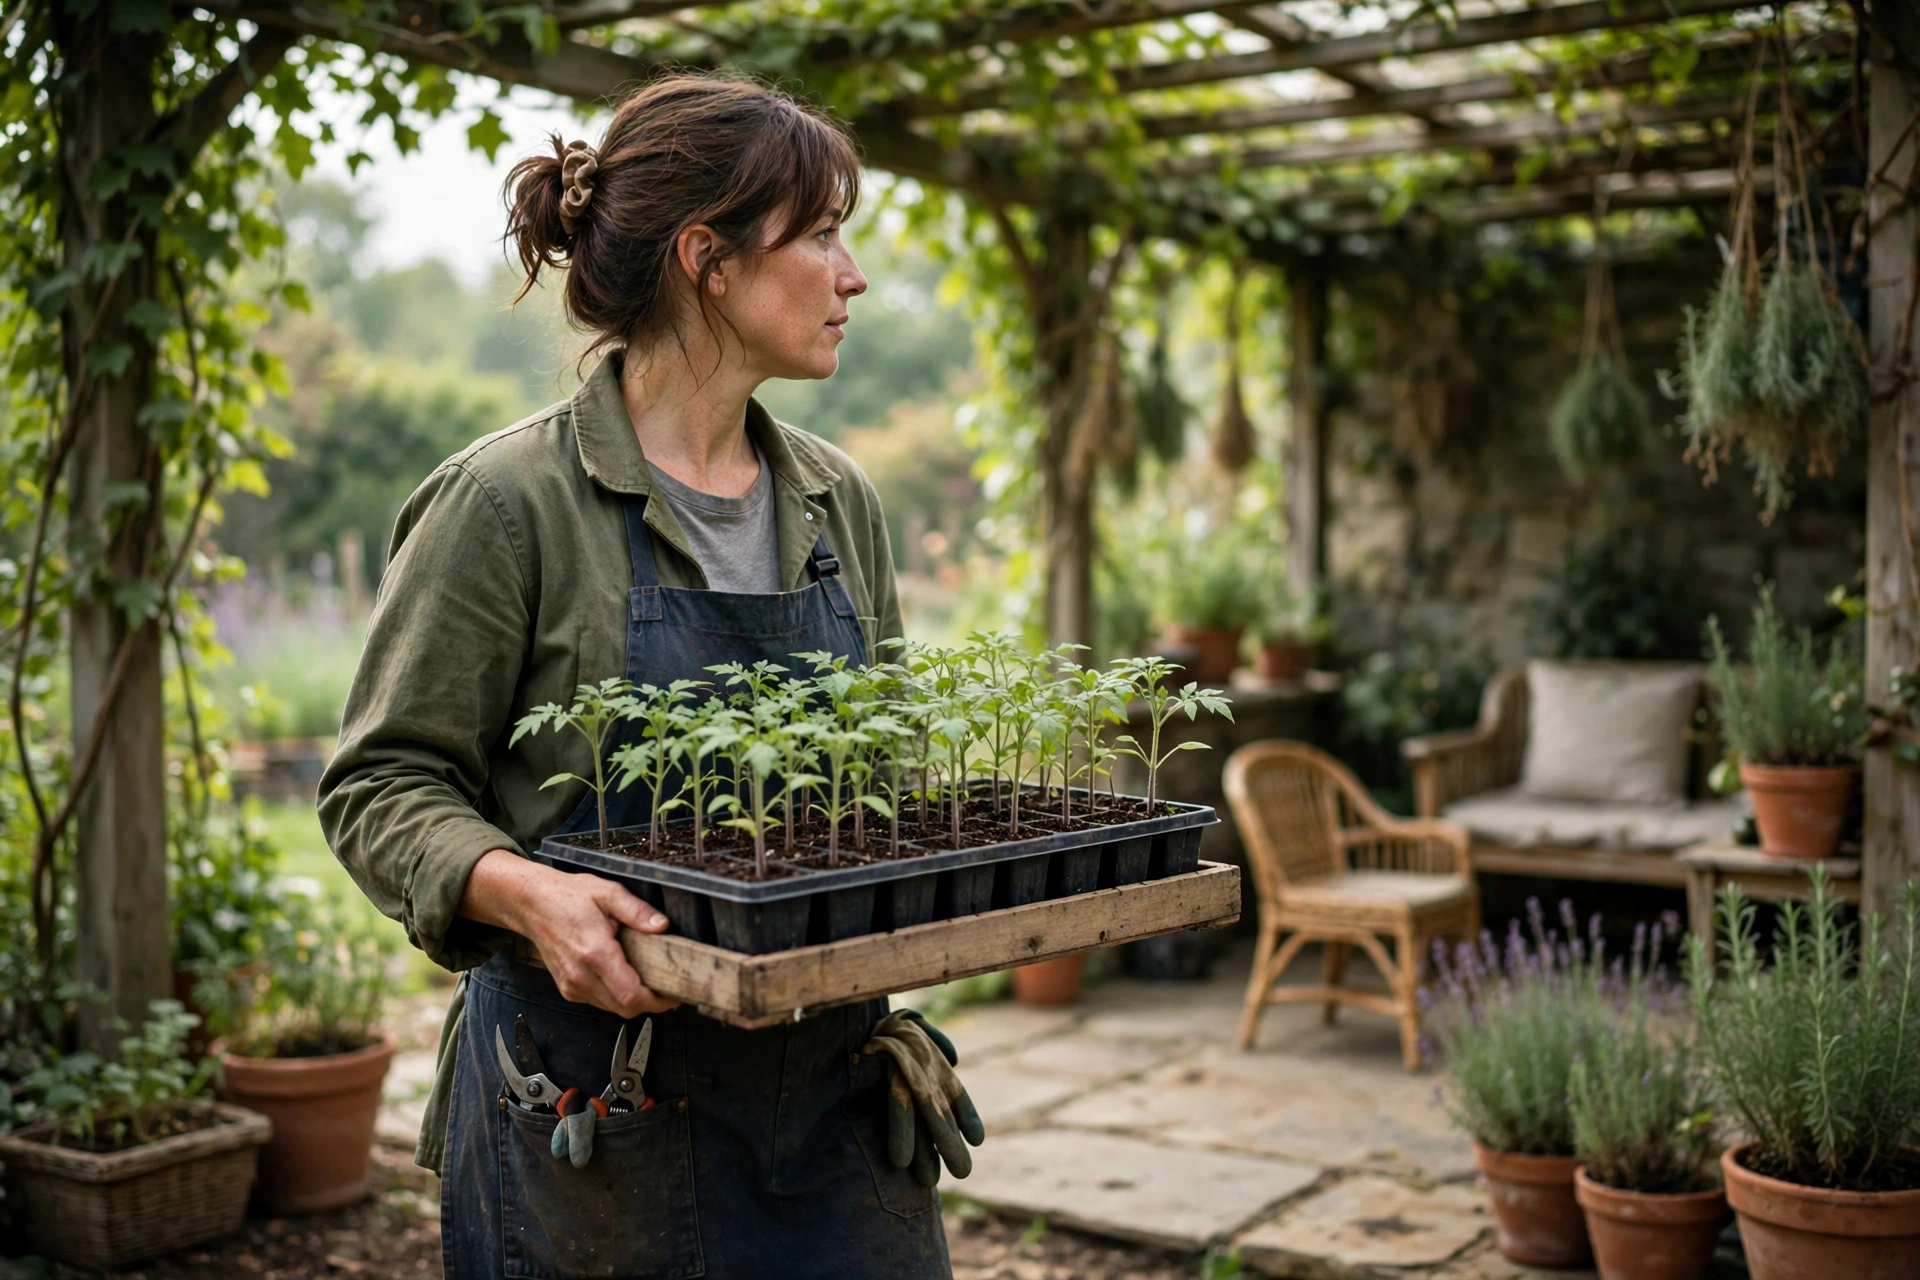
Set the trays in a shaded, sheltered spot in the morning or late afternoon, never in midday sun for a first outing. A north side of the house, a porch, or the shade of a fence all work. The goal on day 1 is not sun at all. It is outdoor air, outdoor humidity, and a little movement, for an hour or two. Then bring the plants back inside, under their lights or to their usual bright spot.
Watch the leaves during that first outing. A little softness in the heat of the moment is normal, but if plants wilt hard or flop over, take them in at once and try again the next day with a shorter outing. The University of Vermont Extension gives the same advice: if the plants protest by wilting or flopping over, take them back inside until the following day. Water before you set them out, so a small pot does not dry out in an hour outdoors, and check the mix when you bring them in. Small cells dry far faster outside than they did on a windowsill.
A useful habit from the same Vermont guidance is worth starting now: brush your hand lightly over the tops of tomato seedlings each day. That gentle touch mimics wind, and it helps stems grow stockier. Do it lightly, once a day, and never bend a stem hard enough to crease it.
Days 3 to 4: Morning Sun
Now add sun, but keep it gentle. Give the plants an hour or two of morning sun, then shade for the rest of their time outside. Morning sun is cooler and weaker than afternoon sun, so it toughens leaves without the scorch risk of a midday blast. Increase the total time outside to 3 to 4 hours, and let a light breeze reach the trays.
This is the stage where many gardeners get impatient and leave trays out all afternoon because the plants looked fine in the morning. Resist that jump. Sunscald often shows up hours later, as white or pale patches on the leaves that were in the strongest sun. If you see those patches, pull the plant back to shade for a day, keep it watered, and resume with shorter sun time. The plant will usually grow new, tougher leaves, but the scorched leaves will not heal.
Days 5 to 6: Most of the Day
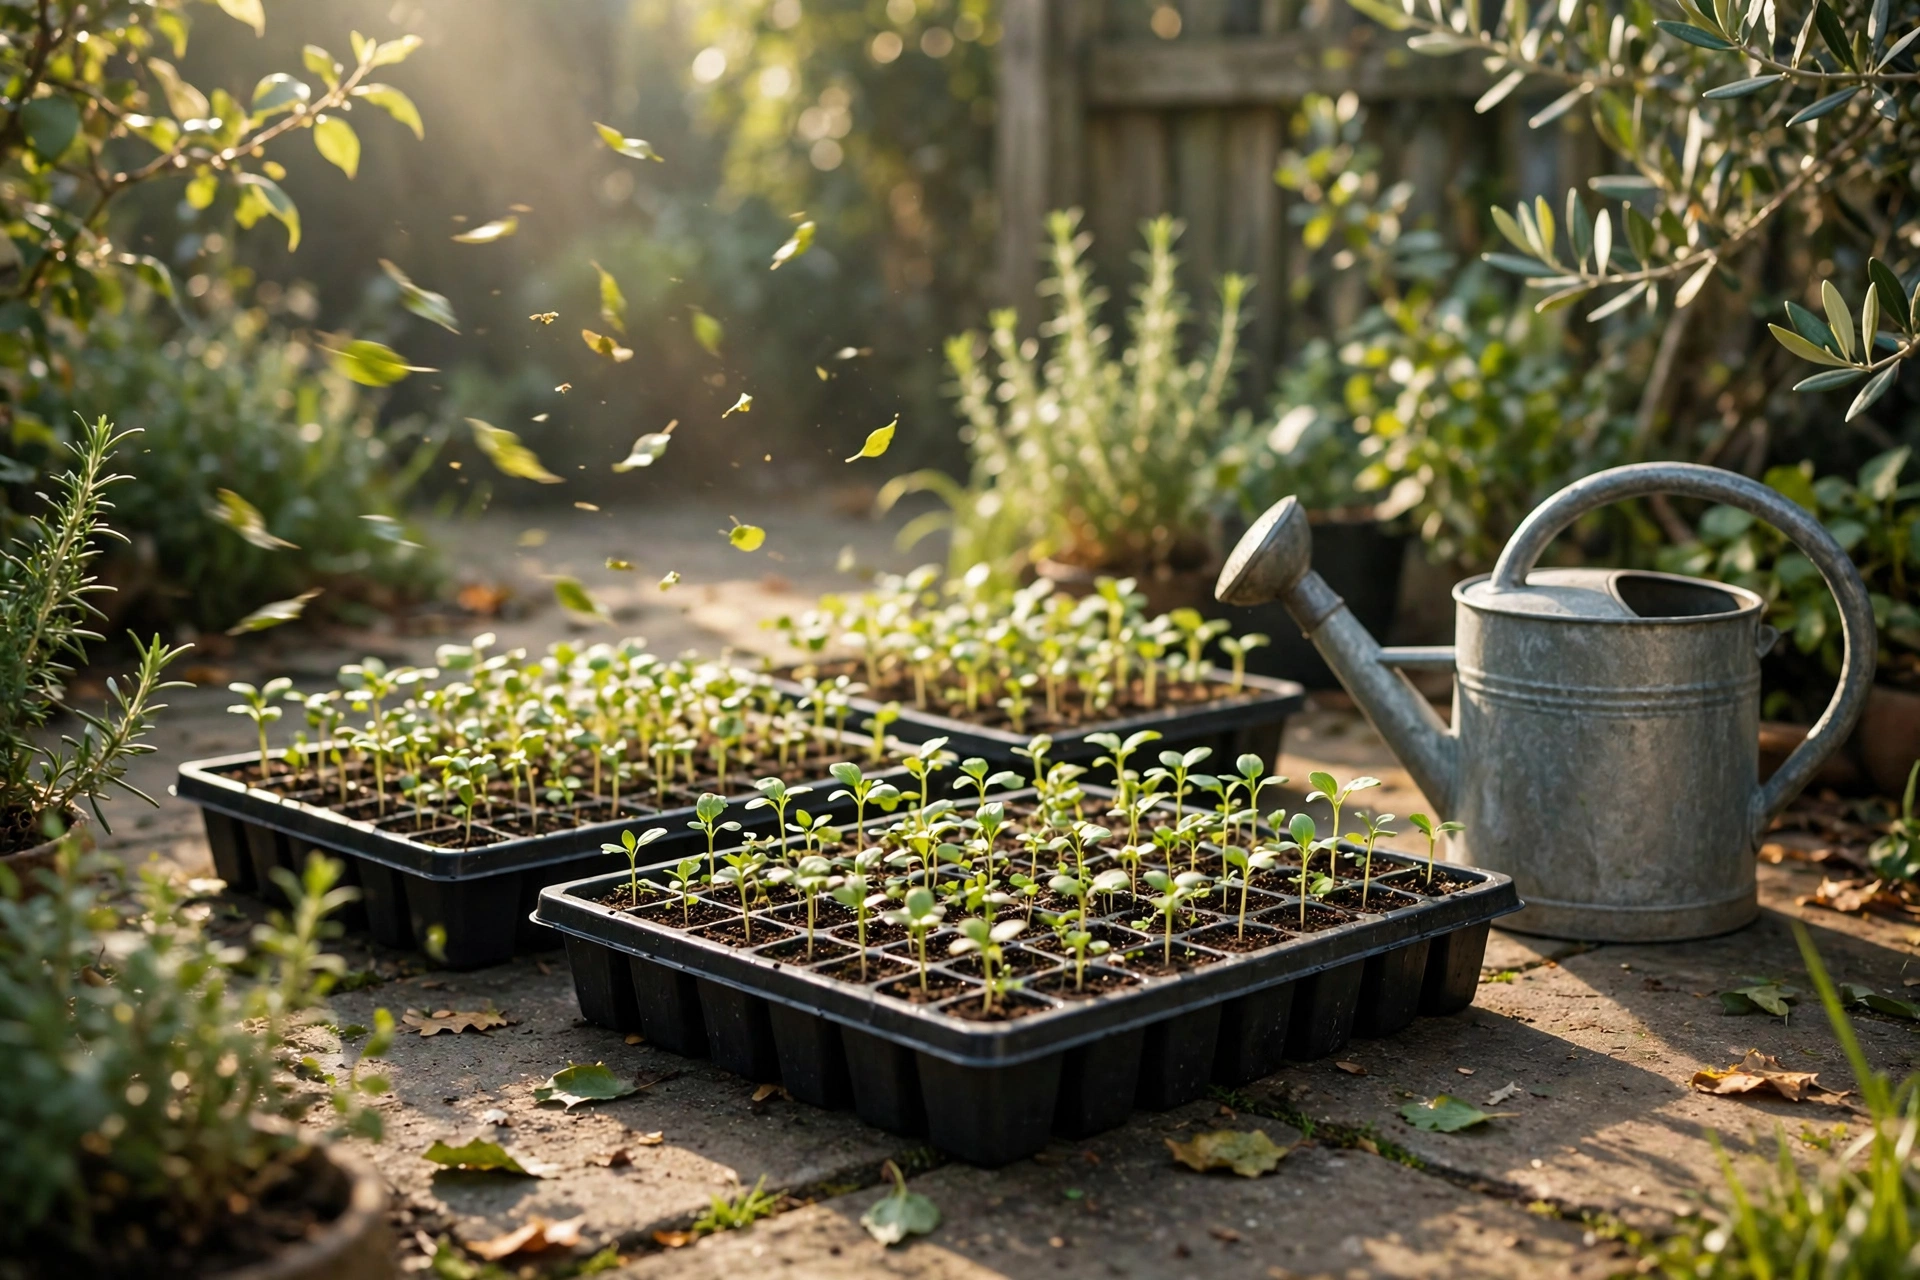
By day 5, most seedlings can handle most of the day outside, with shade at midday if the sun is strong. Let them feel a normal breeze, and let the mix dry a little more between waterings than it did indoors. The University of Maryland Extension advises reducing the frequency of watering during hardening, to slow growth and simulate outdoor conditions, but it adds the limit clearly: do not allow plants to wilt. The aim is slightly drier, not dry.
Keep bringing the trays in at night at this stage. Nights are still the risky part, and a plant that handled a sunny afternoon can still be chilled by a cold night. This is also the stage to sort your trays by crop, because tender and hardy plants now follow different night rules, as the next section explains.
Days 7 to 10: Full Days, Then Nights Out
On days 7 and 8, leave the plants out for the full day in their normal garden light. Sun loving vegetables should be in full sun by now, while lettuce and other crops that prefer some shade should be in the light level they will grow in, not in harsher sun than their bed will give them.
Overnight is the last step, and it depends on the crop. Leave tender plants out overnight only when the night will stay above about 50 degrees Fahrenheit. Leave hardy plants out overnight only when the night will stay above about 45 degrees. Those are the limits used in the seed starting hub guide, and they match the extension caution not to put tender seedlings out when temperatures are below 45 degrees. If the forecast dips below the limit, bring the trays in, even on day 9. One cold night at this stage can set a tender plant back more than a whole week of careful days gained.
When a tray has spent a full day and a safe night outside without wilting, scorching, or flopping, it is ready. Plant it out the next day, and choose the evening or a cloudy day for the move if you can. The Vermont guidance makes the same point for transplant day itself: evening planting, or planting just before a rainy or cloudy spell, gives new transplants a cool night without sun beating down on them.
Tender Crops vs Hardy Crops: Different Limits
Not every seedling follows the same hardening rules. Tender crops come from warm climates, grow fast in heat, and have almost no frost tolerance. Hardy crops come from cool seasons, tolerate light frost once hardened, and can be planted weeks earlier. Treating both groups the same is a common mistake: the tender tray gets chilled, or the hardy tray sits indoors too long and grows leggy while it waits.
| Group | Examples | Start hardening | Night outside only above | Plant out |
|---|---|---|---|---|
| Tender | Tomato, pepper, eggplant, cucumber, squash, melon, basil | 1 to 2 weeks before planting, after frost danger has passed | About 50 degrees Fahrenheit | 1 to 2 weeks after the last frost, when soil is warm |
| Hardy | Cabbage, broccoli, cauliflower, onion, lettuce, peas, kale | 1 to 2 weeks before planting, often before the last frost | About 45 degrees Fahrenheit | 2 to 4 weeks before the last frost for many brassicas and onions |
A few cautions sit inside that table. First, do not put tender seedlings outside on windy days or when temperatures are below 45 degrees, even for a short outing, as Maryland Extension warns. Second, even cold hardy plants will be hurt if they meet freezing temperatures before they are hardened, so a hardy label is not a licence to leave an unhardened tray out on a frosty night. Third, do not overdo the toughening.
Maryland Extension warns that hardening carried to the extreme of actually stopping growth can damage certain crops: cauliflower may produce only thumb sized heads and fail to develop further, and cucumbers and melons may stop growing if hardened too severely. The goal is firmer growth, not a halt.
Flowers follow the same split in practice, even though the table above names vegetables. Tender annuals such as zinnias and marigolds follow the tender row. Hardy annuals and perennials started indoors, such as pansies and sweet peas, follow the hardy row. When in doubt, check the seed packet: it usually names the crop as tender or hardy, and it gives the weeks before last frost to sow, which sets the hardening window.
Treat the limits in this guide as general starting points, not as one rule for every plant. A heat-loving variety, a cool microclimate, or an unusual spring can shift the safe night by a few degrees in either direction, so the seed packet and the local forecast are the final check before any tray stays out overnight.
Water, Food, and Air During Hardening
Three small changes during hardening help more than any gadget. The first is water. Outdoors, small pots dry fast in sun and wind, so check the mix every time you set trays out and every time you bring them in. Water in the morning, so leaves dry during the day, and water the mix, not the leaves, where you can. Reduce how often you water, as the extension guides advise, but never let a tray wilt hard and stay wilted. A seedling that wilts every day is not hardening, it is drying out.
The second is food. Do not feed heavily during hardening. A weak liquid feed at half the label rate, once a week at most, is plenty for seedlings that are already growing well, and many seedlings need no feed at all in this short window if their mix already contains a gentle starter charge. Heavy feeding pushes soft, fast growth, which is the opposite of the firm growth hardening aims for. If leaves are pale and growth has stalled, feed once, weakly, and check whether the real problem is light or pot size rather than food.
The third is air. A small fan indoors, run for a few hours a day before hardening starts, already helps stems stiffen. Outdoors, wind does the same job, but it must build gradually, like sun. A tray that goes from still indoor air to a windy rooftop in one day will dry out and flop, even if the temperature is perfect. Shelter is not cheating in the first days. It is the method.
Hardening Off Without a Garden: Balconies, Cold Frames, and Shortcuts
Not every gardener has a sheltered yard, and not every schedule allows carrying trays in and out twice a day for ten days. Three setups cover most cases.
A cold frame is the best shortcut that is still proper hardening. It is a bottomless box with a glass or plastic top, set in a sunny spot, and the University of Maryland Extension calls it an excellent environment for hardening transplants. Open the lid a little more each day, close it at night, and the plants get sun, air, and temperature change without being carried anywhere. Watch the temperature inside on sunny days, because a closed cold frame overheats fast, and ventilate before leaves scorch.
A balcony or patio works the same way, with a little more care. Use the sheltered corner near the wall for the first days, move trays toward the rail as the days pass, and bring them in at night. A wagon, a tray with handles, or a sturdy box that holds several pots at once turns ten trips into one, and it protects stems from being knocked while you carry them. Weigh trays down or set them low on windy days, because a gust that tips a tray undoes a week of work in seconds.
A garage or shed is a useful overnight shelter, but it is not a substitute for outdoor days. Plants left in a dark garage for days soften again, and the Vermont guidance warns in effect that plants soften almost as fast as they harden if they are kept under cover too long. If bad weather forces you to keep plants inside for more than about two days, restart the count from a shorter outing rather than assuming the earlier days still count in full.
Cloudy days deserve a special note. On a fully cloudy day, plants can stay out much longer than the table suggests, because the light is soft. Some gardeners use a run of cloudy days as a gentle way to finish hardening. That works, but do not mistake a cloudy week for full sun hardening. A plant that has only met clouds still needs a day or two of real sun before planting into a sunny bed.
Troubleshooting: What the Leaves Are Telling You
| Symptom | Likely cause | Fix |
|---|---|---|
| White or pale bleached patches on leaves | Too much direct sun too fast, sunscald | Move to shade for a day, resume with shorter morning sun, keep watered |
| Wilting every afternoon, recovering at night | Wind and sun drying small pots faster than roots can supply | Water in the morning, shelter from strong wind, use larger pots or a tray of water under pots for an hour, never let the mix dry hard |
| Wilting that does not recover overnight | Cold night, root damage, or severe drying | Bring in, water gently, keep in bright shade for a day, check for frost damage before resuming |
| Floppy, leggy stems that fall over | Too little light indoors, then sudden wind, or plants left in shelter too long | Brush tops lightly each day, increase light before hardening, build wind exposure gradually |
| Growth stops for a week after planting | Transplant shock, cold soil, or over hardening | Water well at planting, mulch lightly, wait, and avoid feeding hard to force growth |
| Blackened or water soaked leaf edges after a cold night | Frost or near freezing exposure before hardening finished | Remove badly damaged leaves only if they are mushy, keep the plant sheltered, and do not plant out until nights are safe |
Sunscald deserves emphasis because it is the most common first week failure, and it is easy to misread. A white patch is not a disease, and it is not a nutrient shortage. It is a leaf that was grown in soft light and then met strong sun. The damaged area will not turn green again, but the plant can still thrive if you pull it back to shade, keep it watered, and let new leaves grow in stronger light. Do not strip every damaged leaf at once. A plant with a few scorched leaves still needs the healthy leaf area it has left.
Wilting is the other signal to read carefully. Afternoon wilting that recovers by evening usually means water loss, not disease. Wilting that lasts into the next morning, especially after a cold night, means the plant took real damage, and it needs a rest day in shelter before the schedule resumes. In both cases, the fix is not more water poured on already wet mix. Check the mix with a finger first. If it is damp an inch down, the problem is heat, wind, or cold, not thirst.
Transplant Day: Planting a Hardened Seedling
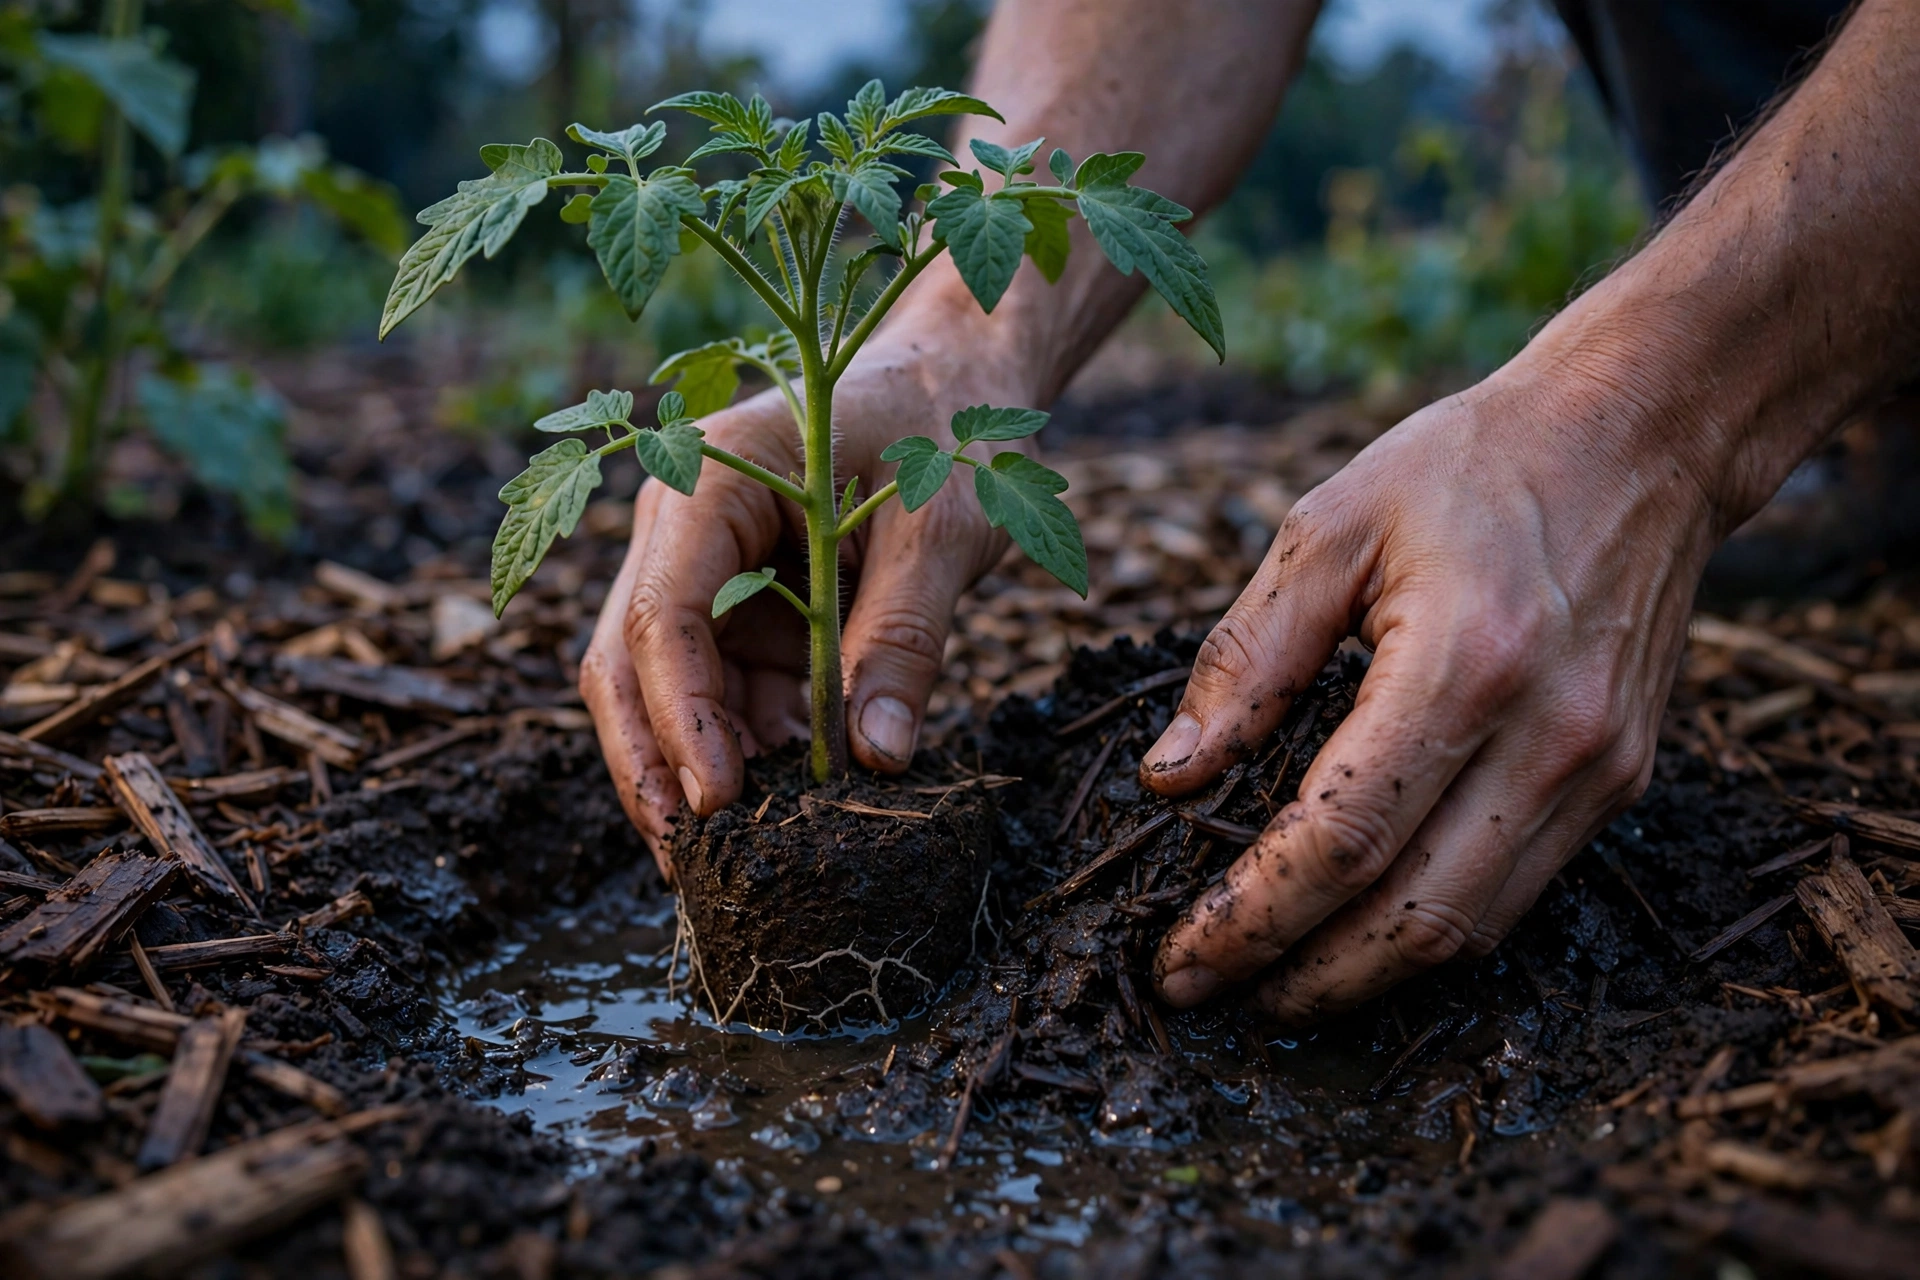
Hardening ends with planting, and a few habits on that day protect the work of the last ten days. Water the tray well an hour or two before planting, so the root ball holds together. Dig the hole before you lift the plant from its pot, so roots spend as little time exposed as possible. Handle the plant by its leaves or by the root ball, never by squeezing the stem, as the Vermont guidance stresses.
Set most vegetables at the same depth they grew in the pot. Tomatoes, and peppers grown the same way in many gardens, are the exception: they can be planted deeper, or at an angle, so the buried stem grows extra roots and the plant anchors better.
Water after you have put about half the soil back, then finish filling and firm gently. That puts water at the root zone instead of only wetting the surface, where it evaporates fast. Mulch lightly around the plant, keeping mulch away from the stem itself, and water again if the day turns hot. Planting in the evening, or just before a cloudy or rainy spell, is still the kindest timing, because the plant gets a cool night to settle before it faces full sun in its new bed.
For the first few days after planting, check the soil each morning. A hardened plant still needs steady water while its roots grow into the bed, and a dry spell in that first week can look like hardening failure when it is really just a new transplant running short of water. After that first week, most hardened transplants need no special care beyond normal watering and feeding for the crop.
Mistakes That Undo Good Hardening
The first mistake is skipping hardening altogether because the weather looks fine. A warm, sunny day is the most dangerous day to plant an unhardened seedling, because the sun and wind are at their strongest. The second mistake is hardening for a day or two and calling it done. A plant that survived two afternoons in shade has not met full sun, wind, and a cool night yet, and it will show that gap in its first week in the bed.
The third mistake is hardening in the wrong place. A tray left on a hot concrete patio, against a reflective wall, or in a wind tunnel between buildings meets harsher conditions than the garden bed will, and it can scorch even on a careful schedule. Harden plants in conditions close to their final bed, and use shade cloth or a row cover to soften the step if your only outdoor spot is brutal.
The fourth mistake is forgetting the night rule. Daytime hardening without night hardening leaves a tender plant unprepared for its first night in the ground. That is why the overnight step comes last, and why it is tied to a temperature, not to a day number. If nights are still cold, keep bringing the trays in and wait. The plants will not suffer from a few extra days in pots, as long as they keep getting light and water.
The fifth mistake is over hardening heat lovers. Cucumbers, melons, and squash dislike being chilled and stalled, and cauliflower suffers if growth is actually stopped. If a tender crop stalls, yellows, and stops growing during hardening, ease back: give it warmer nights indoors, shorter outings, and a gentler sun step, rather than pushing it harder in the name of toughness.
Final Thoughts
How to harden off seedlings comes down to one habit: a little outside, a little more the next day, and no sudden jumps. Start in shade, add morning sun, let the wind in gradually, and finish with full days and safe nights. Keep the tender and hardy limits separate, water in the morning, and bring trays in whenever frost, hard wind, or a cold night threatens. Ten careful days now save weeks of recovery later, and they turn a windowsill seedling into a plant that can stand in its garden bed and grow from day one.
When the tray is ready, plant it out in the evening, water it well, and let it settle. The hardening period is over, but the first week in the bed still rewards a daily check of soil moisture. Do that, and the strongest part of your seed starting season is not the sowing or the growing under lights. It is this quiet, patient move outside, done a step at a time.
References
- University of Maryland Extension. Hardening Off Vegetable Seedlings for the Home Garden: begin 1 to 2 weeks before setting out, shaded protected spot on warm days, increase sunlight each day, do not put tender seedlings out on windy days or below 45 degrees Fahrenheit, reduce watering frequency without wilting, cold frame as an excellent hardening environment, and the over hardening caution for cauliflower, cucumbers, and melons. https://www.extension.umd.edu/resource/hardening-vegetable-seedlings
- University of Vermont Extension. Vegetable Transplants: hardening off process for home grown seedlings: brief first exposure of an hour or two in early morning or late evening, bring in if plants wilt or flop, tickling tomato tops, start a couple of weeks before planting, at least one week of hardening, handle by leaves or root ball, plant tomatoes deeper, and transplant in the evening or before cloudy or rainy weather. https://www.uvm.edu/d10-files/documents/2026-04/HardeningOffTransplants_factsheet.pdf
- Iowa State University Extension. Getting a Head Start: How to Successfully Start Seeds Indoors: 12 to 16 hours of bright light each day after germination, lights 6 to 12 inches above plants, and hardening off over about two weeks. https://www.extension.iastate.edu/news/getting-head-start-how-successfully-start-seeds-indoors
- University of Massachusetts Extension. Caring for Seedlings: about one week prior to planting, gradually expose seedlings to longer periods outdoors, reduce watering to a minimum without letting plants wilt, and tender seedling temperatures of 60 degrees Fahrenheit at night and 70 to 75 degrees during the day while growing indoors. https://www.umass.edu/agriculture-food-environment/sites/ag.umass.edu/files/fact-sheets/pdf/FS17_CaringForSeedlings14_0.pdf
- University of Massachusetts Extension. Season Extenders: cold frames as a bottomless box with a glass or plastic top used to harden seedlings off and protect crops from cold, with ventilation to prevent overheating, and row covers giving some wind and frost protection. https://www.umass.edu/agriculture-food-environment/home-lawn-garden/fact-sheets/season-extenders
FAQ
How long does it take to harden off seedlings?
Usually 7 to 10 days, and up to two weeks if the weather is unsettled. Start 1 to 2 weeks before planting, and do not plant out until the tray has handled a full day outside and, where nights allow, a safe night outside as well.
What happens if I skip hardening off?
Seedlings moved straight outside often suffer sunscald, wilting, and a growth stall that lasts weeks. Leaves grown indoors are thin and unprepared for strong sun, wind, and cool nights, so the plant spends its first weeks recovering instead of growing.
Can I harden off seedlings on cloudy days?
Yes, and cloudy days are useful, because soft light lets plants stay out longer. Still give them a day or two of real sun before planting into a sunny bed, because a plant hardened only on cloudy days has not yet met full sun.
What temperature is too cold for hardening off seedlings?
Do not put tender seedlings outside on windy days or when temperatures are below 45 degrees Fahrenheit. Leave tender plants out overnight only above about 50 degrees, and hardy plants out overnight only above about 45 degrees. Bring trays in if frost is forecast. These are general starting points from extension guidance; the exact safe night varies by crop variety and local weather.
Should I water less while hardening off seedlings?
Water less often, but never let plants wilt hard. Check the mix each time you move trays, water in the morning, and remember that small pots dry much faster outdoors in sun and wind than they did indoors.
Can I harden off seedlings in a cold frame instead of carrying trays in and out?
Yes. A cold frame is an excellent hardening setup. Open the lid a little more each day, close it at night, and ventilate on sunny days so the frame does not overheat. The same sun, wind, and night rules still apply.

Thesis Link : https://saulibrary.edu.bd/daatj/public/uploads/BAU200601_19-Pp_5.pdf
- How to Harden Off Seedlings: A 10-Day Plan - November 3, 2026
- When to Fertilize Your Garden: Timing by Plant Type and Season - November 3, 2026
- Best Grow Shelves with Lights: 10 Picks for Seedlings - November 2, 2026