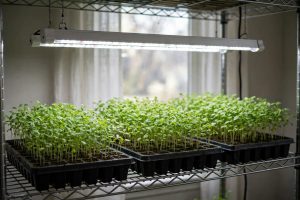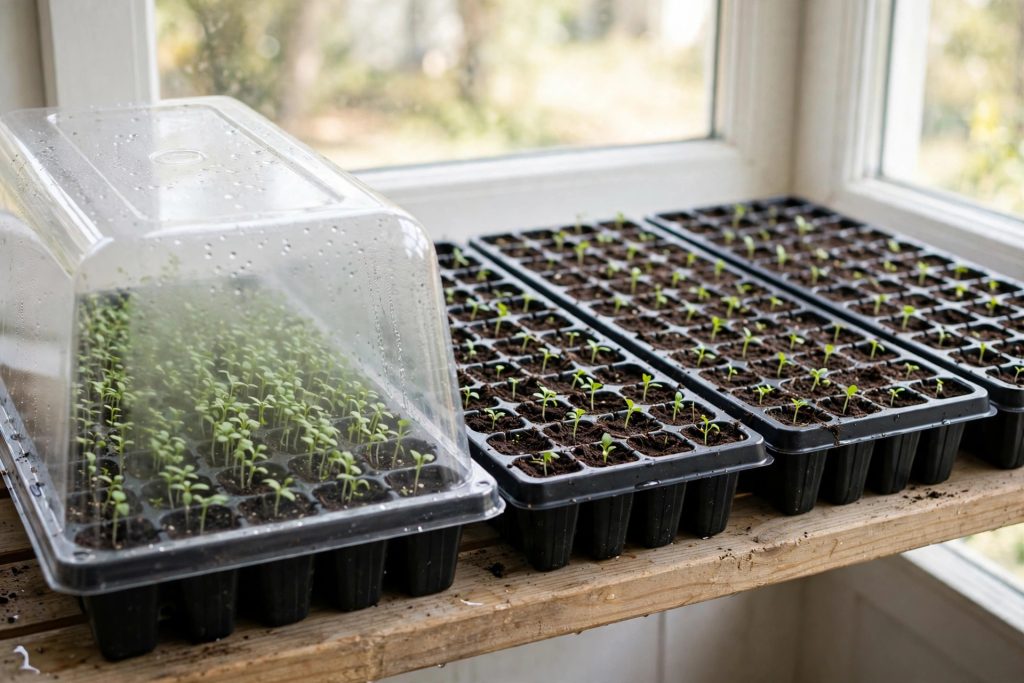

The best seed starting trays are the ones that match your space, your crops, and how much attention you can give seedlings each day. A tray that works beautifully for a windowsill herb grower can fail a gardener starting 200 tomato plants, and a heavy-duty flat built for a greenhouse bench is wasted on four basil plants. This guide sorts that out before you buy.
Seed starting trays do three jobs at once. They hold a small, even volume of mix around each seed, they let excess water drain away so roots can breathe, and they let you move a whole batch of seedlings to light, to warmth, or outside for hardening off without handling each plant. When any one of those jobs fails, seedlings suffer: too much water brings damping off, too little root room means plants stall before transplant day, and a flimsy tray that buckles spills a month of work across the floor.
Below you will find 10 trays and kits that cover the real range of home seed starting, from a single self-watering kit on a kitchen counter to heavy-duty 1020 flats for a serious indoor setup. Each pick states its cell count, dome and extras, and the situation it suits best, plus an honest limit. Use the comparison table to narrow the list, then read the full section for the pick that fits your setup.
Table of Contents
- Quick Recommendation
- Comparison Table
- How to Choose a Seed Starting Tray
- The 10 Best Seed Starting Trays and Kits
- How We Chose
- Using Your Tray: A Simple Setup That Works
- Common Mistakes
- Final Choice
- References
- Frequently Asked Questions
Quick Recommendation
If you want one answer fast, start here.
- For most beginners who want one complete purchase, choose the SOLIGT 60-Cell Kit with Grow Light and Heat Mat. It bundles tray, tall dome, light, and heat mat, so nothing important is left to buy separately.
- For a classic, trusted kit with no electronics to manage, choose the Burpee 72-Cell Self-Watering Kit. The coir pellets expand with water, the dome holds humidity, and the watering tray keeps moisture steady.
- For a small space or a few favorite varieties, choose the Bonviee 5-Pack with Lights or the Burpee SuperSeed Windowsill 8 XL tray. Both fit a windowsill, and the Bonviee set lets you start five small batches at once.
- For a serious indoor setup that will last for years, choose the Bootstrap Farmer 1020 flats with the Bootstrap Farmer 72-Cell plug trays. They are the heaviest, most durable combination on this list.
- For busy gardeners who forget to water, choose the Patigrow 60-Cell Self-Watering Kit with Grow Light. Its reservoir and capillary mat keep moisture even between waterings.
If you already own a shelf or a grow light, measure it before you buy. A standard 1020 flat is about 10 by 20 inches, and many complete kits are smaller. Fit the tray to the shelf, not the other way around.
Comparison Table
| Product | Cells | Dome and Extras | Best For | Our Rating |
|---|---|---|---|---|
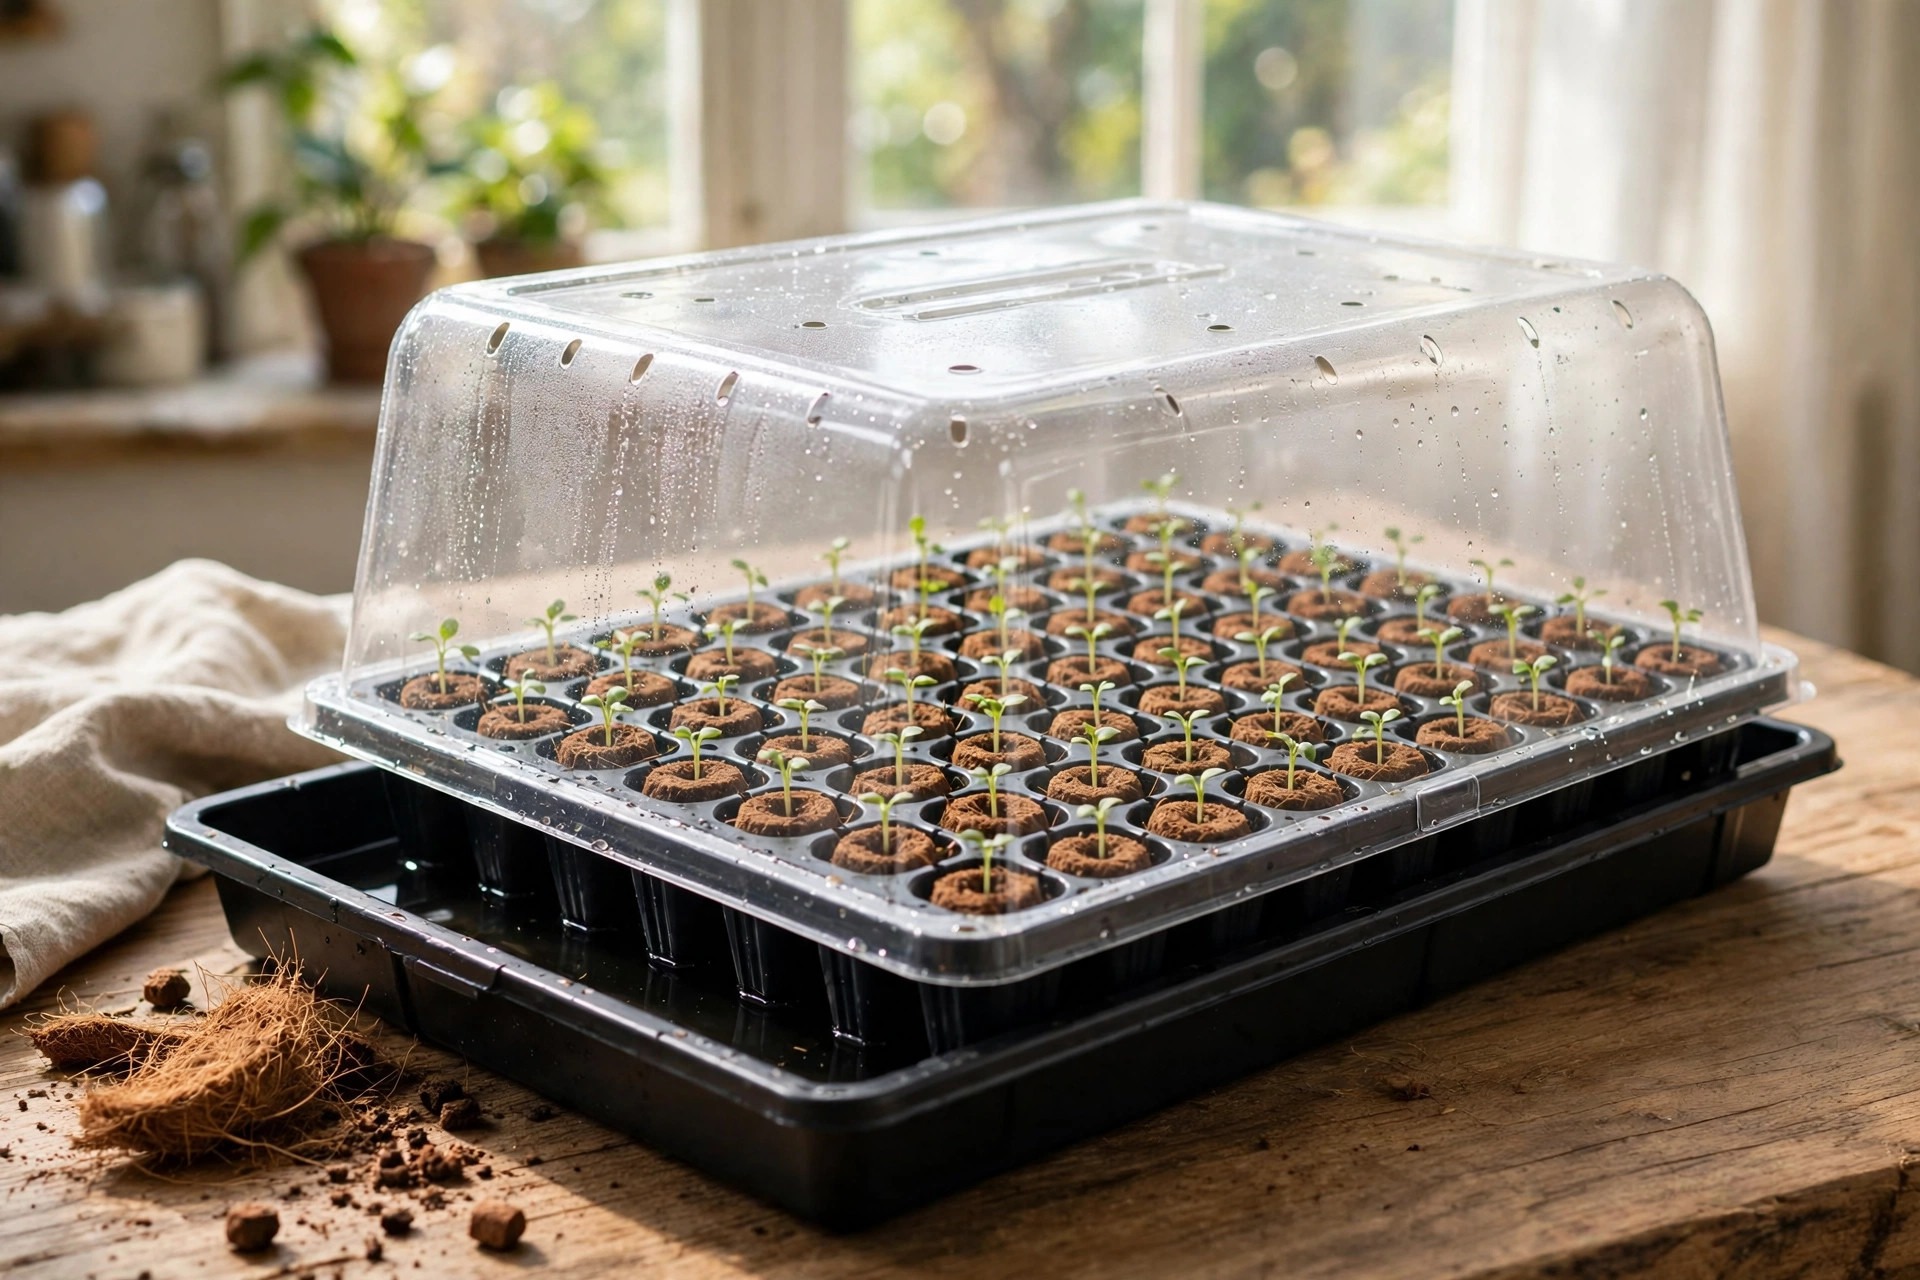 Burpee 72-Cell Self-Watering Kit | 72 | Dome, watering tray, self-watering mat, Super Growing Pellets | Classic all-round kit | 9.2/10 |
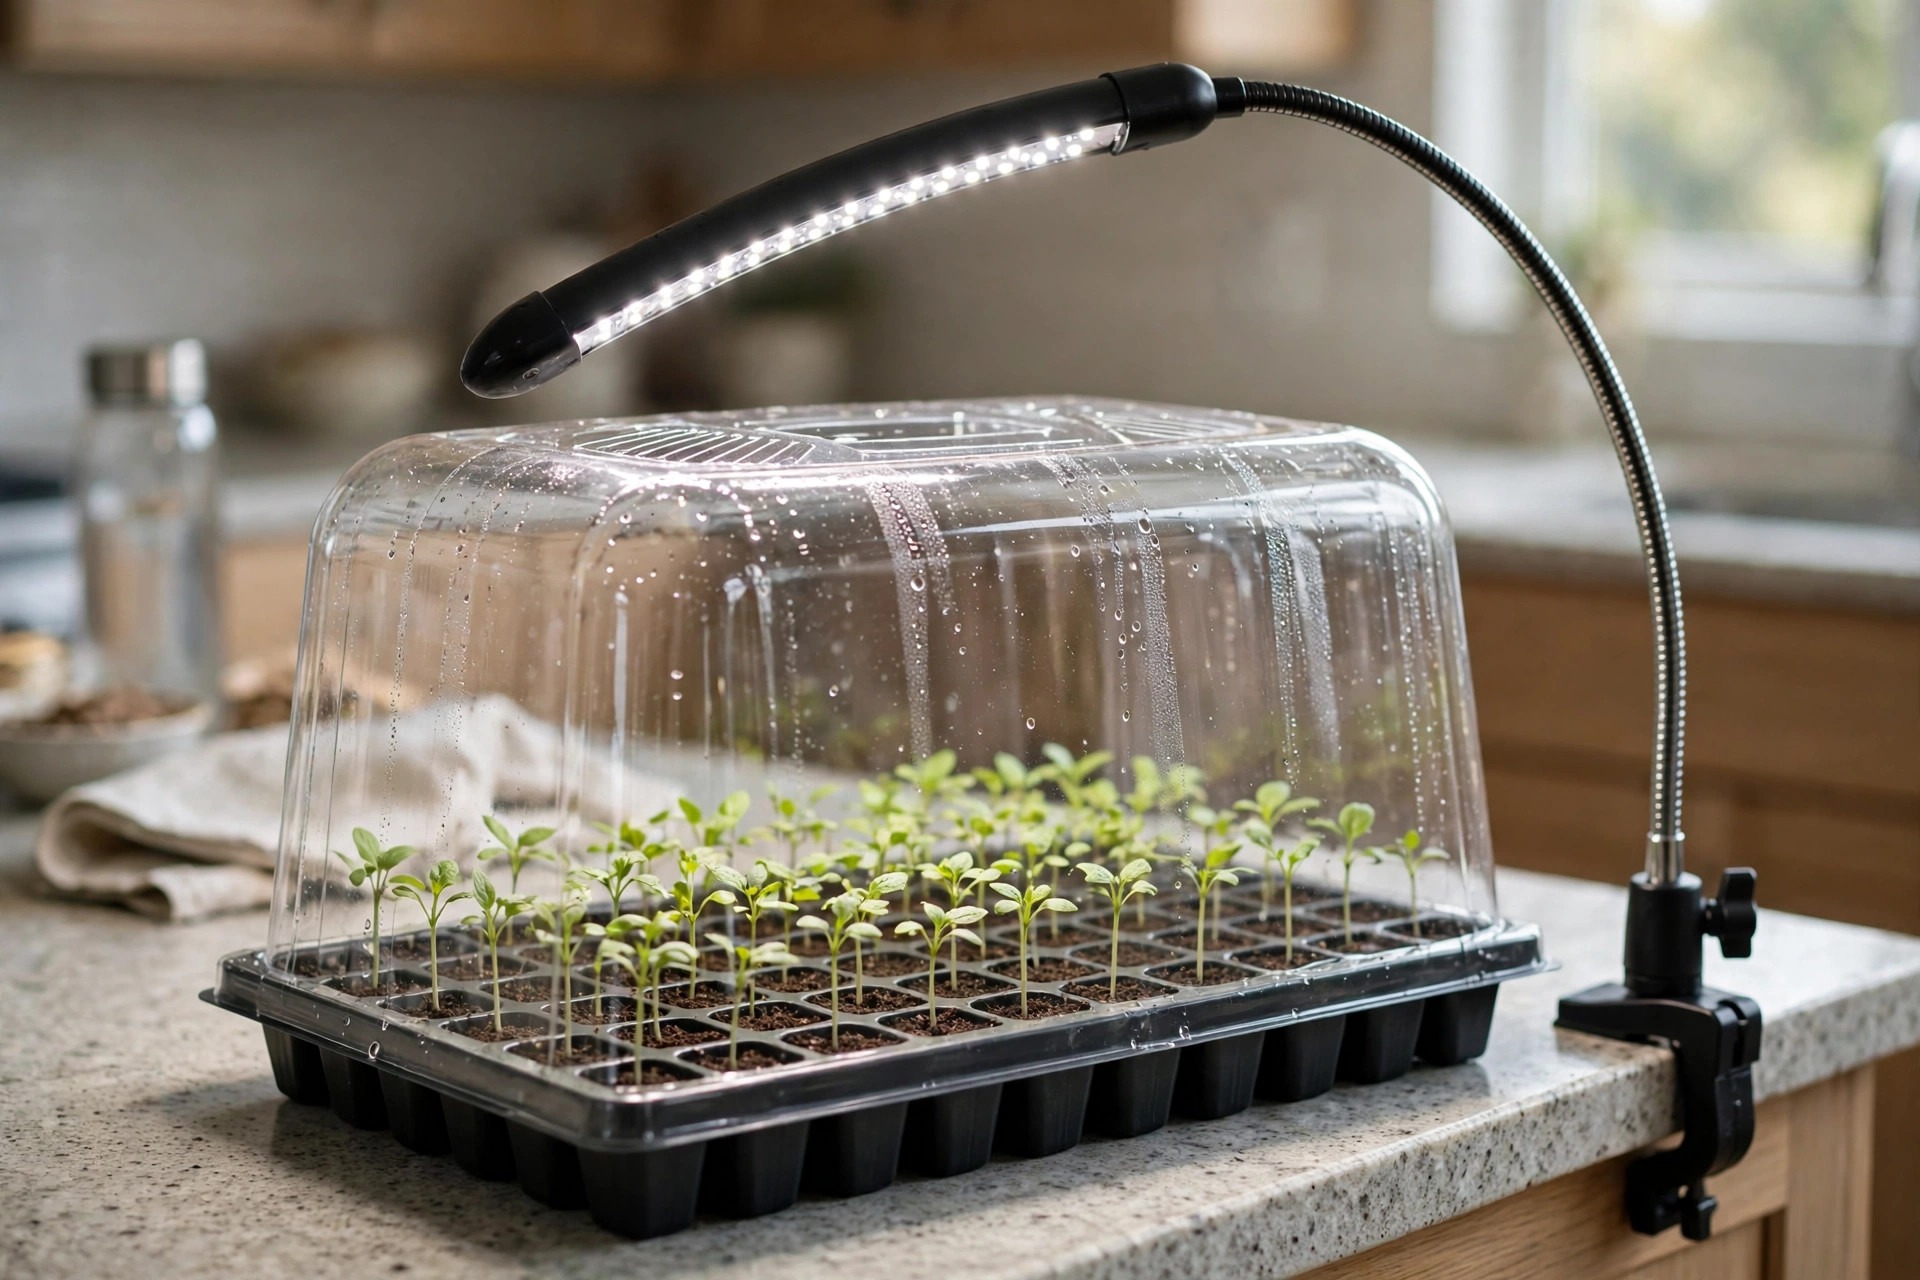 SOLIGT 60-Cell Kit with Grow Light and Heat Mat | 60 | 4.3 inch dome, LED light, heat mat | Best complete beginner kit | 9.4/10 |
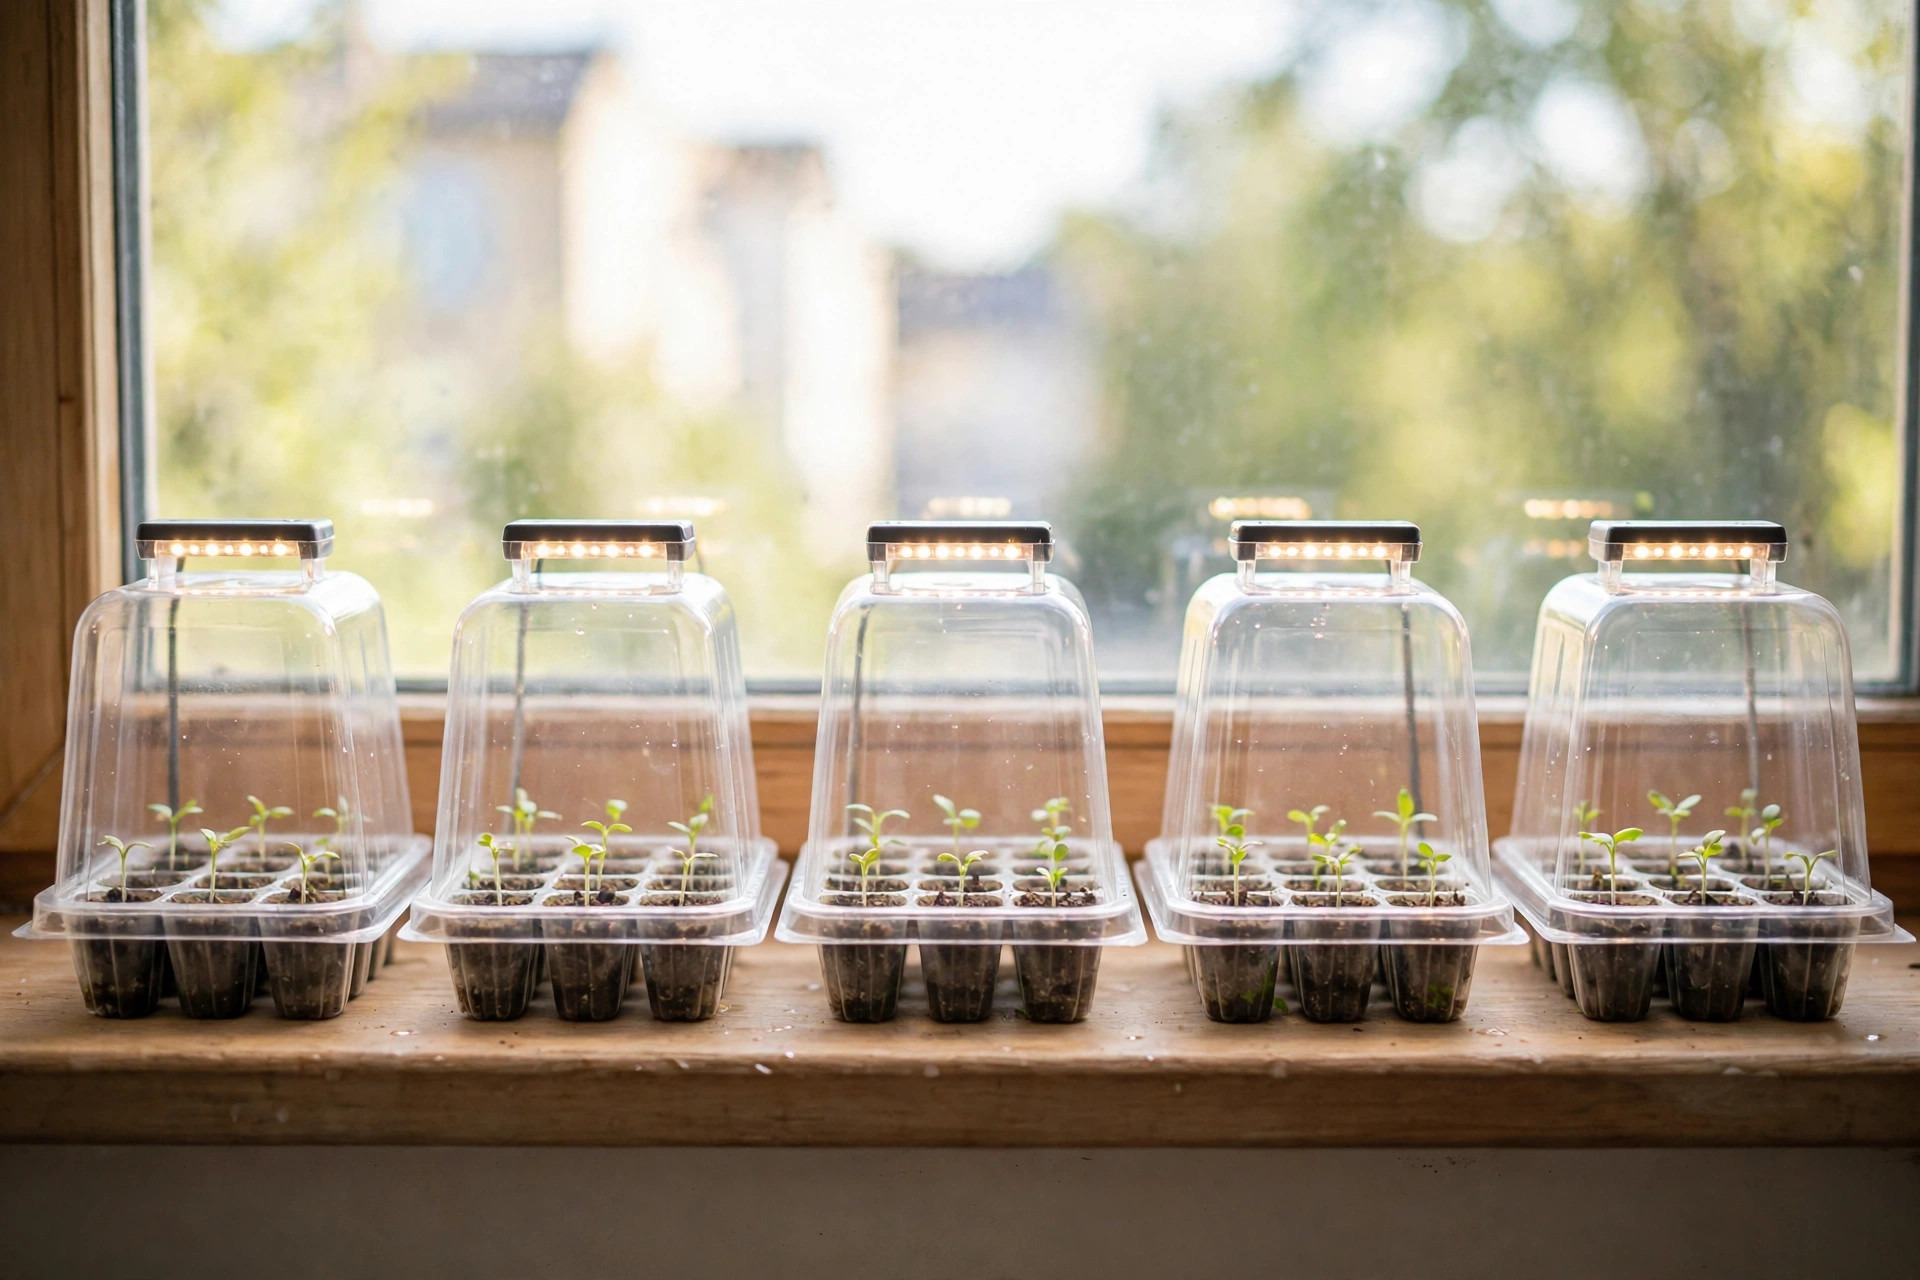 Bonviee 5-Pack Seed Starter Trays with Lights | 60 (5 x 12) | Elevated domes, 12 LEDs per tray | Small batches, windowsills | 8.8/10 |
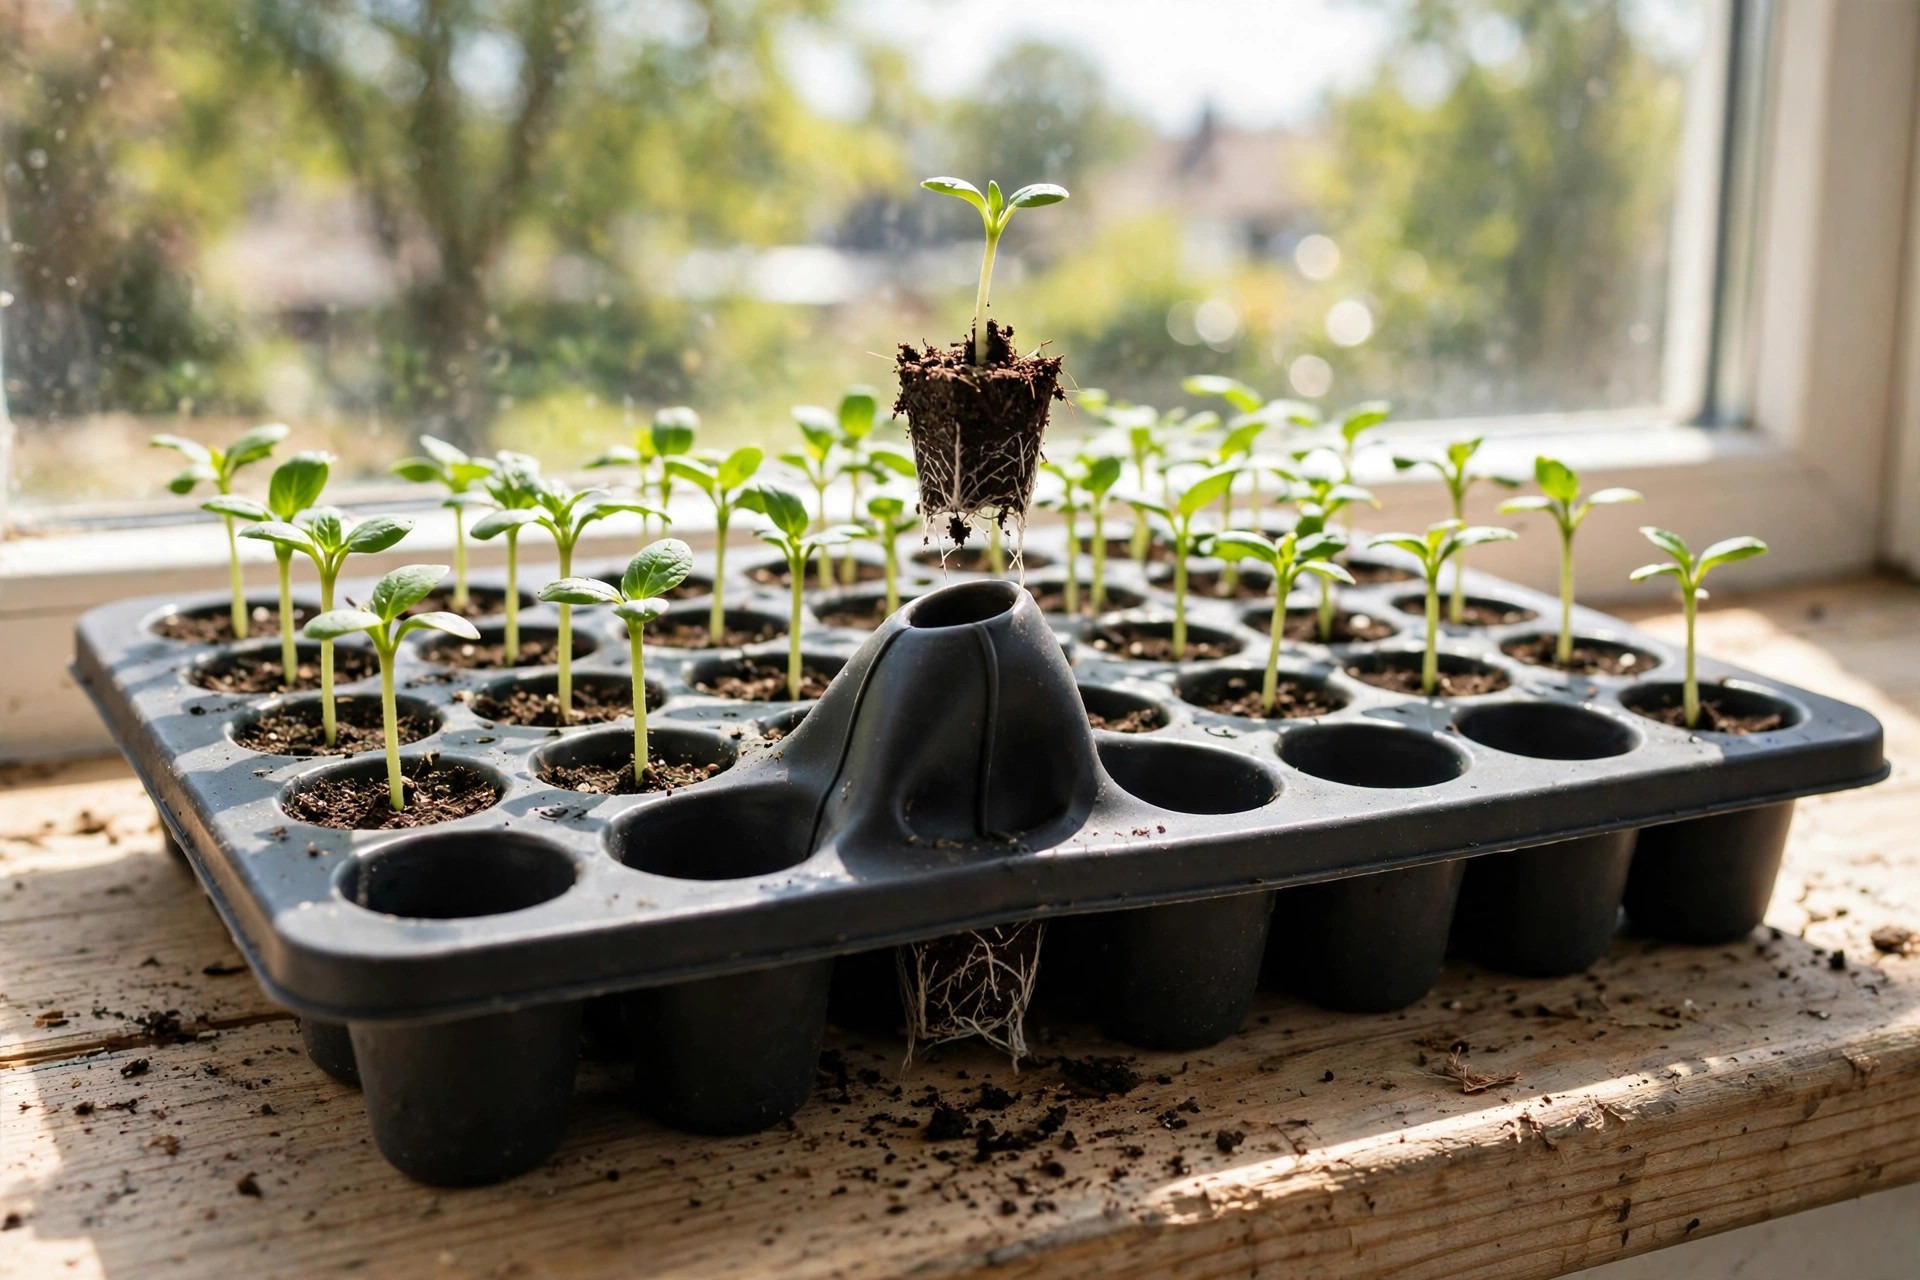 Burpee SuperSeed 36-Cell Silicone Tray | 36 | No dome, reusable silicone | Reusable, easy transplanting | 9.0/10 |
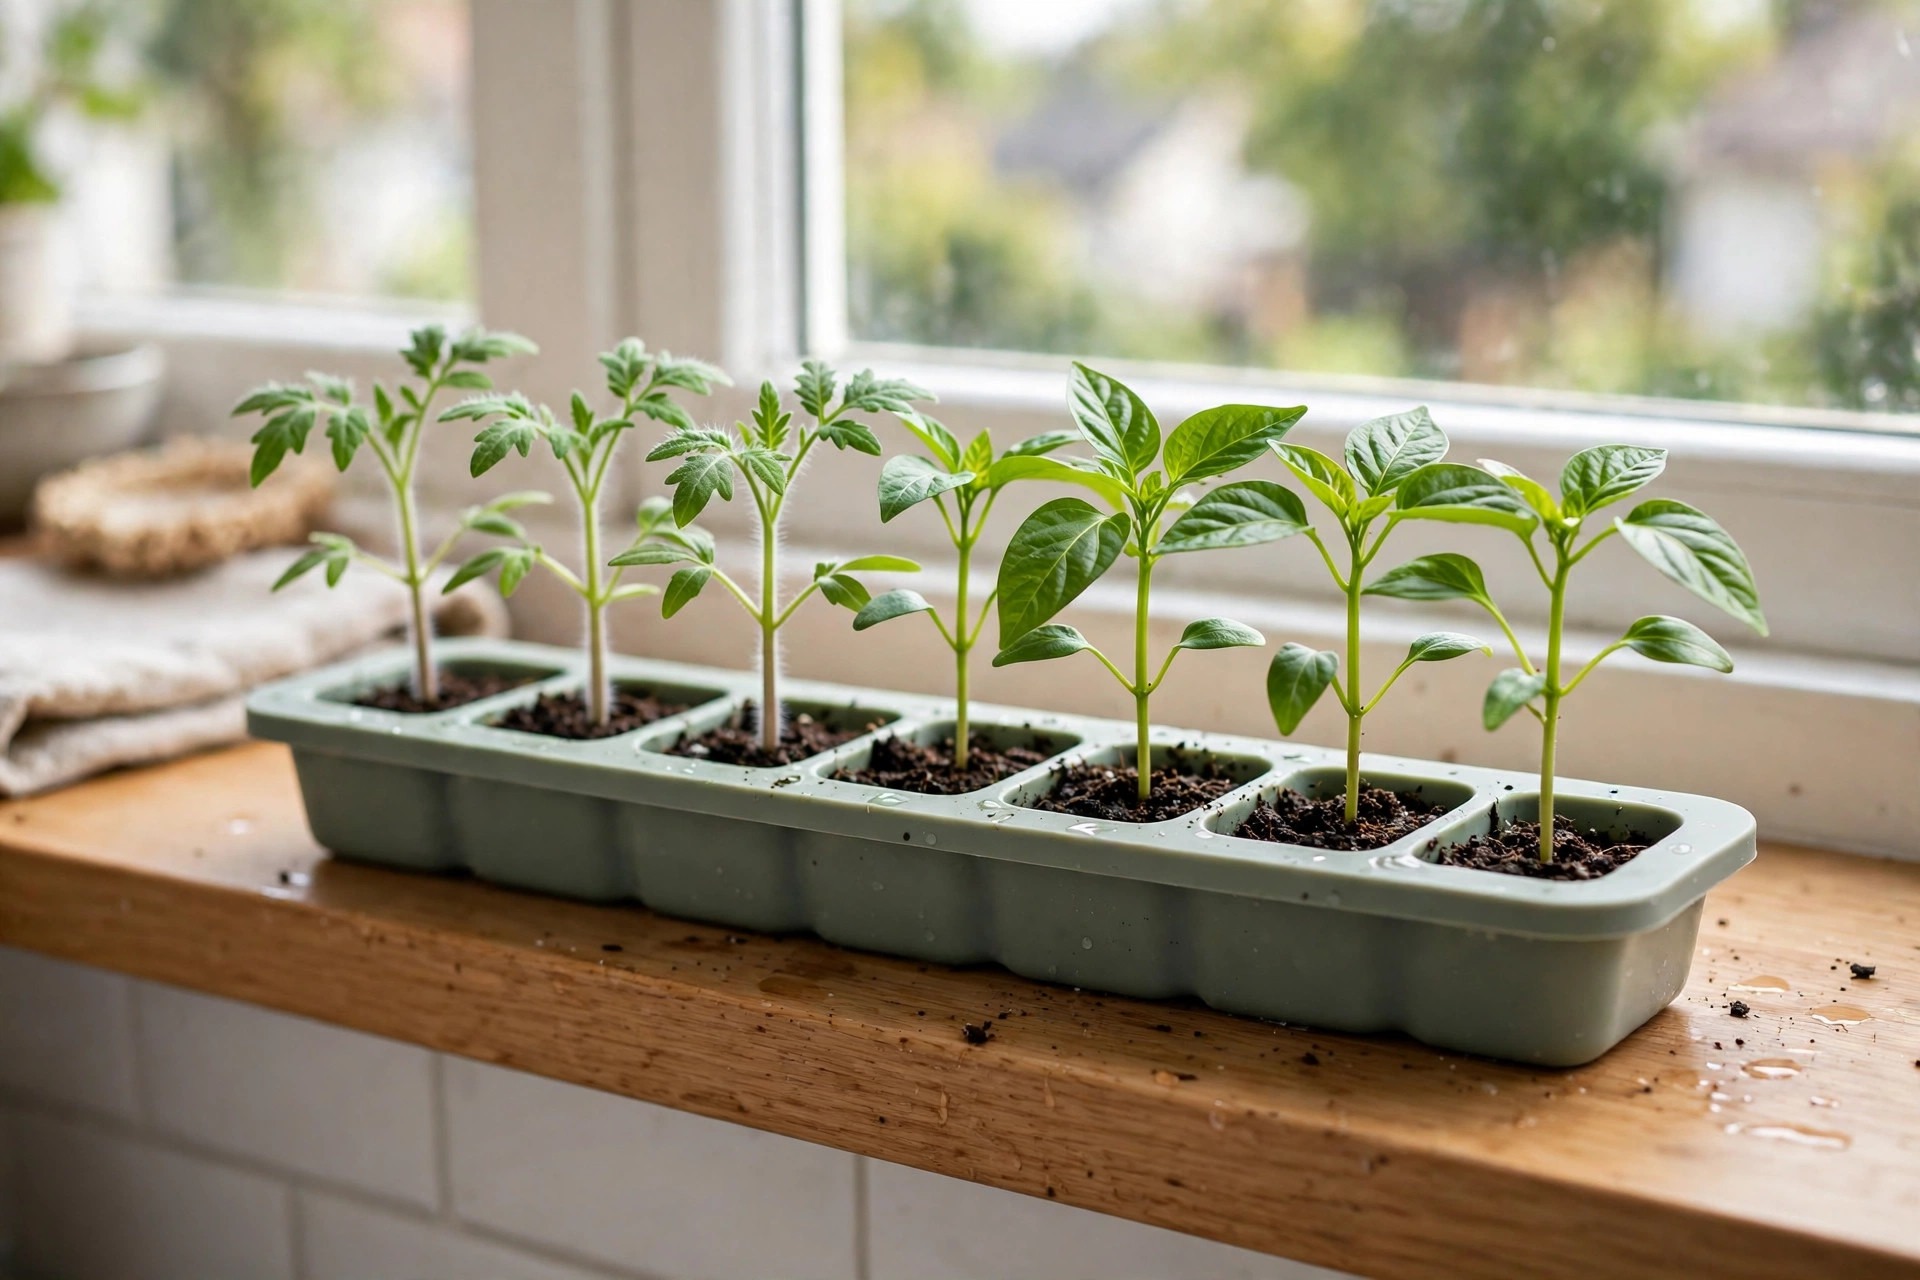 Burpee SuperSeed Windowsill 8 XL Tray | 8 XL | No dome, reusable silicone | Large seeds, tiny spaces | 8.7/10 |
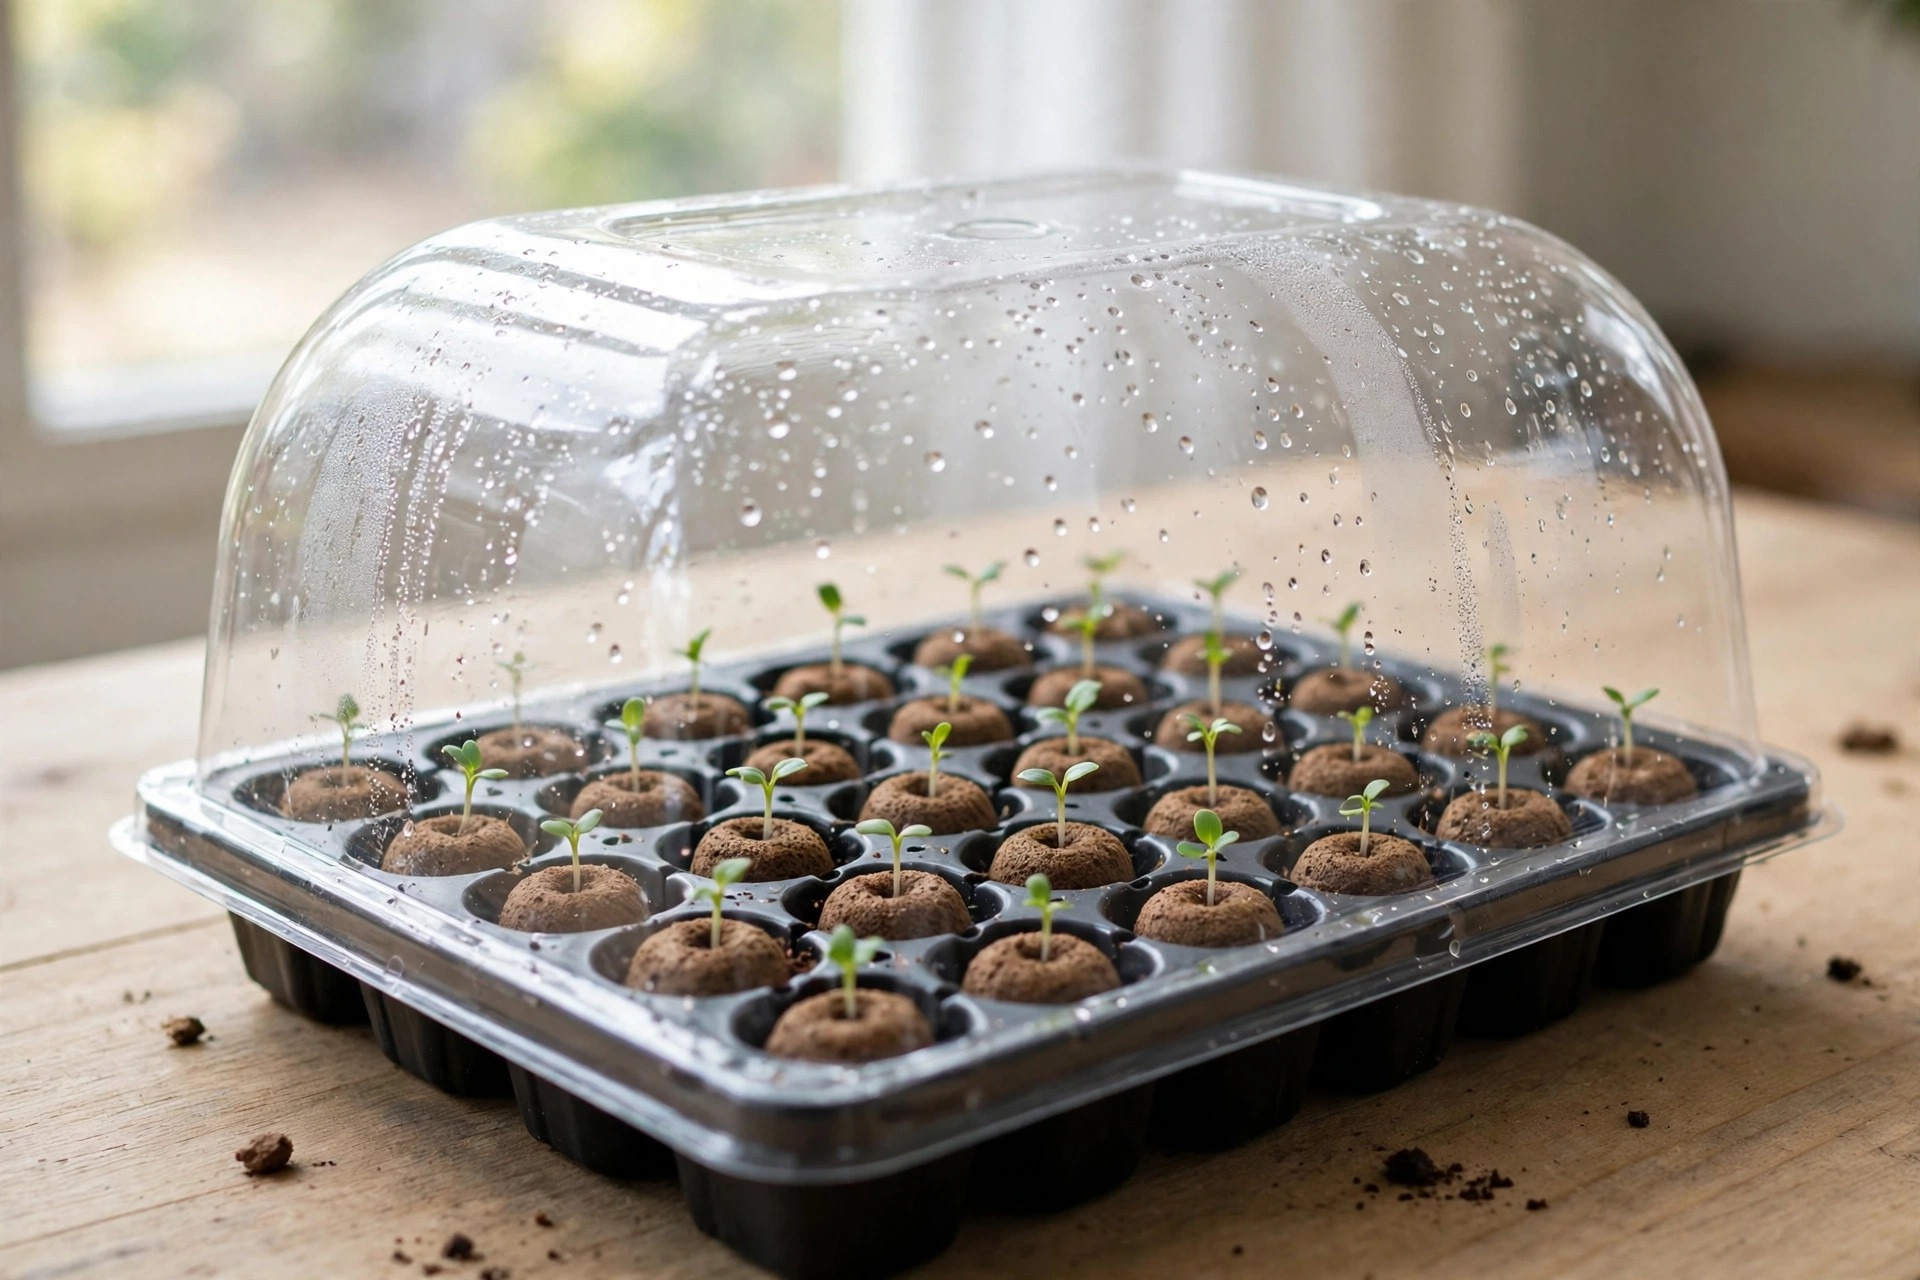 Jiffy 36-Cell Greenhouse Kit | 36 | Dome, peat pellets | Simple peat pellet starts | 8.5/10 |
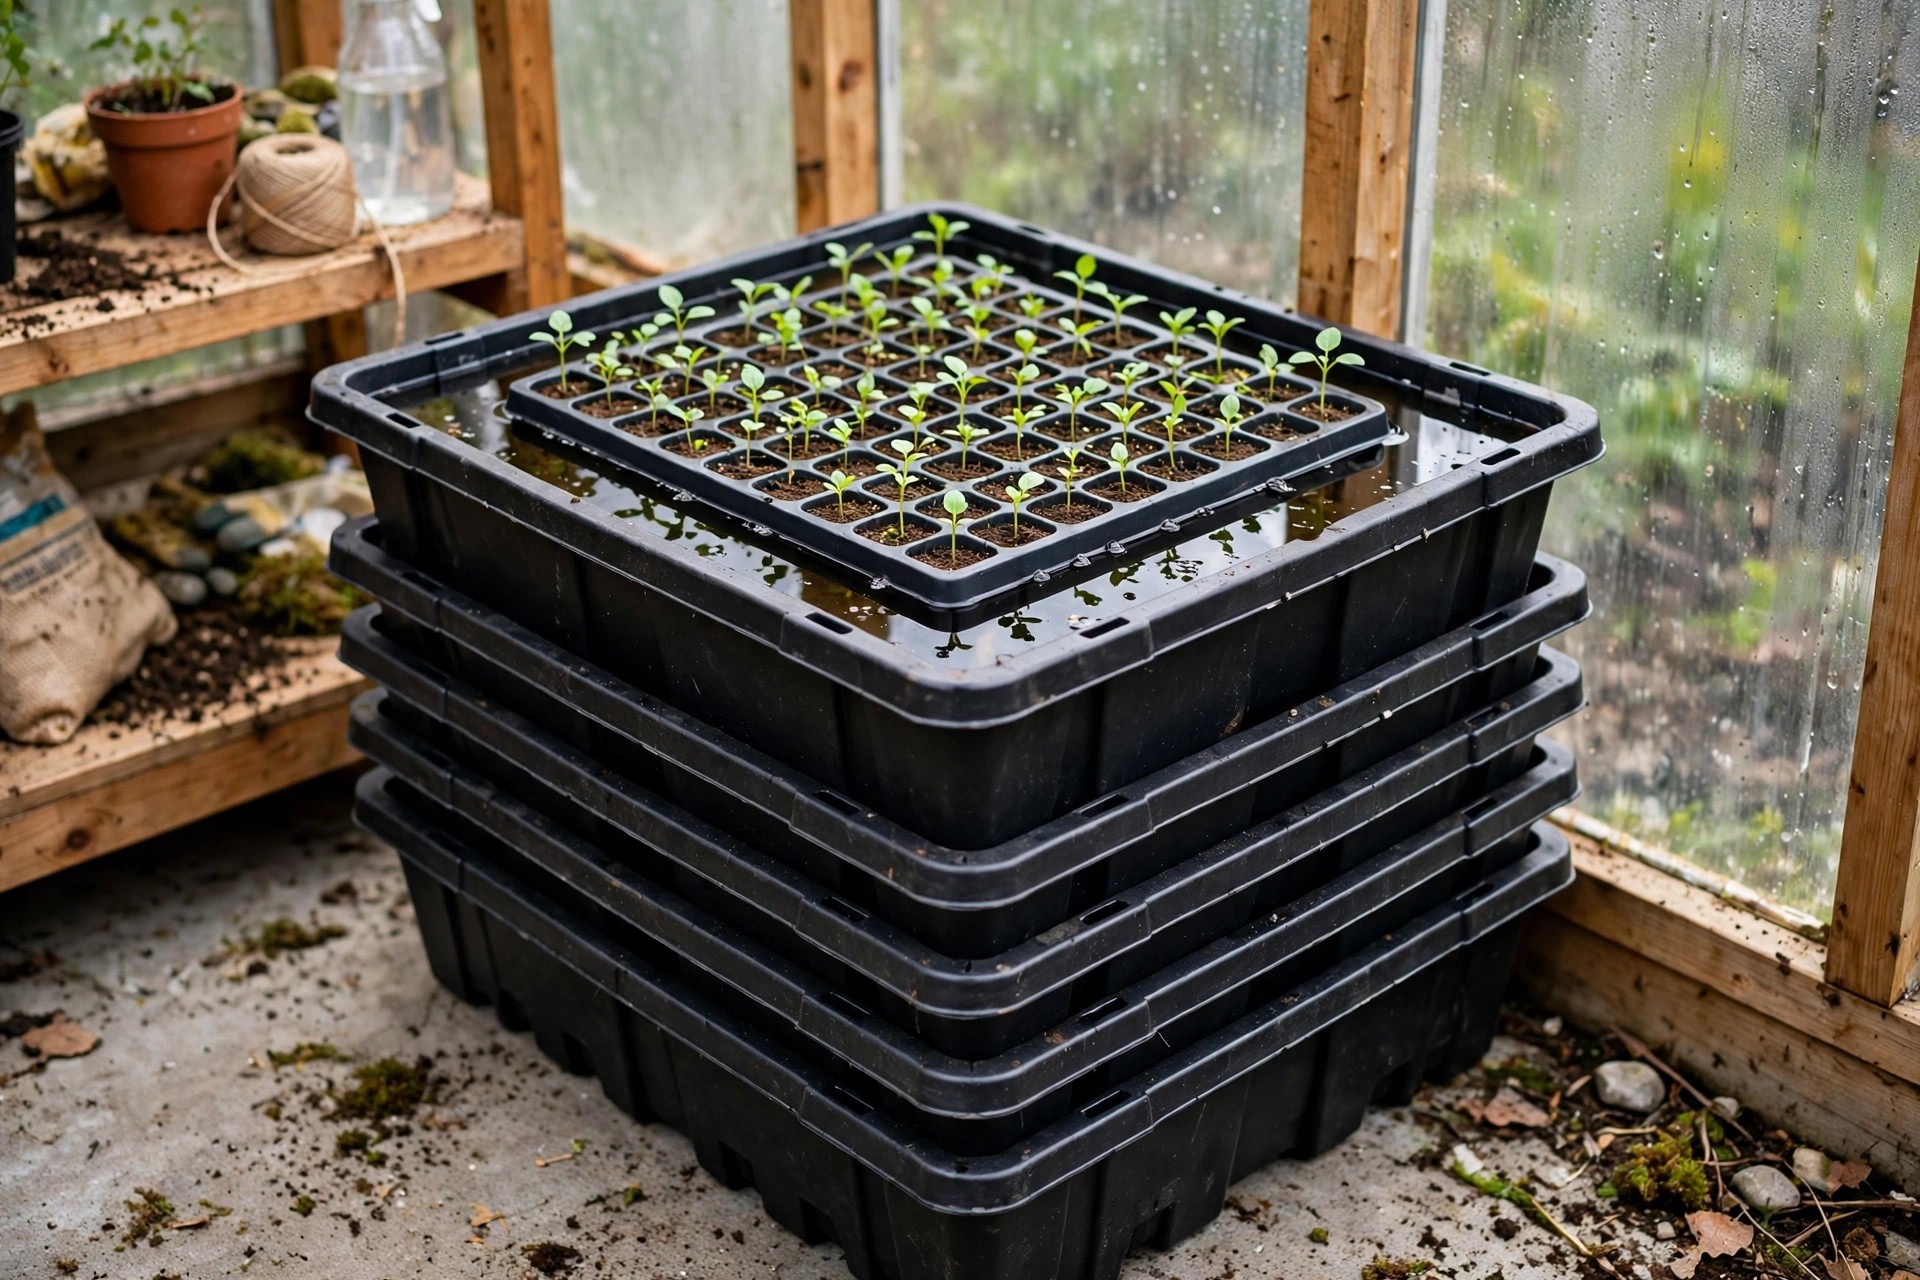 Bootstrap Farmer 1020 Heavy-Duty Flats | Flat only | No dome, no cells (add inserts) | Bottom watering, durability | 9.3/10 |
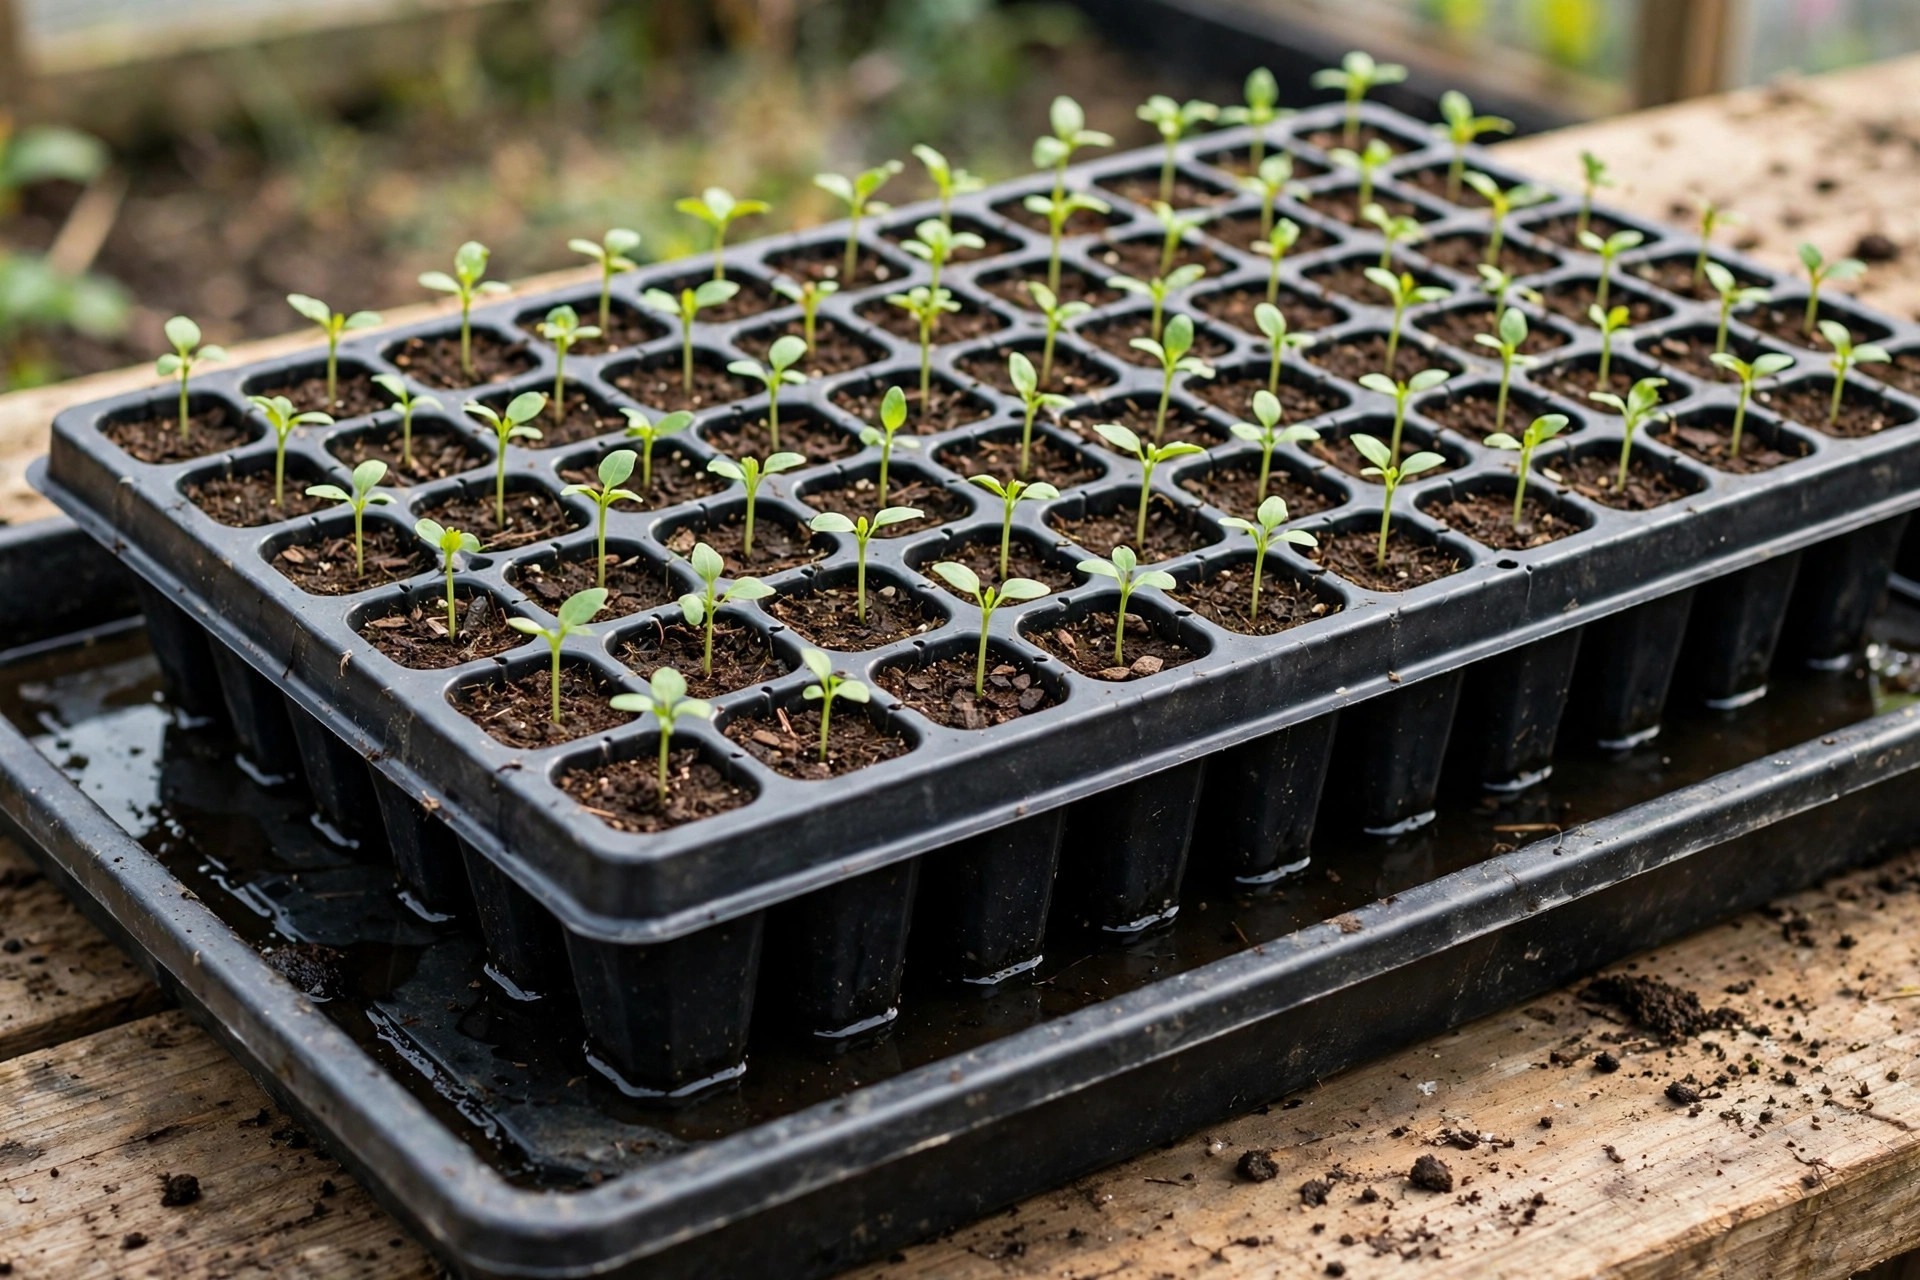 Bootstrap Farmer 72-Cell Plug Trays | 72 | Deep 2.25 inch cells, fits 1020 flats | High-volume sowing | 9.1/10 |
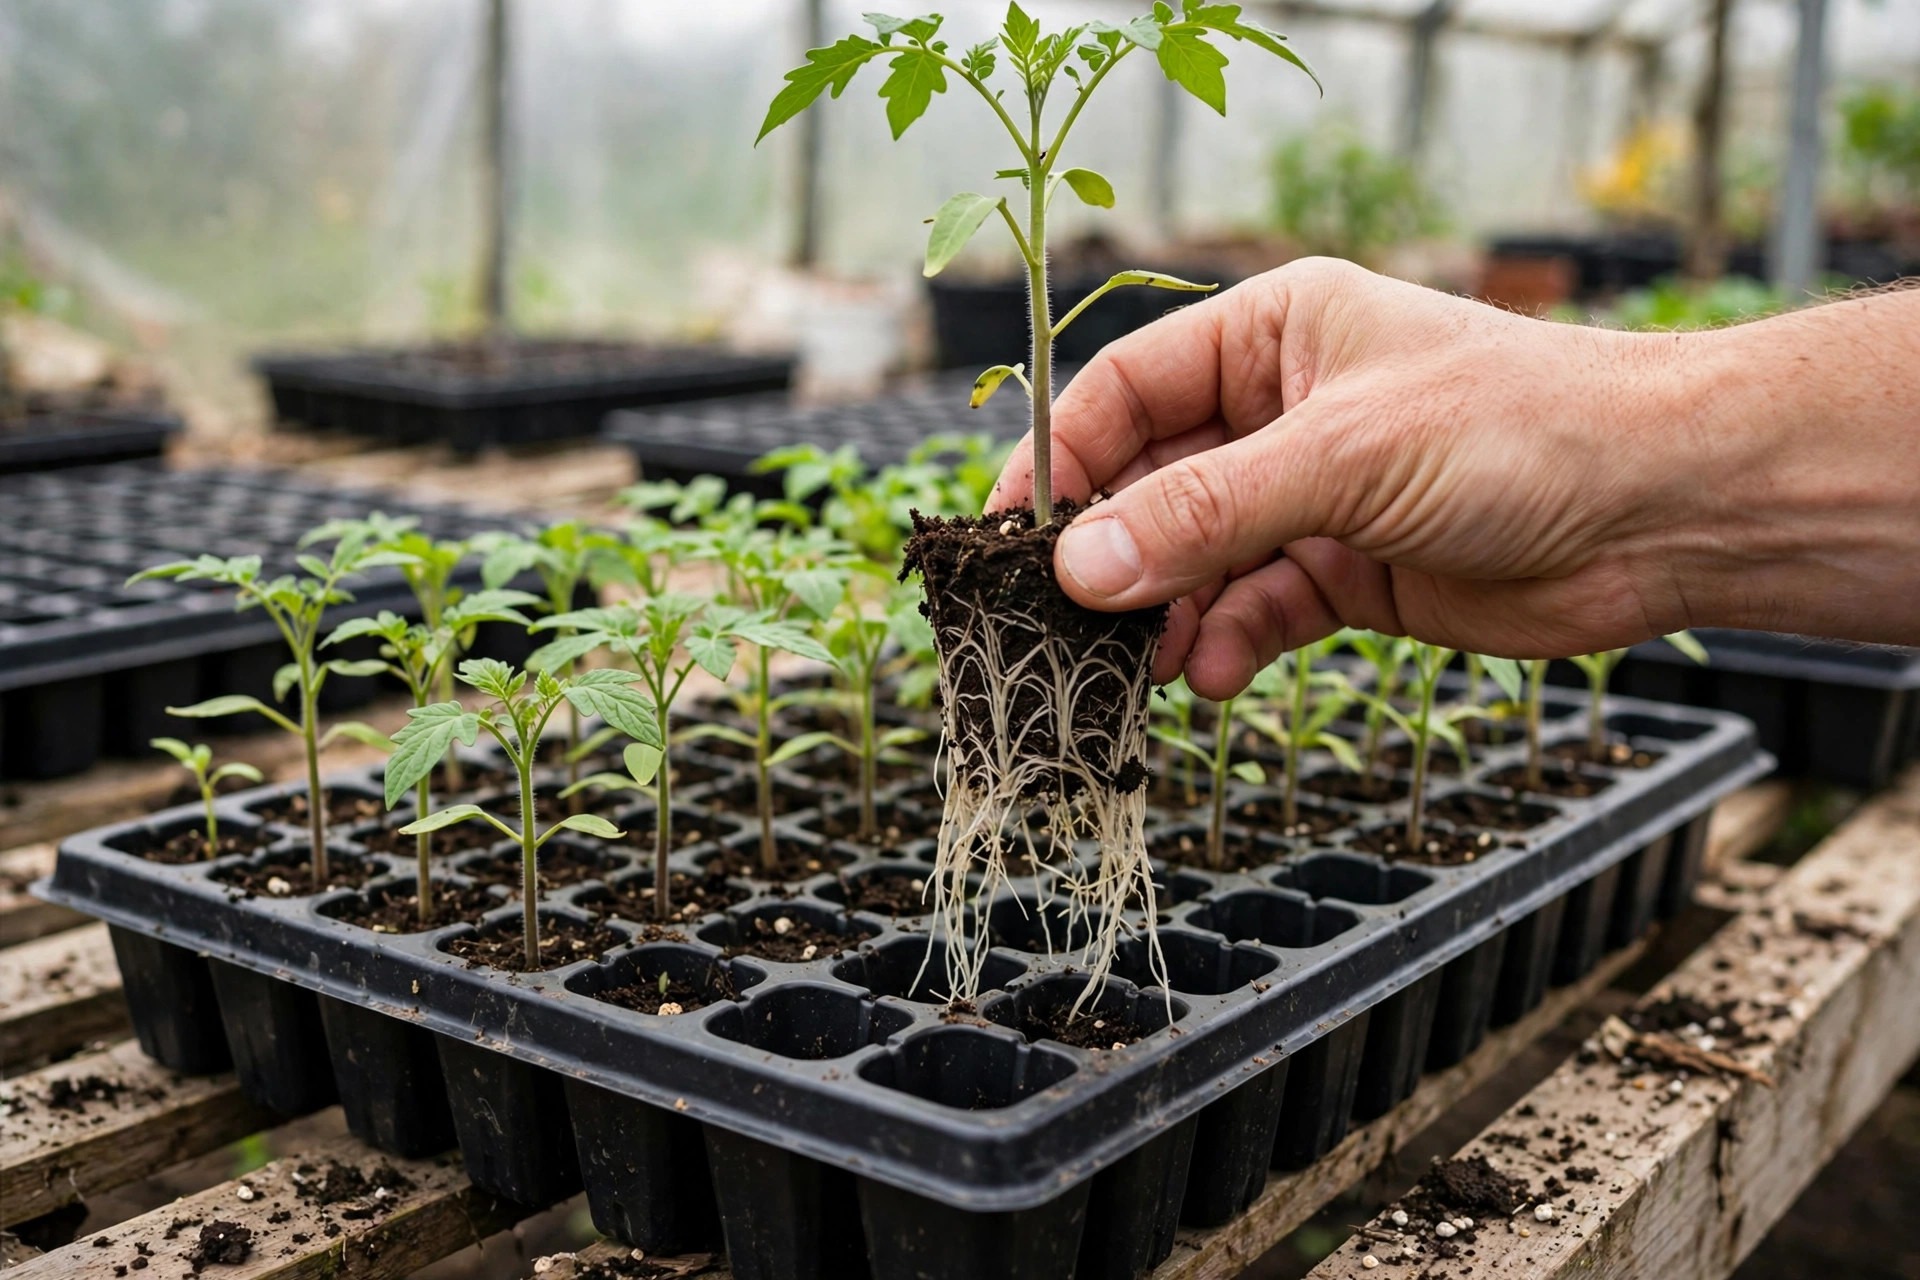 RooTrimmer 54-Cell Deep Trays (5-Pack) | 270 (5 x 54) | Deep 2.8 inch cells, no dome | Longer indoor growing | 8.9/10 |
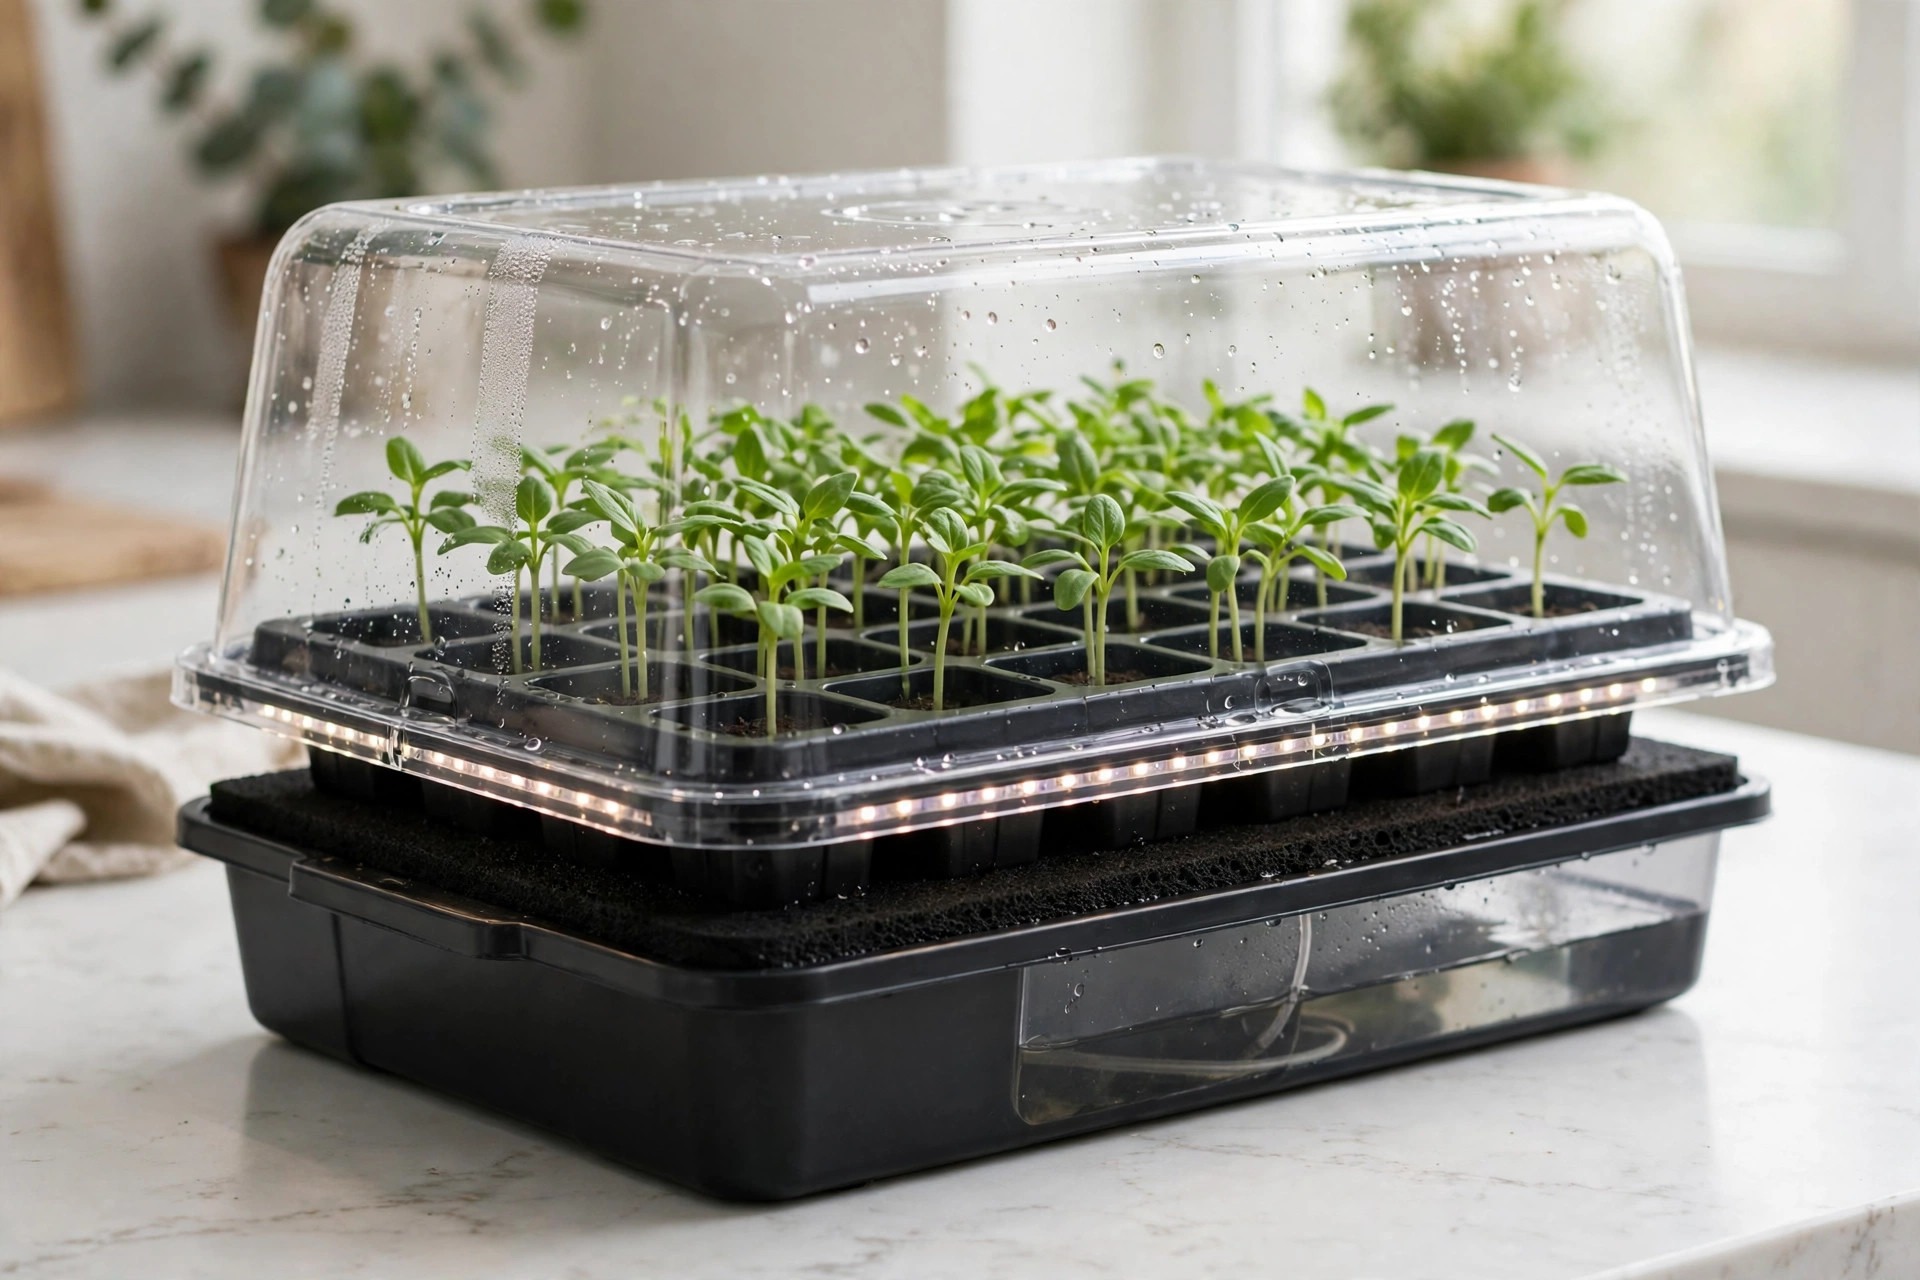 Patigrow 60-Cell Self-Watering Kit with Grow Light | 60 | 4.07 inch dome, LED strips, capillary mat | Busy gardeners | 9.0/10 |
How to Choose a Seed Starting Tray
Cell size decides how long seedlings can stay put
Small cells, around 1.5 inches square, suit fast crops and large batches: lettuce, herbs, and flowers that move outside within a few weeks. They dry out faster and fill with roots sooner, so they need more frequent watering and earlier transplanting. Larger cells, XL cells, and deep cells suit tomatoes, peppers, squash, and any crop you plan to hold indoors for 6 to 8 weeks. As a rule, start with the packet: count back from your transplant date, and if the indoor stay is long, choose a bigger or deeper cell.
Domes help germination, then they must come off
A humidity dome holds moisture while seeds germinate, which matters most for small seeds and dry rooms. The University of Maryland Extension advises removing the cover as soon as sprouts appear, and that timing matters: a dome left on too long traps still, damp air and invites damping off. Look for domes with adjustable vents, and a taller dome if you grow seedlings that shoot up fast. A short dome that presses on leaves does more harm than good.
Watering: bottom watering beats overhead watering for seedlings
Watering from below, by setting the tray in a shallow reservoir or using a self-watering mat, keeps the surface drier and reduces damping off. Purdue Extension notes that bottom watering helps avoid damping off by keeping the soil surface dry. Self-watering kits automate this, but they still need checking: a reservoir can run dry, and a mat that stays soaking wet is as bad as overhead watering. Whatever system you choose, empty standing water after an hour or two so roots are not sitting in it.
Light and heat are separate decisions
A tray is not a light, and a dome is not a heater. Most vegetable seeds germinate best with mix temperatures of 65 to 75 degrees Fahrenheit. For light hours and fixture height after germination, see “Using Your Tray: A Simple Setup That Works.” A kit with a built-in light suits a countertop with no shelf for a fixture, while a plain tray suits a gardener who already owns a grow light setup. In a cold room, a heat mat matters more than a light upgrade; in a warm, dim room, the light matters more.
Durability and reuse change the real value
Thin, single-season trays cost little and crack often, especially when lifted full of wet mix. Thick polypropylene flats and silicone trays cost more up front and survive for years, which also means less plastic waste. If you start seeds every year, durability is worth paying for. If you are trying seed starting for the first time, a mid-range kit is a safer first buy than the cheapest or the most expensive option.
Fit: check the shelf, the mat, and the dome height together
A 1020 flat fits standard heat mats and shelving, which is why it is the default size for serious setups. Smaller kits fit windowsills but may not fit a standard heat mat. Measure the shelf depth, the space under your light, and the height the dome will reach. A dome that bumps into a light fixture forces you to remove it early, which defeats its purpose.
The 10 Best Seed Starting Trays and Kits
1. Burpee 72-Cell Self-Watering Kit
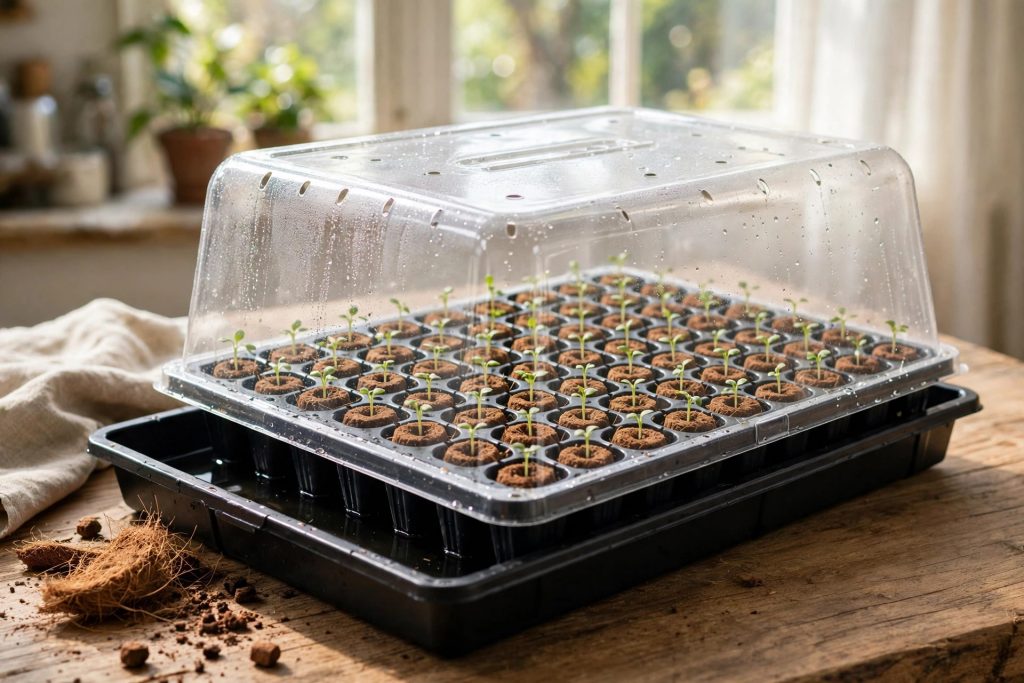
The Burpee 72-Cell Self-Watering Kit is the classic answer to seed starting, and it stays on this list because its system is simple and complete. It includes a watering tray, plant stands, a self-watering mat, Super Growing Pellets, cell trays, and a clear plastic lid that holds in moisture. Burpee’s own guide describes setting the stands in the watering tray, covering them with the mat, and placing the cell trays on top, with the mat ends reaching the bottom of the tray so it can draw up moisture.
In practice, the Super Growing Pellets are the part beginners like most. Each pellet expands with water to fill its cell, so there is no bag of mix to measure and no dust. Sow two seeds per cell, as Burpee suggests, then thin to the stronger seedling once both are up. The 72-cell count suits a full vegetable garden: a row of tomatoes, a row of peppers, herbs, and flowers, all in one tray.
Best for: gardeners who want a trusted, no-electronics kit for a full season of sowing. Skip if: you need a light or a heat mat as well, because neither is included, and you will buy them separately. Real-world limitation: Super Growing Pellets hold moisture well, which is a strength in a dry room and a risk in a damp one, so check the surface daily; for when to remove the dome, see “Using Your Tray: A Simple Setup That Works.” Our rating: 9.2/10.
2. SOLIGT 60-Cell Kit with Grow Light and Heat Mat
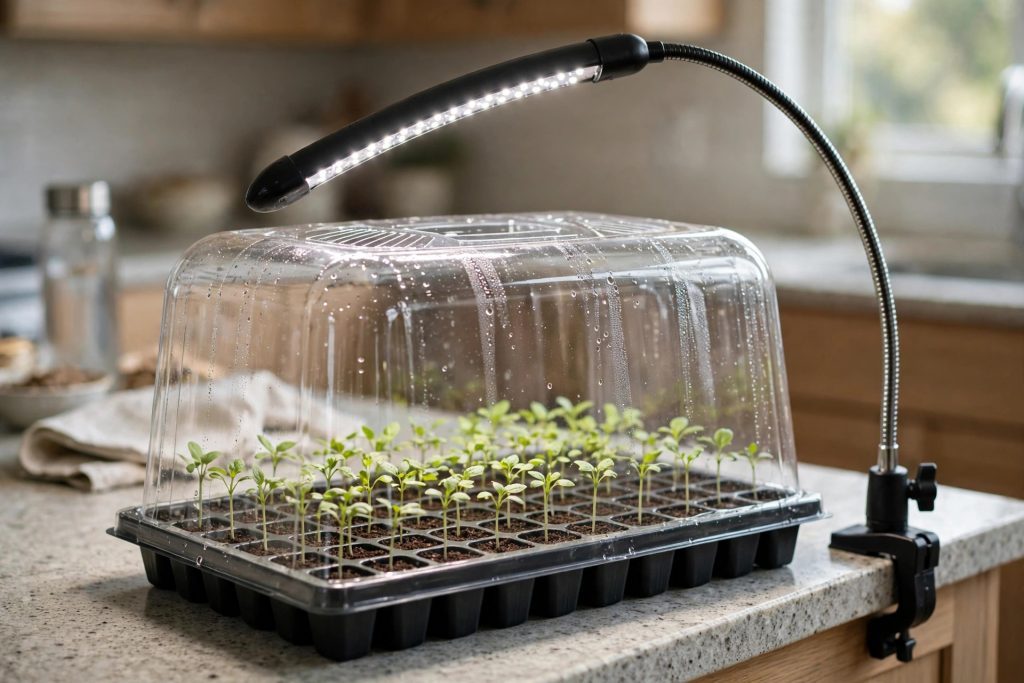
This is the most complete single purchase on the list. The SOLIGT kit holds 60 cells, each 1.5 inches square and 2.3 inches deep, under a 4.3 inch tall dome with adjustable vents. It adds a full-spectrum LED light on a three-head gooseneck, with five brightness levels and timer settings of 4, 8, 12, and 18 hours, plus a waterproof 10 by 20 inch heat mat. Nothing in the germination chain is left to chance: warmth at the roots, humidity above, and light overhead.
The tall dome is a genuine advantage. Seedlings that grow fast, such as squash and sunflowers, hit a short dome within days, while this dome gives them room. The light’s timer removes the most common beginner error, which is forgetting to switch the light on and off at the same time each day. For light timing and height, follow “Using Your Tray: A Simple Setup That Works.”
The tradeoff is size and cell depth. At about 16.7 by 10.7 by 7 inches, it needs a real shelf, not a narrow windowsill, and the 1.5 inch cells fill with roots sooner than deep cells, so plan to transplant on time rather than holding plants. For most beginners, this is the kit we would start with. Our rating: 9.4/10.
3. Bonviee 5-Pack Seed Starter Trays with Lights
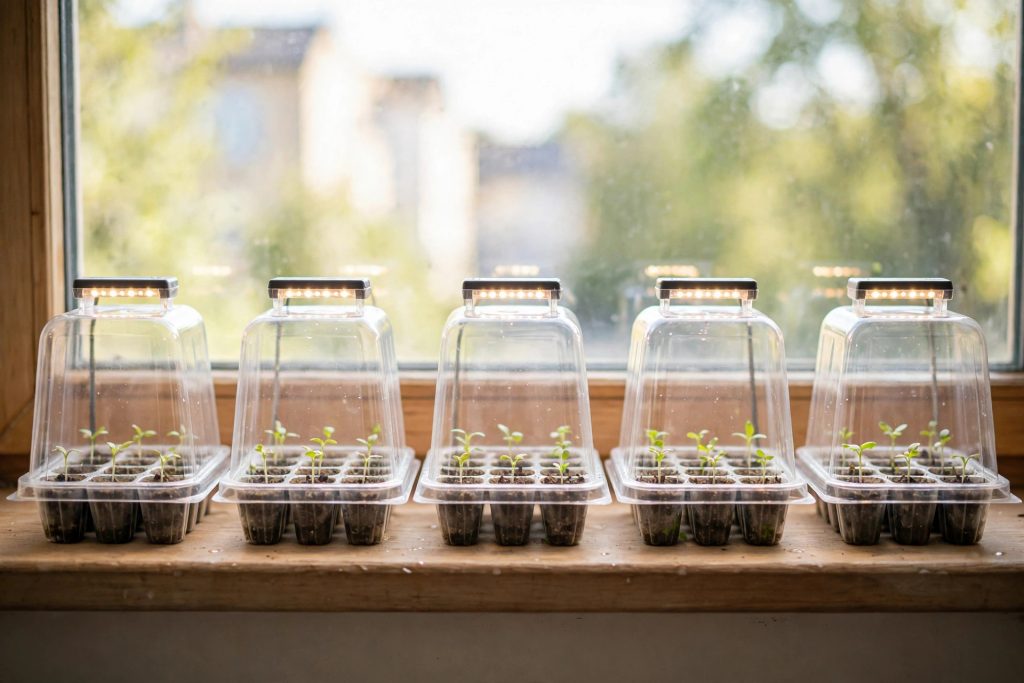
Bonviee’s set takes a different approach: instead of one large tray, it gives you five small ones, each with 12 cells of 1.5 inches square, a clear base tray, an elevated humidity dome with an adjustable vent, and a built-in full-spectrum LED light with 12 beads. That adds up to 60 cells, but split across five batches you can sow, move, and harden off separately.
That split is the reason to buy it. Sow tomatoes in one tray, peppers in another, and herbs in a third, and each batch can come off the light or go outside on its own schedule. The clear trays also let you watch root development without lifting the plant, which helps beginners learn when a seedling is ready to move on.
Pros: five independent batches, lights included, clear trays for root checks, compact footprint. Cons: the small trays dry out faster than a large flat, the built-in lights suit the seedling stage rather than growing plants to maturity, and the set uses PET rather than the thicker polypropylene of heavy-duty flats. Best for: windowsill growers and gardeners testing several varieties at once. Our rating: 8.8/10.
4. Burpee SuperSeed 36-Cell Silicone Tray
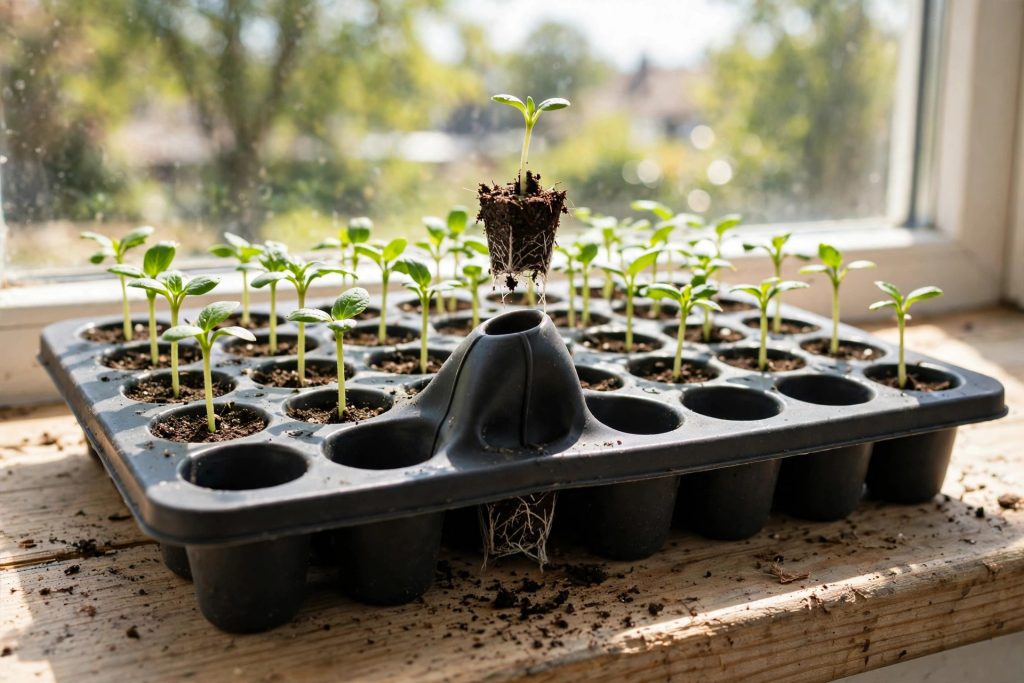
Silicone changes the worst part of seed starting, which is getting seedlings out without tearing roots. The Burpee SuperSeed 36-Cell tray is made from food-grade silicone, is reusable, and is dishwasher safe. Press a cell from below and the whole plug pops out with its root ball intact, which is a real advantage for plants that resent transplant shock.
Burpee does not publish tray dimensions for this tray on its product page, so no overall size is given here. It fits a windowsill or a shelf without a dedicated setup. Thirty-six cells is a sensible middle size: enough for a serious herb and vegetable start, small enough that one person can carry it full of wet mix without a struggle. It ships without a dome, light, or mix, so pair it with a clear cover or a plastic bag during germination if your room is dry, and add your own light.
Who should buy: gardeners who start seeds every year and are tired of cracking plastic and torn roots. Who should skip: anyone who wants a complete kit in one box, because this is a tray, not a system. Real-world limitation: silicone trays flex when lifted by one edge, so carry them on a rigid base tray or a baking sheet. Our rating: 9.0/10.
5. Burpee SuperSeed Windowsill 8 XL Tray
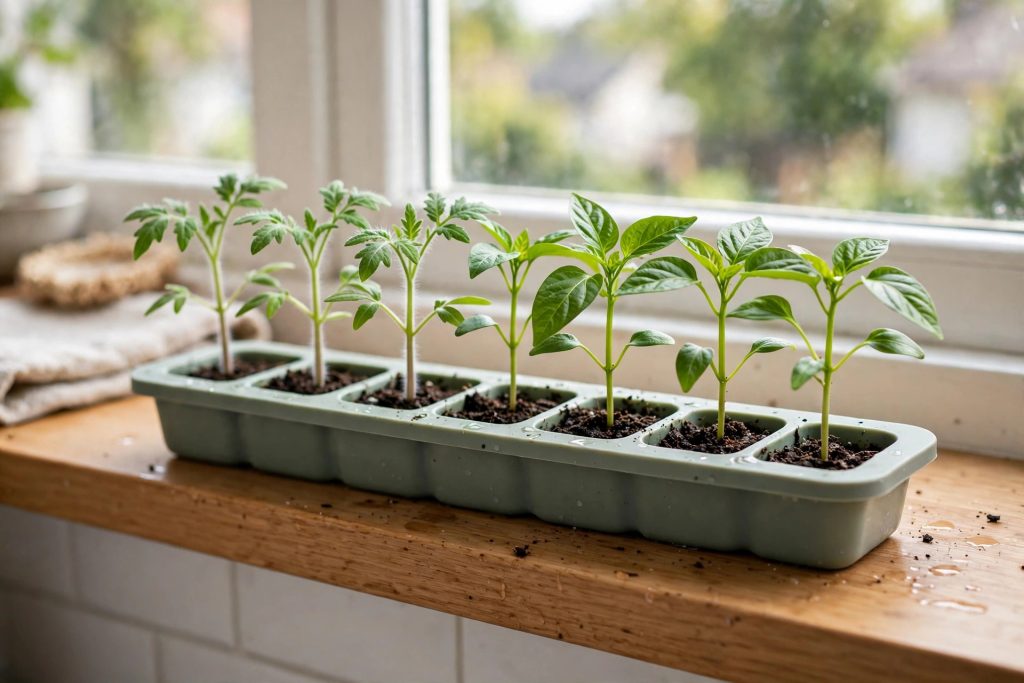
Sometimes eight plants are exactly right. The Burpee SuperSeed Windowsill tray holds 8 XL cells in a single row 11 inches long and 5-1/4 inches wide, made from the same food-grade, dishwasher-safe silicone as the 36-cell tray, with a drainage hole in each cell. It is built for a windowsill, for large seeds, and for crops that need room: tomatoes, peppers, squash, cucumbers, and sunflowers all benefit from the extra cell volume.
The narrow shape is its strength and its limit. It fits where a full tray cannot, and it lets you grow a few prized varieties without committing a whole shelf. It will not feed a large garden, and it includes no dome or light, so in a dim room you still need a light source nearby. For apartment gardeners, for children starting their first seeds, or for a gardener trialing a new variety before committing a full tray, it is a smart, low-cost second tray.
Best for: small spaces, large seeds, and trial sowings. Skip if: you need volume, because eight cells will not cover a vegetable garden. Our rating: 8.7/10.
6. Jiffy 36-Cell Greenhouse Kit
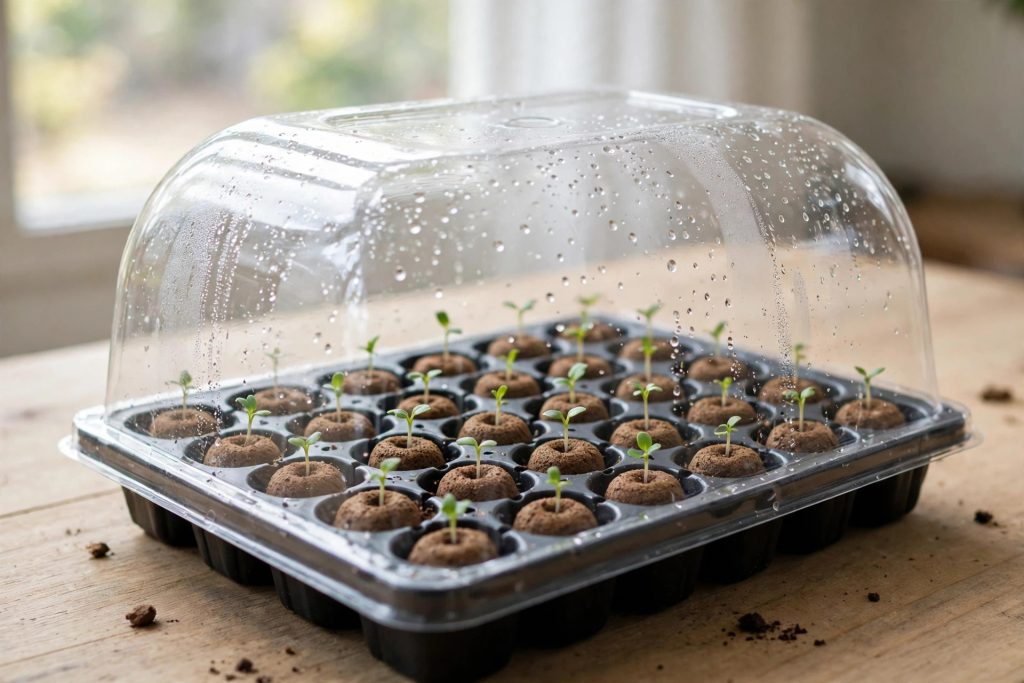
Jiffy’s 36-cell kit is the simplest route into seed starting: a tray, a clear dome, and 36 peat pellets that expand with water. Sow directly into a pellet, cover with the dome, and when the seedling is ready, plant the whole pellet, net and all, into a larger pot or the garden. There is no mix to buy, no cell to fill, and no root ball to disturb at transplant time.
That simplicity suits first-time growers and gardeners who start a modest number of plants. The square tray, about 11 inches across, fits a windowsill or a countertop, and the dome holds humidity well during germination. Peat pellets do have a known weakness: they dry out from the edges faster than a filled cell, so check them daily and water from below by adding water to the tray, not by pouring over the top.
Pros: easiest setup on this list, transplant without disturbing roots, widely available. Cons: pellets dry out quickly, peat is a single-use medium, and the kit includes no light or heat mat. Best for: beginners and small sowings. Our rating: 8.5/10.
7. Bootstrap Farmer 1020 Heavy-Duty Flats
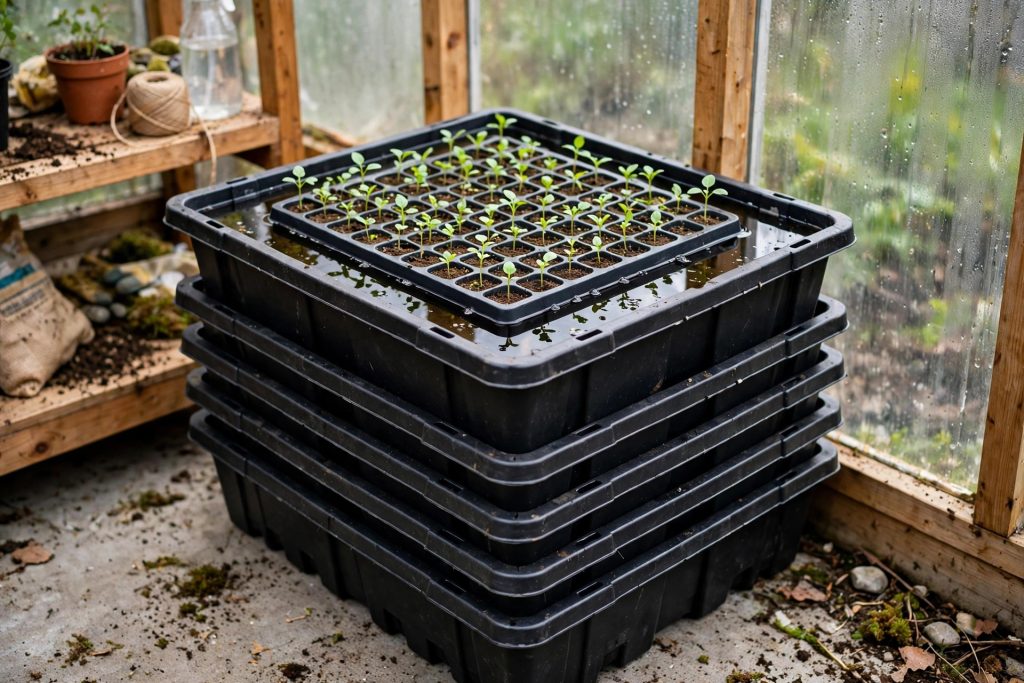
This pick is not a complete kit, and that is the point. Bootstrap Farmer’s extra-strength 1020 flats are trays, 21.1 by 11.0 by 2.5 inches (outer dimensions), made from thick, food-grade, BPA-free polypropylene, with a two-year manufacturer warranty. They are available with or without drainage holes, so the no-holes version can serve as a bottom-watering reservoir. They are the foundation other trays sit in: cell inserts, soil blocks, peat pots, and microgreen trays all fit the standard 1020 size.
Why pay more for a flat with no cells? Because a full flat of wet mix is heavy, and thin flats buckle, twist, and spill. These flats are built to be carried by one edge when loaded, to stack for storage, and to survive seasons of daily use without cracking. Growers who start hundreds of plants a year consistently report that heavy-duty flats are the upgrade they wish they had bought first.
Buy this if: you already own cell inserts or plan to build a system around the 1020 standard, and you want bottom watering without leaks. Skip it if: you want a ready-to-sow kit, because you still need inserts, a dome, and mix. Also note the no-holes version holds water by design: after bottom watering, empty excess water within an hour or two so roots are not left sitting in it. Our rating: 9.3/10.
8. Bootstrap Farmer 72-Cell Plug Trays
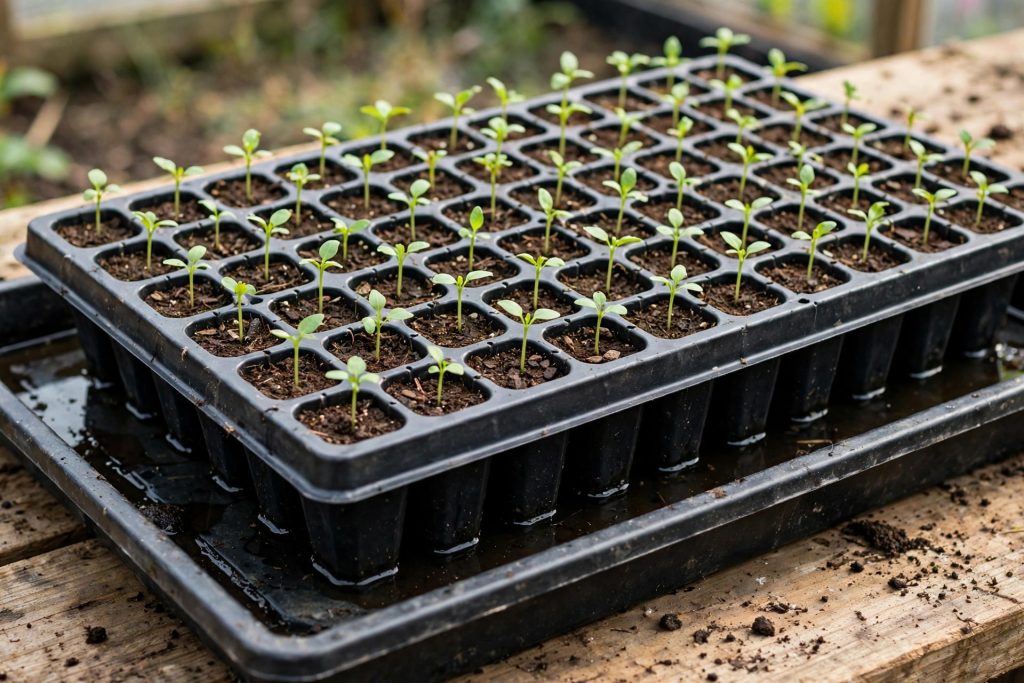
Pair the flats above with these plug trays and you have a professional-grade system. Each 72-cell plug tray is 2.25 inches deep, with each cell 1-1/2 inches square, sized to fit a 1020 flat so every cell reaches the water during bottom watering, with drainage holes in each cell. The trays are made from food-safe recycled plastic and are backed by a 1-year warranty against breakage or warping. The extra depth matters: deeper cells hold more mix, dry out more slowly, and give roots room to grow down rather than circle.
The thick plastic is the same story as the flats. These trays do not warp when lifted full, they stack cleanly for storage, and they survive being dropped or stepped on in a greenhouse. For market gardeners, for gardeners starting 200 or more plants, and for anyone who reuses trays for years, the durability alone justifies them.
The tradeoff is that this is a component, not a kit. There is no dome, no light, and no heat mat in the box, and the 72 small cells still need timely transplanting: depth helps, but it does not turn a 72-cell tray into a 32-cell tray. Use these for high-volume, uniform crops, and keep larger-cell trays for the slow growers. Our rating: 9.1/10.
9. RooTrimmer 54-Cell Deep Trays (5-Pack)
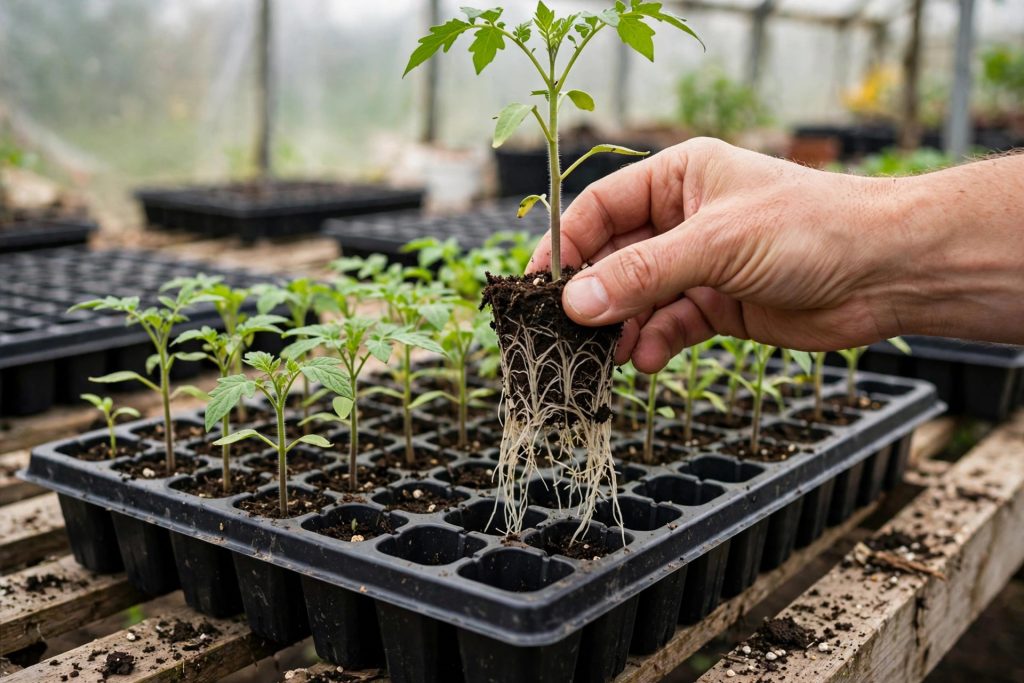
Deep cells solve the most common complaint about standard trays: seedlings outgrow them before the weather is ready. RooTrimmer’s 54-cell trays are 2.8 inches deep and measure 14.6 by 11.14 inches, made from thick reusable plastic, and sold as a 5-pack, giving 270 cells in total. That depth suits tomatoes, peppers, brassicas, and flowers that spend 6 to 8 weeks indoors, and it gives roots a straight run down instead of a shallow, crowded mat.
The 5-pack format suits gardeners who sow in waves. Start one tray in February, another in March, and keep the rest clean and stacked until needed. The trays are sized for 1015 nursery trays, not standard 1020 flats, so check the fit before buying. For watering, follow the bottom-watering steps in “Using Your Tray: A Simple Setup That Works.”
Best for: longer indoor stays and succession sowing. Skip if: you only start a handful of plants, because 270 cells is far more than a small garden needs, and deep cells use more mix per plant than shallow ones. Real-world limitation: no domes are included, so add your own cover during germination or start in a humid room. Our rating: 8.9/10.
10. Patigrow 60-Cell Self-Watering Kit with Grow Light
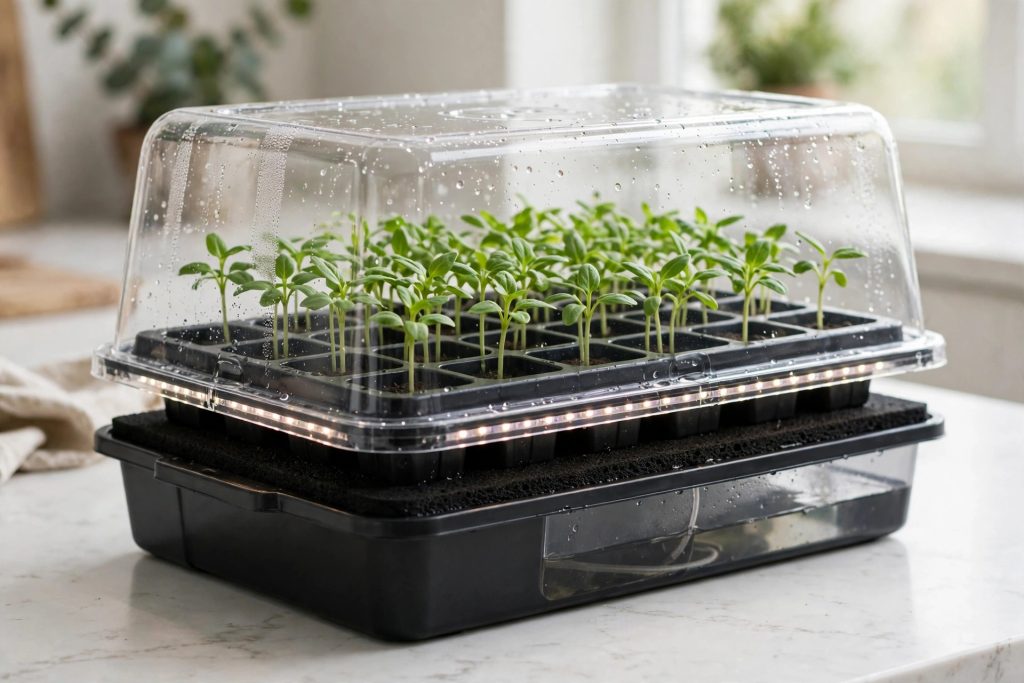
Patigrow’s kit is built for the gardener who travels, works long days, or simply forgets to water. It holds 60 cells with enlarged drainage holes, under a 4.07 inch humidity dome with adjustable vents. Below the cells, a capillary mat draws water from a reservoir, so moisture stays even between waterings. Above, two LED strips with 56 beads provide light with adjustable brightness and a timer.
That combination covers the three things seedlings need most: steady moisture, humidity at germination, and light after sprouting. The enlarged drainage holes matter here too, because a self-watering system only works if water can move freely into the mix and excess can drain back out. The kit is made from high-density, BPA-free PET, and it includes a support stand and a user manual.
The honest limits: there is no heat mat, so in a cold room germination will still be slow, and the self-watering setup takes a few minutes to understand the first time. Pair it with a heat mat in a cold space, and check the reservoir weekly rather than assuming it is full. For busy households, this is the lowest-maintenance kit on the list. Our rating: 9.0/10.
How We Chose
We scored each tray and kit from verified manufacturer and retailer specifications, plus the patterns in owner feedback, and we did not claim hands-on testing. Scores are editorial assessments, NOT laboratory test results, and no hands-on testing, measurements, or laboratory testing is claimed. The scoring system below shows what mattered most, and the weights add up to 100 percent.
| Factor | Weight | What we looked for |
|---|---|---|
| Cell size and depth | 25% | Enough root room for the crop and the indoor stay |
| Watering and drainage | 25% | Bottom watering, drainage holes, no standing water |
| Completeness | 20% | Dome, light, heat, and mix included or clearly missing |
| Durability and reuse | 20% | Material thickness, warranty, years of reuse |
| Fit and value | 10% | Standard 1020 fit, shelf fit, what you get for the buy |
Specifications were clarified by using conservative figures when conflicts arose and indicating unpublished details rather than making assumptions. Prices are omitted due to frequent changes, so current listings should be checked before purchasing. SOLIGT (9.4/10) ranks higher than Burpee (9.2/10) mainly due to its completeness, including a tray, dome, LED light, and heat mat, along with good scores in watering, drainage, and cell dimensions, though it loses points on fit and cell depth.
Burpee excels in watering and drainage with its self-watering system, cell size, durability, and reusability but lacks completeness by not including a light or heat mat, which must be purchased separately. This gap in completeness primarily accounts for the 0.2-point difference in ratings. These scores are based on editorial assessments, not lab tests.
Using Your Tray: A Simple Setup That Works
Start with clean trays. Wash reused trays and tools before sowing, because pathogens survive on plastic from season to season. Fill cells with moist, sterile seed starting mix, not garden soil: the University of Maryland Extension warns that a dry period after germination begins can kill the embryo, so pre-moisten the mix until it feels like a wrung-out sponge.
Sow at the depth on the packet, usually about twice the width of the seed, and cover the tray to hold moisture. Keep the mix warm, around 65 to 75 degrees, until seeds sprout, then remove the cover and move the tray under strong light. Iowa State University Extension advises watering from below by submerging the container until the medium is fully wet, then letting it drain, which keeps seeds from washing out of place.
After germination, give seedlings 14 to 16 hours of light a day, with the fixture just a few inches above the leaves, and keep nights cooler than days: about 55 to 60 degrees at night and 65 to 70 during the day suits most seedlings. Run a small fan nearby for gentle air movement, which strengthens stems and reduces disease. About a week before transplanting, begin hardening off: set trays outside in shade for short periods, building up to full days outdoors, and only leave them out overnight when nights stay within the range for that crop.
If you are new to indoor sowing, our companion guide walks through the whole process step by step.
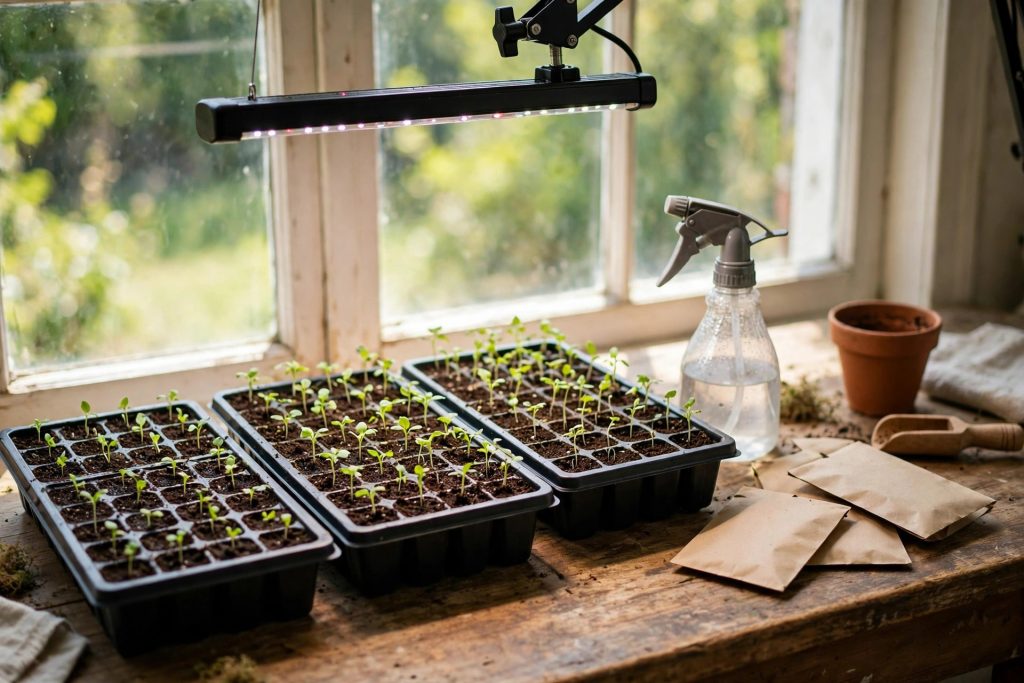
How to Start Seeds Indoors: A Beginner’s Guide
For timing by region, check the zone calendar before you sow, because the same tray sown at the wrong date still produces weak plants.
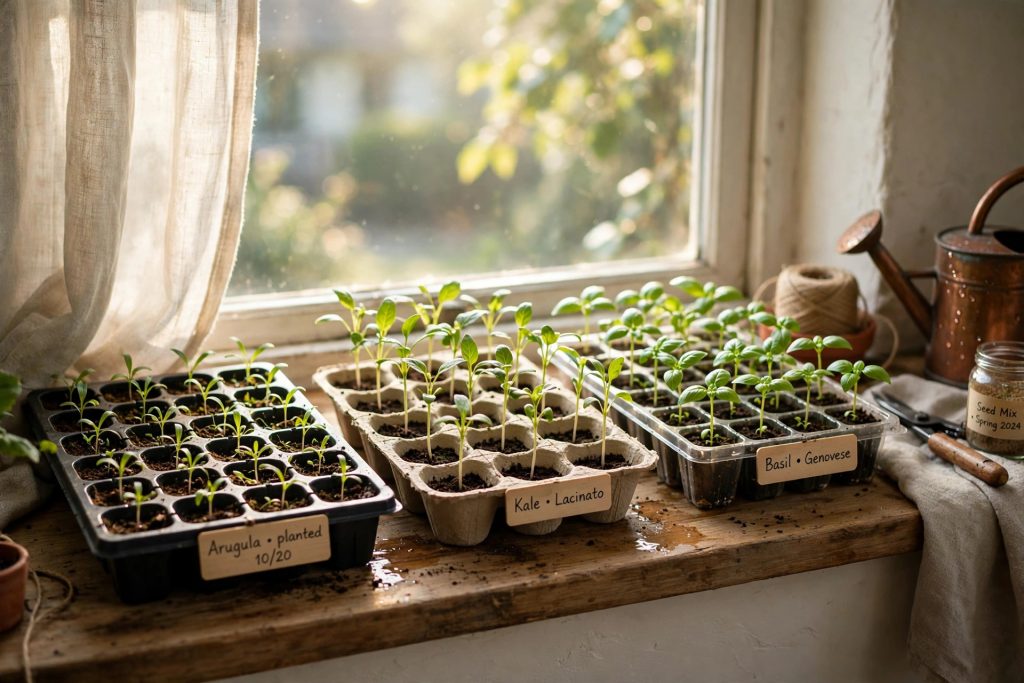
When to Start Seeds Indoors by Zone: A Timing Guide
For seeds that prefer a cold start outdoors instead of a tray indoors, winter sowing is the alternative method, and it suits many hardy flowers and vegetables.
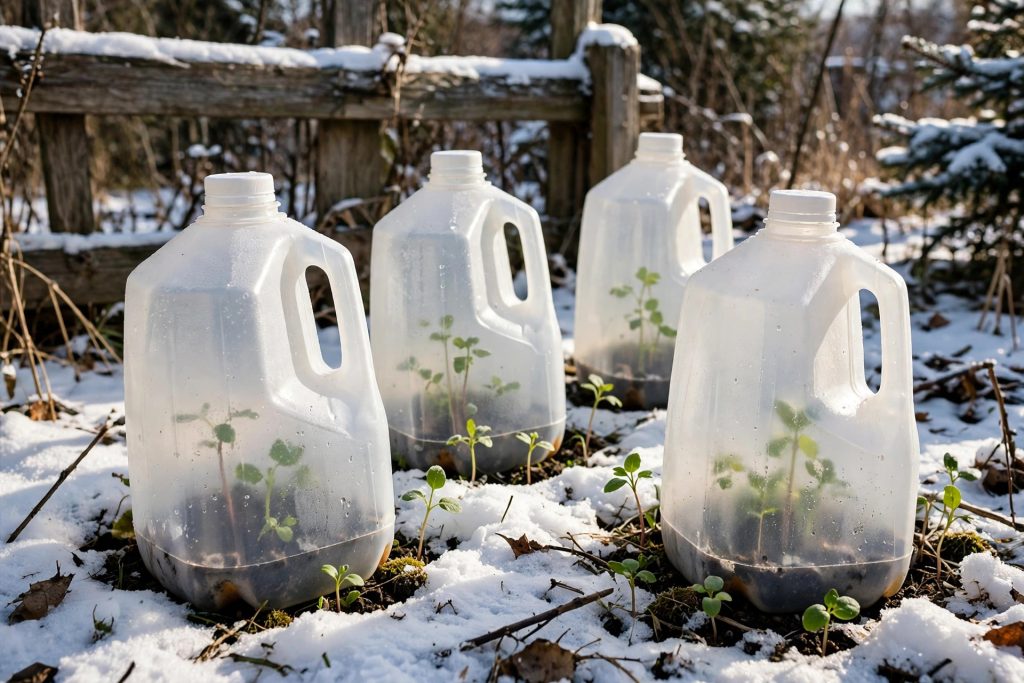
Winter Sowing: 6 Easy Proven Steps to Start Seeds
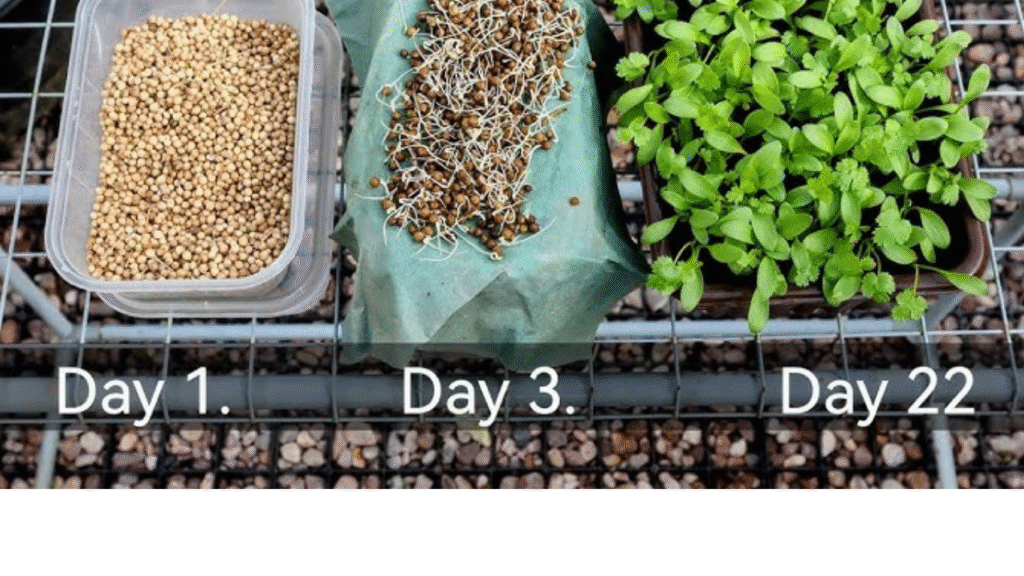
If you also grow herbs from seed, coriander is a good first crop for a new tray, because it germinates fast and shows watering mistakes early.
Common Mistakes
Starting too early is the most common error. A tomato started 12 weeks before transplant day does not become a better plant; it becomes a tall, weak plant that struggles outside. Count back from your last frost date using the packet, not from the day the seed catalog arrives.
Overwatering comes second. Seedlings need consistently moist mix, not wet mix. If the surface glistens for hours, if algae appears, or if stems pinch at the soil line, the tray is too wet. Follow the bottom-watering steps in “Using Your Tray: A Simple Setup That Works,” and let the surface dry slightly between waterings.
Leaving the dome on too long comes third. Follow the dome-removal and light steps in “Using Your Tray: A Simple Setup That Works.” A dome left on a tray of sprouted seedlings creates exactly the still, humid conditions damping off fungi prefer.
Finally, weak light ruins good trays. A bright windowsill is rarely enough in winter, and seedlings stretch toward it within days. If stems lean or grow tall and pale, the light is too far away or too weak, not the tray at fault. Follow the light steps in “Using Your Tray: A Simple Setup That Works.”
Final Choice
For most home gardeners, the SOLIGT 60-Cell Kit with Grow Light and Heat Mat is the best seed starting tray purchase, because it covers warmth, humidity, and light in one box and removes the three most common beginner errors at once. If you prefer a simpler, electronics-free kit, the Burpee 72-Cell Self-Watering Kit is the classic choice, and it will serve a full vegetable garden for years.
Gardeners building a long-term indoor setup should skip single kits and buy into the 1020 system: Bootstrap Farmer flats with 72-cell plug trays, plus a dome and a light of your own choosing. That combination costs more at the start and less over five seasons, and it handles volume no single kit can match.
Whatever you choose, remember that the tray is only part of the system. Sow on time, follow the watering and light steps in “Using Your Tray: A Simple Setup That Works,” and harden seedlings off before they move outside. Do those four things, and any tray on this list will give you strong seedlings.
References
- University of Maryland Extension, Starting Vegetable Seeds Indoors
- Purdue Extension, HO-14-W Starting Seeds Indoors
- Iowa State University Extension and Outreach, Getting a Head Start: How to Successfully Start Seeds Indoors
- Maine Gardens, Starting Seeds Indoors
- Burpee, How to Use the Burpee Self-Watering Seed Starting System
Frequently Asked Questions
What size seed starting tray is best for beginners?
A 60 to 72 cell tray with a dome suits most beginners, because it holds a full garden start in one tray and the dome keeps moisture steady during germination. If you only grow a few plants, a 12-cell tray or an 8 XL windowsill tray is easier to manage and uses less mix.
Do I need a humidity dome for seed starting?
A dome helps during germination, especially in dry rooms, but it must come off as soon as sprouts appear. Leaving it on traps damp, still air and encourages damping off. If your room is already humid, a plastic bag or a clear cover works for the few days before germination.
How often should I water seed starting trays?
Water when the surface begins to dry, and water from below whenever possible: set the tray in shallow water until the mix is moist, then drain the excess. Check daily, because small cells dry out fast under lights, and never leave trays sitting in standing water for hours.
Can I reuse seed starting trays?
Yes, if they are sturdy enough to survive cleaning. Wash trays and tools with soap and water, rinse well, and let them dry fully before storing. Thin, single-season trays often crack during cleaning, which is why thick polypropylene flats and silicone trays are better long-term buys.
When should seedlings move from a tray to a larger pot?
Move seedlings when roots fill the cell but before they circle heavily, usually when the plant has two to four true leaves and the plug holds together when lifted. Pot on into a container 1 to 2 inches wider, water well, and keep the plant under strong light while it settles.
Are peat pellets better than seed starting mix?
Peat and coir pellets are simpler, because they expand with water and transplant with the seedling, but they dry out faster at the edges than a filled cell. Seed starting mix gives you more control over moisture and works better in deep cells. Both succeed when watered from below and checked daily.

Thesis Link : https://saulibrary.edu.bd/daatj/public/uploads/BAU200601_19-Pp_5.pdf
- Best Seed Starting Trays and Kits: 10 Picks for Strong Seedlings - October 29, 2026
- How to Read a Soil Test Report: A Garden Guide - October 29, 2026
- Best Grow Lights for Seedlings - October 28, 2026