It is January, snow is on the ground, and the garden looks finished for months. That is exactly when winter sowing begins. Instead of filling a windowsill with trays and rushing seedlings in and out to harden them off, you can sow seeds now in recycled milk jugs, set the jugs outside, and let winter do the work. The seeds sit cold, damp, and protected until the weather tells them it is time to grow. When spring arrives, sturdy seedlings are already waiting, already used to life outdoors. The method needs no grow lights, no heat mat, and no spare room indoors, and it fits native plants and hardy flowers and vegetables that naturally spend winter outside.
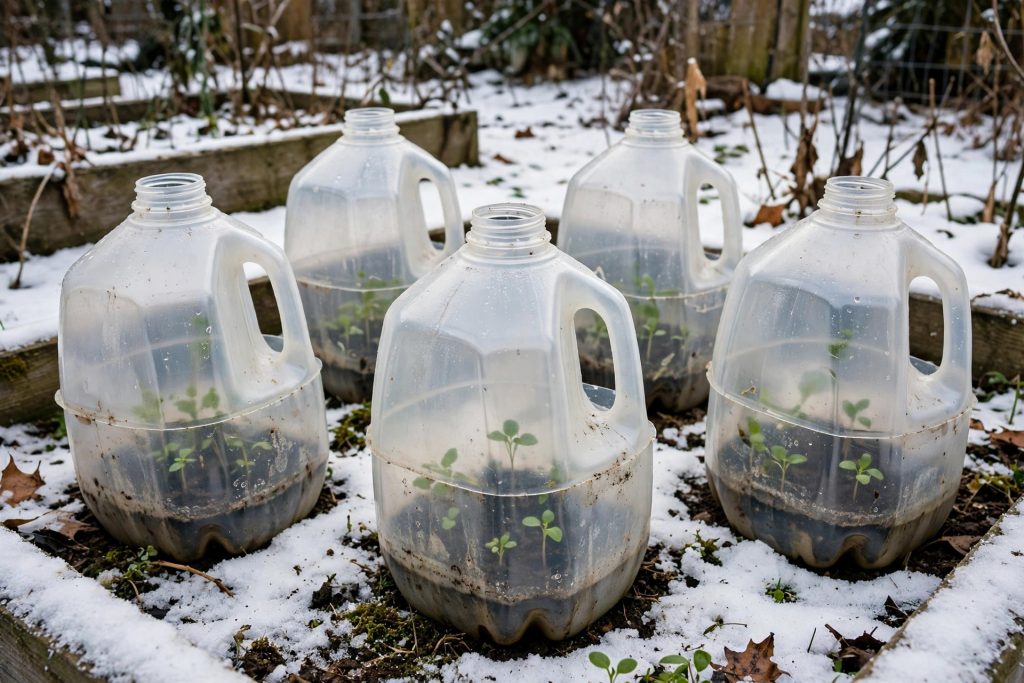
Quick Answer: What Is Winter Sowing?
Winter sowing means sowing seeds outdoors in winter inside vented, translucent containers, usually recycled milk jugs, and leaving them outside until they germinate in spring. The jug acts as a mini greenhouse. It holds moisture, lets light in, and shelters seeds from birds, heavy rain, and being washed away, while still giving them the cold, moisture, and freeze and thaw cycles they need. It works best for seeds that need cold stratification, seeds that self sow, and frost tolerant flowers, herbs, and cool season vegetables. Hardy native perennials are usually sown from December through February, and cold hardy annuals and vegetables follow in late winter or early spring.
How Winter Sowing Works
Many seeds will not germinate until they have spent time cold and moist. That period is called cold stratification. In nature, a seed drops in fall, sits through rain, snow, and freezing nights, and its coat softens. By spring, dormancy breaks and the seed is ready to grow. Winter sowing copies that sequence in a container you can control.
Inside the jug, moisture and cold work on the seed coat over weeks, repeated freezing and thawing nudge it toward germination, and as days warm, the closed jug traps a little heat, so soil warms sooner than open garden soil. Timing matters most. Seeds should stay cold until spring, not sprout during a mild week in January and then freeze. Sow when cold weather has settled in, and do not sow during a warm spell. The indoor method is explained in our guide How to Start Seeds Indoors.
Best Seeds for Winter Sowing
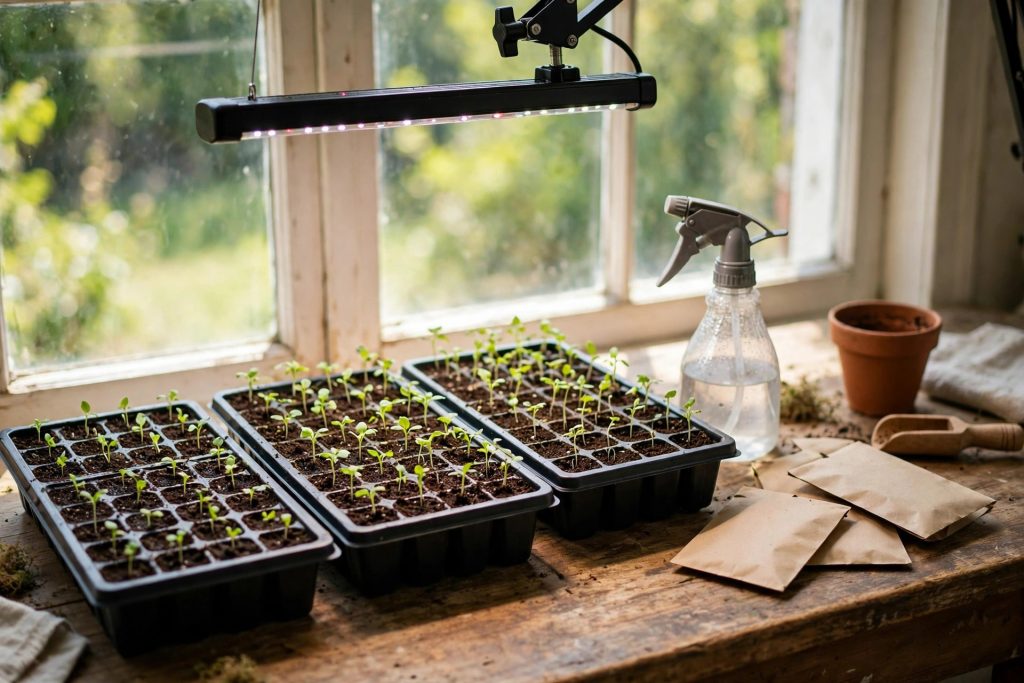
Start with seeds that expect winter. Native plants that need cold stratification are the classic success, because the method gives them exactly what they would get in the wild. Perennial flowers that self sow, cold tolerant annuals, and cool season vegetables are the next best group. Herbs that self sow, such as dill and fennel, also do well, along with alliums. Always check your own seed packet, because packets vary. A packet that says a seed needs 30 or 60 days of cold, or can be sown in fall or early spring, is telling you winter sowing is worth trying.
| Group | Examples | Why it works | Sow window |
|---|---|---|---|
| Native perennials | Milkweed, black-eyed Susan, purple coneflower, liatris, penstemon | Needs cold stratification to break dormancy | December to February |
| Perennial flowers | Shasta daisy, poppy, salvia, dianthus, phlox, gaillardia | Frost tolerant, often self sows in the garden | December to February |
| Cool season vegetables | Kale, spinach, lettuce, broccoli, cabbage, cauliflower | Germinates in cool soil, tolerates light frost | February to April |
| Cool season annuals | Snapdragon, pansy, nasturtium, cosmos, petunia | Tolerates cool spring weather once sprouted | January to March |
| Herbs and alliums | Dill, fennel, cilantro, chives, thyme, oregano, onions | Self sows or tolerates cold, steady spring growth | January to March |
Seeds to Skip or Sow Later
Winter sowing is not for every seed, and the misses usually come from sowing heat lovers too early. Seeds that need warm soil, or seedlings that die in a frost, should wait. That includes most tropical plants, tender annuals that need steady warmth, and large warm season vegetables sown in deep winter.
Tomatoes, peppers, squash, zucchini, and cucumbers are the usual question. University of Missouri Extension lists warm season vegetables for April sowing by this method, and Illinois Extension puts frost sensitive types such as tomatoes and squash in March or April. In a mild zone, a late March or April jug sowing can work, and Maryland Extension shows tomato seedlings started in a milk jug in late March and transplanted in May.
For a short season garden, though, starting those crops indoors is still safer, because an indoor start gives them more warm growing time before fall frost. Treat an outdoor trial as an experiment beside your main crop, not as the whole crop. If you are unsure about timing for your zone, our guide When to Start Seeds Indoors by Zone helps you line up indoor starts, last frost dates, and transplant dates.
When to Winter Sow by Climate
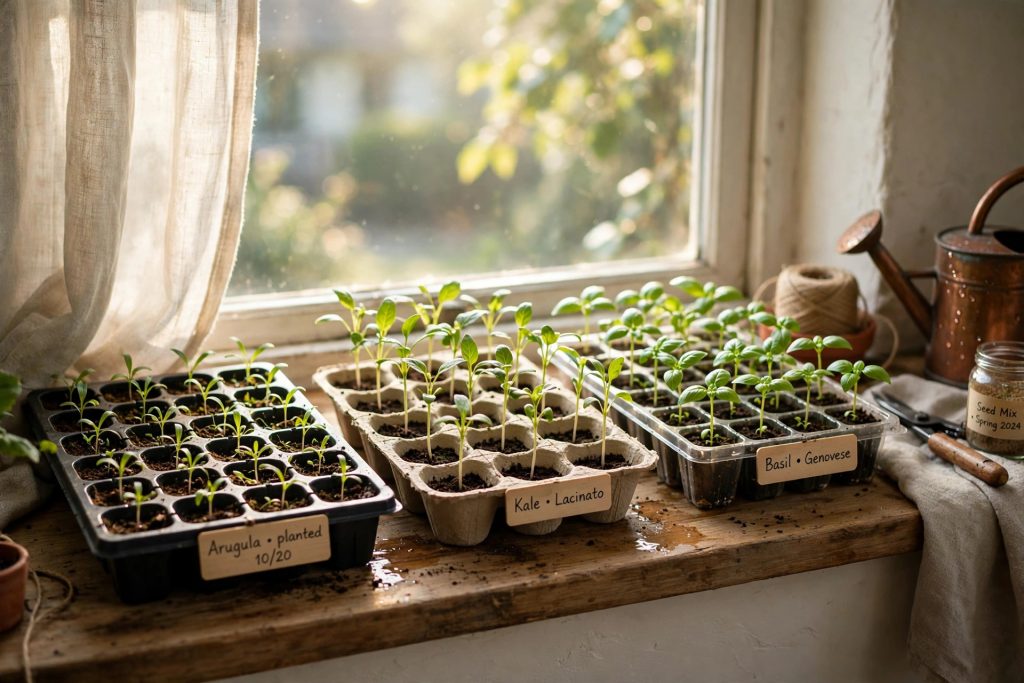
The rule is simple: sow after sustained cold arrives, and do not sow during a warm spell that could trigger early germination. Cold zones get a long winter, so the window is wide. Mild zones get a shorter, less reliable winter, so timing is tighter and late winter sowing suits tender types better. A week of patience costs nothing, while sprouted seedlings caught by a freeze can cost the whole batch.
| Zone group | Hardy types | Tender types | Watch out for |
|---|---|---|---|
| Cold zones 3 to 5 | December to February, into March for natives | Late March to April | Slow spring warm up, late germination into May or June |
| Mid zones 6 to 7 | January to February | March to April | Warm spells in late winter, fast heat buildup in jugs |
| Mild zones 8 to 9 | December to January, while cold is reliable | February to early spring | Short cold period, early germination, heat stress |
For zones 10-11 (frost-free areas such as South Florida, Hawaii and coastal Southern California), winter sowing generally does not work because there is no reliable cold period for stratification; gardeners there should use refrigerator stratification or start seeds indoors instead.
Step by Step: Build a Milk Jug Greenhouse
You need a translucent milk jug, scissors or a utility knife, a screwdriver or nail for holes, well draining potting mix, seeds, duct tape, and a label that will survive outdoors. Do not use garden soil. It compacts, drains poorly, and can carry weed seeds and disease. Use a light, fluffy potting mix, moistened to about the dampness of a wrung out sponge.
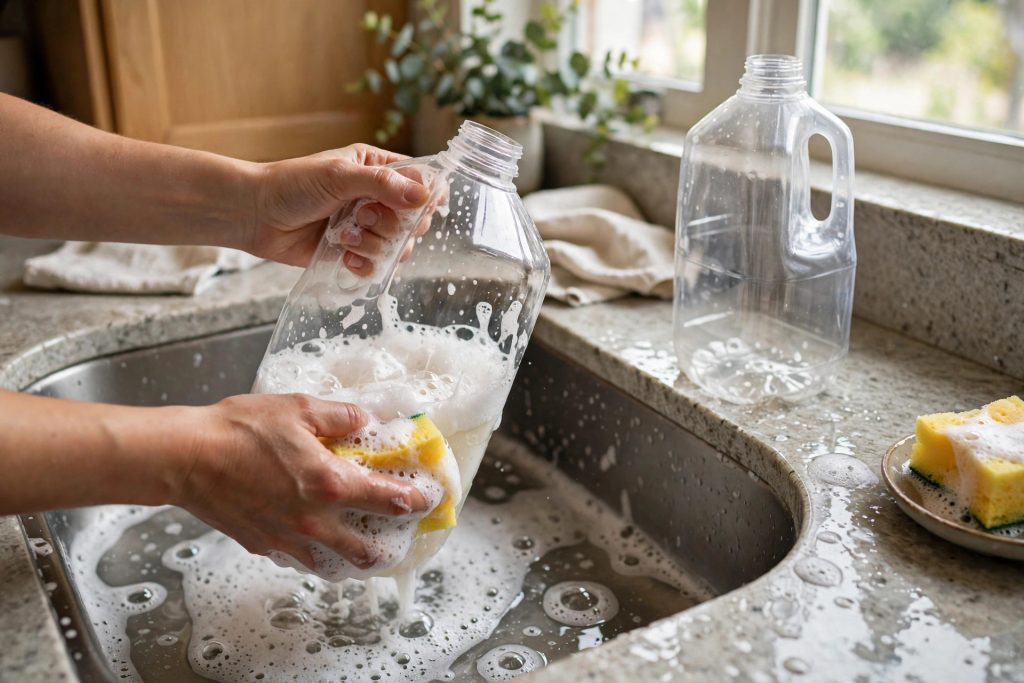
Step 1: Wash the Container
Wash the jug with warm, soapy water, rinse it well, and let it dry. This matters most for reused milk jugs, where milk residue can sour and grow mold.
Step 2: Add Drainage Holes
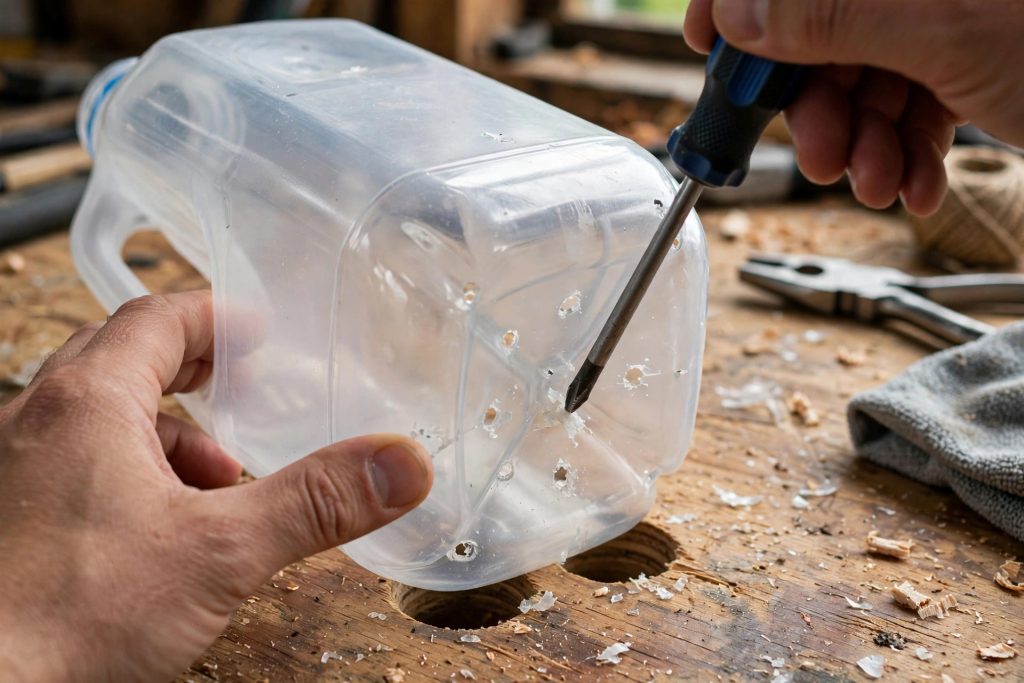
Turn the jug over and poke several drainage holes in the bottom with a screwdriver, nail, or drill. Rain and snow will enter through the open neck, so water must also be able to leave. Make 6 to 8 holes across the base and clear away any plastic shavings.
Step 3: Cut Around the Jug, Leaving a Hinge
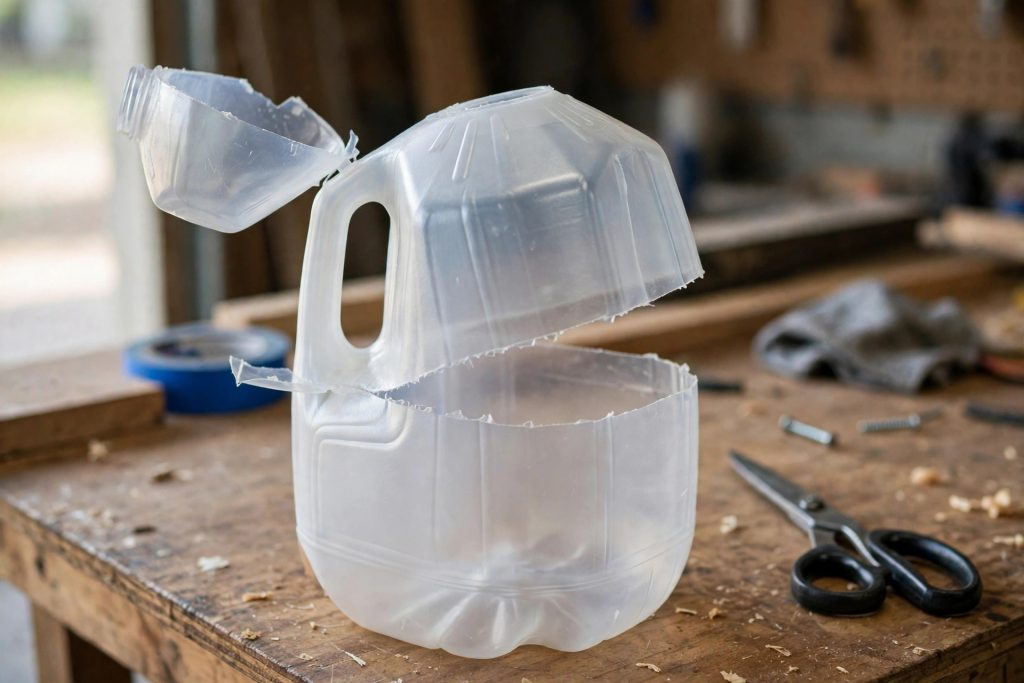
Cut around the jug about 4 inches from the bottom, or around the middle for a taller jug. Do not cut all the way around. Leave a small uncut section just below the handle, about half an inch to an inch wide, so the top stays attached and works as a hinge.
Step 4: Fill With 3 to 4 Inches of Moist Potting Mix
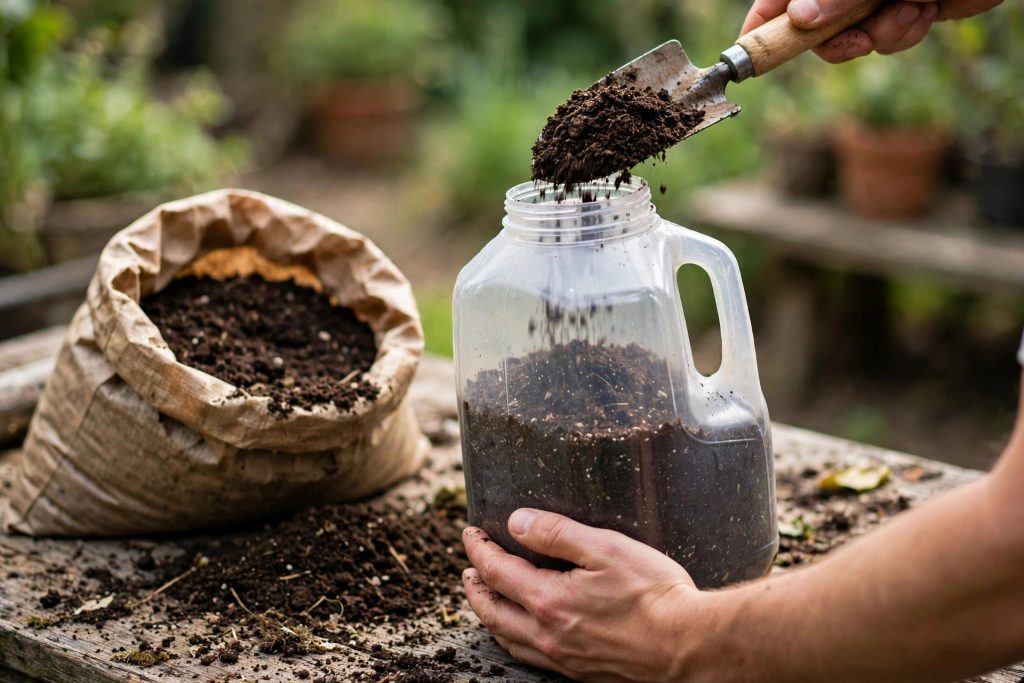
Fill the bottom of the jug with 3 to 4 inches of moist potting mix, not garden soil. Moisten the mix thoroughly and let it drain before sowing, so it feels like a damp sponge, not wet mud.
Step 5: Sow, Seal, and Label
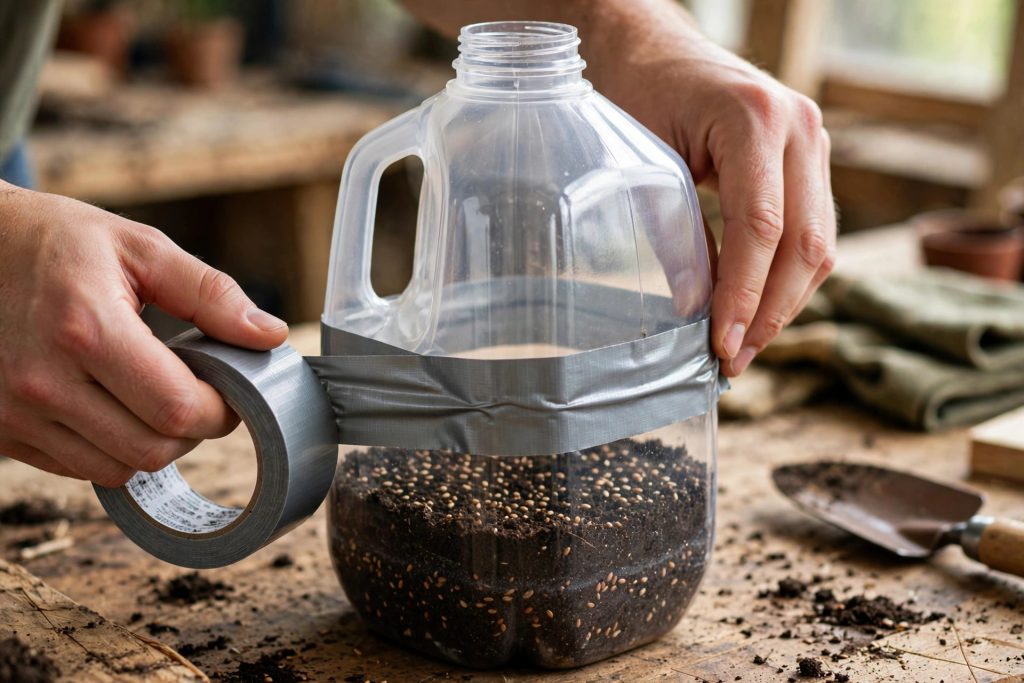
Sow seeds at the depth shown on the packet. Small seeds can sit on the surface with a light press for contact, while larger seeds need covering at packet depth. As a general guide, Maryland Extension notes that a seed is often sown about twice as deep as it is wide, but the packet for your variety comes first. Close the top, seal the cut with duct tape, and leave the cap off so rain, snow, and air can enter through the neck. Label twice: write on the outside, and put a second label inside before sealing, because outside writing fades in sun, rain, and snow.
Step 6: Set the Jugs Outside
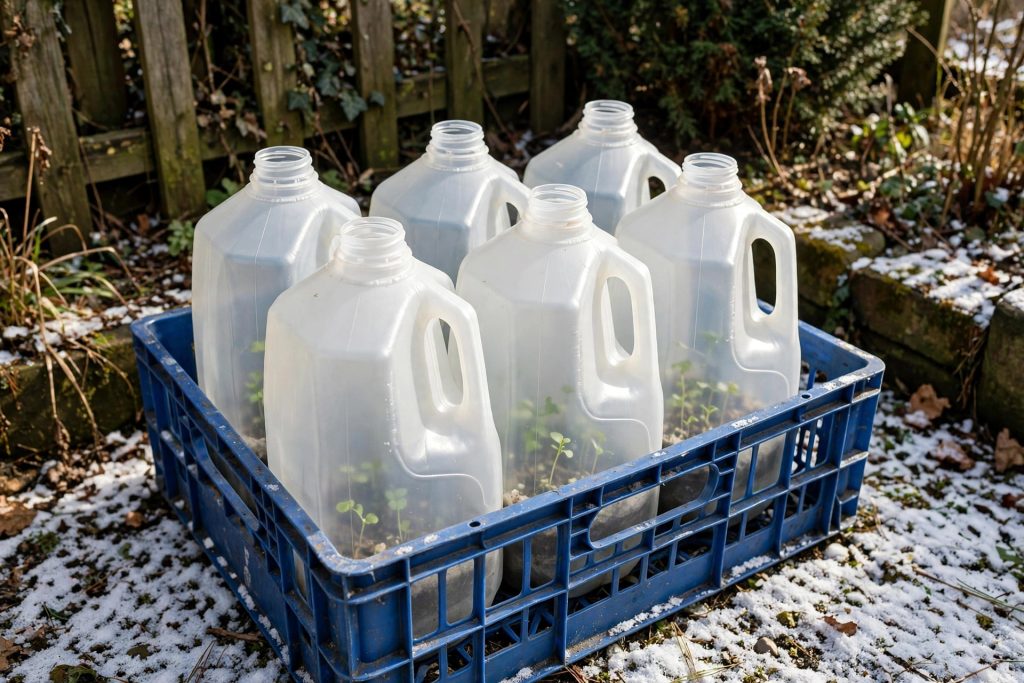
Place the sealed jugs outside in a sunny spot sheltered from strong wind. They need sun, rain, and snow, so do not put them in a garage, shed, or under a solid roof. Set them in a milk crate or tote if wind is a problem, and weigh the crate down if needed.
Spring Care: Venting, Watering, and Transplanting
Spring is when winter sowing needs you. On a warm, sunny day, the inside of a closed jug can heat up fast, even when the air still feels cool. Open the jug or peel back part of the tape during the day, then close it again in the evening to protect seedlings from cold nights. As weather warms, leave the top open longer.
Check moisture by lifting the jug and looking at the mix. Rain and snow usually keep it damp through winter, but a dry spell in spring can dry a small jug quickly. If the mix feels dry, water gently from the top or set the jug in a shallow tray of water until the mix darkens, then let it drain. Do not flood the jug, and do not let seedlings sit in standing water.
Transplant when seedlings are 2 to 3 inches tall and have true leaves, the second set of leaves after the first seed leaves. South Dakota Extension gives a similar guide of about 2 inches tall with two sets of real leaves. To remove seedlings, cut flaps along the side of the jug, slide the whole block of soil out, and divide it gently into clumps or single plants.
Plant them at the same depth they grew in the jug, water them in, and keep tender types until after your last frost date. Hardy types can go out earlier, once the soil can be worked and nights are no longer hard freezing. For gardeners planning a larger protected growing space, our guide 10 Best Greenhouse Crops covers which crops earn greenhouse room once seedlings are ready to move on.

Troubleshooting
Most winter sowing problems have a simple cause, fixed by adjusting water, air, or placement rather than starting over. Check the jug before you assume the seeds failed, because slow seeds, especially natives, can take weeks longer than a packet suggests.
| Problem | Likely cause | What to do |
|---|---|---|
| No germination | Seed needs more cold time, or was sown too late | Keep the mix watered, wait into May or June, sow earlier next year |
| Mold or algae on the surface | Mix too wet, poor drainage, sealed jug with no air | Check drainage holes, vent on warm days, let the surface dry slightly |
| Seedlings wilt on a warm day | Closed jug overheated in sun | Open the jug in the day, close at night, move to light shade if needed |
| Jugs blow over | Exposed site, light jug, strong wind | Set jugs in a crate or tote, shelter from wind, weigh the crate down |
| Labels fade or wash off | Marker on the outside only, weather exposure | Label inside and outside, use a plant tag inside the jug |
Winter Sowing vs Starting Seeds Indoors
Neither method wins outright. They solve different problems, and many gardeners use both. Winter sowing is cheap, needs no indoor space or equipment, and produces tough seedlings already used to outdoor weather. Its limits are timing and control: you cannot force germination, you cannot easily protect a sprout from a freeze, and tender crops get a shorter warm season.
Starting seeds indoors gives control over light, temperature, and timing, which is why it suits tomatoes, peppers, and other heat lovers in a short season. Its costs are space, equipment, and the hardening off step, where seedlings moved outside too fast can wilt or stall. A practical split works well: winter sow natives, hardy flowers, herbs, and cool season vegetables, and start tender vegetables indoors, as described in How to Start Seeds Indoors. Gardeners adding structure to the garden may also like 15 Best Ornamental Grasses for Landscaping.

Final Thoughts
Winter sowing rewards patience more than effort. The work is one afternoon with a stack of jugs, a bag of potting mix, and a handful of packets, followed by months of waiting while winter does the quiet part. Choose seeds that expect cold, sow after cold weather has settled in, seal the jug with the cap off, and set it where it gets sun without wind. Then watch in spring, vent on warm days, water when the mix dries, and transplant when seedlings are 2 to 3 inches tall with true leaves.
References
- South Dakota State University Extension, Winter Sowing in the Northern Great Plains: December to February window for native perennials, warning against heat loving crops in a cold climate, transplanting at about 2 inches tall.
- University of Missouri Extension YM105, Winter Sowing Seeds: milk jug method, 3 inch potting mix depth, discarding the cap, transplanting at 2 to 3 inches with true leaves.
- University of Illinois Extension, Winter Seed Sowing: waiting until January or February, avoiding a warm spell that triggers early germination, holding frost sensitive types until March or April.
- NC State Cooperative Extension, Winter Seed Sowing in Milk Jugs: 3 to 4 inch potting mix depth, sealing with duct tape with the cap off, placing jugs in a sunny, sheltered spot outdoors.
- University of Maryland Extension, Sowing Vegetable Seeds Outdoors: sowing at about twice the seed width, warning that large seeds can rot in cold soil, tomato seedlings started in a milk jug in late March and transplanted in May.
FAQ
What is winter sowing?
Winter sowing is sowing seeds outdoors in winter inside vented, translucent containers such as milk jugs, then leaving them outside until the seeds germinate in spring.
When should I start winter sowing?
Sow hardy native perennials from December through February in most climates, and cold hardy vegetables and annuals in late winter to early spring, roughly February through April depending on your zone. Sow after sustained cold has arrived, not during a warm spell.
Which seeds work best for winter sowing?
Native plants that need cold stratification, perennial flowers that self sow, cold tolerant annuals, herbs such as dill and fennel, and cool season vegetables such as kale, spinach, lettuce, and broccoli.
Do I leave the cap on or off the milk jug?
Leave the cap off. The open neck lets rain, snow, and air into the jug, while the sealed sides and drainage holes keep moisture balanced.
Do winter sown seedlings need hardening off?
They need far less hardening off than indoor seedlings, because they already grew outdoors.
Why have my winter sown seeds not germinated yet?
Many seeds, especially natives, germinate slowly and unevenly. Keep the mix moist, keep the jug vented on warm days, and wait into May or June before you assume the batch failed. If nothing appears by then, sow earlier next year or try a fresh packet.

Thesis Link : https://saulibrary.edu.bd/daatj/public/uploads/BAU200601_19-Pp_5.pdf
- Winter Sowing: 6 Easy Proven Steps to Start Seeds - October 27, 2026
- How to Clean, Oil and Store Garden Tools - October 26, 2026
- When to Start Seeds Indoors by Zone - October 26, 2026