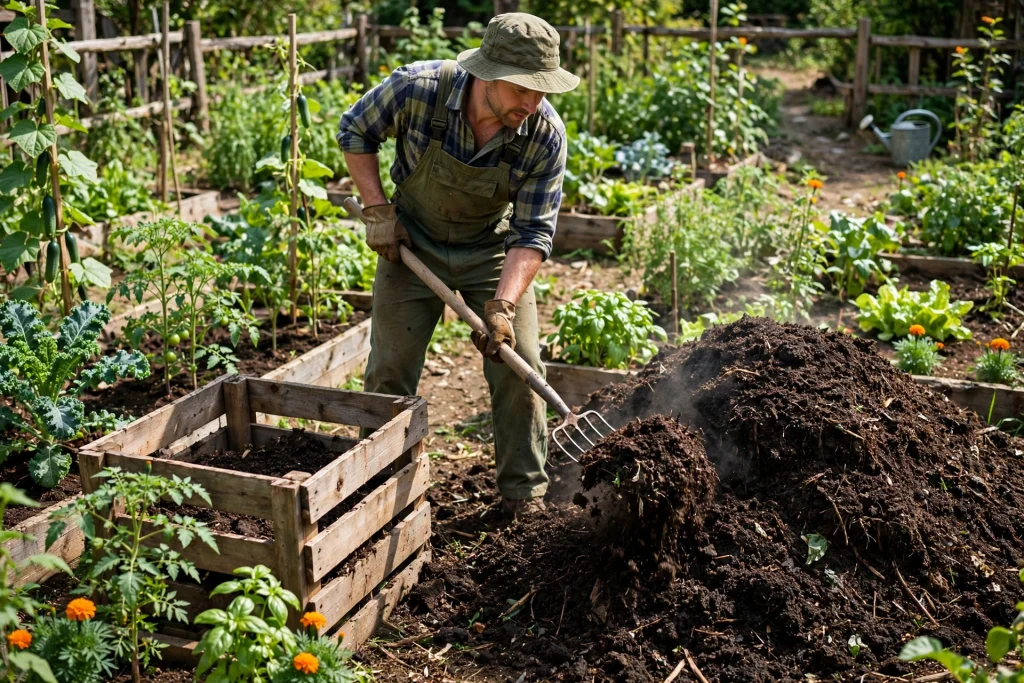

Learning how to make compost at home is one of the simplest ways to improve garden soil without buying bag after bag of amendment. Kitchen scraps and yard waste that would otherwise go in the trash break down into dark, crumbly material that feeds soil life, helps soil hold water, and releases nutrients slowly to plants.
You do not need special equipment, a large yard, or a chemistry background to start. You need four things working together: carbon-rich browns, nitrogen-rich greens, water, and air. Get those roughly right, give the pile time, and microbes do the rest.
This guide walks through the whole process: picking a spot and a method, building the pile layer by layer, keeping it active, fixing the common problems, and knowing when the compost is finished and ready to use.
The Quick Answer
If you want to start this weekend, here is the short version. Pick a level, well drained spot with room to work around it. Build a pile at least 3 feet wide, 3 feet deep, and 3 feet tall, or use a bin of similar size. Layer roughly two to three parts browns to one part greens by loose volume. Cover fresh food scraps with browns every time you add them. Keep the pile about as damp as a wrung-out sponge. Turn it when it smells, when it cools after heating, or about once a week if you want faster results. A well kept pile finishes in about three to five months.
That three to five month figure is a general estimate. The actual time varies with temperature, moisture, pile size, and how often you turn it. A pile left alone still finishes, but it can take a year or longer. Finished compost looks dark and crumbly, smells like fresh soil, and has no recognizable scraps left in it.
What Composting Actually Is
Composting is controlled, aerobic decomposition. That sounds technical, but it means this: in the presence of air, bacteria, fungi, and other small organisms break plant and food material down into humus, the stable dark matter that gives finished compost its color and smell. The US Environmental Protection Agency (EPA) describes home composting in exactly those terms, as a managed aerobic process, and its guidance is a useful baseline for everything in this guide.
Two points matter for a home gardener. First, air matters as much as the ingredients. A pile with no air goes anaerobic, which is the usual reason a pile smells bad. Second, finished compost is a soil builder first and a fertilizer second. Its nutrients release slowly as microbes keep working in the soil, so it improves structure and water holding at the same time as it feeds plants.
Compost vs Manure at a Glance
Compost and manure are often confused, because both are dark and both improve soil. They do not do the same job, so here is the short version.
| Compost | Manure | |
|---|---|---|
| What it is | Finished, decomposed plant and food material | Animal waste, used only after ageing or composting |
| Main strength | Builds soil structure first, feeds second; low and slow nutrients | Stronger fertilizer; feeds faster than plain compost |
| Safety timing | No waiting period when fully finished | Keep a long gap before harvest; follow the 90 and 120 day rules |
| Best for | Every bed, every year; seedlings and salad crops | Hungry vegetables, flowers, and new beds that need fertility too |
| Watch out for | Unfinished batches can rob nitrogen from plants | Weed seeds and pathogens may survive; salts and phosphorus can build up if over-applied |
For the full comparison, with application rates and the food-safety rules, see Compost vs Manure: Which Fits Your Garden? below.
Pick a Spot and a Method
Where to put the pile
Pick a level spot with good drainage, close enough to the kitchen that carrying scraps stays easy in winter, and near a water source for dampening dry material. North Carolina State Extension suggests a shady site at least six feet from the house. Shade helps the pile hold moisture in summer, and distance from the house keeps any brief odor or fly interest away from doors and windows.
Avoid low spots where water stands after rain. A soggy base cuts off air from below and turns the bottom of the pile slimy. If your only space is on concrete, a bin with a base or a tumbler is a better choice than an open pile, because the material still needs air from the sides.
Check local rules before you build, since some towns and homeowner associations set rules on pile size, placement, or food scraps. A quick check now avoids a forced move later.
Open pile, bin, or tumbler
All three methods work. The right one depends on your space, your neighbors, and how much turning you want to do.
| Method | Cost | Turning | Best for | Watch out for |
|---|---|---|---|---|
| Open pile | Lowest, nothing to buy | Fork turning | Large yards, plenty of material | Looks untidy, dries out in wind, easiest for pests to reach |
| Enclosed bin | One bin to buy | Fork turning, needs air holes | Most backyards, neater look, keeps material contained | Can go soggy if it cannot breathe |
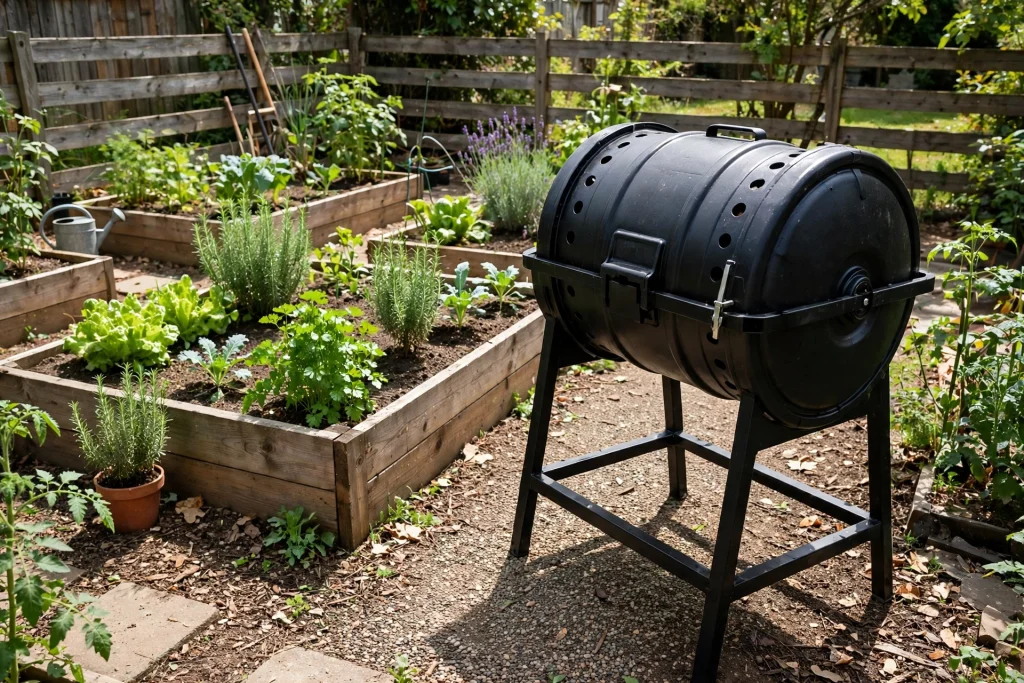
| Tumbler | One tumbler to buy | Spinning instead of fork turning, needs regular spinning | Small yards, tidy and pest resistant | Smaller batches, can dry out fast |
Size decides whether a pile heats up. An open pile needs at least 3 feet wide, 3 feet deep, and 3 feet tall, about one cubic yard or 200 gallons, to hold heat; University of New Hampshire Extension gives the same one cubic yard minimum, and Kansas State horticulture expert Matt McKernan advises a bin that holds at least a 3 by 3 by 3 foot mound, with 5 by 5 by 5 feet as the largest size a home gardener can easily handle. An enclosed bin sold for home gardens is commonly around 80 gallons, about 300 liters, which suits a small backyard with kitchen scraps and light yard waste but will not heat like a full cubic yard pile. A sealed tumbler is typically 40 to 80 gallons, a 55 gallon drum holds about 40 gallons of material, and it suits small yards, patios, and pest control, but not large leaf loads. Match the method to the material you actually have: open piles for large yards and autumn leaves, enclosed bins for tidy suburban yards, tumblers for small spaces.
A three-bin system is worth knowing about even if you start with one bin. With three bins, each holds compost at a different stage: fresh material, actively breaking down material, and curing material. You do not need three bins to start, but the idea explains why a second batch is useful once the first pile is full and curing. Stop adding fresh scraps to a full pile, let it finish, and start the next batch elsewhere.
Greens and Browns: The Mix That Matters
Every compost ingredient falls into one of two groups. Greens supply nitrogen and moisture. Browns supply carbon, structure, and air spaces. Microbes need both, and the balance between them decides whether the pile heats up, smells, or just sits there.
Household advice often gives the balance two ways, and it helps to know why both appear. The scientific target is a carbon to nitrogen ratio of about 25 to 1 up to 30 to 1 by weight. Penn State Extension and the University of New Hampshire both put the preferred range in that band.
Home gardeners cannot weigh every banana peel, so extension guides translate it into a volume rule: roughly two to three parts browns to one part greens. North Carolina State Extension uses two browns to one green, while University of Georgia Extension specialists recommend three browns to one green. Both point the same way: use clearly more browns than greens, then adjust by what the pile does.
| Group | Examples | Role in the pile |
|---|---|---|
| Greens (nitrogen) | Fruit and vegetable scraps, coffee grounds, tea leaves, fresh grass clippings, fresh plant trimmings, manure from plant eating animals | Feed microbes, add moisture, start heating |
| Browns (carbon) | Dry leaves, straw, shredded newspaper, uncoated cardboard, small twigs, sawdust from untreated wood, wood chips | Supply energy, absorb moisture, keep air spaces open |
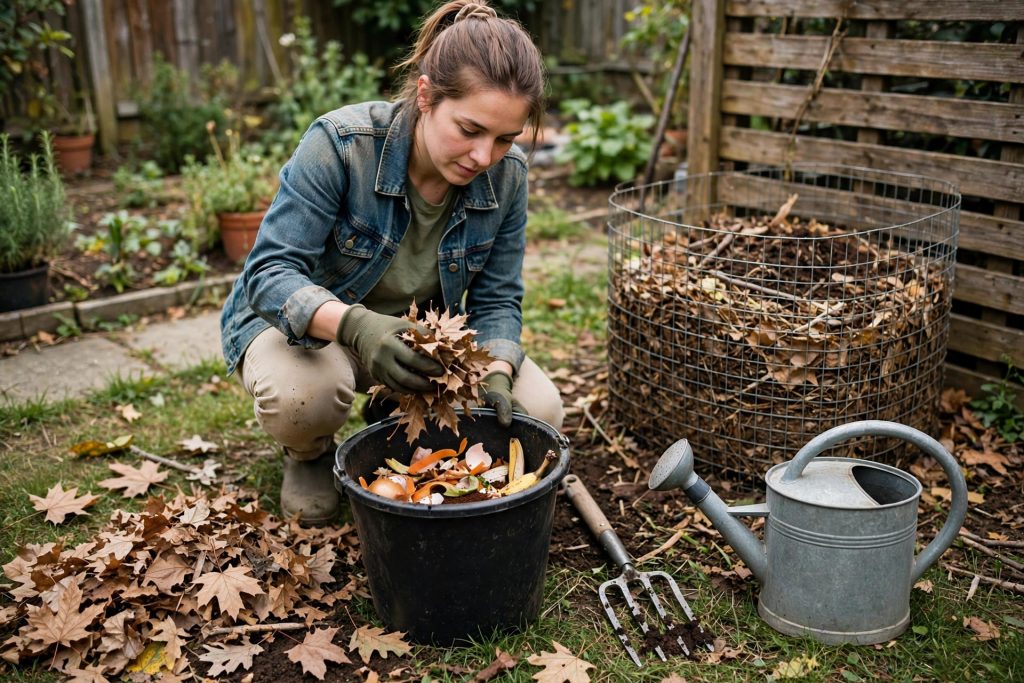
A practical habit makes the ratio easy: keep a stockpile of dry browns next to the pile. Every time you add kitchen scraps, cover them with a generous layer of browns. Covering food scraps also cuts odor and makes the pile much less interesting to flies and other animals.
Chop or shred material before it goes in. Smaller pieces break down faster because microbes have more surface to work on. A mower pass over dry leaves, a shredder for cardboard, or a few extra chops with a spade for thick stalks all shorten the wait.
What to Compost and What to Leave Out
Most kitchen and garden waste composts well at home. Fruit and vegetable scraps, coffee grounds and filters, tea bags, eggshells (crushed, so they break down faster), grass clippings, leaves, straw, shredded paper and cardboard, and spent garden plants all belong in the pile.
Leave out meat, bones, fat, grease, and dairy products in a backyard pile. These attract pests, smell as they break down, and can carry pathogens that a home pile may not get hot enough to kill. The EPA notes that backyard piles generally do not reach high enough temperatures to fully decompose those materials, and they are better handled by commercial composting facilities where accepted.
Also leave out dog and cat feces, diapers, charcoal ash, and yard trimmings treated with chemical pesticides. North Carolina State Extension lists all of these as materials to avoid. Diseased plants and weed plants gone to seed are a judgment call: a hot pile that holds 130 to 160 degrees Fahrenheit reduces weed seeds and pathogens, but a cold or small pile may not, so it is safer to leave diseased material and seedy weeds out unless you are sure your pile runs hot.
How to Make Compost at Home Step by Step
Step 1: Gather your materials
Collect a good amount of both groups before you build. A pile built all at once heats faster than a pile that grows a handful at a time, because it has the mass to hold heat. If you cannot gather enough at once, start anyway and keep adding, but expect a slower, cooler pile. Keep a bucket of kitchen scraps in the kitchen and a bag or bin of dry leaves by the pile so adding material stays easy.
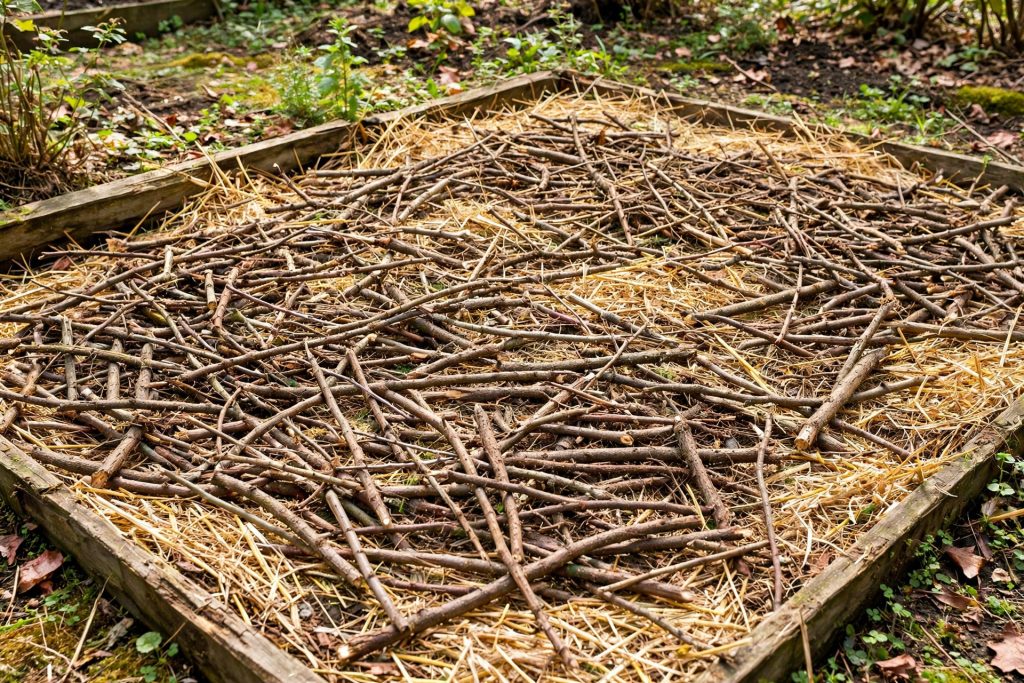
Step 2: Start with a coarse base
Lay a 4 to 6 inch base of coarse browns such as small twigs, wood chips, or straw. This loose layer lifts the pile slightly and lets air move underneath, which keeps the bottom from going soggy. It also helps drainage after rain.
Step 3: Layer greens and browns
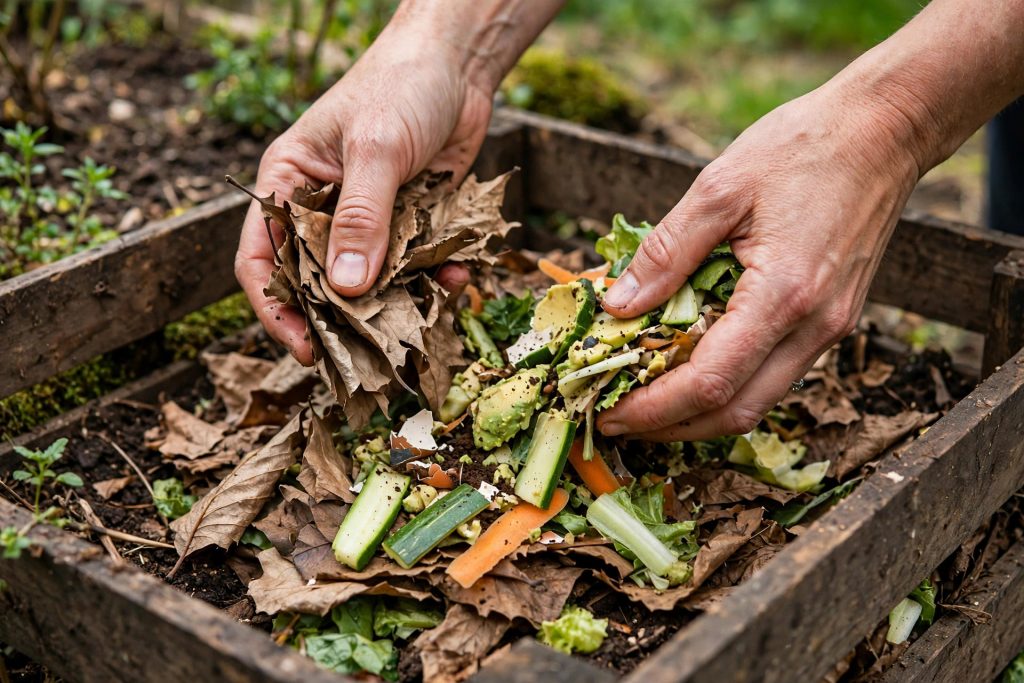
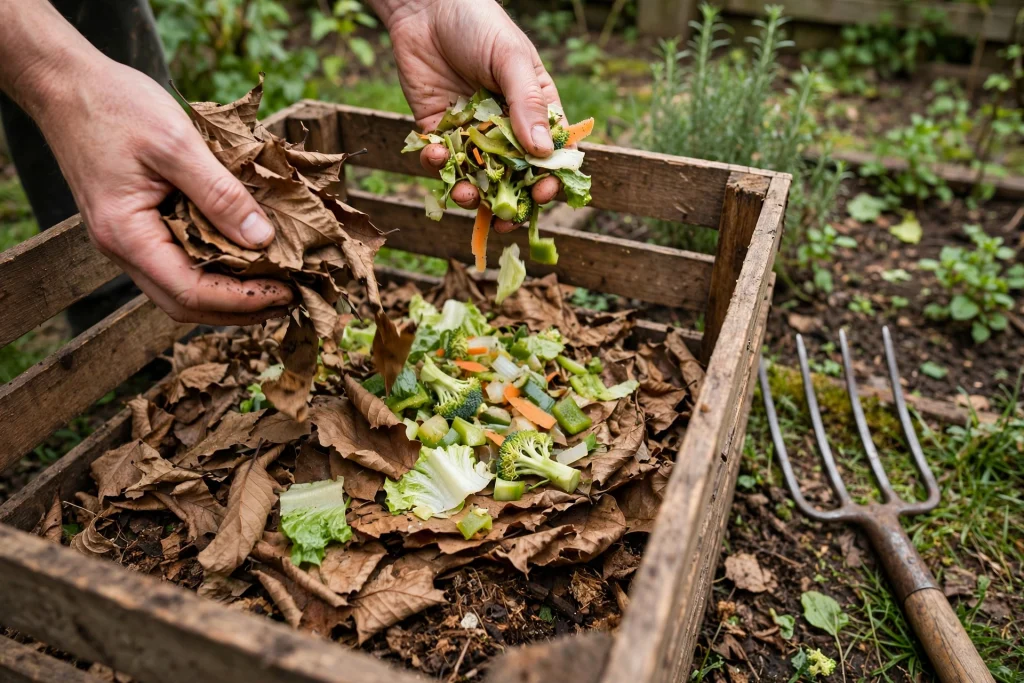
Add a layer of greens, then cover it with roughly two to three times as much browns by loose volume. Repeat the pattern, watering lightly as you go, until the pile reaches at least 3 feet in each direction. University of New Hampshire Extension recommends a minimum pile of one cubic yard, about 3 feet wide by 3 feet tall by 3 feet long, because a smaller pile loses heat too fast to stay active.
Step 4: Water to wrung-out sponge dampness
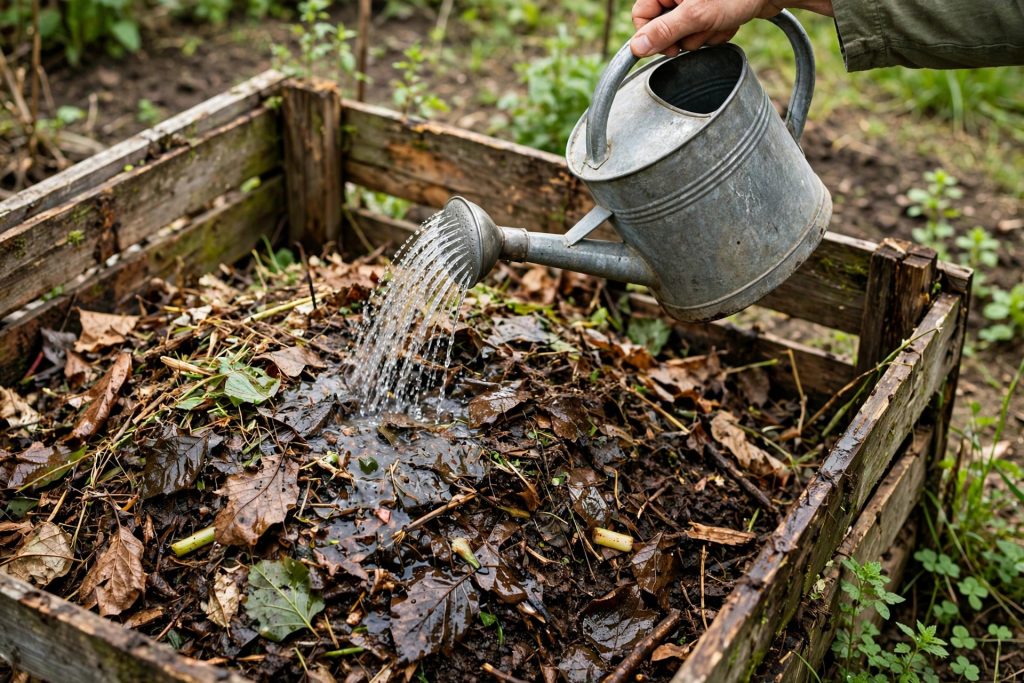
Water the pile as you build it, not just on top at the end. The target is damp like a wrung-out sponge: squeeze a handful and only a drop or two should come out. Too dry, and microbes slow to a stop. Too wet, and water fills the air spaces and the pile turns anaerobic. In a dry spell, check the center, not just the surface, since the outside dries first.
Step 5: Turn for air
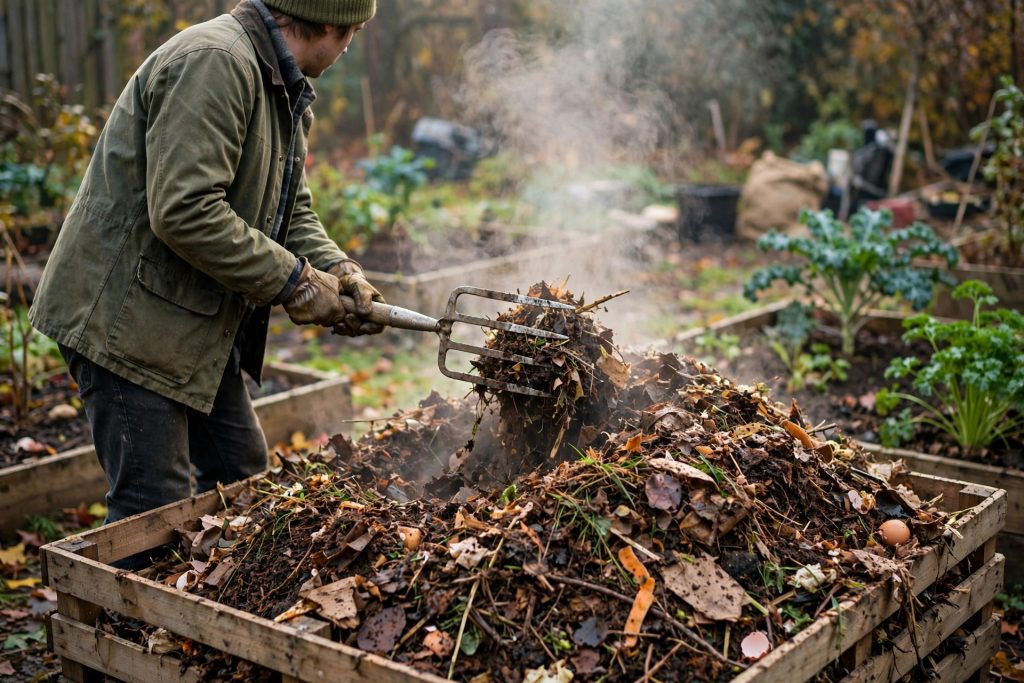
Turn the pile with a digging fork, moving material from the outside to the center so every part gets time in the hot middle. For a fast pile, turn about once a week, or when the temperature starts to drop after a hot spell. For a slow pile, turning every few weeks is enough. A tumbler replaces the fork: give it a few turns every few days instead.
Turning also lets you check moisture and mix in dry browns or water where needed. If the pile smells when you open it, that is useful information, not a failure. Add browns and air, as the troubleshooting section below explains.
Step 6: Watch the heat
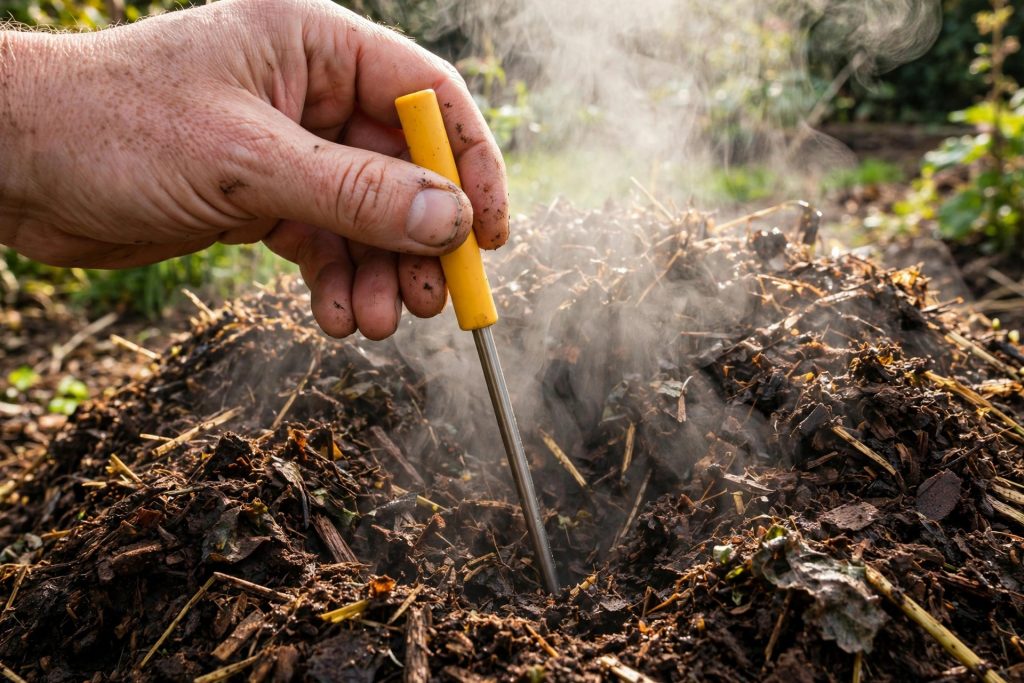
In a well built pile, the center warms within a few days. A well maintained backyard pile can reach 130 to 160 degrees Fahrenheit, according to the EPA, and that heat helps reduce pathogens and weed seeds. You do not need a thermometer to compost, but one takes the guesswork out: push it into the center and read it before turning. If the pile never heats, it is usually too small, too dry, too low in greens, or short on air. Fix one of those and check again in a few days.
A pile that gets above 160 degrees Fahrenheit needs attention too. At that point beneficial microbes start to die back. Turn it, add water if it is dry, and let it cool into the working range.
Step 7: Let it cool and cure
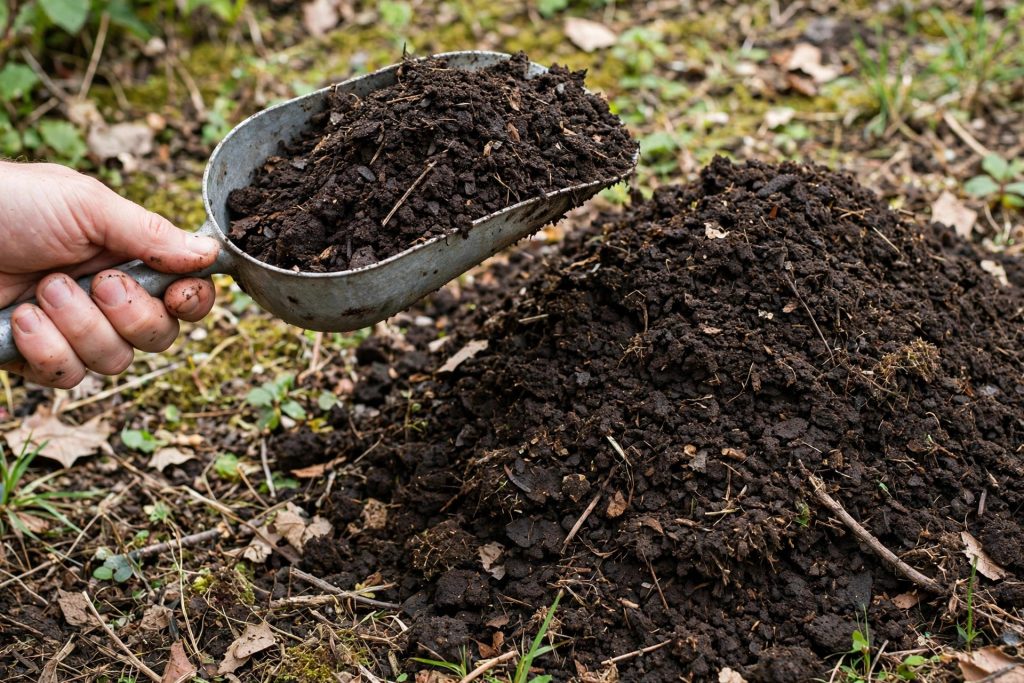
When the pile stops heating up after turning and no food scraps are visible, move it to a curing spot or leave it in place and stop adding fresh material. The EPA recommends curing for at least four weeks. Curing lets slower microbes finish the work and lets the compost stabilize, so it does not rob nitrogen from soil when you use it. Screen out large pieces that did not break down and toss them into the next pile.
Example: Building a Small Backyard Compost Pile
Take a beginner with a small backyard and a kitchen bucket that fills up every few days. She picks a level corner with room to walk around it and marks out a pile about 3 feet wide, 3 feet deep, and 3 feet tall. First she spreads a coarse base of twigs and straw so air can move underneath. Then she builds in layers: a few inches of dry leaves, a thinner layer of kitchen scraps and fresh clippings, and a cover of dry leaves over the scraps every time she adds more. She waters lightly until the pile feels like a wrung-out sponge, then leaves it alone for a few days.
When the pile warms up and then cools, she turns it with a fork, checks the dampness, and adds browns if it smells or greens if nothing seems to happen. After about three to five months of this routine, with the time stretching longer in cold weather or when turning is skipped, the pile turns dark, crumbly, and earthy smelling. She spreads it over her vegetable beds before planting, and starts the next pile beside it.
Hot Composting vs Cold Composting
Hot composting means building a full pile at once, keeping the mix, moisture, and air right, and turning regularly so the pile stays hot for days or weeks. Done well, it can finish in weeks to a few months. It takes more attention and more material at the start.
Cold composting means adding material as it comes, turning rarely or never, and letting time do the work. It needs almost no effort, but it can take a year or more, and it will not reliably kill weed seeds or plant diseases because it never gets hot. Most home gardeners end up somewhere between the two: a pile that heats when it has enough material, cools when it does not, and finishes when it finishes. That middle path still produces good compost, as long as you do not use unfinished material around young plants.
Troubleshooting: When the Pile Tells You Something
Almost every compost problem traces back to the same four things: too much nitrogen, too little nitrogen, too much water, or too little air. The table below covers the problems home gardeners meet most.
| Symptom | Likely cause | Fix |
|---|---|---|
| Rotten egg or swamp smell | Too wet, too compacted, no air | Turn thoroughly, mix in dry coarse browns, spread out to dry if very wet |
| Sharp ammonia smell | Too many greens, nitrogen escaping as gas | Add generous dry browns, turn well, let it air briefly before restacking |
| Pile will not heat up | Too small, too dry, too few greens, or already finished | Add greens and water, build up to at least 3 feet, turn to mix |
| Pile too wet and slimy | Excess water, poor drainage, no structure | Add dry browns, turn for air, improve drainage under the pile |
| Pile too dry, nothing happening | Not enough water, exposed to wind and sun | Water slowly while turning until it feels like a wrung-out sponge |
| Flies around the pile | Exposed food scraps on the surface | Bury scraps in the center, always cover with browns, turn more often |
| Finished compost still has chunks | Large pieces, short curing time | Screen it, return chunks to the next pile, cure at least four weeks |
If a pile smells, do not abandon it. Smell is the pile asking for air and browns, and most smelly piles recover within a few days of turning and adding dry material.
How to Tell Compost Is Finished
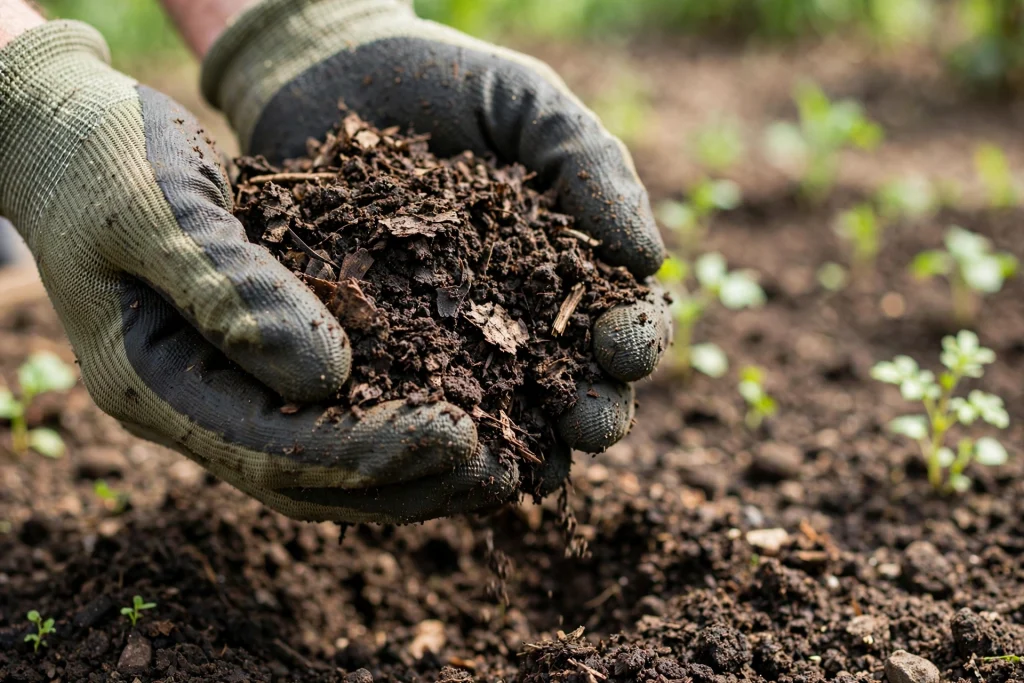
Finished compost passes four simple checks. It looks dark and crumbly, with no recognizable food or leaves left. It smells like fresh soil, not like garbage or ammonia. It feels loose and moist, not slimy or dusty. And it stays near outdoor temperature for at least a week after turning, instead of heating up again. If it reheats after turning, it is still active and needs more curing time.
Unfinished compost can temporarily tie up nitrogen in soil while microbes finish breaking it down, which is why it should not go straight around seedlings or young transplants. Give it the curing time, or use it as mulch on top of the soil where it can finish slowly without touching tender roots.
How to Use Finished Compost in the Garden
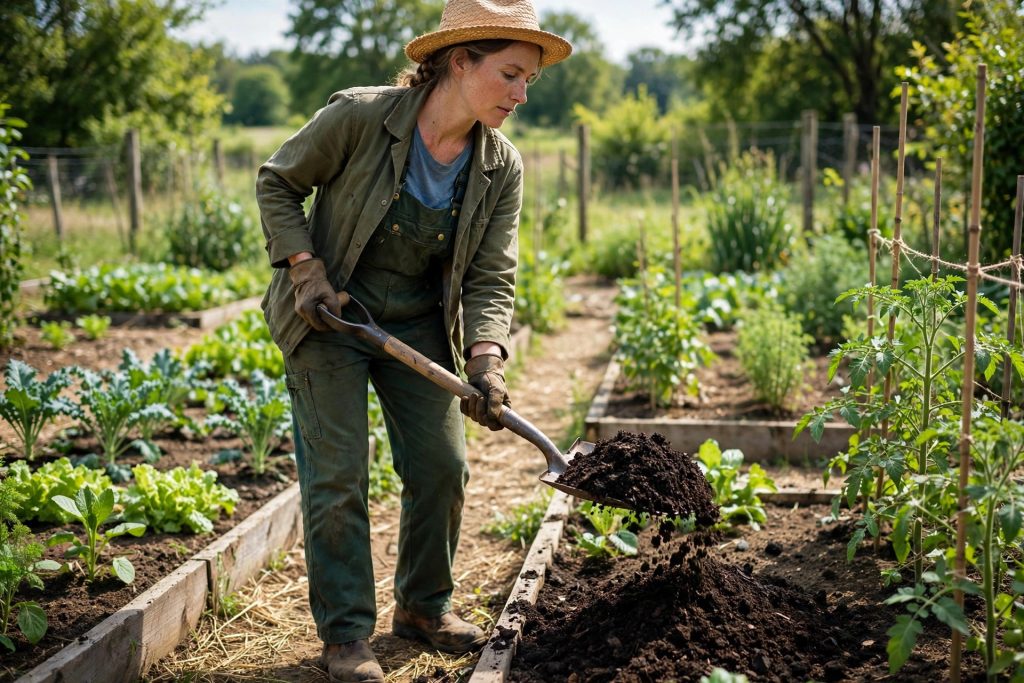
For garden beds, Penn State Extension suggests mixing 1 to 2 inches of compost into the top 6 to 8 inches of topsoil. That rate works for a new bed and for beds you improve each season. For existing plantings, spread a thin layer on the surface as a top dressing and let worms and watering carry it down.
Use compost as mulch too, but keep it a few inches away from plant stems and tree trunks so moisture does not sit against bark. In containers, blend compost into potting mix rather than replacing the mix outright, since pure compost holds water longer than most potted plants like.
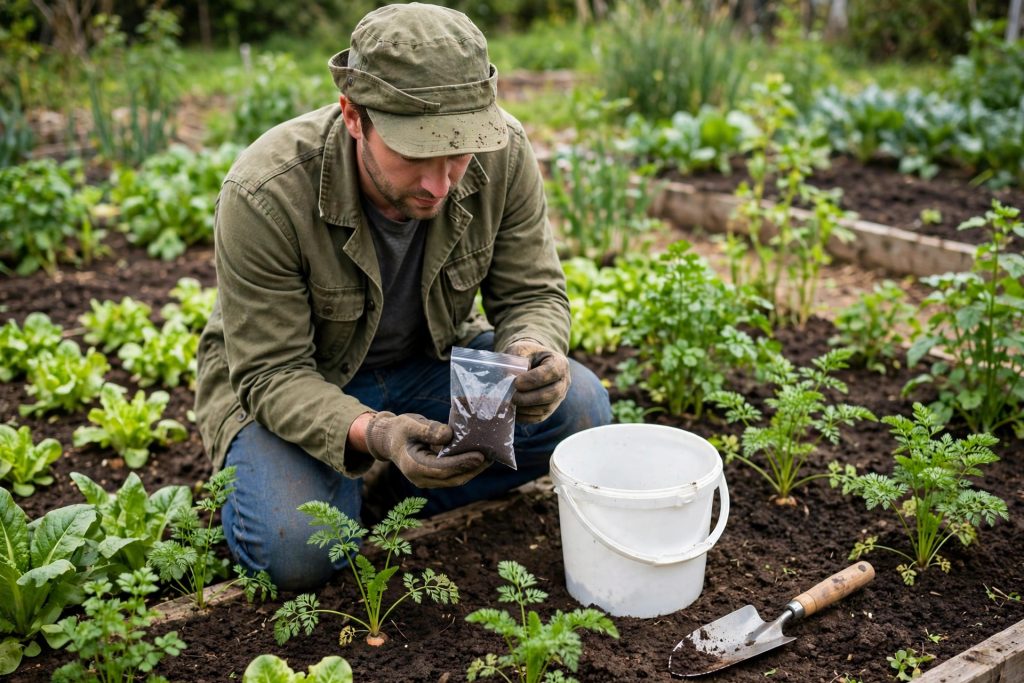
A soil test before you amend in bulk is still worth doing, especially if you plan to add compost every season. Compost improves structure and adds organic matter, but it does not replace lime or a specific nutrient a soil test shows to be missing. Our guide to testing garden soil explains the sampling steps if you have not tested before.
If you have not tested your soil yet, start with the soil testing guide below.
Compost and manure both feed soil, but they are not interchangeable, as the comparison below explains.
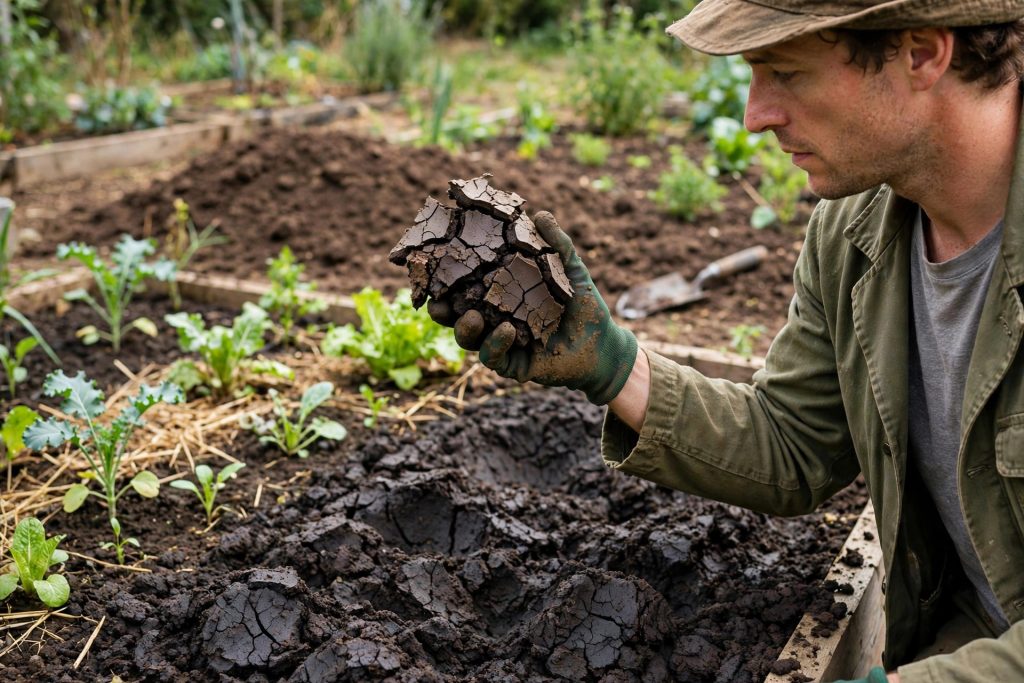
Heavy clay needs a different approach, covered in the clay soil guide below.
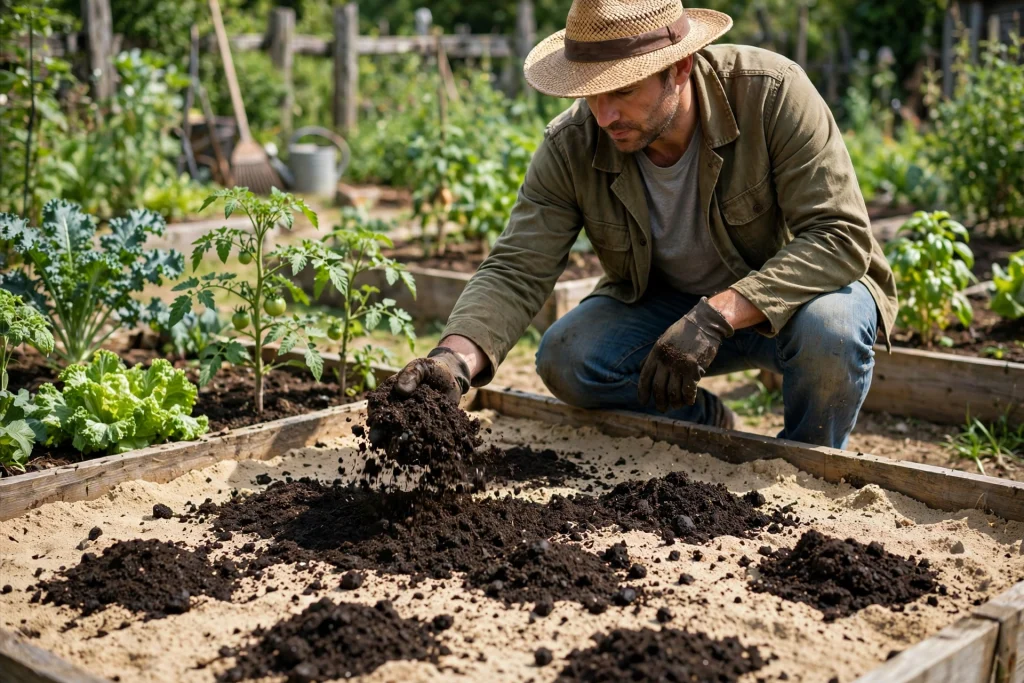
Sandy soil loses water fast, and the sandy soil guide below shows how compost helps.
Composting Through the Seasons
Composting slows in cold weather but does not have to stop. Microbes work more slowly below about 40 degrees Fahrenheit, and a small pile may freeze in winter. Keep adding material through winter in a bin or a sheltered pile, and the pile will pick up again in spring as temperatures rise. Insulating a bin with straw bales or a pile of leaves around the outside helps a small pile hold heat longer into autumn.
Summer is the fastest season, but also the season when piles dry out. Check moisture weekly in hot, windy weather. Autumn is the best time to stockpile browns, since fallen leaves are free, plentiful, and store well in bags or a wire ring for use all year.
Common Mistakes to Avoid
The first mistake is adding only kitchen scraps and no browns. That pile turns wet, smelly, and slow within days. The second is building a pile too small to hold heat, then wondering why nothing happens. The third is never turning and never checking moisture, so the center dries out while the outside looks fine. The fourth is using unfinished compost around seedlings because it looks dark enough. Color alone is not the test: smell, texture, and temperature after turning tell you more.
One more habit helps every pile: keep the browns stockpile full. When browns run out, gardeners stop covering food scraps, and that is when odor and flies start. A bag of dry leaves by the pile is the cheapest insurance a compost system has.
Expert Review
Kansas State University horticulture expert Matt McKernan puts the whole method in plain terms. “A number of things are needed for building a compost pile, including a bin, a source of water, ‘green’ materials, and ‘brown’ materials,” McKernan said. His rule on size is just as direct. “Our goal is to have a bin that will hold at least a 3 X 3 X 3 foot high mound of material,” he said. “Anything less than this and the process will be slow and will not produce sufficient heat to kill insect and disease pests.” McKernan puts the practical maximum for a home gardener at a 5 by 5 by 5 foot bin. His advice lines up with this guide: build big enough to heat, keep air and water in balance, and let the pile do the work.
Final Thoughts
How to make compost at home comes down to a simple routine: gather browns and greens, build a pile big enough to hold heat, keep it damp and aired, and give it time to cure. You do not need to hit an exact ratio, and you do not need to buy anything fancy to start. Watch what the pile does, adjust with browns, water, or air, and it will reward you with material that makes every bed easier to work and better for plants.
Start with one pile, learn its habits through a season, and add a second batch when the first one is curing. Before long, kitchen scraps and yard waste stop feeling like waste at all, and start feeling like the raw material your garden runs on.
References
- North Carolina State Extension, Composting 101: browns and greens, 2 to 1 ratio, pile size 3 to 5 feet high, turning weekly, finished compost dark and crumbly with 50 to 70 percent shrinkage. https://extensiongardener.ces.ncsu.edu/news/composting-101/
- University of New Hampshire Extension, Composting for the Home Gardener: 30 to 1 carbon to nitrogen target by weight, minimum pile one cubic yard, layering browns then greens, covering food scraps with browns. https://extension.unh.edu/resource/composting-home-gardener-fact-sheet
- US Environmental Protection Agency, Composting at Home: aerobic process, well maintained pile reaching 130 to 160 degrees Fahrenheit, curing at least four weeks, finished in about three to five months, up to a year untended. https://www.epa.gov/recycle/composting-home
- Penn State Extension, Home Composting: A Guide for Home Gardeners: preferred carbon to nitrogen ratio 25 to 30 to 1, pile 3 feet in each direction, mixing 1 to 2 inches of compost into the top 6 to 8 inches of topsoil. https://sustainability.psu.edu/wp-content/uploads/2020/09/19_home_composting.pdf
- University of Georgia Cooperative Extension, Good compost starts with the right ingredients: more browns than greens, 3 to 1 ratio, meat, bones, and grease left out because they smell and attract animals. https://fieldreport.caes.uga.edu/news/good-compost-starts-with-the-right-ingredients/
- Kansas State University Extension, Compost bin can aid gardening success, says K-State expert (August 19, 2026): bin sizing and McKernan quotes. https://extension.k-state.edu/news-and-publications/news/stories/2026/08/horticulture-composting-bin.html
Frequently Asked Questions
How long does it take to make compost at home?
A well kept pile finishes in about three to five months, according to the EPA. A hot pile with regular turning can finish faster, while a pile left alone can take a year or longer. Cold weather slows everything down, so a pile started in autumn often finishes the following spring.
What is the best ratio of browns to greens?
Aim for roughly two to three parts browns to one part greens by loose volume. The scientific target is a carbon to nitrogen ratio of about 25 to 1 to 30 to 1 by weight, but home gardeners cannot weigh every scrap, so the volume rule is the practical version. If the pile smells like ammonia, add more browns. If it will not heat, add more greens and check moisture.
Can I compost in winter?
Yes. Keep adding material through winter, and the pile will slow down or freeze in cold weather, then restart in spring. A bin or a sheltered spot helps, and insulating the outside with straw or leaves helps a small pile hold heat longer.
Why does my compost pile smell bad?
A rotten egg smell usually means the pile is too wet and short of air. Turn it thoroughly and mix in dry coarse browns. A sharp ammonia smell usually means too many greens. Add generous dry browns and turn well. A healthy pile smells earthy, like a forest floor after rain.
Can I put meat, dairy, or cooked food in home compost?
No, not in a backyard pile. Meat, bones, fat, grease, and dairy attract pests and can carry pathogens that a home pile may not get hot enough to kill. Stick to fruit and vegetable scraps, coffee grounds, leaves, and yard waste, and leave animal products to commercial composting facilities where accepted.
How do I know when compost is ready to use?
Finished compost looks dark and crumbly, smells like fresh soil, has no recognizable scraps, and stays near outdoor temperature for at least a week after turning. Cure it for at least four weeks after it stops heating. If it reheats after turning, give it more time before using it around young plants.

Thesis Link : https://saulibrary.edu.bd/daatj/public/uploads/BAU200601_19-Pp_5.pdf
- How to Make Compost at Home: A Step by Step Guide - November 5, 2026
- Seed Starting Mistakes: 10 Fixes for Strong Seedlings - November 4, 2026
- Compost vs Manure: Which Amendment Fits Your Garden - November 3, 2026