
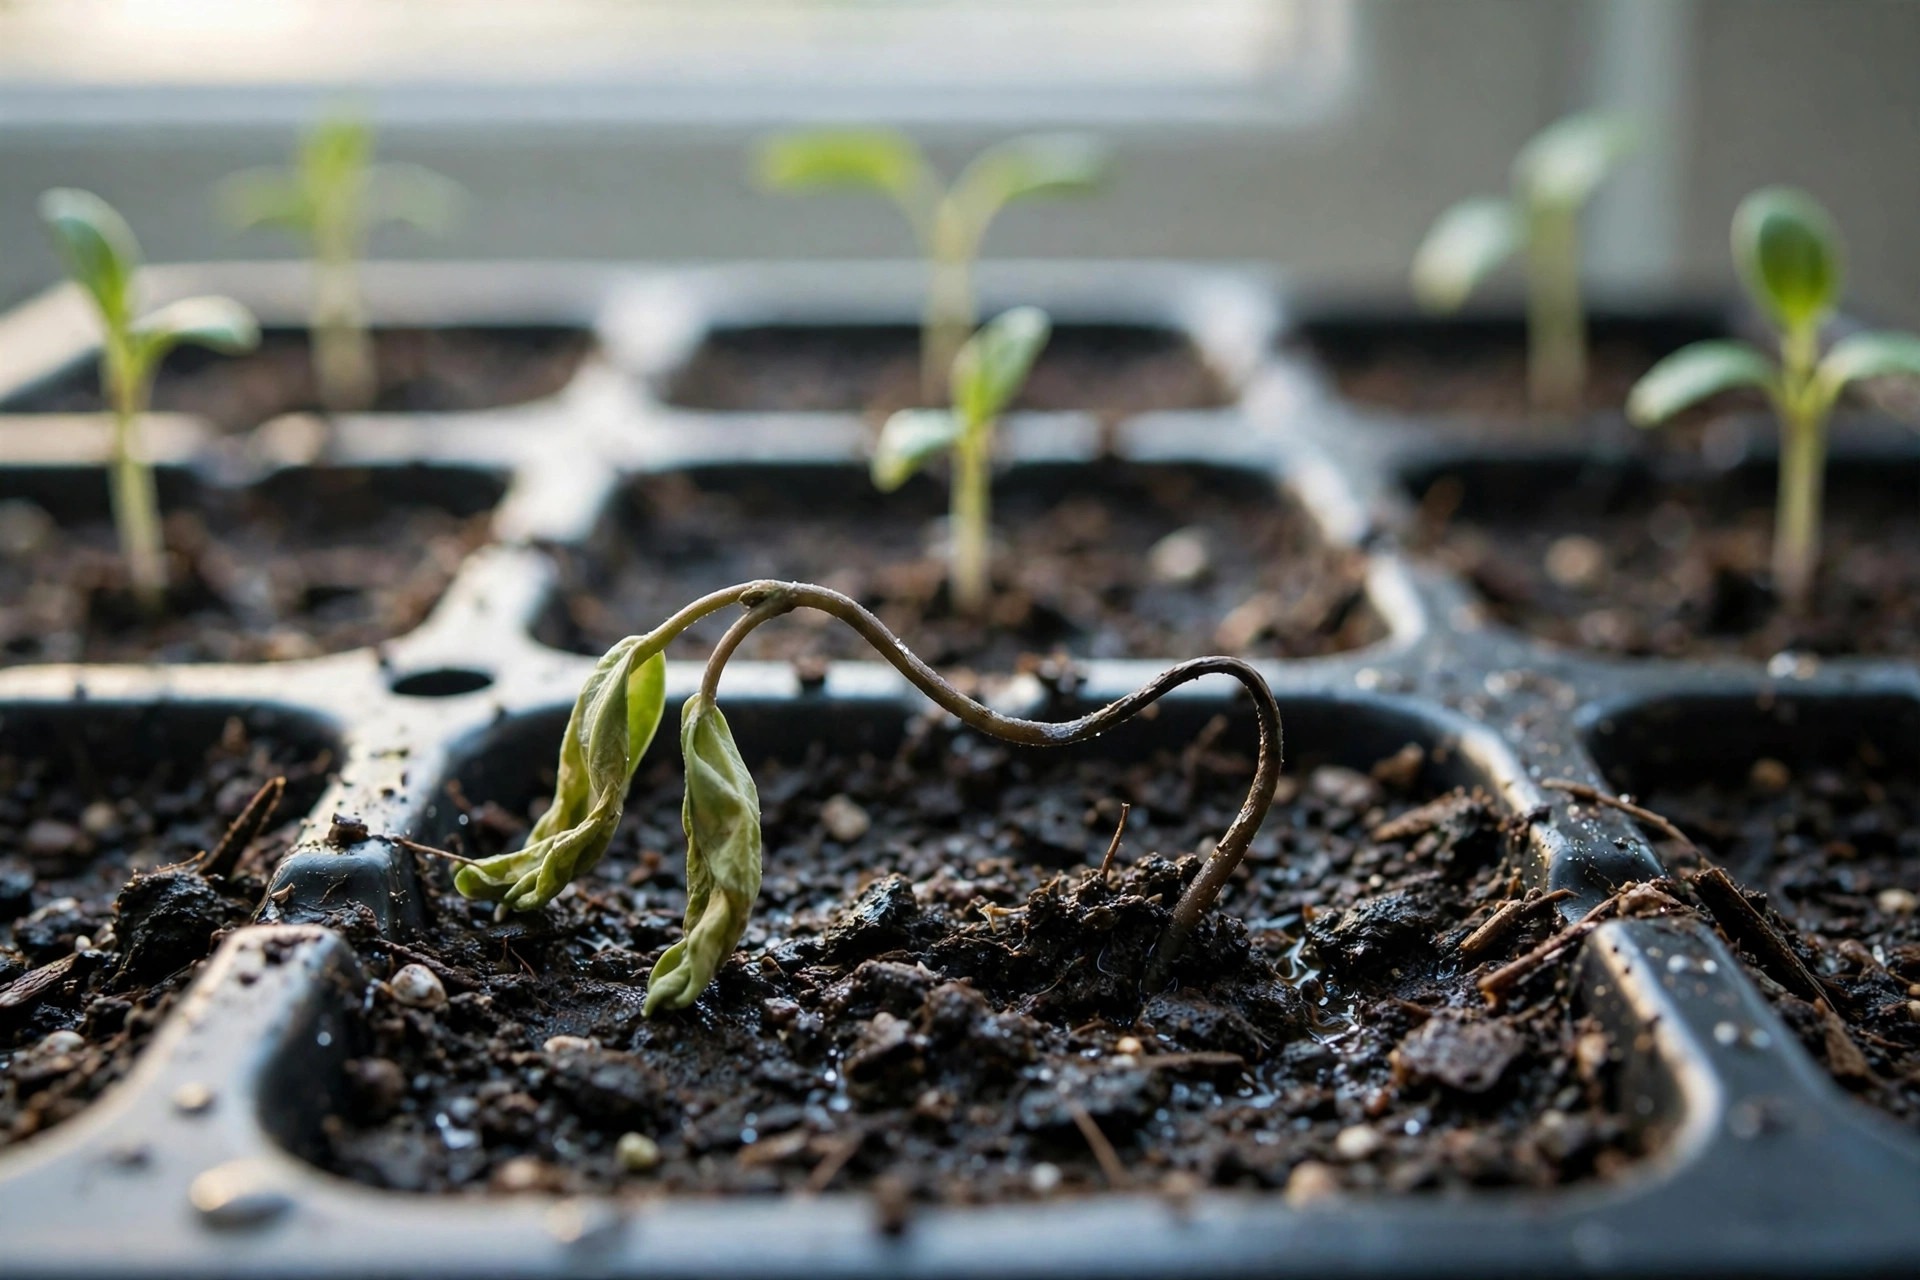
Most seed starting failures do not come from bad luck. They come from a small set of seed starting mistakes that repeat in kitchens and spare rooms every spring: seeds started too early, trays kept too wet, light that is far weaker than it looks, and a humidity dome left on long after it stopped helping. The result is familiar to every indoor gardener. Seedlings stretch tall and flop over, or they look fine one evening and lie flat the next morning, pinched at the soil line.
This guide works through the 10 mistakes that cause most of those failures, with the fix for each one and a clear way to tell damping off apart from simple weak growth. Damping off gets its own section because it is the one problem with no rescue. Once a stem has rotted at the soil line, that seedling will not recover, so the whole strategy for damping off is prevention. For the other nine mistakes, the fix is usually simple, and it is often a change in routine rather than new equipment.
If you are starting seeds for the first time, read the Quick Answer diagnosis table first, then the prevention setup near the end. If you already have a tray in trouble, find your
Quick Answer: Diagnose the Problem in 60 Seconds
Look at the tray before you change anything. Water, light, and air leave different clues, and fixing the wrong one wastes the few days when a struggling seedling can still turn around.
| Symptom | Likely cause | First fix |
|---|---|---|
| Seedlings fall over at the soil line, stem thin, dark, or water-soaked there | Damping off | Remove affected seedlings, improve air and drainage, start a fresh batch with clean trays and fresh mix |
| Seeds never come up, or sprouts rot before breaking the surface | Pre-emergence damping off, old seed, or mix kept too wet and cold | Sow fresh seed in fresh mix at packet depth, keep mix evenly moist and warm until germination |
| Tall, pale, thin stems leaning toward the window | Not enough light | Move under grow lights a few inches above the leaves for 14 to 16 hours a day |
| Surface glistens for hours, algae or a sour smell, stems soft | Overwatering, no drainage, or dome left on | Let the surface dry slightly, drain standing water, water from below, remove the dome after sprouting |
| Seedlings stall after true leaves, leaves pale yellow | Hungry, or roots crowded and pot-bound | Feed at half label strength once true leaves appear, pot up when roots fill the cell |
| White, scorched patches after moving outside | Skipped hardening off | Move back to shade, harden off over 7 to 10 days, plant out only after the full period |
If more than one symptom is present, fix water and light first. Those two decide whether the rest of the advice can work at all.
What Damping Off Really Is
Damping off is not one single disease. It is a set of infections caused by soilborne fungi and water molds, most often Pythium, Rhizoctonia, Fusarium, and Phytophthora species. University extension sources describe the same two forms. In pre-emergence damping off, the seed rots in the mix and never comes up, which is easy to mistake for bad seed. In post-emergence damping off, the seedling emerges, then wilts and collapses because the stem rots at or just below the soil line. The stem looks water-soaked, dark, or sunken at that point, and the top falls over even though the leaves may still look green at first.
Three conditions invite it: mix that stays wet too long, cool soil before germination, and crowded, still air around young seedlings. Penn State Extension lists low soil temperature below 68 degrees Fahrenheit before germination, excessive moisture and overhead misting, and overcrowded flats among the conditions that favor damping off. UConn Extension adds condensation dripping onto the mix and overwatering that keeps the media wet for too long. Once the stem has rotted, there is no treatment that saves that seedling. The University of Wisconsin Extension states it plainly: seedlings with damping off will die and cannot be saved, so proper prevention is the only way to avoid the problem.
That sounds harsh, but it makes the job clear. Everything in the prevention setup near the end of this guide exists to keep the stem dry, the air moving, and the mix clean. Do those three things, and damping off becomes rare instead of routine.
Mistake 1: Starting Seeds Too Early
Starting early feels like getting ahead, but a tomato started 12 weeks before transplant day does not become a better plant. It becomes a tall, weak plant that has outgrown its pot, its light, and its root room long before the weather is ready for it. The University of California Master Gardener Program lists starting too early first among common seed starting mistakes, for exactly this reason.
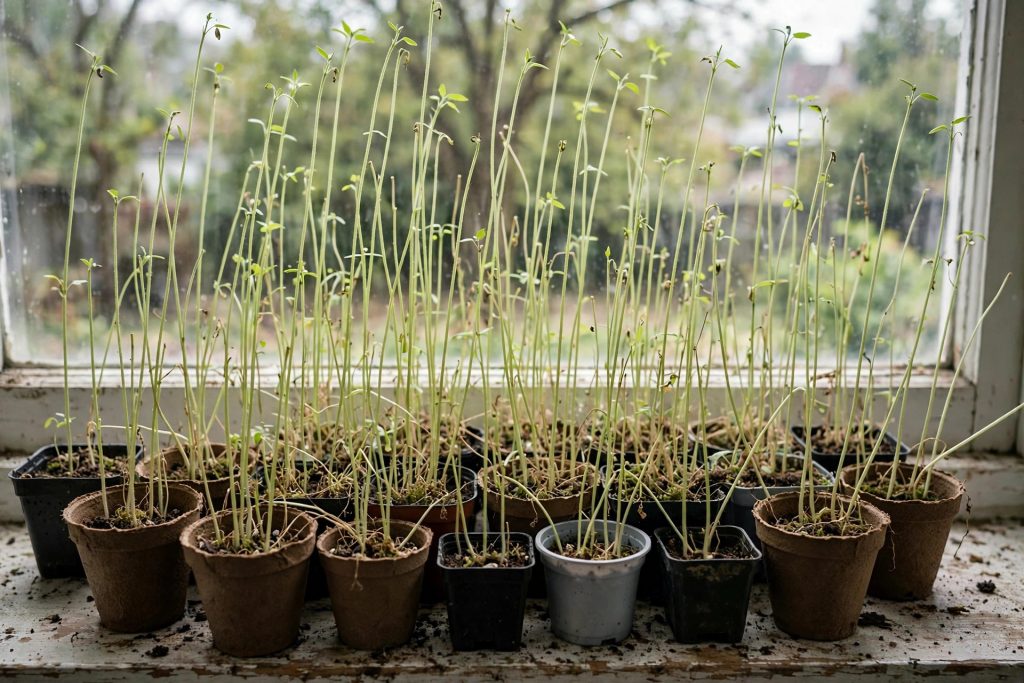
The fix is counting back, not counting forward. Find your average last frost date, find the weeks-before-transplant number on the packet, and count back from the transplant date, not from the day the seed catalog arrives. A tomato packet that says six to eight weeks before transplant means six to eight weeks, even if the catalog arrived in January and the windowsill looks inviting. Starting a week late is usually a smaller problem than starting a month early, because a late seedling can catch up outdoors in warm soil and strong light, while an early seedling spends weeks getting weaker indoors.
If you have already started too early, do not try to slow the plant down by starving it of light or water. That only adds a second stress. Give it strong light, pot it up into a larger container when roots fill the cell, and harden it off properly when the weather allows. For next year, write the sowing date on the packet itself, so the same tray does not start early again by habit.
Mistake 2: Using Garden Soil Instead of Seed Starting Mix
Garden soil is fine in the garden. In a small cell indoors, it packs down, holds water for days, and can carry the very fungi that cause damping off. Seed starting mix is built for the opposite job: fine, light, and even, holding water without staying soggy, letting air reach young roots, and starting clean.
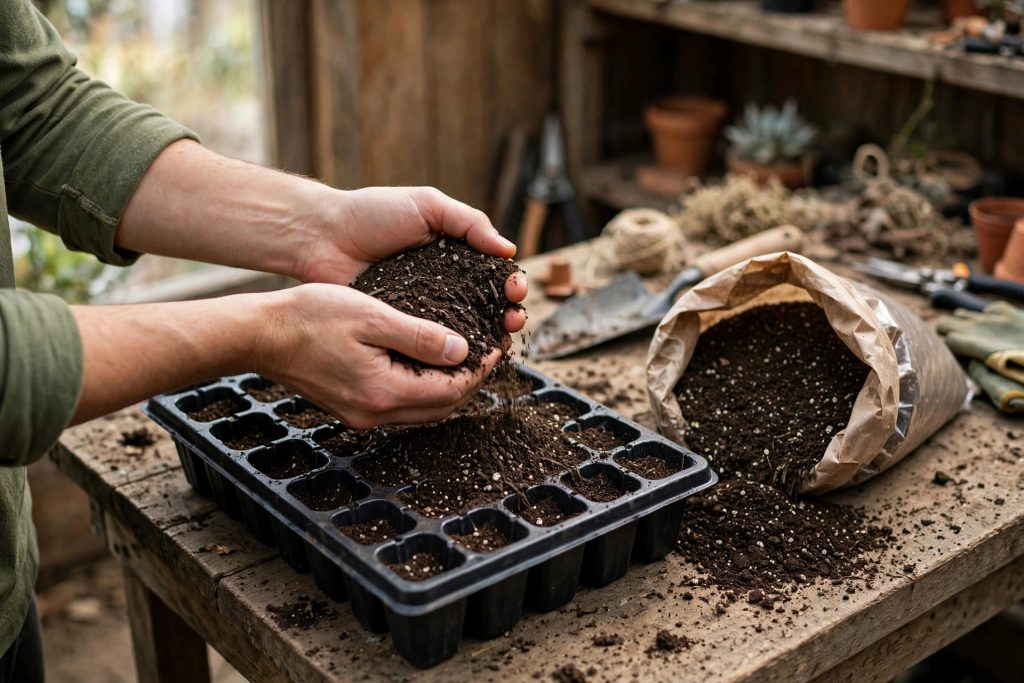
The University of California Master Gardener Program makes the same point in simple terms: when soil is too dense, water does not drain well, air cannot reach the roots, and young plants become vulnerable to the fungi that make them fall over at the base. The fix is to use a bagged seed starting mix, or a clean soilless blend of peat moss or coconut coir with perlite or vermiculite for air. Do not fill trays with garden soil, and do not reuse last year’s open bag from a damp shed if it smells musty or has stayed wet. Fresh mix is cheap insurance against the one disease that cannot be cured.
If you mix your own, moisten the dry ingredients in a bucket before filling trays, because dry peat and coir shed water at first. Mix until it feels like a wrung-out sponge, damp all through, not dripping. That single test, damp but not dripping, is the moisture level to aim for at sowing time and through germination.
Mistake 3: Sowing Too Deep or Too Crowded
Depth and spacing look like small details, and they decide whether a seedling ever gets a fair start. A seed buried too deep runs out of energy before it reaches light. A cell sown with five seeds and never thinned becomes a crowd competing for the same light, water, and air, and crowded seedlings stay damp longer, which is exactly what damping off fungi prefer.
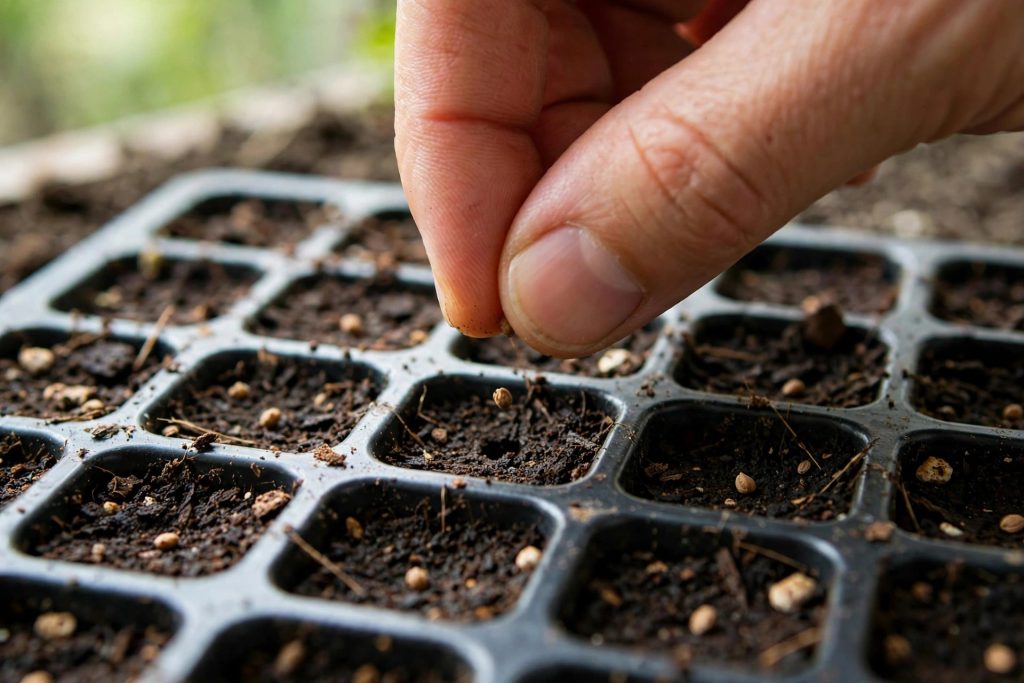
Follow the packet depth for that variety, and treat small seeds with a light hand. Many tiny seeds need only a thin covering, or barely any covering at all, and burying them under a thick layer of mix is enough to stop them. Sow two or three seeds per cell where the packet suggests it, then thin to the strongest seedling once true leaves appear. True leaves are the second set of leaves, shaped like the plant itself, unlike the smooth seed leaves that emerge first. Snip the weaker seedlings off at the soil line with small scissors instead of pulling them, because pulling can disturb the roots of the seedling you want to keep.
Crowding is also a light problem. Seedlings packed shoulder to shoulder shade each other, stretch upward to compete, and dry out unevenly. One strong seedling per cell, with space for air to move between trays, grows sturdier than three weak ones fighting in the same cell.
Mistake 4: Overwatering, and Watering From Above
Overwatering is the most common seed starting mistake after starting too early, and it is easy to make with good intentions. Seedlings look delicate, so it feels right to keep them wet. Roots need oxygen just as much as they need water, and mix that stays saturated pushes air out of the root zone. The seedling weakens, the surface stays wet, and damping off fungi get the free water they need to spread. Utah State University Extension notes that Pythium has motile spores that can swim in a film of water, which is why trays standing in water are a particular risk.
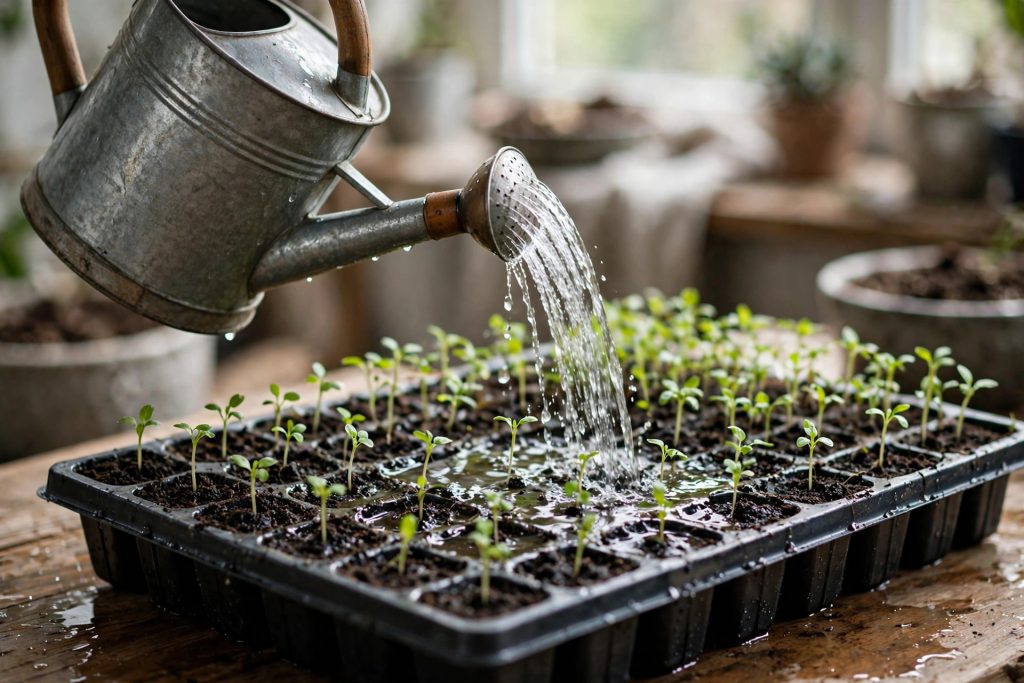
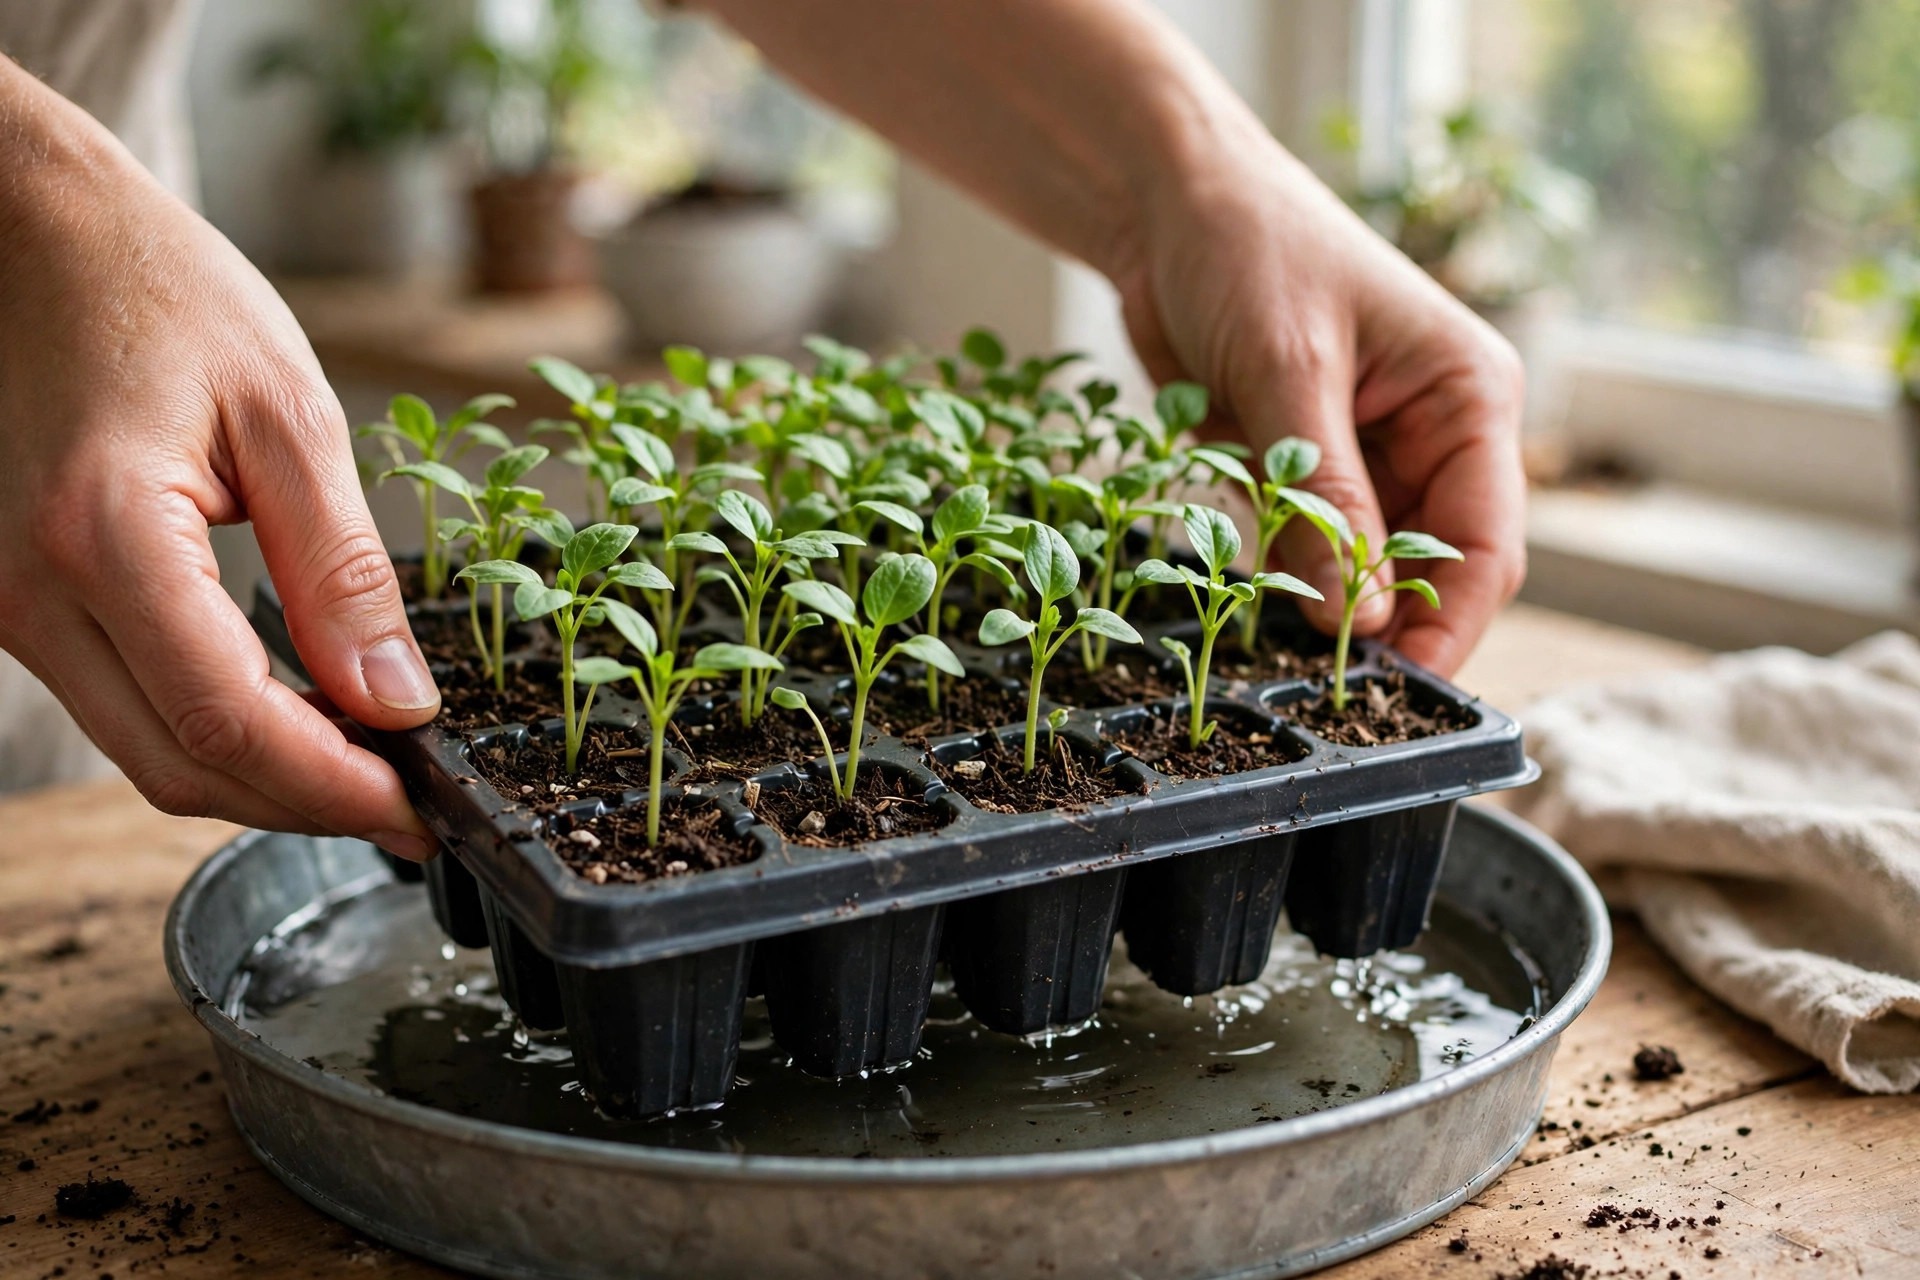
Water from below once seedlings are up. Set the tray in a shallow pan of water for 10 to 20 minutes, let the mix draw water up, then drain away any excess. Bottom watering keeps stems dry, which is the single best damping off prevention habit, and it encourages roots to grow downward. Check the mix daily with a finger or by lifting the tray. It should feel like a wrung-out sponge, damp but not dripping. If the surface glistens for hours, if algae appears, or if stems pinch at the soil line, the tray is too wet, and the fix is to let the surface dry slightly between waterings, not to add more water on a schedule.
Two practical checks help. First, every container must have drainage holes, because without them water collects at the bottom and damages roots no matter how careful the watering is. Second, empty standing water after an hour or two, so roots are not sitting in it. A tray that drains freely and dries slightly at the surface between waterings is doing most of the damping off prevention work by itself.
Mistake 5: Leaving the Humidity Dome On Too Long
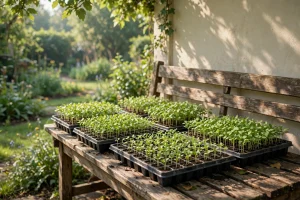
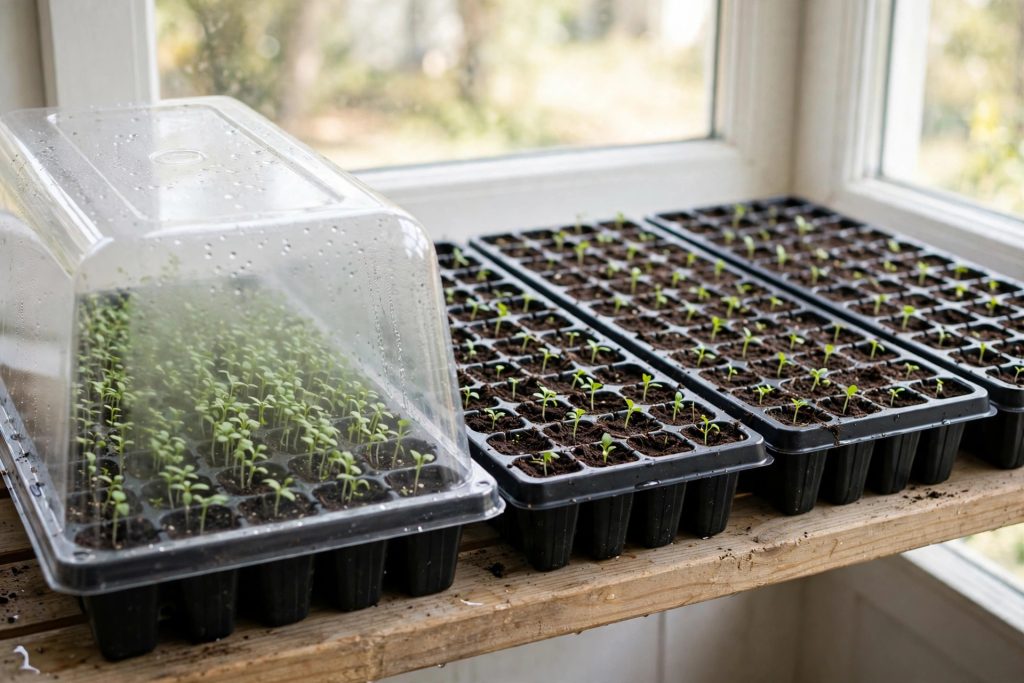
A humidity dome is useful for exactly one stage: germination. It holds moisture while seeds sprout, which matters most for small seeds and dry rooms. The mistake is leaving it on after sprouting, when the job changes from warm and humid to bright and breezy.
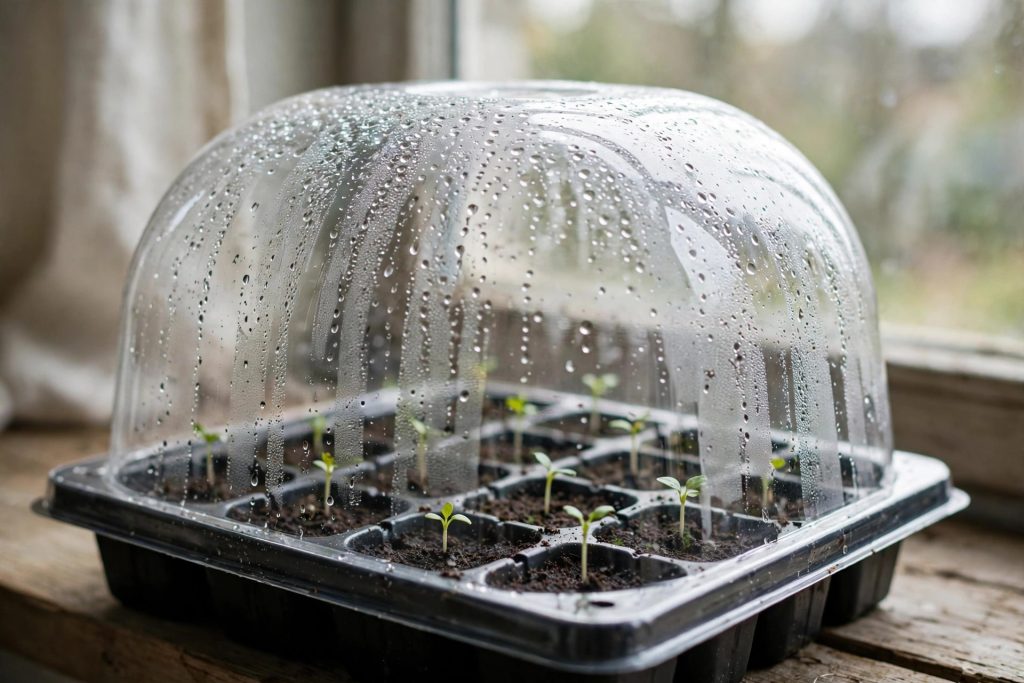
The University of Maryland Extension advice, repeated across extension sources, is to remove the cover as soon as sprouts appear. A dome left on a tray of sprouted seedlings traps still, damp air and invites damping off, and it also keeps leaves wet, which softens stems and slows growth. If the dome is pressing on leaves, it is doing harm even before disease appears, because bent, damp leaves stay wet longer and break more easily.
Remove the dome at first sprouts, even if only part of the tray has come up. Move the tray into strong light at the same time, and start the airflow habit described later in this guide. If the room is very dry and the mix dries out fast after the dome comes off, water from below and check the mix daily, rather than putting the dome back on. The dome is a germination tool, not a seedling home.
Mistake 6: Not Enough Light, So Seedlings Go Leggy
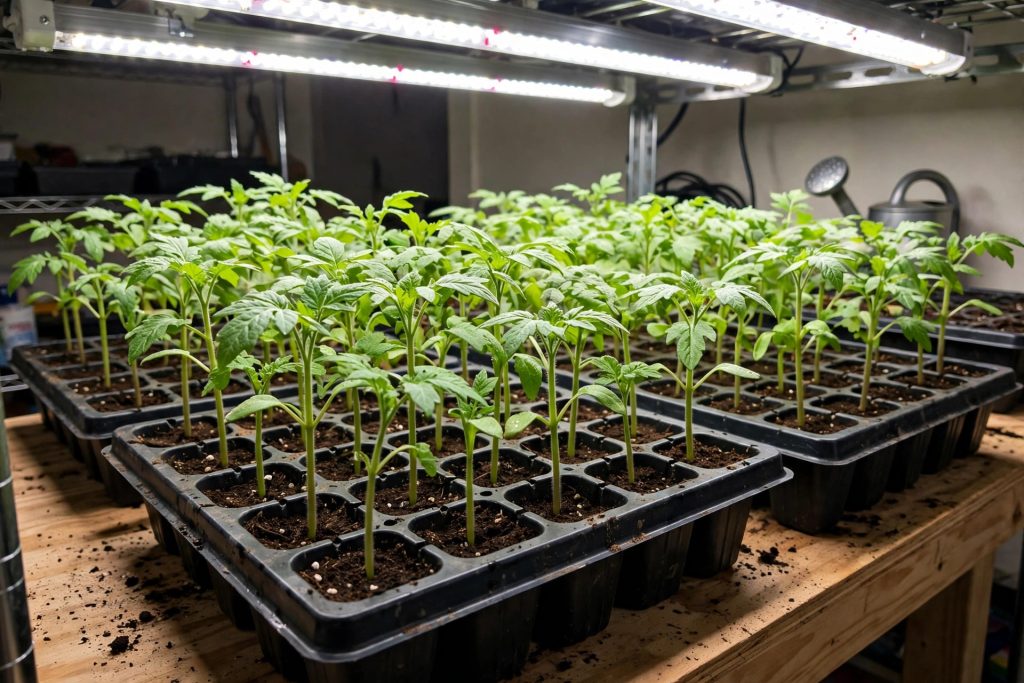
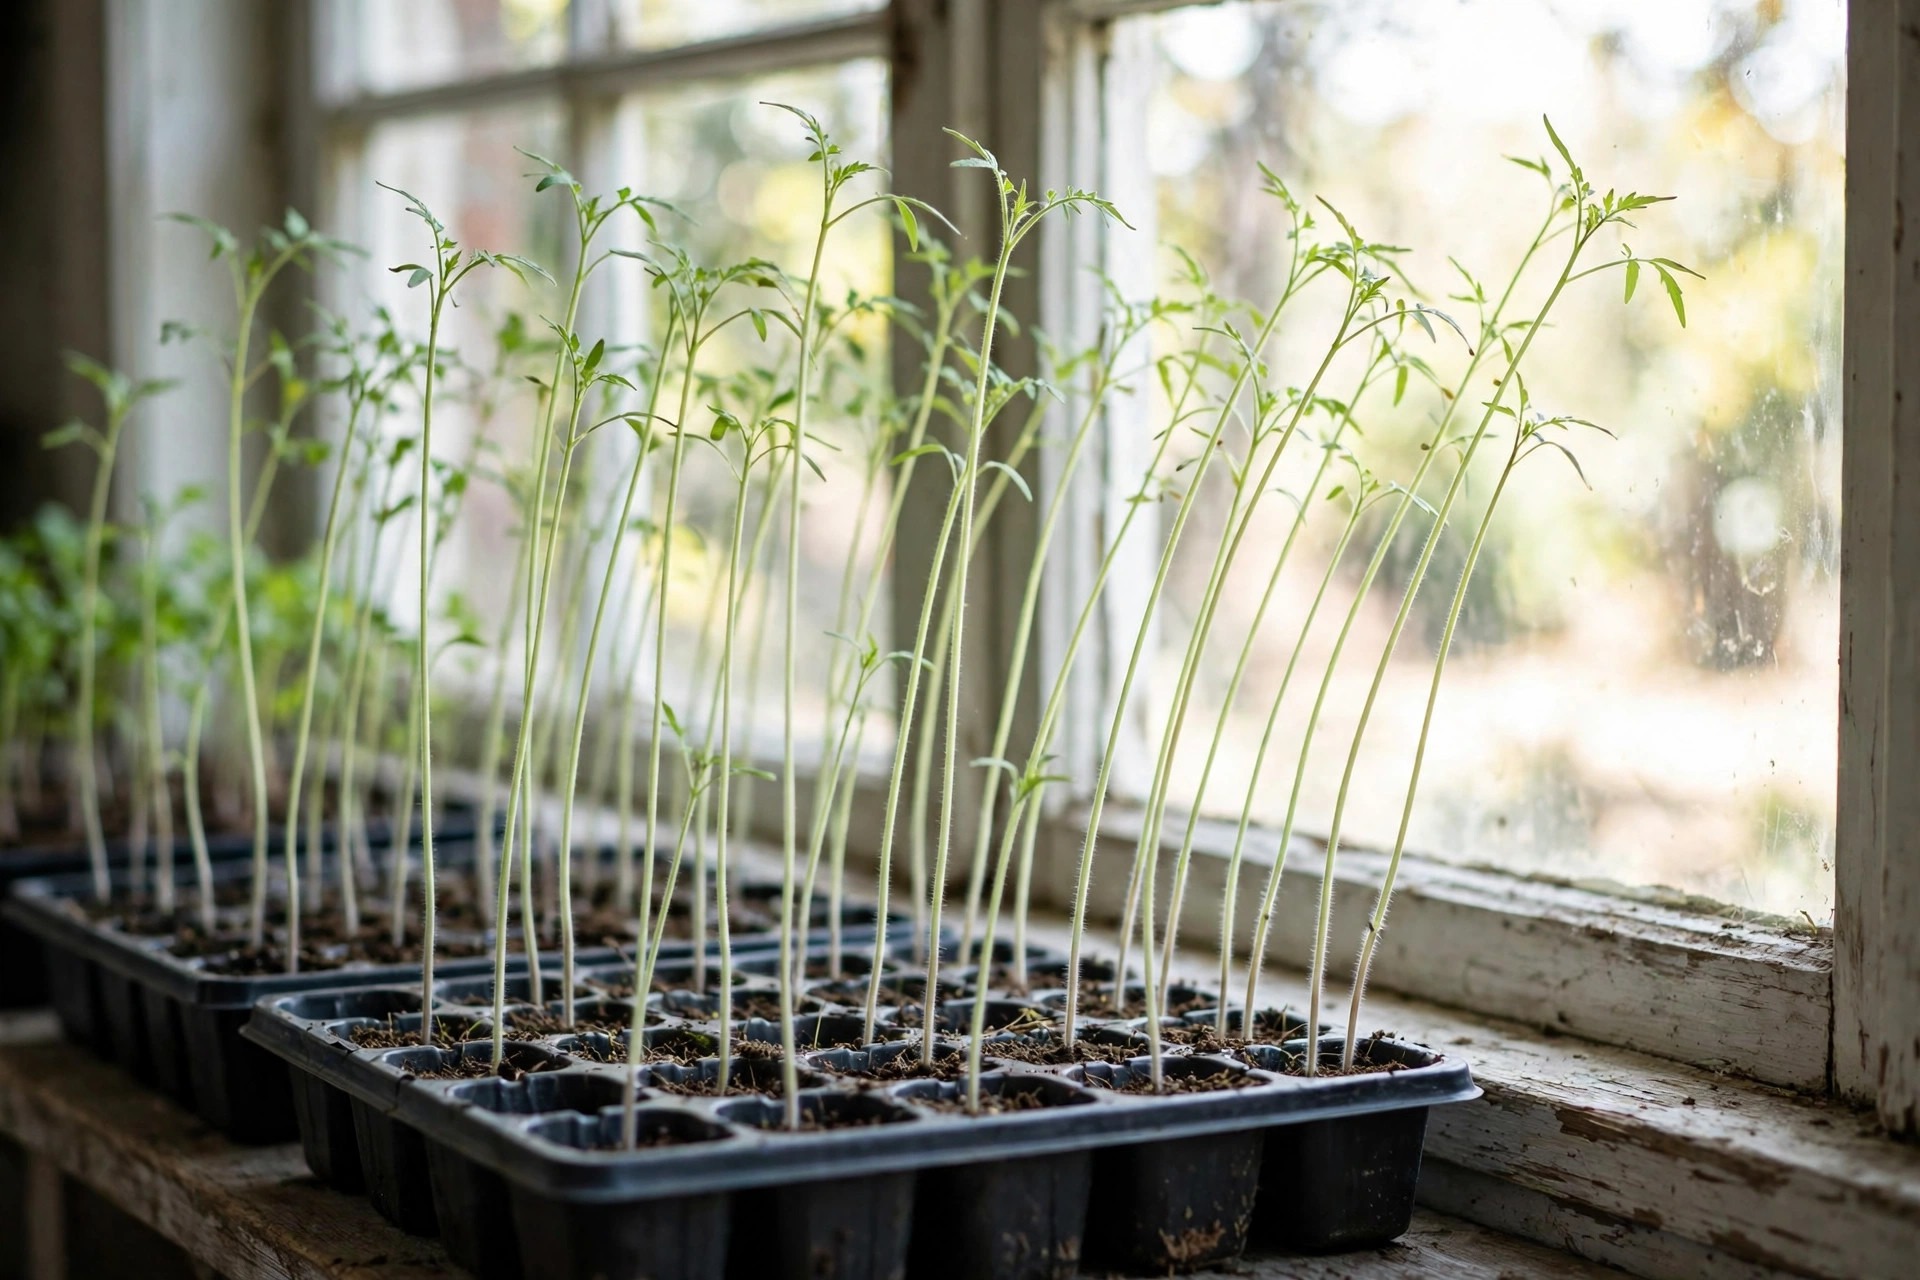
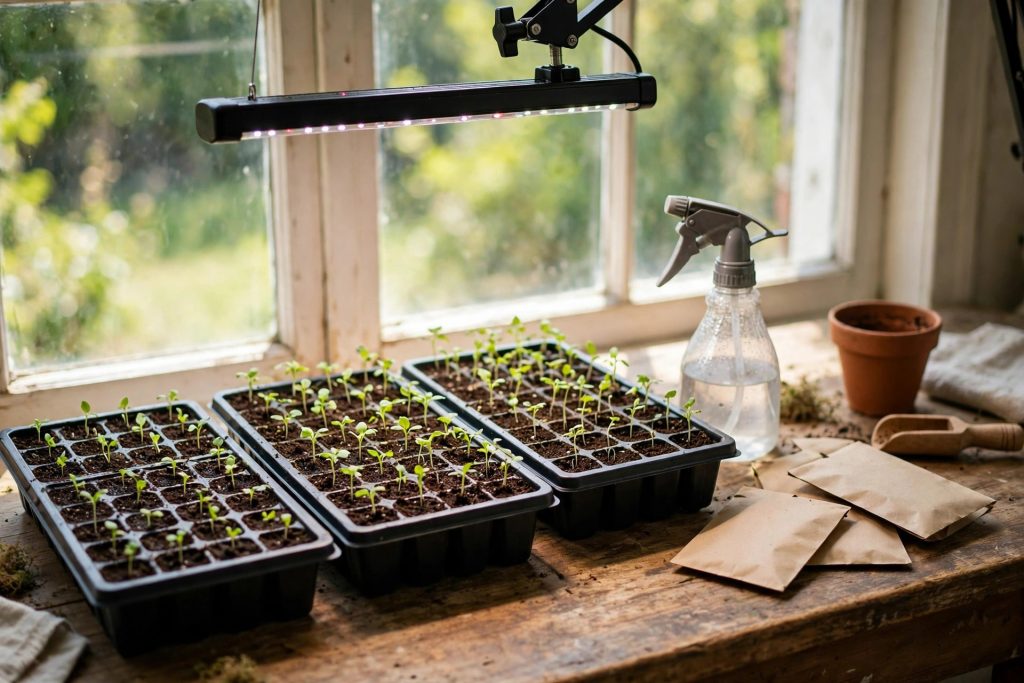
A sunny window may look bright, but it often does not provide enough light for young vegetable plants. When plants do not get enough light, they stretch toward it. Stems grow long, thin, and weak, leaves stay small, and the plant leans toward the glass. Gardeners call this leggy growth, and it is the clearest sign that light, not water or feed, is the missing piece.
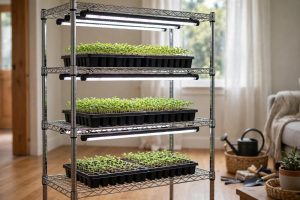
The fix is strong light, close to the leaves, for many hours a day. Seedlings need 14 to 16 hours of strong light a day, with the light just a few inches above the leaves, raised as the plants grow so it stays close without touching them. A simple grow light setup beats a windowsill for most indoor crops, because window light comes from one side, changes through the day, and drops sharply on cloudy days. Turn the trays daily if they are near a window, so seedlings do not all lean one way, but do not expect turning alone to fix weak light.
Leggy seedlings are not always a lost cause. Give them strong light now, add gentle airflow so stems stiffen, and pot up tomatoes deeper at transplant time, since tomatoes can form roots along a buried stem. Most other crops cannot be buried deeper with the same confidence, so for peppers, brassicas, and flowers, prevention matters more than rescue. If a seedling is tall, pale, and flopping, adding fertilizer will not fix it. Light is the fix, and no amount of feed compensates for light that is too weak or too far away.
Mistake 7: Wrong Temperature Before and After Germination
Temperature mistakes come in two opposite forms, and both slow seedlings down. Soil that is too cold before germination keeps seeds sitting in wet mix for too long, which favors damping off and gives a patchy, slow emergence. Soil that stays too warm after germination, especially with bottom heat left on, can stretch stems and dry the mix too fast.
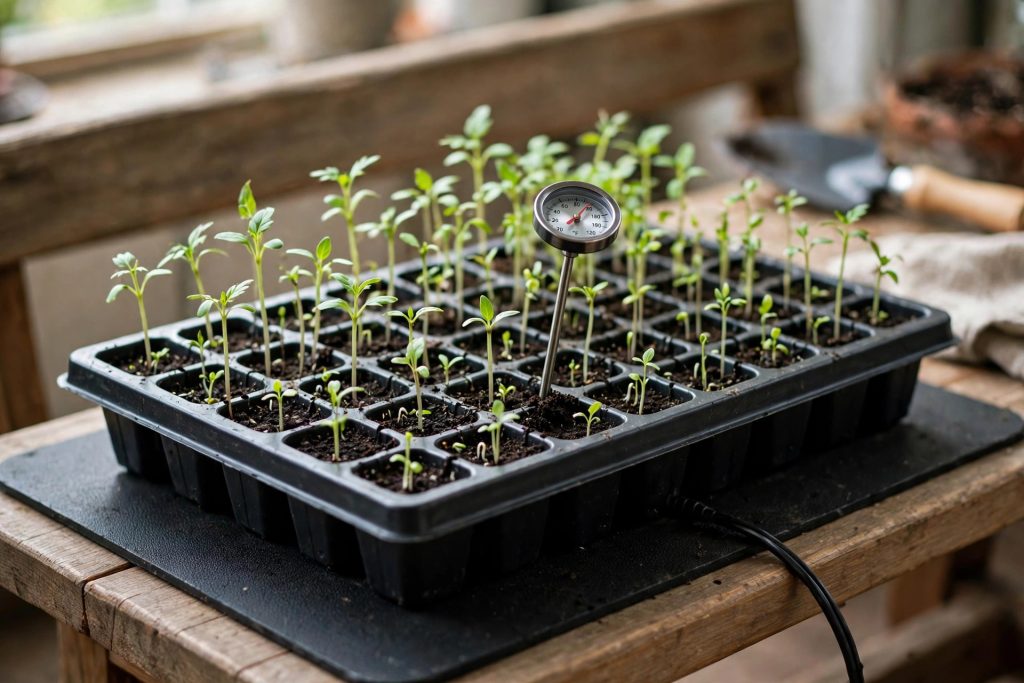
Penn State Extension gives the numbers that anchor this section: keep soil at 70 to 75 degrees Fahrenheit during germination with bottom heat, and note that low soil temperature below 68 degrees before germination favors damping off, while high soil temperature above 77 degrees after emergence also favors it. In practice, that means warm the mix for germination, then move sprouted trays off the heat mat into normal room temperature with strong light. Group crops by temperature where you can, because peppers and lettuce do not want the same soil. Peppers stall in cool soil, while lettuce can go dormant in warm soil, so one temperature for every tray is a compromise that suits neither group well.
Use a soil thermometer if the room feels uncertain, and trust it over a wall thermometer. Air temperature in the room does not tell you soil temperature in a damp tray, and a cold windowsill or basement bench can be far cooler than the room around it. Check after a cold night, not just in the afternoon, because that is when the gap shows up.
Mistake 8: Still Air, Dirty Trays, and No Airflow
Still air is the quiet partner of overwatering. In a closed room with no air movement, the surface of the mix stays damp, leaves stay wet, and fungi get the humid, stagnant conditions they prefer. A small fan on low, set so it brushes the seedlings gently without battering them, changes that picture. Air movement dries the surface slightly between waterings, strengthens stems as they sway, and breaks up the damp layer around the leaves.
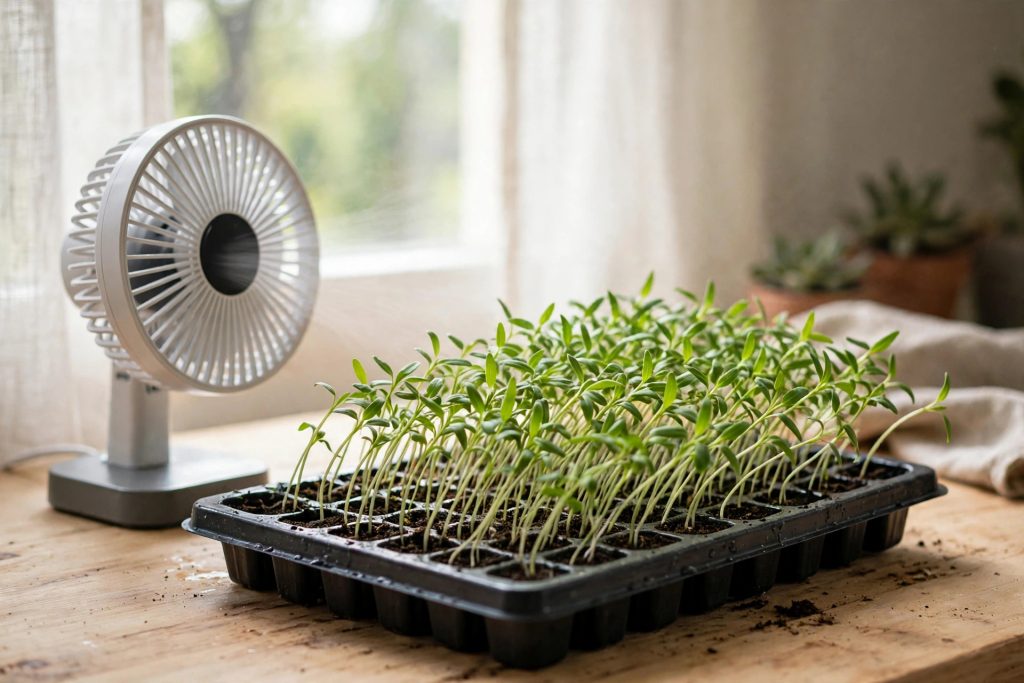
Clean trays matter just as much, because damping off organisms survive in soil stuck to reused trays, pots, tools, and benches. Wash reused trays with soapy water to remove old soil, then soak them in a 10 percent bleach solution, rinse thoroughly, and dry before reuse. The University of Wisconsin Extension gives that cleaning routine for pots and tools, and Utah State University Extension gives the same sanitation advice for trays and benches. Do not reuse a tray that held a damping off outbreak without cleaning it, and do not set clean trays on a dirty floor or bench where soil can splash back into them.
Space trays so air can move between them, and do not pack seedlings so tightly that leaves stay wet against each other. Airflow is not about a strong wind. It is about gentle, steady movement that keeps the surface from staying wet all day, and it is one of the cheapest fixes in this whole guide.
Mistake 9: Feeding Too Early or Too Strong
Seed starting mix contains almost no fertilizer, so it is tempting to feed early to help seedlings along. Feeding before true leaves appear does not help, because the seed itself carries the food for germination and early growth. Feeding too strong after that can burn roots and leaves, and overfed seedlings grow soft, leggy, and transplant badly.
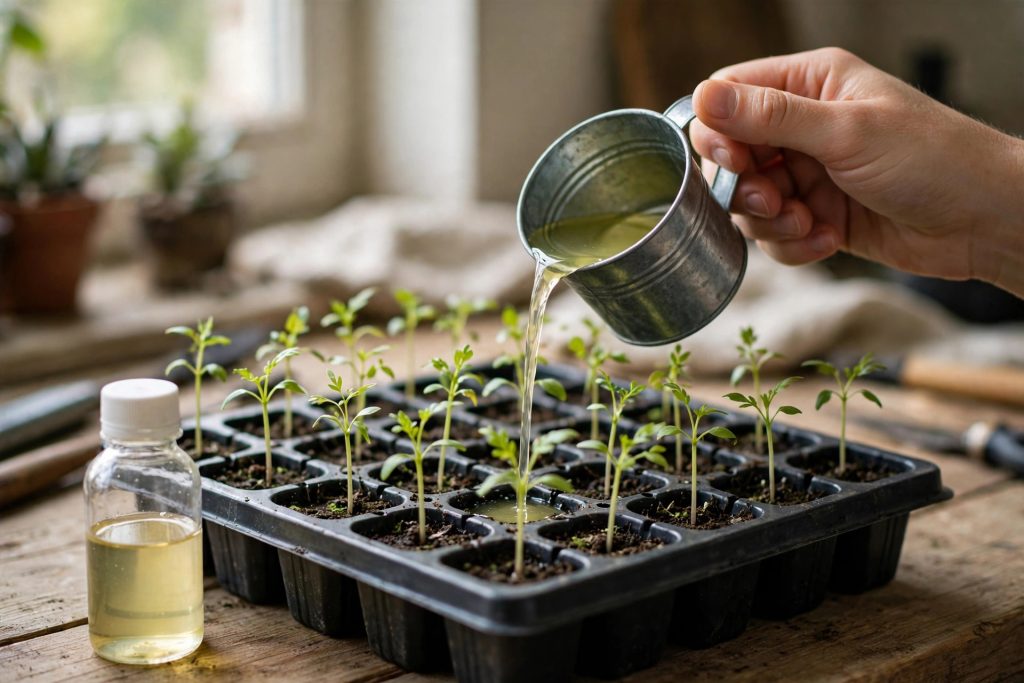
Wait until true leaves appear, then feed lightly. Use a liquid fertilizer at half the label strength, about once a week to once every two weeks, and rinse leaves with plain water after feeding so fertilizer salts do not sit on them. Pale, slow growing seedlings after the true leaf stage are usually hungry, not diseased, but do not overfeed to compensate. If leaves look scorched at the edges after feeding, flush the mix with plain water, let it drain, and go back to half strength at the next feed.
Feeding also cannot fix the other mistakes in this guide. A leggy seedling short of light will not become sturdy because it got more nitrogen, and a seedling in wet, still air will not become healthy because it got more feed. Fix light, water, and air first, then feed lightly, and the plant can use that feed properly.
Mistake 10: Skipping Hardening Off, or Potting Up Too Late
Two late mistakes undo good indoor work. The first is moving seedlings straight outside without hardening off. Indoor leaves have a thin surface, stems have never felt wind,
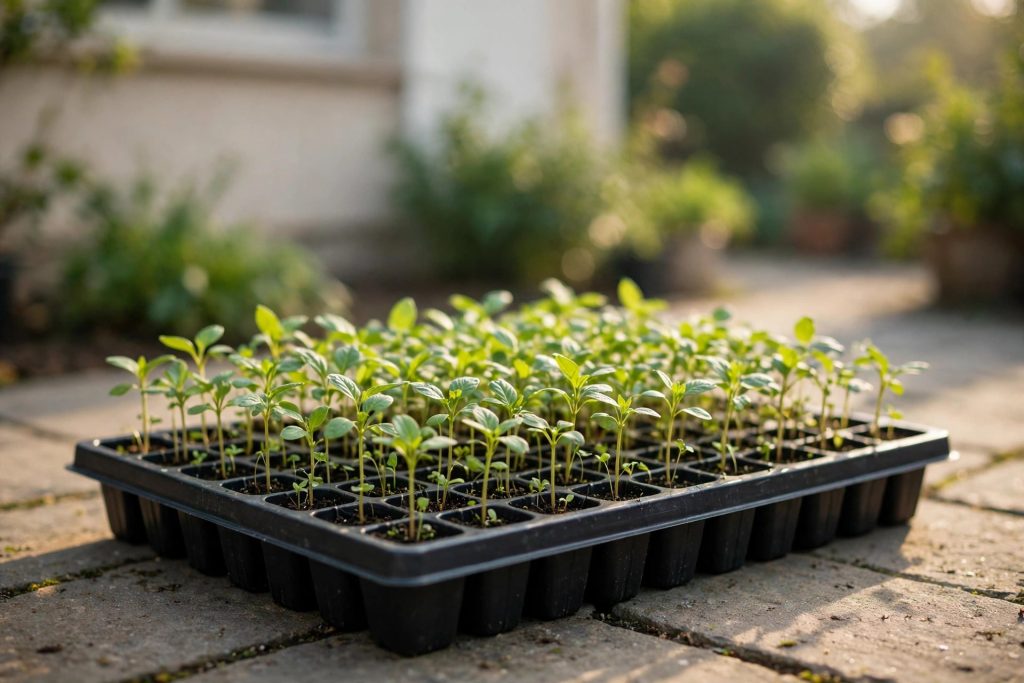
and nights outdoors can drop far below indoor temperatures. The result is white,
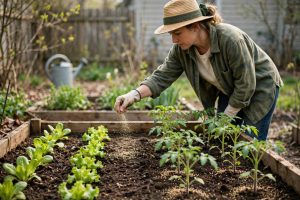
scorched leaves, wilted stems, and plants that sit still for weeks after planting. Harden off over 7 to 10 days, starting in shade and shelter, then adding morning sun and breeze, then full days outside, and only leaving plants out overnight when the night stays within
range for that crop: above about 50 degrees Fahrenheit for tender crops such as tomatoes, peppers, and squash, and above about 45 degrees for hardy crops such as cabbage, broccoli, and onions.
The second late mistake is leaving seedlings in small cells too long. A root-bound seedling, with roots circling the cell and little mix left to hold water, dries out fast, stalls, and transplants poorly. Pot up when roots hold the mix together and fill the cell, but before growth stalls and lower leaves yellow from crowding. Move the seedling by the root ball or by a leaf, never by squeezing the stem, and water the new pot well so roots meet moist mix, not dry mix.
Both mistakes share the same lesson. The last two weeks indoors are not waiting time. They are the weeks when a seedling becomes a transplant, and rushing either step, hardening or potting up, costs more growth than the days it saves.
Summary: All 10 Mistakes and Their Fixes
| Mistake | Fix |
|---|---|
| Starting seeds too early | Count back from transplant day using the packet number. |
| Using garden soil | Use fresh, fine seed starting mix that drains freely. |
| Sowing too deep or too crowded | Follow packet depth and thin to one strong seedling per cell. |
| Overwatering, and watering from above | Water from below and let the surface dry slightly between waterings. |
| Leaving the humidity dome on too long | Remove the dome as soon as sprouts appear. |
| Not enough light | Give 14 to 16 hours of strong light a few inches above the leaves. |
| Wrong temperature | Keep soil 70 to 75 degrees Fahrenheit until germination, then room temperature. |
| Still air and dirty trays | Add gentle airflow and wash and bleach-soak reused trays. |
| Feeding too early or too strong | Wait for true leaves, then feed at half label strength. |
| Skipping hardening off, or potting up too late | Harden off over 7 to 10 days and pot up when roots fill the cell. |
Can a Damaged Seedling Be Saved?
It depends on what damaged it, and honesty here saves more trays than optimism. A seedling with damping off cannot be saved. Remove it, along with the mix in that cell, so spores do not spread to neighbors in standing water or on tools, and start a fresh batch with clean trays and fresh mix. Trying to nurse a rotted stem back only keeps the tray wet and crowded longer.
A leggy seedling can often be saved, or at least improved, by moving it under strong light now, adding gentle airflow, and potting it up at the right time. A seedling stalled by hunger can recover with light feeding after true leaves. A seedling scorched by a skipped hardening off step can grow past damaged leaves if the stem and growing point are healthy, provided it goes back to shade and hardens off properly before it goes out again. A seedling that dried out once, but still has a firm stem and green growing point, can recover with steady bottom watering and strong light.
The test is simple. If the stem is firm, the growing point is green, and roots are alive, the plant has something to recover with. If the stem is pinched, dark, and soft at the soil line, or the seedling has collapsed and stayed flat, it is damping off, and replacement is the right call. Replacing one tray early is cheaper than losing three trays to the same wet, still conditions.
The Prevention Setup That Works Every Time
Prevention is not a long list of special products. It is a short routine, repeated every time, that keeps the stem dry, the air moving, and the mix clean.
| Daily check | What good looks like | Fix if wrong |
|---|---|---|
| Mix moisture | Damp like a wrung-out sponge, surface drying slightly between waterings | Water from below, drain standing water, do not water on a fixed schedule |
| Light | Strong light a few inches above leaves, 14 to 16 hours a day | Move under grow lights, raise lights as plants grow |
| Air | Gentle breeze, trays spaced so air moves between them | Add a small fan on low, space trays, remove dome after sprouting |
| Cleanliness | Fresh mix, clean trays, clean tools and benches | Wash and bleach-soak reused trays, rinse well, dry before sowing |
| Temperature | Soil 70 to 75 degrees Fahrenheit until germination, room temperature after | Use bottom heat for germination only, move sprouted trays off the mat |
| Spacing | One strong seedling per cell after thinning | Snip weaker seedlings at the soil line once true leaves appear |
Start clean, sow at packet depth in fresh mix, water from below, remove the dome at first sprouts, give strong light and gentle air, feed lightly only after true leaves, and harden off before planting out. That routine prevents most of the 10 mistakes in this guide at once, because the mistakes share the same causes: too much water, too little light, still air, and dirty or crowded conditions.
For the full step by step indoor process, the companion guide on how to start seeds indoors works through sowing, warmth, light, and potting up in order. For timing by zone and crop, the zone guide shows how to count back from transplant day. For the last step before planting out, the hardening off guide gives the 10 day plan with tender and hardy night limits.
Final Thoughts
Seed starting rewards routine more than effort. The gardeners who raise strong seedlings are not usually the ones with the most equipment. They are the ones who check the mix daily, keep the light close, remove the dome on time, and give seedlings air. Those small habits, repeated for a few weeks, matter more than any single product, and they are the difference between a tray that thrives and a tray that collapses overnight.
If this year’s tray has already gone wrong, do not let one bad batch put you off. Find the symptom in the diagnosis table, fix that one cause, and start a fresh batch with clean trays and fresh mix. Most crops can be resown and still catch up, especially if the second batch gets strong light and steady water from the start. Next year, the same routine, started on the packet date and not a month early, will feel easy, because the mistakes in this guide are all preventable once you know what to watch for.
This companion guide covers starting seeds indoors.
When to Start Seeds Indoors by Zone
This companion guide covers timing by zone and crop.
Best Seed Starting Trays: 10 Kits for Strong Seedlings
This companion guide covers seed starting trays and kits.
How to Harden Off Seedlings: A 10-Day Plan
This companion guide covers hardening off seedlings over 10 days.
References
- Penn State Extension, Damping Off: supports the clean tray, pasteurized or soilless mix, 70 to 75 degrees Fahrenheit bottom heat, and low and high temperature risk guidance used in this article. https://extension.psu.edu/damping-off
- University of Wisconsin-Madison Extension, Damping Off: supports the no cure statement, clean pots and tools with a 10 percent bleach solution, well drained pasteurized mix, and do not overwater guidance. https://hort.extension.wisc.edu/articles/damping/
- Utah State University Extension, Damping-Off: supports the soilborne pathogen list, wet condition risk, sanitation of trays and benches, and bottom watering guidance. https://extension.usu.edu/vegetableguide/root-crops/damping-off
- UC Master Gardener Program, Five Common Seed-Starting Mistakes and How to Avoid Them: supports the starting too early, wrong soil, watering, and not enough light sections. https://ucanr.edu/blog/uc-master-gardener-program-statewide-blog/article/five-common-seed-starting-mistakes-and-how
- UConn Extension, Damping-off of Ornamental and Vegetable Seedlings: supports the pathogen list, overwatering and condensation risk, and sanitation guidance. https://ipm-cahnr.media.uconn.edu/wp-content/uploads/sites/3216/2023/12/2023damping-offfinal.pdf
Frequently Asked Questions
What is damping off in seedlings?
Damping off is a set of soilborne infections, caused by fungi and water molds such as Pythium, Rhizoctonia, Fusarium, and Phytophthora, that rot seeds before emergence or collapse seedlings at the soil line after emergence. Seedlings with damping off cannot be saved, so prevention with clean trays, fresh mix, bottom watering, and airflow is the only reliable strategy.
Why did my seedlings fall over overnight?
Seedlings that fall over at the soil line, with a thin, dark, or water-soaked stem there, most likely have damping off, which thrives in wet, still, crowded conditions. Seedlings that fall over with a firm stem are more likely leggy from weak light, or wilted from drying out, and those can often recover with strong light and steady bottom watering.
Can I save seedlings with damping off?
No. Once the stem has rotted at the soil line, that seedling will not recover. Remove affected seedlings and the mix in those cells, improve drainage and airflow for the rest of the tray, and start a fresh batch with clean trays and fresh mix.
How much light do seedlings need indoors?
Seedlings need 14 to 16 hours of strong light a day, with grow lights just a few inches above the leaves, raised as the plants grow. A sunny window often looks bright but does not give enough light for vegetable seedlings, which is why window seedlings stretch tall and thin.
How often should I water seedlings?
Water by checking the mix, not by a fixed schedule. The mix should feel like a wrung-out sponge, damp but not dripping, with the surface drying slightly between waterings. Water from below for 10 to 20 minutes, drain away excess, and empty standing water after an hour or two.
When should I start seeds indoors?
Count back from your transplant date using the packet number, not from the day the seed catalog arrives. Find your average last frost date, work out the transplant date for that crop, and sow the stated weeks before it. Starting a month early usually gives a tall, weak, root-bound plant, not a head start.

Thesis Link : https://saulibrary.edu.bd/daatj/public/uploads/BAU200601_19-Pp_5.pdf
- Seed Starting Mistakes: 10 Fixes for Strong Seedlings - November 4, 2026
- Compost vs Manure: Which Amendment Fits Your Garden - November 3, 2026
- How to Harden Off Seedlings: A 10-Day Plan - November 3, 2026