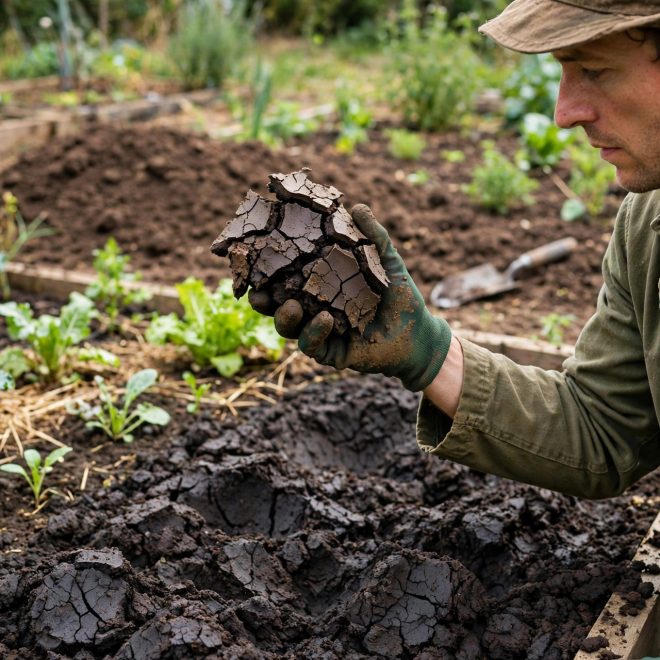

If your shovel bounces off the ground in summer and sticks in it in winter, you probably garden on clay. Clay soil holds water long after rain, then bakes into cracks when it dries. Seeds struggle to push through it, roots run short of air, and a single heavy downpour can leave a bed looking like a shallow pond.
Clay is not bad soil. Clay particles are smaller than 0.002 mm and hold nutrients far better than sand. The problem is structure, not fertility: clay packs so tightly that air and water cannot move through it. Once structure is opened up, the nutrients clay already holds become available.
There is no single bag or single weekend fix. The working routine is: add organic matter, stop compacting the bed, keep the surface covered, and let roots and soil life do part of the work. Expect clear improvement in the first season and a real transformation over three to five years.
The Quick Answer: What Works for Clay Soil
If only an hour is available this weekend: spread 2 to 3 inches of finished compost over the bed, work it into the top 6 to 8 inches with a fork, and mulch the surface. Do not add sand, do not dig when soaking wet, and do not buy gypsum unless a soil test shows a sodium problem.
| Problem you see | What fixes it | Your first step |
|---|---|---|
| Water sits on the surface after rain | More pore space from compost, plus a path for water to leave the bed | Dig a drainage test hole and add compost |
| Soil is sticky when wet and rock hard when dry | Organic matter that builds crumbs instead of clods | Work 2 to 3 inches of compost into the top 6 to 8 inches |
| Roots stay shallow and plants wilt fast in heat | Deeper loosening and a mulch layer that slows drying | Broadfork compacted beds, then mulch 2 to 3 inches deep |
| Nothing seems to help, year after year | A soil test that shows what is really going on | Send a sample to a lab before buying amendments |
How to Tell You Have Clay Soil
A few simple checks will tell you how heavy the clay is, and whether drainage or compaction is the bigger problem.
The ribbon test
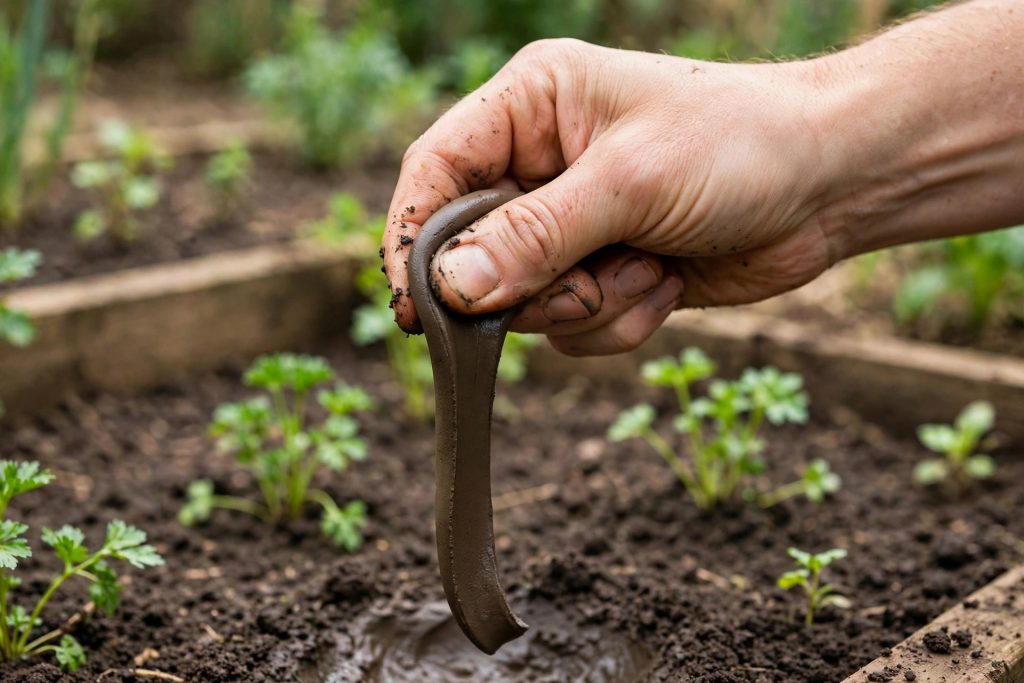
Take a small handful of moist soil, not wet and not dry, roll it into a ball, press it between thumb and forefinger, and try to push out a ribbon. Sandy soil falls apart before forming a ribbon. Loam makes a short ribbon, about an inch long, then breaks. Clay keeps going. A ribbon longer than 2 inches that feels smooth and slick is a strong sign of heavy clay.
The jar test
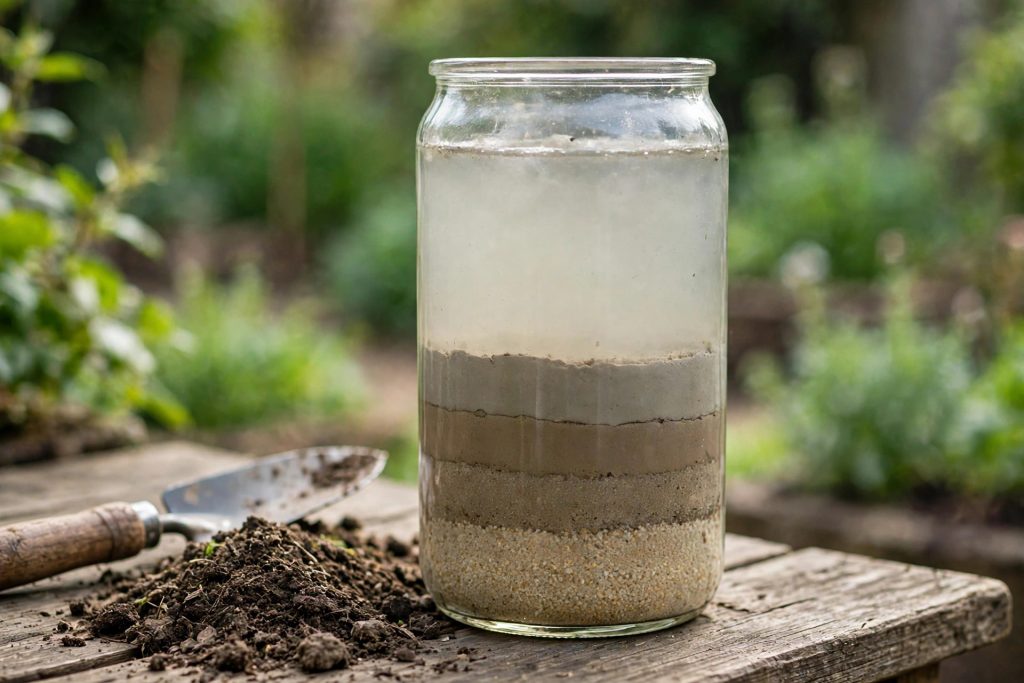
Fill a straight sided jar one third full with soil, add water until nearly full, shake hard, and leave for a day. Sand settles first, silt next, clay stays cloudy longest and settles on top as a fine layer. If the top clay layer makes up roughly a third or more of the settled soil, the ground is clay heavy.
The drainage test
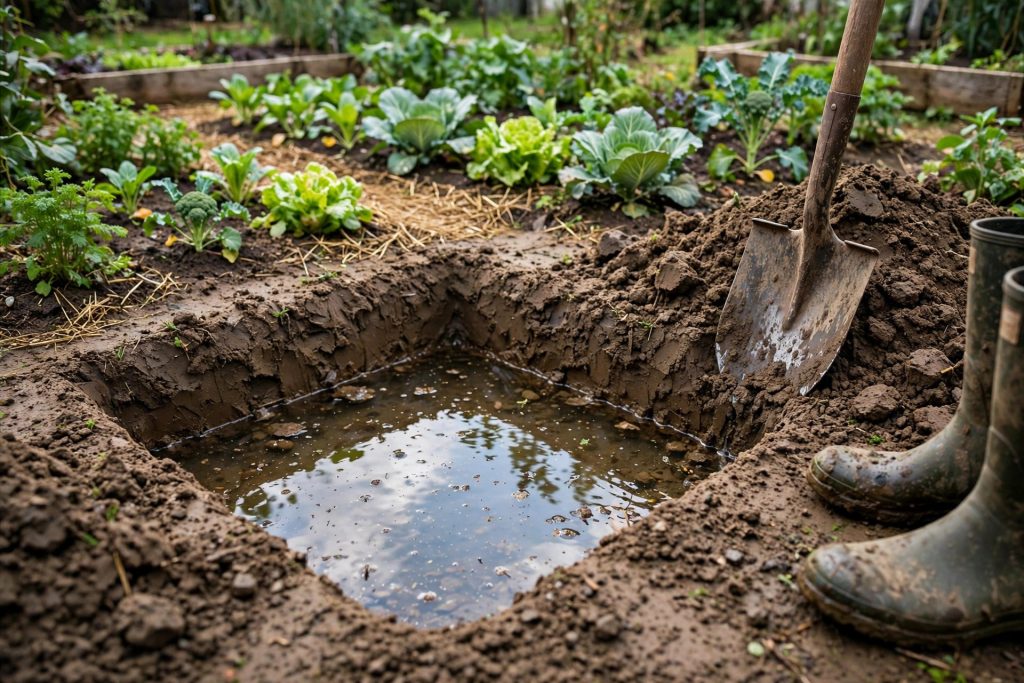
Dig a hole about 12 inches wide and 12 inches deep, fill with water, let it drain, fill again, and time the second draining. If water is still sitting after several hours, drainage is poor. A bed that holds water for a day needs a drainage solution, not just more compost. A bed that drains slowly but does drain will usually respond well to compost and loosening alone.
How to Improve Clay Soil, Step by Step
Follow the steps in order. Skipping the soil test is the most common reason people spend money on the wrong amendment.
Step 1: Test the soil before you amend it
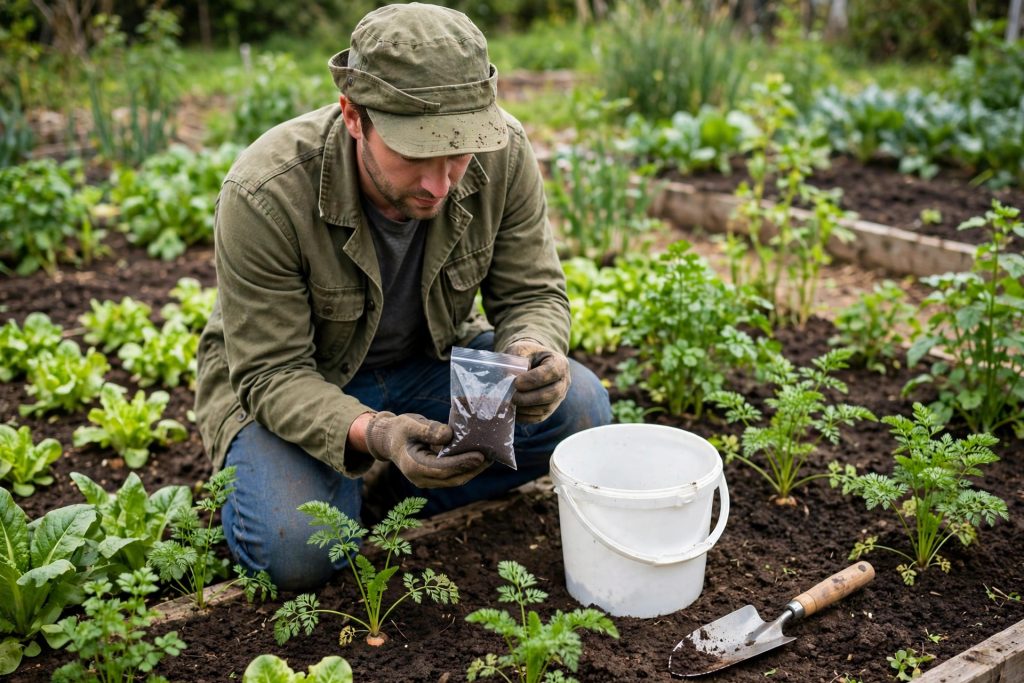
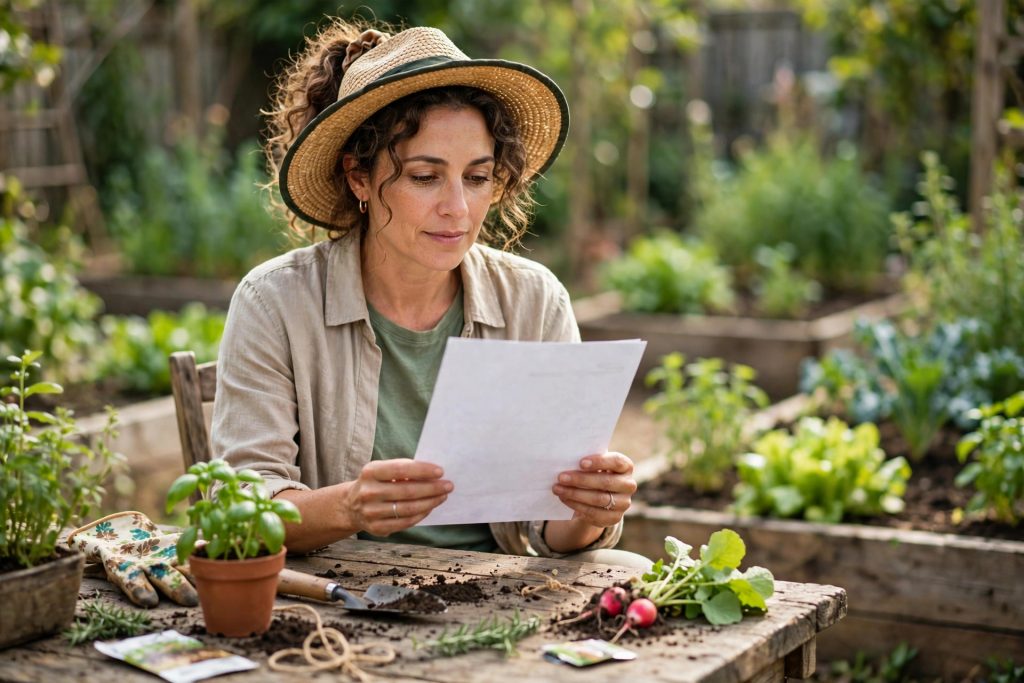
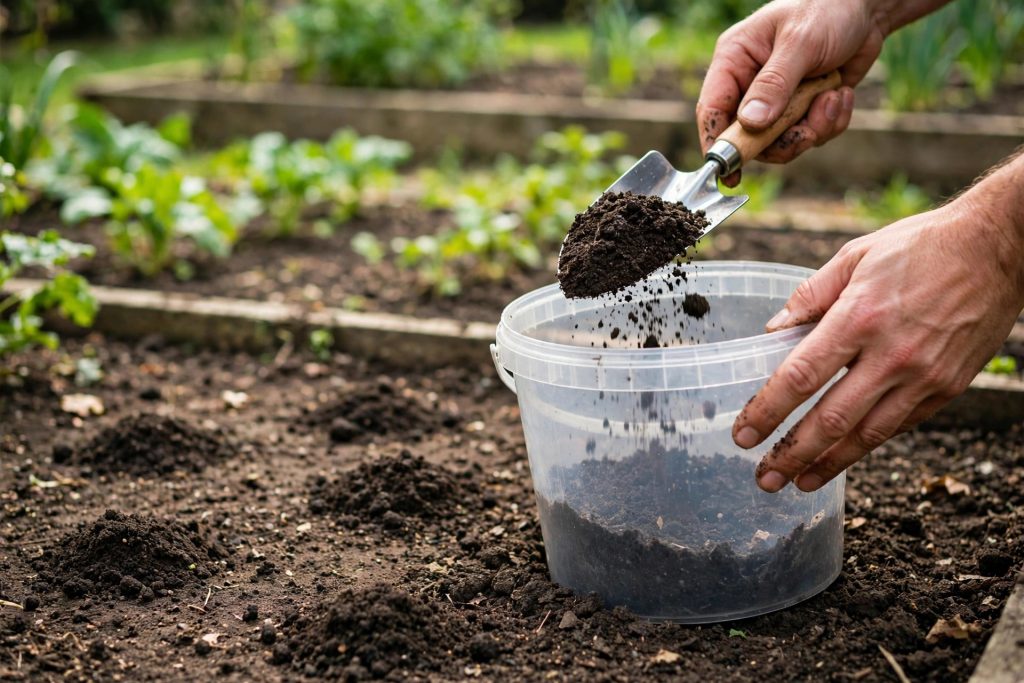
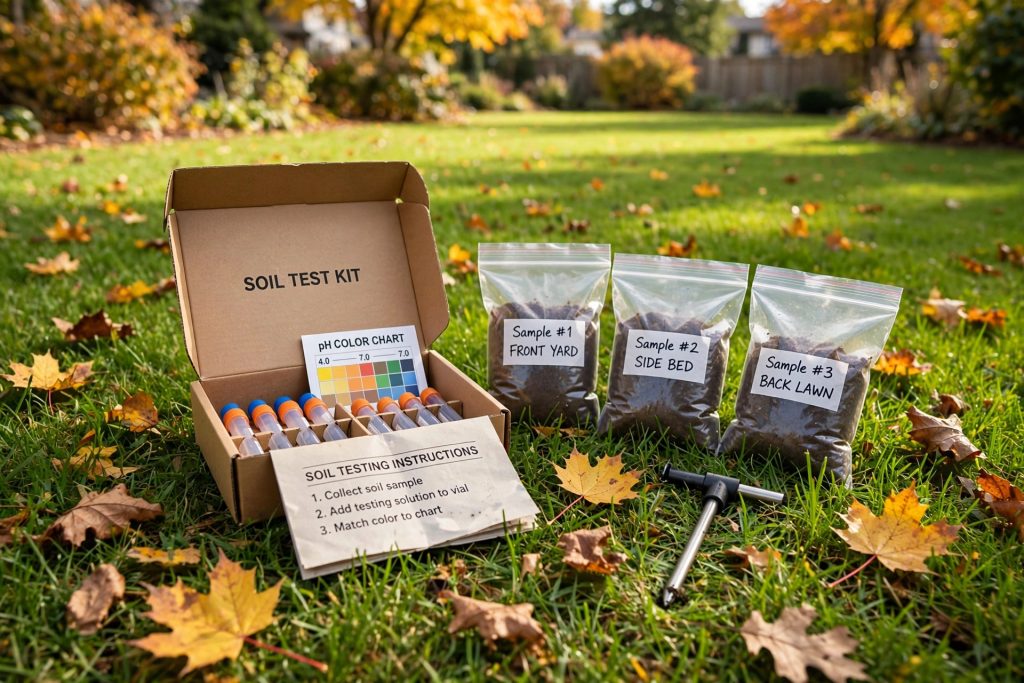
A soil test tells pH, organic matter, and nutrient levels, and can flag a sodium problem, which matters for gypsum. Without a test, decisions about lime, fertilizer, and gypsum are guesses. Take samples from 6 to 8 inches deep, mix 10 to 15 subsamples from one bed into a single composite sample, and send it to a state extension lab or reputable private lab. If not tested before, start with the full testing guide linked below, then return with the numbers in hand.
Step 2: Work the soil only when it is moist and crumbly
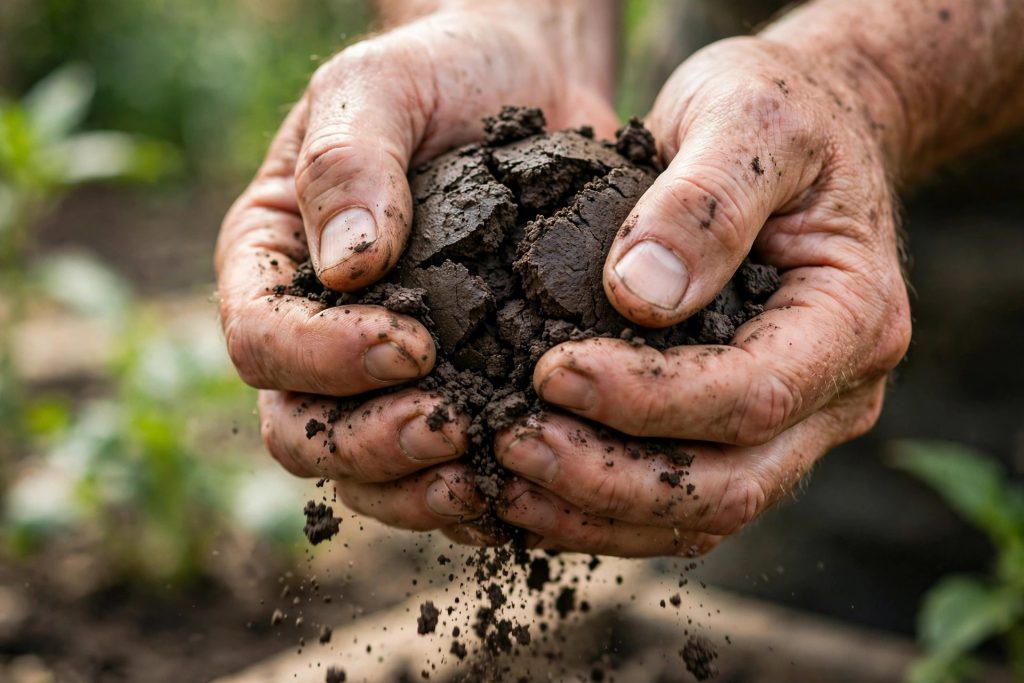
Wet clay smears and seals when dug, and damage can last a whole season. Bone dry clay shatters into hard clods. The right moment: squeeze a handful. It should form a ball that crumbles when poked, not a sticky lump and not dust. If it sticks to boots and fork, wait a day or two. If it will not hold a ball at all, water lightly and try again the next day.
Step 3: Add compost, and add it every year
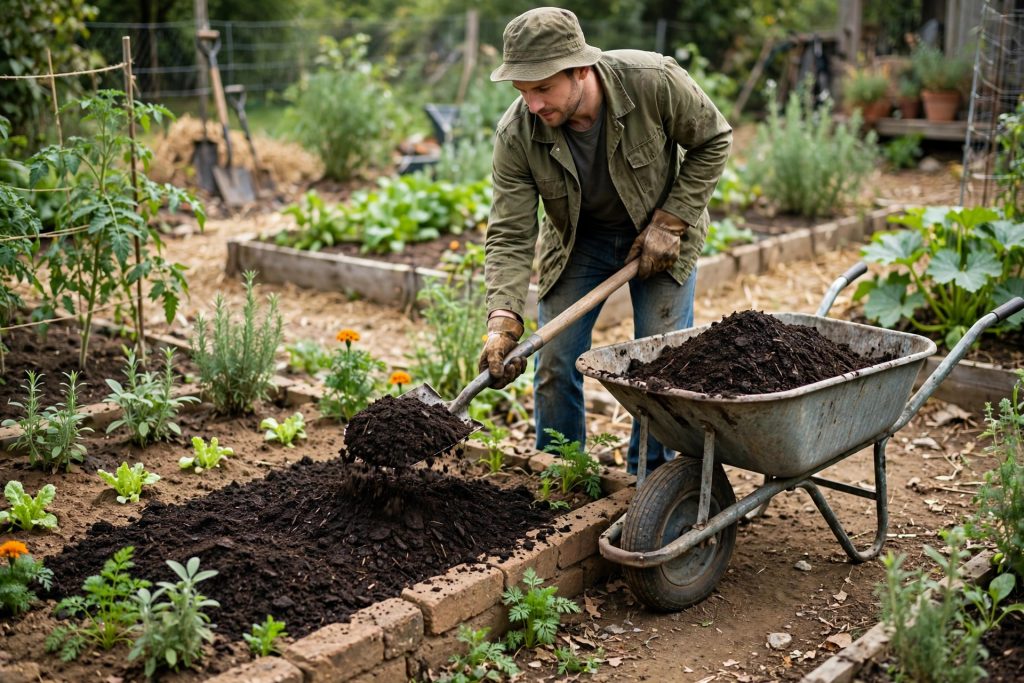
Compost is the single most reliable way to improve clay soil. It feeds microbes and earthworms that glue clay particles into crumbs, creating air and water channels. Michigan State University Extension advises tilling about 2 inches of compost into the top 6 inches of soil for clay beds, and repeating regularly because organic matter breaks down.
For a new bed, spread 2 to 3 inches of finished compost and work it into the top 6 to 8 inches with a garden fork. For an established bed, spread 1 to 2 inches on the surface each fall and let worms and weather pull it down, or fork it lightly into the top few inches between crops. Well rotted manure and leaf mold work the same way. Fresh manure does not: it can burn roots, carry weed seed, and tie up nitrogen while breaking down, so use only fully composted material.
Compost is not a one time fix. Soil life eats it, plants use it, and a bed composted three years ago is often back near where it started. Plan a yearly top dressing.

Step 4: Loosen deep compaction without destroying structure
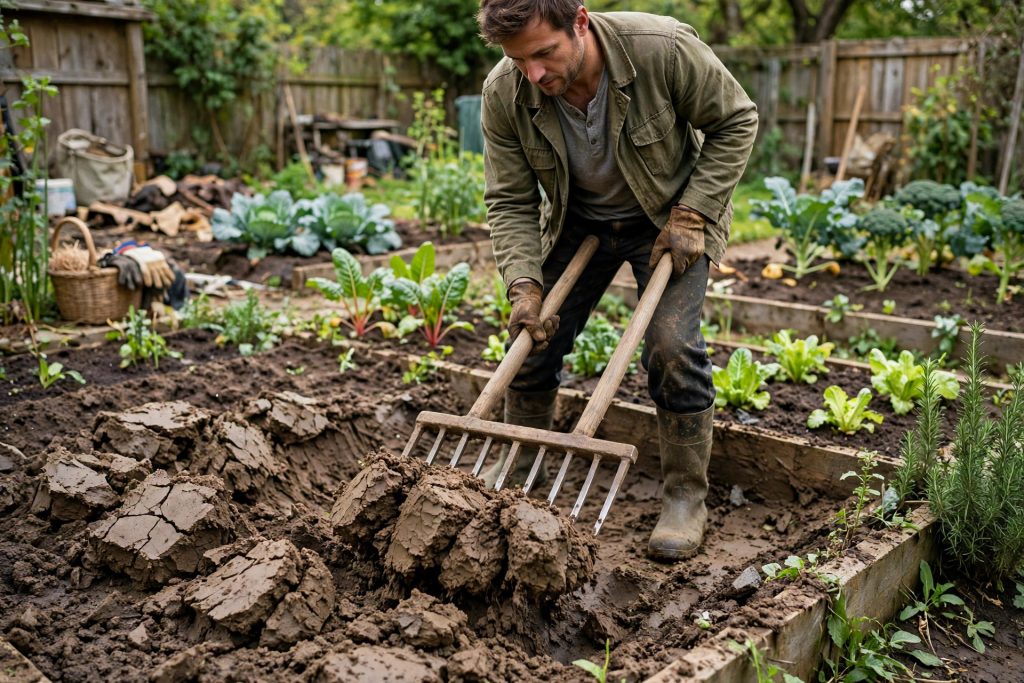
Shallow digging only fixes the top few inches. A bed walked on for years, or crossed by construction equipment, may have a compacted layer 8 to 12 inches down. A broadfork is the best tool: push tines in, rock back to crack the soil, and move on without turning the whole bed over. This fractures compaction while leaving soil layers and worm channels mostly intact.
For lawns on clay, use a core aerator. Iowa State University Extension notes core aeration is the best way to improve growing conditions for lawns established on clay soils, with cores about three quarters of an inch across and 3 inches long. Topdress the lawn with a thin layer of compost after aerating so holes fill with organic matter instead of closing straight back up.
Avoid rototilling wet clay, and avoid tilling the same bed over and over. Each pass breaks up crumbs that compost and soil life just built. Dig or fork when needed to mix in compost or plant, then leave the bed alone.
Step 5: Mulch, and keep the surface covered
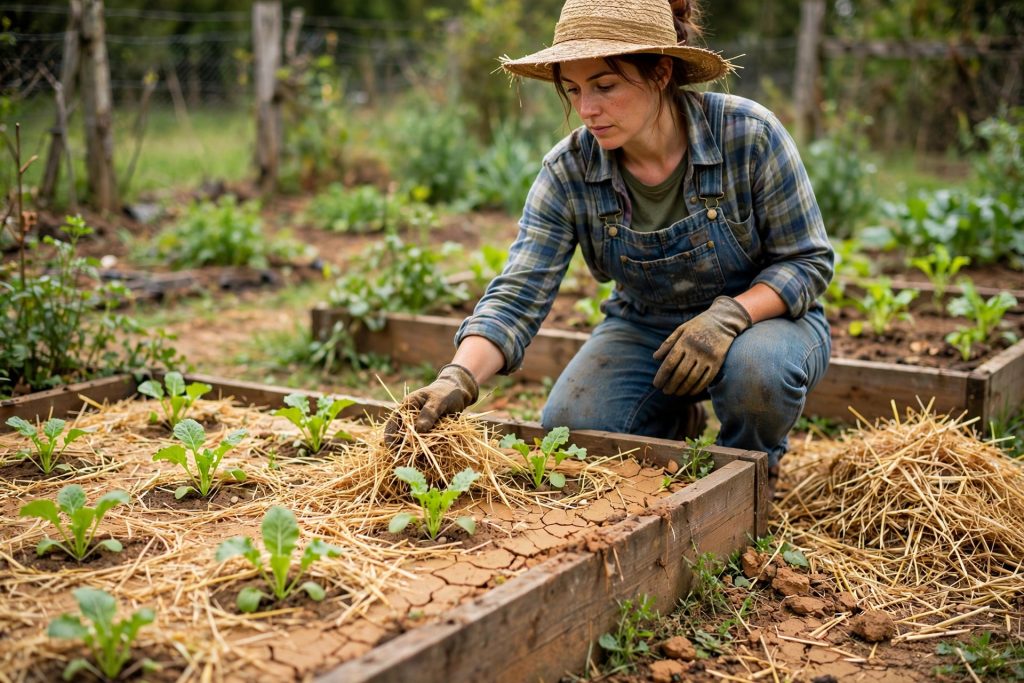
Bare clay is clay at its worst. Rain pounds it flat, sun bakes it into a crust, and the surface cracks. A 2 to 3 inch layer of organic mulch, straw, shredded leaves, or bark, slows all three problems, keeps moisture even, protects surface soil life, and breaks down into more organic matter.
Keep mulch a few inches away from plant stems and tree trunks so crowns stay dry. Top mulch up as it thins, especially before summer heat and before winter rain. A bed never left bare keeps improving on its own.
Step 6: Plant smart and let roots do the work
Plants that love clay include roses, daylilies, asters, hellebores, viburnums, and many fruit trees. Brassicas, beans, and squash usually cope well too. Carrots, parsnips, lavender, and rosemary struggle in heavy clay and are better in raised beds or containers with a freer mix.
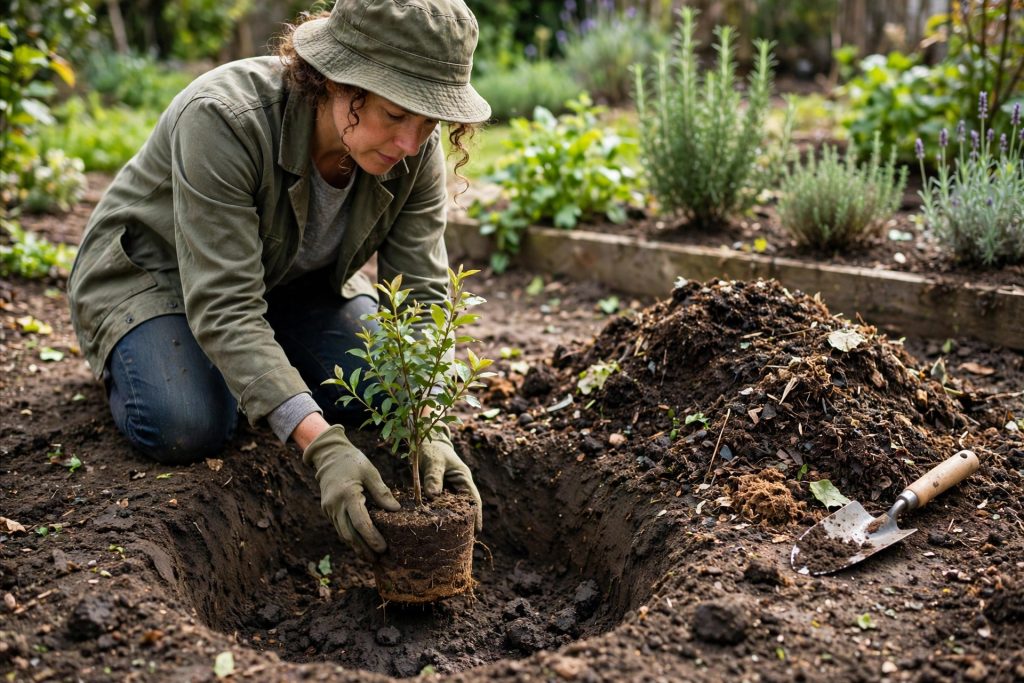
When planting into clay, dig the hole twice as wide as the root ball but no deeper, and mix excavated soil with compost rather than filling the hole with pure compost or potting mix. A hole full of fluffy mix inside heavy clay acts like a pot with no drainage: water collects, roots stay inside, and the plant suffers. Blend the backfill and plant slightly high, so the crown sits just above surrounding soil, helping water drain away from the stem.
Cover crops are the long game. Daikon radish roots drill channels through compaction, cereal rye builds organic matter over winter, and clover adds nitrogen while covering the ground. Sow them in beds that would otherwise sit empty, then cut and leave tops as mulch. Roots rot in place and leave channels for the next crop.
Clay Soil Amendments Compared
Not every amendment sold for clay earns its place; compost is the base everything else sits on.
| Amendment | What it does | When to use it | Watch out for |
|---|---|---|---|
| Finished compost | Builds crumbs, feeds soil life, improves drainage and moisture holding | Every bed, every year | Needs repeating; unfinished compost can rob nitrogen |
| Well rotted manure | Adds organic matter and nutrients, like compost | Beds that also need fertility | Must be fully rotted; fresh manure burns roots |
| Leaf mold | Light, holds moisture, gentle on soil life | Top dressing and mulch | Low in nutrients, so pair it with compost |
| Coarse grit or perlite | Opens permanent air pockets in containers and raised beds | Pots and raised beds, mixed through the soil | Little benefit in open ground unless used in large amounts |
| Gypsum | Replaces sodium on clay particles in sodic soils, helping them clump | Only when a soil test shows high sodium | Does almost nothing for ordinary, non sodic clay |
| Sand | Almost nothing at garden scale, and it can make clay harder | Practically never in open beds | Small amounts of sand plus clay can set like concrete |
The Gypsum Myth, Explained Honestly
Gypsum is calcium sulfate. In sodic soils, where sodium has pushed clay particles apart and sealed soil shut, calcium from gypsum can knock sodium off the clay and let particles clump again, and drainage can improve, sometimes dramatically.
Most home gardens are not sodic. Sodic soils are mainly in arid western regions of the United States, coastal ground hit by salt water, or near roads and driveways that get heavy deicing salt. Iowa State University Extension puts it plainly: gypsum is chiefly used to amend sodic soils, and adding it to ordinary Iowa clay soils is of little benefit.
Gypsum also does not change soil pH in any useful way. That confusion comes from lime, which is calcium carbonate. Gypsum is calcium sulfate, and its sulfate side offsets the calcium side, so net pH effect is close to nothing. If a soil test says lime is needed, buy lime. If it says sodium is high, gypsum is worth trying. If neither, spend the money on compost instead.
Fixing Drainage When Compost Is Not Enough
Some clay beds have a drainage problem compost alone cannot solve: a bed at the bottom of a slope, a low corner collecting runoff, or a garden built over compacted construction fill may hold water no matter how much organic matter is added. Look for the cause before buying anything.
First, check where water comes from: a downspout pouring onto the bed, a slope directing runoff into one corner, or a compacted path acting as a dam. Redirect the downspout, cut a shallow swale, or break up the path, and the bed may drain on its own.
Second, consider raised beds. A raised bed 8 to 12 inches tall, filled with a mix of topsoil and compost, gives roots a well drained zone while clay underneath slowly improves. This is the practical answer for root crops, herbs that hate wet feet, and any bed that stays soggy for days after rain. Do not dig a deep hole into clay and fill it with good soil: that is the bathtub problem again, and water will sit in the hole.
Third, for ground that stays wet across a whole area, a French drain or dry well may be needed. That is a bigger job, and local advice on depth, slope, and where water will legally go is worth getting. A drain that moves a water problem onto a neighbor’s ground is not a solution.
What to Avoid With Clay Soil
- Digging or rototilling wet clay, which smears it into a sealed layer.
- Adding sand in small amounts, which can make heavy clay set harder, not looser.
- Buying gypsum without a soil test that shows high sodium.
- Filling planting holes with pure compost or potting mix inside unamended clay.
- Leaving beds bare through summer and winter, so rain and sun undo structure work.
- Walking on growing beds, which recompacts loosened soil. Put in permanent paths and stay on them.
- Expecting one season of compost to finish the job. Clay improvement is a routine, not a project with an end date.
A Seasonal Calendar for Clay Soil
Fall is the best season: ground still warm, worms active, winter frost helps break up loosened clods. Spread compost in fall, sow cover crops, and mulch beds that will sit empty.
In spring, wait until soil passes the squeeze test before digging, then plant into ground improved last fall. Add a light compost top dressing between crops. In summer, keep mulch topped up and water slowly so water soaks in instead of running off a crusted surface. In winter, stay off wet beds entirely, keep paths in place, and let frost and rain work on clods.
After the first year, judge progress by feel, not hope: soil should crumble more easily, drain faster after rain, and hold together in crumbs instead of slick sheets. Earthworms are a good sign, as are roots reaching deeper than the year before. If a bed is not improving, test again: pH, sodium, or a deeper compaction layer may be the real blocker.
Final Thoughts on How to Improve Clay Soil
Clay rewards patience more than spending. Compost, careful timing, deep loosening, mulch, and smart planting will do more over three years than any single amendment will do in a weekend. Test first, add organic matter every year, never work wet clay, and skip sand and gypsum unless a test gives a reason to use them.
Clay already holds nutrients well. Give it structure, and it will give back some of the best growing ground in the garden. Start this fall with one bed, follow the steps, and compare it next season with a bed left alone.
References
- Iowa State University Extension, Will an application of gypsum improve a clay soil?: Explains gypsum is chiefly for sodic soils and of little benefit to ordinary clay soils, and that core aeration is the best lawn treatment on clay.
- Michigan State University Extension, Ask Extension: Amending clay soil.: Recommends tilling about 2 inches of compost into the top 6 inches of clay soil to improve drainage and structure.
- Oregon State University Extension, Clay soil: challenges and solutions for Oregon gardeners.: Covers working clay at the right moisture, adding organic matter, and raised beds as a drainage option.
- University of Maryland Extension, Soil health, drainage and improving soil.: Covers organic matter, soil testing, and drainage checks for home gardens.
- North Carolina State Extension, Durham County, Making the most of your garden’s soil.: Covers compost additions, topsoil use for raised beds, and why amending existing soil beats replacing it.
How long does it take to improve clay soil?
Feel a difference after one season of compost and careful handling, with easier digging and faster drainage after rain. A real transformation, where soil holds crumbs instead of clods, usually takes three to five years of yearly organic matter additions.
How much compost should I add to clay soil?
For a new bed, spread 2 to 3 inches of finished compost and work it into the top 6 to 8 inches. For established beds, add 1 to 2 inches as a top dressing each fall. Repeat every year, because soil life breaks organic matter down over time.
Does gypsum break up clay soil?
Only in sodic soils, where high sodium has dispersed clay particles. In ordinary clay soil, which is most home garden clay, gypsum gives little benefit. Get a soil test first: if sodium is normal, spend the money on compost instead.
Can I add sand to clay soil to improve drainage?
Small amounts of sand usually make clay worse, not better, because fine clay particles fill gaps between sand grains and the mix can set hard. Coarse grit helps in containers and raised beds, but in open ground very large amounts would be needed to change texture.
Should I use a raised bed on clay soil?
Yes, if the bed stays soggy for days after rain, if growing root crops or herbs that hate wet feet, or if the ground is compacted construction fill. Build the bed 8 to 12 inches tall with a topsoil and compost mix, and keep improving the clay underneath at the same time.
What grows best in clay soil?
Roses, daylilies, asters, hellebores, viburnums, many fruit trees, brassicas, beans, and squash all grow well in improved clay. Carrots, parsnips, lavender, and rosemary struggle in heavy clay and do better in raised beds or containers.

Thesis Link : https://saulibrary.edu.bd/daatj/public/uploads/BAU200601_19-Pp_5.pdf
- How to Improve Clay Soil: A Practical Guide for Gardens - October 29, 2026
- Best Seed Starting Trays and Kits: 10 Picks for Strong Seedlings - October 29, 2026
- How to Read a Soil Test Report: A Garden Guide - October 29, 2026