
Most garden problems start underground, long before a leaf turns yellow. You add fertilizer because a neighbor swears by it, or you skip lime because the bag looks complicated, and then you wonder why the same bed gives a thin harvest year after year. Learning how to test garden soil removes that guesswork. A test tells you what your soil already has, what it lacks, and whether pH is locking nutrients away from your plants.
This guide walks you through the whole job in plain language: when to test, what to gather, how to take a sample that actually represents your bed, and how to choose between a lab test and a home kit. It also explains what to do with the numbers once they arrive, so the report does not sit in a drawer until next spring.
If you are starting a new bed, fixing a bed that has disappointed you, or simply trying to fertilize less and grow more, this is the first step worth doing right. It takes under an hour in the garden, and it can save you several seasons of trial and error.

Why Testing Beats Guessing
Fertilizer is not plant food in the simple sense most labels suggest. Plants take up specific nutrients from the soil, and they can only use those nutrients when conditions allow it. Soil pH is the gatekeeper here. When pH sits far outside the range your crops prefer, nutrients may be present in the soil and still hard for roots to absorb. That is why two gardens can receive the same fertilizer and get very different results.
A soil test also protects you from overdoing it. Extra phosphorus, for example, does not keep making plants grow faster once levels are already high, and excess nutrients can wash into nearby water. Testing helps you add only what is missing, which is better for your wallet and for the ground around your garden.
Finally, a test gives you a baseline. If you test again in two or three years, at the same time of year and with the same lab where possible, you can see whether compost, lime, or a change in fertilizer is actually moving your soil in the right direction. Without that first number, every later change is just a story you tell yourself.
When to Test Garden Soil
You can sample soil any time the ground is not frozen and not soaking wet, but fall is the best choice for most gardeners. Fall samples leave time for lime to react in the soil before spring planting, and labs are often less rushed after harvest. University of Georgia Extension notes that soil tests should be done at least two to three months before you intend to plant when a correction is needed, and that fall sampling lets you time fertilizer and lime applications for the next season.
Test sooner than your routine schedule in these situations:
- You are starting a new garden bed, raised bed, or planting area.
- Plants in one bed keep struggling while the same varieties thrive elsewhere.
- You have never tested, or you have not tested in more than three years.
- You are about to make a major change, such as adding a large amount of lime, compost, or manure.
- You suspect a past problem, such as a bed built on fill soil or near an old structure.
For routine care, most home gardens do well with a test every two to three years. Vegetable gardens that are cropped heavily, and beds where you are actively correcting pH or fertility, may need a test every one to two years until levels stabilize. Cornell Cooperative Extension puts the general interval at every two to three years for most crops, with annual testing for soil under intensive cultivation.
Two timing cautions matter. First, do not sample right after you fertilize or lime a bed. Wait at least eight weeks, as North Carolina State Extension advises, or the sample will reflect the fresh application rather than the soil your plants will live in. Second, sample at about the same time of year each time you test, so year-to-year comparisons mean something.
Lab Test or Home Kit: Which One Do You Need?
Both routes start with the same good sample. The difference is how much detail you get back, and how precisely you can trust the numbers.
A laboratory test, usually through your state cooperative extension service or a university soil lab, measures pH, organic matter, major nutrients, and often secondary nutrients and micronutrients. It also gives crop-specific recommendations, so you are not left to convert a raw number into a bag rate on your own. Turnaround is typically one to three weeks, and many extension labs charge a modest fee per sample.
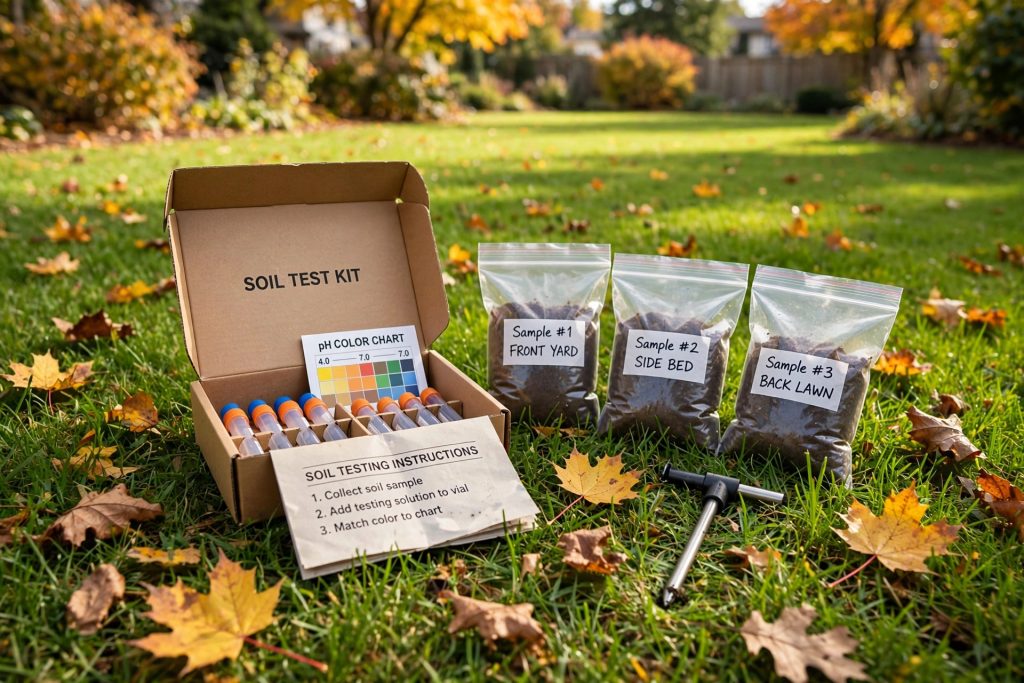
A home kit tests pH, nitrogen, phosphorus, and potassium, usually as low, medium, or high rather than as exact amounts. That is enough for a quick check, and it is a useful first step if you have never tested at all. Research on home kits has found that pH results are often close to lab results, while nutrient results are more variable and tend to read low, medium, or high rather than precisely. The University of New Hampshire Extension makes the same practical point: kits can be useful, but they are not a full replacement for a lab test when you need precise numbers.
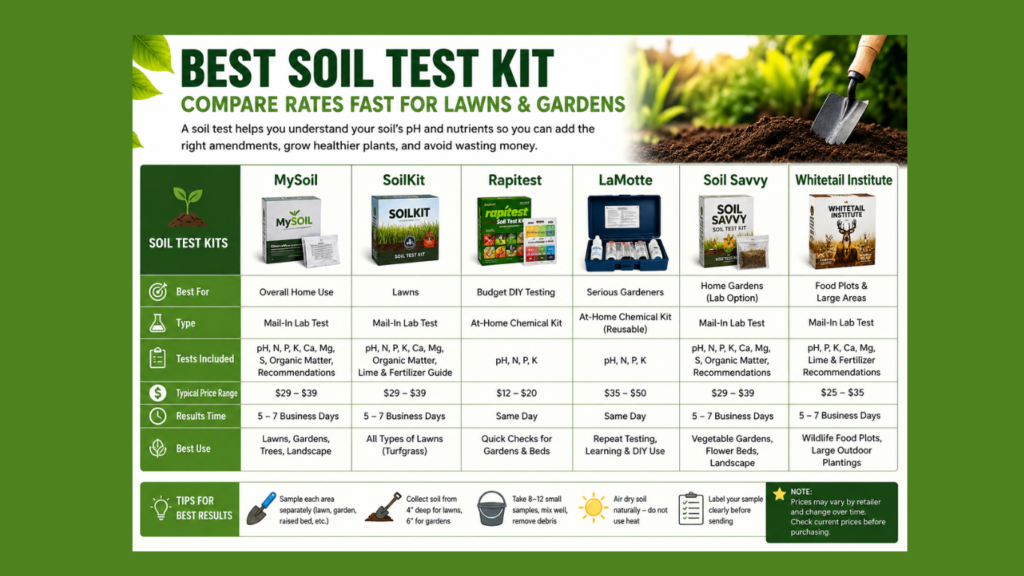
Use this comparison to decide:
| Choice | What you get | Best for | Watch out for |
|---|---|---|---|
| Lab test through extension or a university lab | pH, organic matter, NPK, secondary nutrients and micronutrients, plus crop-specific recommendations | A new bed, a struggling bed, a pH correction, or any decision that involves buying lime or fertilizer in quantity | You wait one to three weeks for results, and you must follow the lab form and crop codes carefully |
| Home test kit | pH, nitrogen, phosphorus, and potassium, usually as low, medium, or high | A quick first check, a mid-season curiosity, or a bed you already know well | Color matching can be hard to read, and results are broad categories, not exact amounts |
| Handheld pH meter | A fast pH reading in the garden | Checking pH across several beds on the same day | Meters need calibration and clean probes, and they say nothing about nutrients |
The honest rule is simple. If the answer will change what you buy or how much you apply, send a sample to a lab. If you only want a rough sense of where a bed stands, a home kit is a fair start, and you can still follow it with a lab test before you make a big correction.
What You Need Before You Start
Gather everything before you walk to the bed. A clean bucket, a clean sampling tool, and a labeled bag or box for each area are the whole kit, plus the lab form if you are mailing a sample.
- A clean plastic bucket. Do not use a galvanized bucket or a bucket that held fertilizer or lime, because residues can contaminate the sample.
- A soil probe, auger, garden spade, or sturdy trowel. A probe gives the neatest core, but a spade works well if you cut a clean vertical slice.
- A clean plastic bag or the sample box your lab supplies, plus a permanent marker for labels.
- The lab submission form, with the crop or garden type filled in, if you are sending a sample away.
- A home test kit or a calibrated pH meter, if you are testing at home instead.
Label each bag as you go: bed name, date, and sampling depth. A sample labeled “back bed, October, 6 to 8 inches” is useful next year. A bag labeled only “soil” is not.
How to Test Garden Soil, Step by Step
Good sampling is the part most gardeners rush, and it is the part that matters most. A lab can only test the soil you send. If that soil comes from one corner of the bed, the report describes that corner, not the bed.
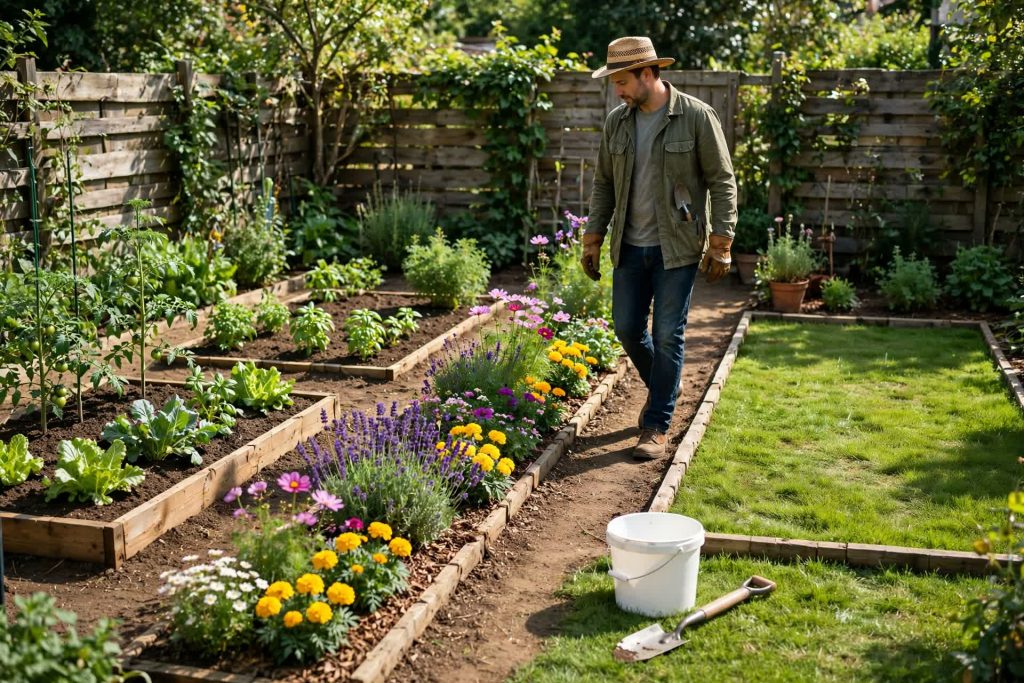
Step 1: Divide the Garden Into Sampling Areas
Walk the garden and split it into areas that you manage differently. The vegetable bed, the flower border, and the lawn are separate samples. So are beds with different soil color, different histories, or different crops. A trouble spot gets its own sample too, so it does not get averaged away into a healthy-looking bed.
For raised beds, sample the soil inside the beds only, not the paths around them. If several raised beds grow the same crops and share the same soil mix, one composite sample across those beds can be enough, with a few subsamples from each bed. If one bed grows blueberries or another acid-loving crop, keep it separate, because its target pH is different.
Step 2: Collect 10 to 15 Subsamples From Each Area
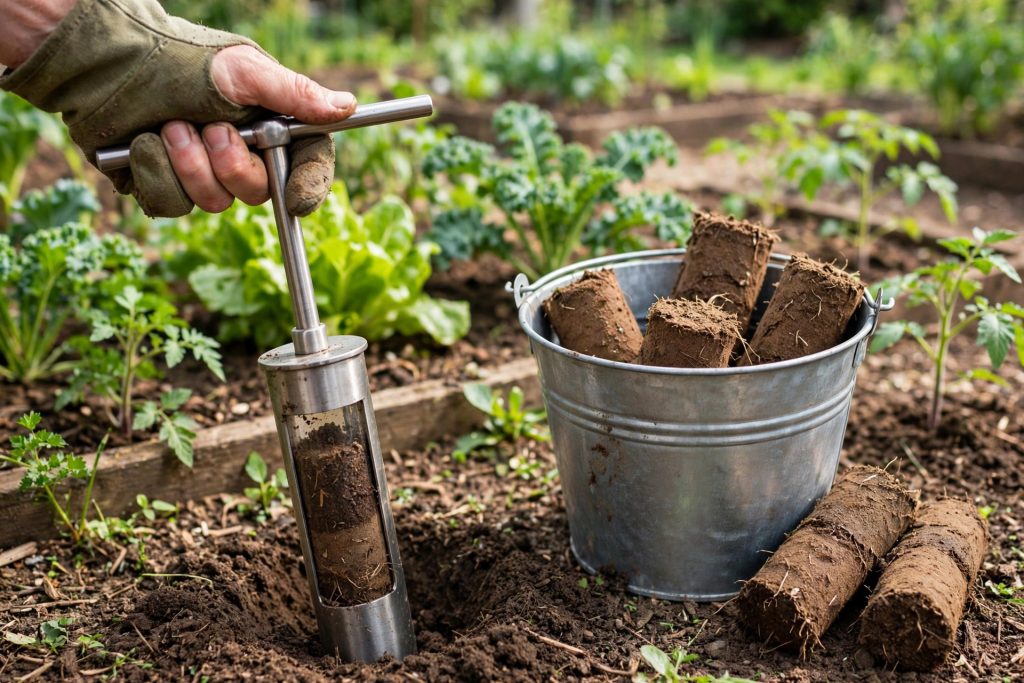
For a vegetable or flower garden, sample to a depth of 6 to 8 inches. That is the root zone where most garden plants feed. University of Maryland Extension advises 15 to 20 random samples to a 6 to 8 inch depth across the area for a representative sample, while Cornell Cooperative Extension advises 10 to 15 locations for a garden or field. Either way, the point is the same: many small samples, spread across the area, beat one large scoop.
Work in a zigzag or scattered pattern across the bed. At each spot, push the probe to the full depth, or dig a small hole with the spade and cut a thin vertical slice about an inch thick from one side. Scrape off surface mulch, leaves, and loose debris first, so you are sampling soil, not last season’s mulch. Drop each subsample into the clean bucket.
Skip unusual spots when you are sampling for the average of a bed: the place where the compost pile sat, the strip by the fence where fertilizer spilled, a wet hollow, or the edge where lime dust collected. Those spots are real, but they are not the bed, and including them will tilt the whole result.
Step 3: Mix, Bag, and Send or Test the Composite Sample
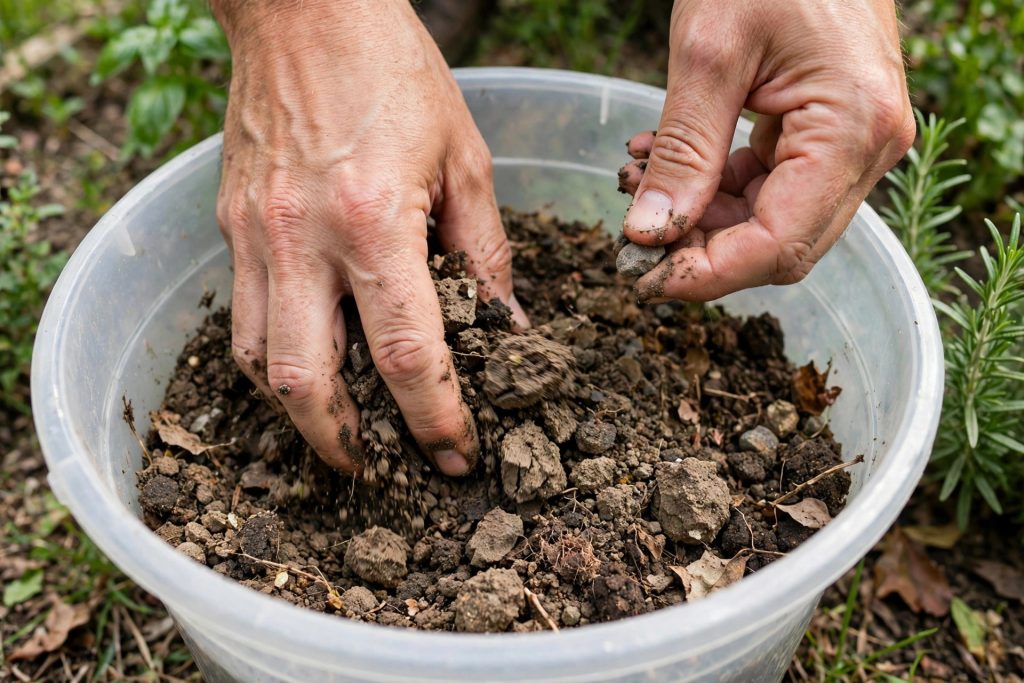
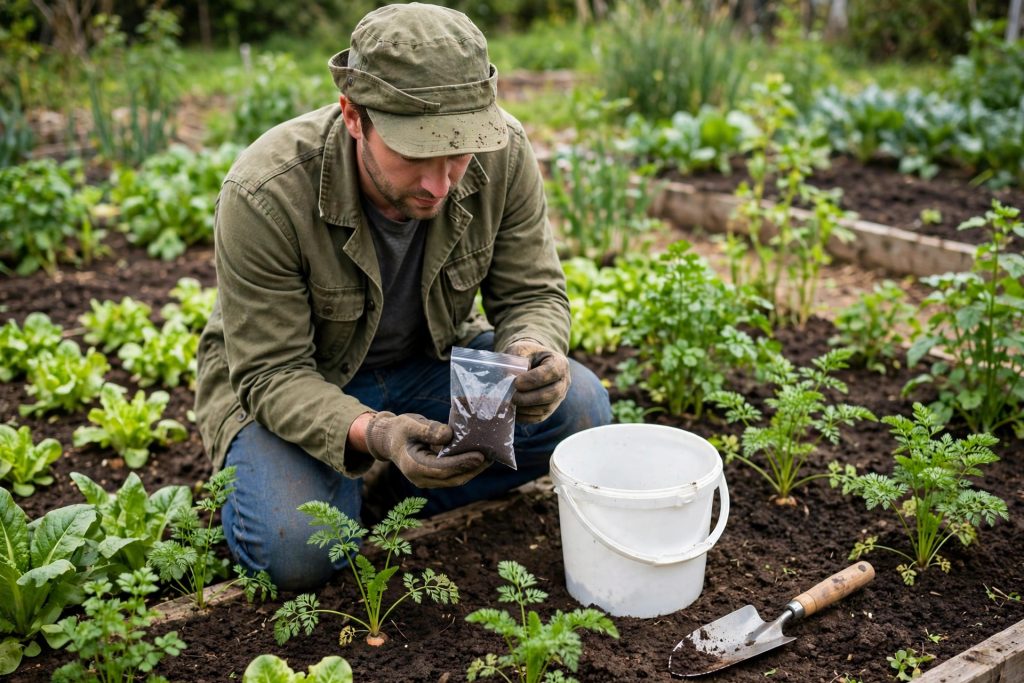
Once you have collected the subsamples for one area, break up clumps in the bucket and mix everything thoroughly. Pull out stones, roots, and debris as you mix. Then scoop about one to two cups of the mixed soil into your labeled bag or lab box. That mixed scoop is your composite sample, and it is what the lab tests or what you test at home.
If the soil is wet, spread it on clean paper or a clean tarp and let it air dry before bagging. Do not oven dry it, and do not pack a dripping sample into a sealed bag. For a lab sample, fill in the form with the same label you put on the bag, including the crop or garden type, because the lab uses that code to write its recommendations. Mail it promptly, and keep a note of the date you sent it.
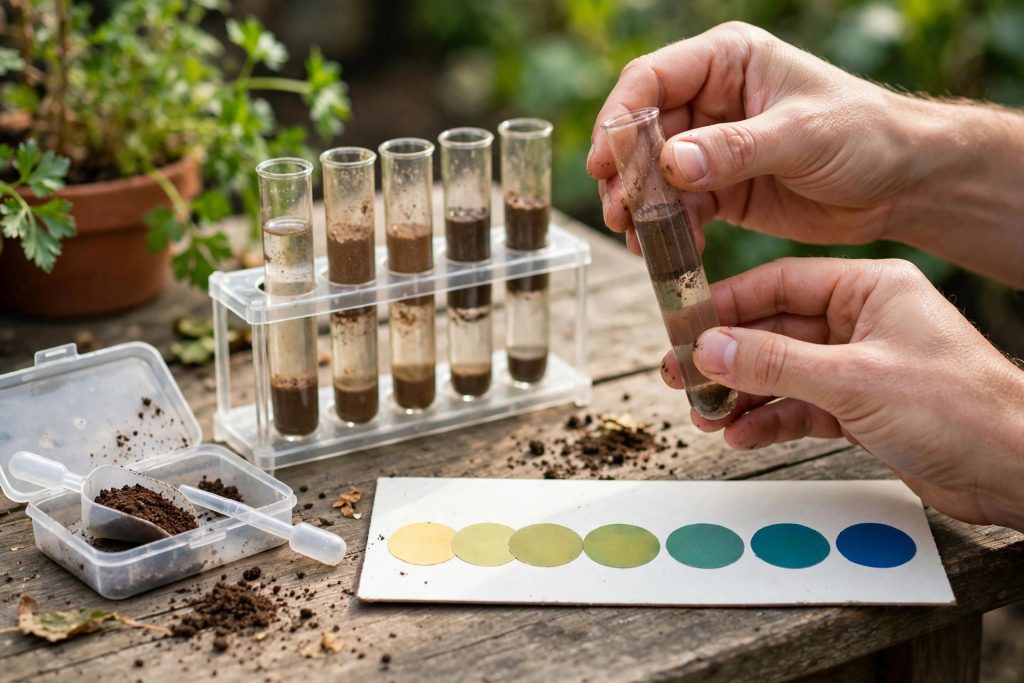
If you are testing at home, take your test portion from the same mixed bucket, not from a single scoop you grabbed earlier. Follow the kit instructions exactly, especially the waiting time before you read a color, and use distilled water where the kit calls for it, because tap water can shift a pH reading. Test in good light, and write the result down with the bed name and date before you move on. A result you remember vaguely in spring is almost as useless as no result at all.
What Your Results Mean
A lab report can look intimidating at first, but most of it comes down to four questions: Is the pH right for what I grow? Is organic matter in a healthy range? Are the major nutrients low, adequate, or high? And what does the lab actually recommend I add, in what amount?
| What the report shows | What it tells you | A useful garden reference | First move |
|---|---|---|---|
| Soil pH | How acidic or alkaline the soil is, on a scale from 0 to 14, and how available nutrients are to roots | Most vegetables do best around pH 6.0 to 7.0, while blueberries prefer about 4.5 to 5.0 | Follow the lab lime or sulfur rate for your crop, and give lime two to three months to react before planting |
| Organic matter | The share of decomposed plant and animal material in the soil, which feeds soil life and holds water and nutrients | Higher is generally better in a garden, and compost is the usual way to raise it over time | Add compost regularly, and mulch to protect the soil surface |
| Nitrogen, phosphorus, potassium (NPK) | The major nutrients plants need in the largest amounts | The lab report gives crop-specific targets, which matter more than a single universal number | Add only the nutrients the report flags as low, at the rate the report gives |
| Calcium, magnesium, and micronutrients | Secondary nutrients and trace elements that still affect growth when they are out of balance | Most home gardens are fine here once pH and organic matter are in range | Do not chase a single micronutrient number without a lab recommendation, because excess can cause its own problems |
Your next step is not to buy everything the report mentions. It is to read the recommendation section first. A good lab report translates its numbers into amounts for your garden size and crop, and that recommendation is worth more than any general chart. If a nutrient reads high, the right move is usually to skip it for a season, not to add a “balanced” fertilizer that adds more of what you already have.
One common surprise is a pH result that seems fine while plants still struggle. In that case, look again at organic matter, drainage, and watering before you add more fertilizer. A soil test measures chemistry, not compaction, shade, or a root system sitting in water after rain. The test is a strong tool, but it is not the whole diagnosis.
Common Mistakes That Ruin a Good Test
The most common mistake is sampling one spot. A single scoop from the healthiest corner, or from the spot where a plant died, tells you about that spot. It does not tell you about the bed. Take the full set of subsamples, even when the bed is small. For a small bed, five or more subsamples are a reasonable minimum, and ten is better.
The second mistake is sampling too shallow. Scraping the top inch gives you the mulch layer and the most recently fertilized soil, not the root zone. Go to the full 6 to 8 inches for a garden bed, and keep each subsample the same depth, so the top and bottom of the root zone are both represented.
The third mistake is dirty tools. A bucket that held fertilizer, a spade caked with lime, or a galvanized container can all contaminate a sample enough to shift the result. Clean tools and a clean plastic bucket are not fussiness. They are the difference between a result you can act on and a result you have to doubt.
The fourth mistake is testing at the wrong time. Sampling the day after you fertilize, or sampling a bed you limed last week, gives you a reading of the fresh application. Wait at least eight weeks after fertilizer or lime, sample when the soil is moist but not wet, and keep the season consistent from year to year.
The fifth mistake is ignoring the crop code on a lab form. A report written for lawn grass will not give you the right lime rate for blueberries, and a report written for vegetables will not match a perennial border. Fill in the crop, and if you are unsure which code fits your bed, ask the lab or your local extension office before you mail the sample.
What to Do After You Get Your Results
Start with pH, because it affects everything else. If the lab recommends lime, apply it at the rate given for your garden size, and work it into the top few inches where you can. Lime reacts slowly, which is why fall application before spring planting is so useful. If the lab recommends sulfur to lower pH, apply it in the same careful way, and retest before you add more, because it is easier to move pH a little at a time than to correct an overshoot.
Next, handle organic matter. Compost is the most reliable garden amendment for most beds, because it adds organic matter, feeds soil life, and improves both sandy and clay soils over time. It is not a substitute for lime where pH needs correcting, and it is not a precise fertilizer, but it is the amendment that helps the widest range of beds. A regular compost habit, plus mulch to protect the surface, does more for long-term soil health than any single bag product.
Then, fertilize only for what is low. If nitrogen is low, a nitrogen source at the lab rate makes sense. If phosphorus is already high, skip the high-phosphorus fertilizer, even if the bag promises bigger blooms. Keep the report with your garden notes, write down what you applied and when, and plan your next test for the same season in two or three years, or sooner if you are correcting a clear problem.
If a result looks strange, such as a pH far outside anything you expected, or a nutrient reading that contradicts what you see in the bed, check the simple explanations first: Was the sample mixed well? Was a trouble spot included by mistake? Was the crop code right? A quick call to your extension office can save you from acting on a sample that was never representative in the first place.
Final Thoughts
Knowing how to test garden soil is a small skill with a long payoff. One careful sample, taken at the right depth and from across the bed, tells you more about your garden than a season of guessing with fertilizer bags. Test in fall when you can, use a lab test before you make a major correction, keep a home kit for quick checks, and let the report, not habit, decide what you add.
Your soil will not change overnight, and that is the point. Lime needs months, compost needs seasons, and a garden built on tested soil improves a little every year. Start with the test, write down the result, and let the next season be the one where you fertilize with a reason, not a hope.
References
- Cornell Cooperative Extension Albany County. How to Take a Soil Sample. https://albany.cce.cornell.edu/agriculture/soils-climate/how-to-take-a-soil-sample
- University of Maryland Extension. Soil Testing. https://extension.umd.edu/programs/agriculture-food-systems/program-areas/row-crop-forage-production/forage-program/soil-testing
- Colorado State University Extension. Soil Tests. https://extension.colostate.edu/resource/soil-tests/
- University of Connecticut Home Garden Education. Soil Testing. https://homegarden.cahnr.uconn.edu/tag/soil-testing/
- University of New Hampshire Extension. Are Garden Soil Test Kits a Good Alternative to Lab Testing? https://extension.unh.edu/blog/2020/04/are-garden-soil-test-kits-good-alternative-lab-testing
Frequently Asked Questions
How often should I test my garden soil?
For most home gardens, every two to three years is enough. Vegetable gardens under intensive cropping, and beds where you are correcting pH or fertility, may need a test every one to two years until levels stabilize. Test at the same time of year each time, so results compare fairly.
How deep should I sample garden soil?
Sample vegetable and flower gardens to 6 to 8 inches, which is the main root zone. Take each subsample to the same depth, and cut a vertical slice or core, so the top and bottom of that zone are both included.
How many subsamples do I need for one soil test?
Aim for 10 to 15 subsamples spread across the area, mixed together into one composite sample. For a very small bed, five or more subsamples are a reasonable minimum. One scoop from one spot does not represent a bed.
Can I use a home soil test kit instead of a lab test?
Yes, for a quick first check. Home kits usually give pH, nitrogen, phosphorus, and potassium as low, medium, or high. For a new bed, a struggling bed, or a lime or fertilizer decision that involves real money, send a sample to a lab for exact numbers and crop-specific recommendations.
When is the best time to test garden soil?
Fall is usually best, because it leaves two to three months for lime to react before spring planting. You can test any time the ground is not frozen, but avoid sampling right after fertilizing or liming, and wait at least eight weeks after those applications.
What should I do if my soil pH is too low or too high?
Follow your lab report first, since it gives a rate for your crop and garden size. Lime raises pH and needs time to react, while sulfur lowers pH. Apply at the lab rate, work it into the soil where you can, and retest before adding more, rather than guessing a second dose.

Thesis Link : https://saulibrary.edu.bd/daatj/public/uploads/BAU200601_19-Pp_5.pdf
- How to Test Garden Soil: Step by Step Guide - October 28, 2026
- Winter Sowing: 6 Easy Proven Steps to Start Seeds - October 27, 2026
- How to Clean, Oil and Store Garden Tools - October 26, 2026