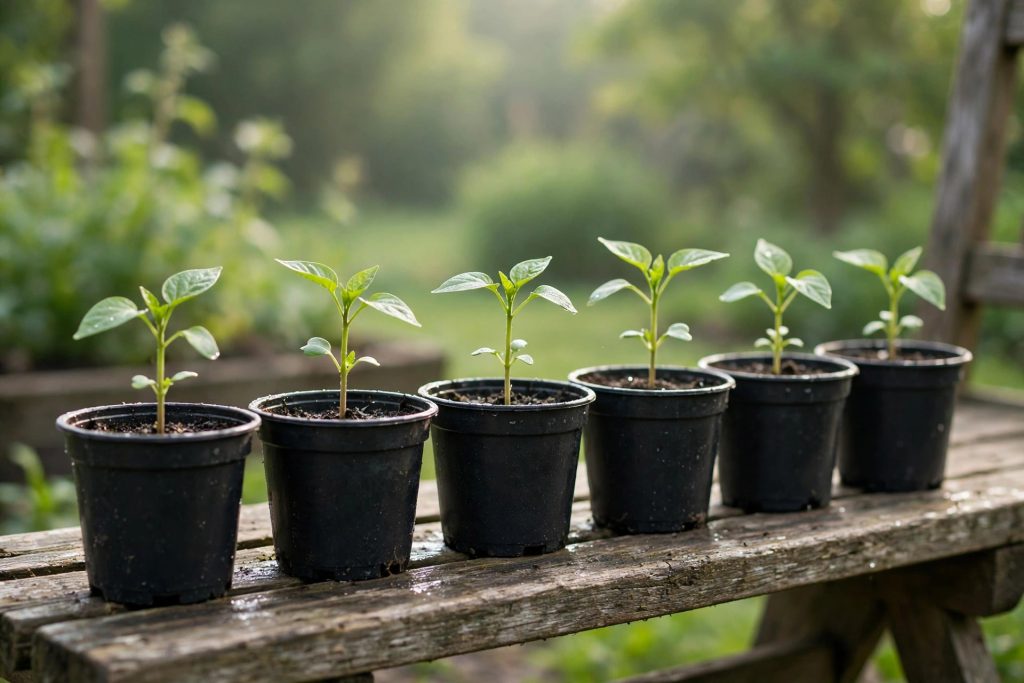

Learning how to transplant pepper seedlings is the moment your indoor work turns into a garden crop. You spent six to eight weeks nursing small plants under lights, and now they are sturdy, green, and ready for real soil.
The move takes only a few minutes per plant, but the details around it decide whether your peppers take off in a week or sulk for a month.
Peppers are the most cold-sensitive crop in the summer garden, more so than tomatoes, and they punish a rushed move. They also break one habit every tomato grower knows: the deep-planting trick does not apply here.
A tomato grows roots along a buried stem, but a pepper stem buried in soil may rot, so peppers go in at exactly the depth they grew in the pot. This guide walks through the whole move, from checking the soil temperature to watching the first two weeks after planting.
Quick Answer
Short on time? Here is the whole method in short. The first rule of how to transplant pepper seedlings is timing: wait until 2 to 3 weeks after your average last frost, when the soil has warmed to 65 degrees Fahrenheit or more and night temperatures stay above 55 degrees, ideally above 60. Harden the seedlings off for about 10 days first, moving them outdoors for longer stretches each day.
Pick a late afternoon or a cloudy day, water the plants well, and dig a hole 6 to 8 inches deep so each seedling sits at exactly the same depth it grew in its pot. Space bell and sweet peppers 18 to 24 inches apart and hot peppers 12 to 18 inches apart, with rows 30 to 36 inches apart.
Water deeply so the moisture reaches at least 6 inches down, cover the plants with floating row cover on cool nights, and wait 2 to 4 weeks before mulching with 2 to 3 inches of straw.
When to Transplant Pepper Seedlings
The calendar date matters less than the soil. Peppers are warm-season plants, and Clemson Extension puts their best growing temperatures at 70 to 85 degrees during the day and 60 to 70 degrees at night. A seedling set into cold soil stops growing, turns yellow or purple, and may never catch up to one planted a week later into warm soil.
The rule in this guide is 65 degrees, measured with a soil thermometer in the morning. Some sources accept 60 degrees, but 65 is the safer line for peppers, because their roots take up water and nutrients poorly in cold soil.
Night temperatures are the second check, and peppers are stricter here than tomatoes. Harvest to Table advises waiting until nights stay above 60 degrees and never drop below 55 degrees, while University of Minnesota Extension sets the floor at night lows above 50 degrees. Treat 55 degrees as the hard floor and 60 as the comfortable target.
Cornell University advises setting plants out 2 to 3 weeks after your average last frost, and warns that cold can weaken plants so much they may never fully recover. In most of the United States, that window falls between late April and early June.
The sources do not all draw the line in the same place: some accept 60°F soil, the University of Minnesota Extension sets the night floor at above 50°F, while Harvest to Table wants nights above 60°F. Colder soil slows root uptake, which is why this guide holds the 65°F line.
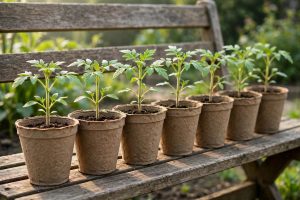
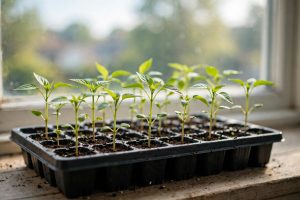
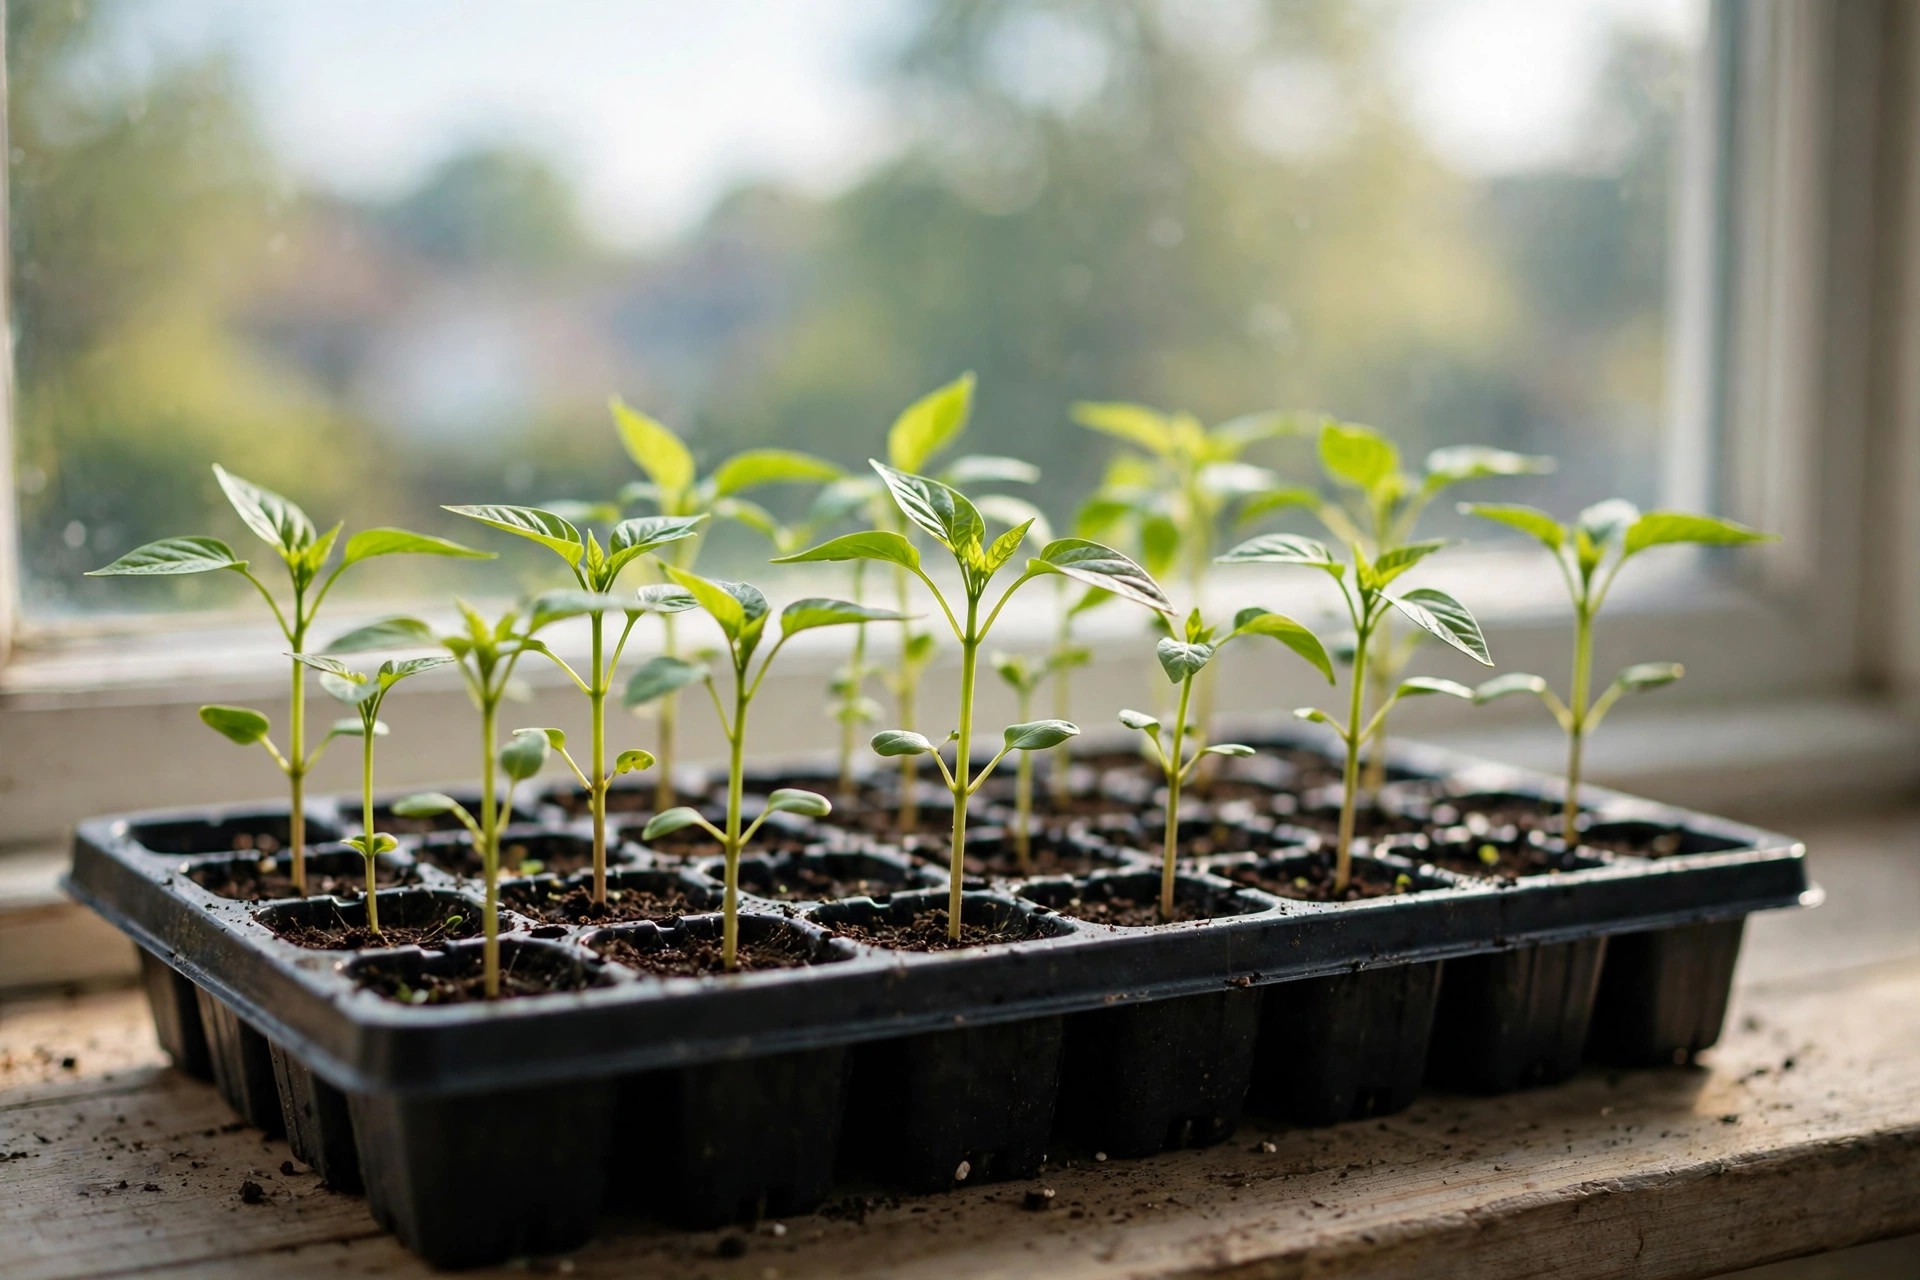
Your seedling should be ready too. Clemson Extension recommends setting out 6 to 8 week-old transplants, started from seed indoors 6 to 8 weeks before the last frost date. A good transplant is 6 to 8 inches tall, with a stem at least as thick as a pencil, several sets of true leaves, and a root ball that holds together when you slip it out of its pot.
If flower buds formed indoors, pinch them off, as University of Minnesota Extension advises, so the plant puts its energy into roots instead of early fruit. A plant with spots on its leaves should not go into the garden at all.
| Your last frost | Transplant outdoors | Soil temperature |
|---|---|---|
| Late May (Zone 4) | Mid to late June | 65 degrees F or warmer |
| Late April (Zone 5) | Mid to late May | 65 degrees F or warmer |
| Mid-April (Zone 6) | Early to mid-May | 65 degrees F or warmer |
| Early April (Zone 7-8) | Late April to early May | 65 degrees F or warmer |
| Little or no frost (Zone 9-11) | After nights stay above 55 degrees | 65 degrees F or warmer |
If a late frost is forecast after you have planted, cover the plants overnight with a bucket, a frost cloth, or floating row cover, and uncover them in the morning. A pepper has no frost tolerance at all, so one unprotected night can end the season before it starts. Keep the row cover handy for the first few weeks, because it also holds in warmth on cool evenings.
Don’t rush peppers into the garden; don’t plant peppers at the same time you plant tomatoes. Wait! Nighttime temperatures should be above 60°F and never fall below 55°F. The soil temperature should be 65°F or greater in the morning before you transplant peppers into the garden.
Stephen Albert, horticulturist, master gardener and certified nurseryman who has taught at the University of California for more than 25 years, in his guide ‘When and How to Transplant Pepper Seedlings Outdoors‘ (Harvest to Table).
His advice matches this guide’s 65°F rule.
What You Need Before You Transplant
Gather everything before you carry a single seedling outside.
- Hardened-off pepper seedlings, 6 to 8 weeks old, watered well the day before
- A soil thermometer, for checking the bed before you plant
- A hand trowel or small spade, and a garden fork for loosening the bed
- Compost or well-rotted manure, to mix into the planting area
- Black plastic sheeting, to warm the bed for two weeks before planting day
- Floating row cover, for cool nights after transplanting
- A watering can or hose with a gentle rose, for watering in
- Straw, for mulching once the soil has warmed
- Short stakes or small cages, if your variety grows tall or heavy with fruit
- Plant labels and a marker, so varieties do not get mixed up
The bed itself needs full sun, 8 hours a day according to Harvest to Table, or 6 to 8 hours according to Alabama Cooperative Extension, and soil that drains well. Clemson Extension recommends a well-drained loamy or sandy loam soil. On pH, the sources differ by region: Clemson Extension gives 6.0 to 6.5 for southern soils, while University of Minnesota Extension gives 6.5 to 7.0. A soil test settles the number for your garden.
Work 2 to 3 inches of compost into the top 6 to 8 inches of the bed a week or more before planting day, and do not plant peppers where eggplant, tobacco, pepper, tomato, or Irish potato grew the previous year, because the same soil problems follow the whole family.
Step 1: Harden Off
Hardening off is the slow introduction to sun, wind, and cool nights, and skipping it is the fastest way to lose healthy seedlings. A plant raised indoors has thin leaves and a soft stem, and full sun and wind on day one will scorch the leaves white and snap the stem.
Harvest to Table recommends 10 days of hardening off, University of Minnesota Extension allows a week or two, and Alabama Cooperative Extension says to harden them off slowly for 1 week. Start about 10 days before your transplant date: put the plants outside where they get wind protection and a couple of hours of sunlight, then bring them back in.
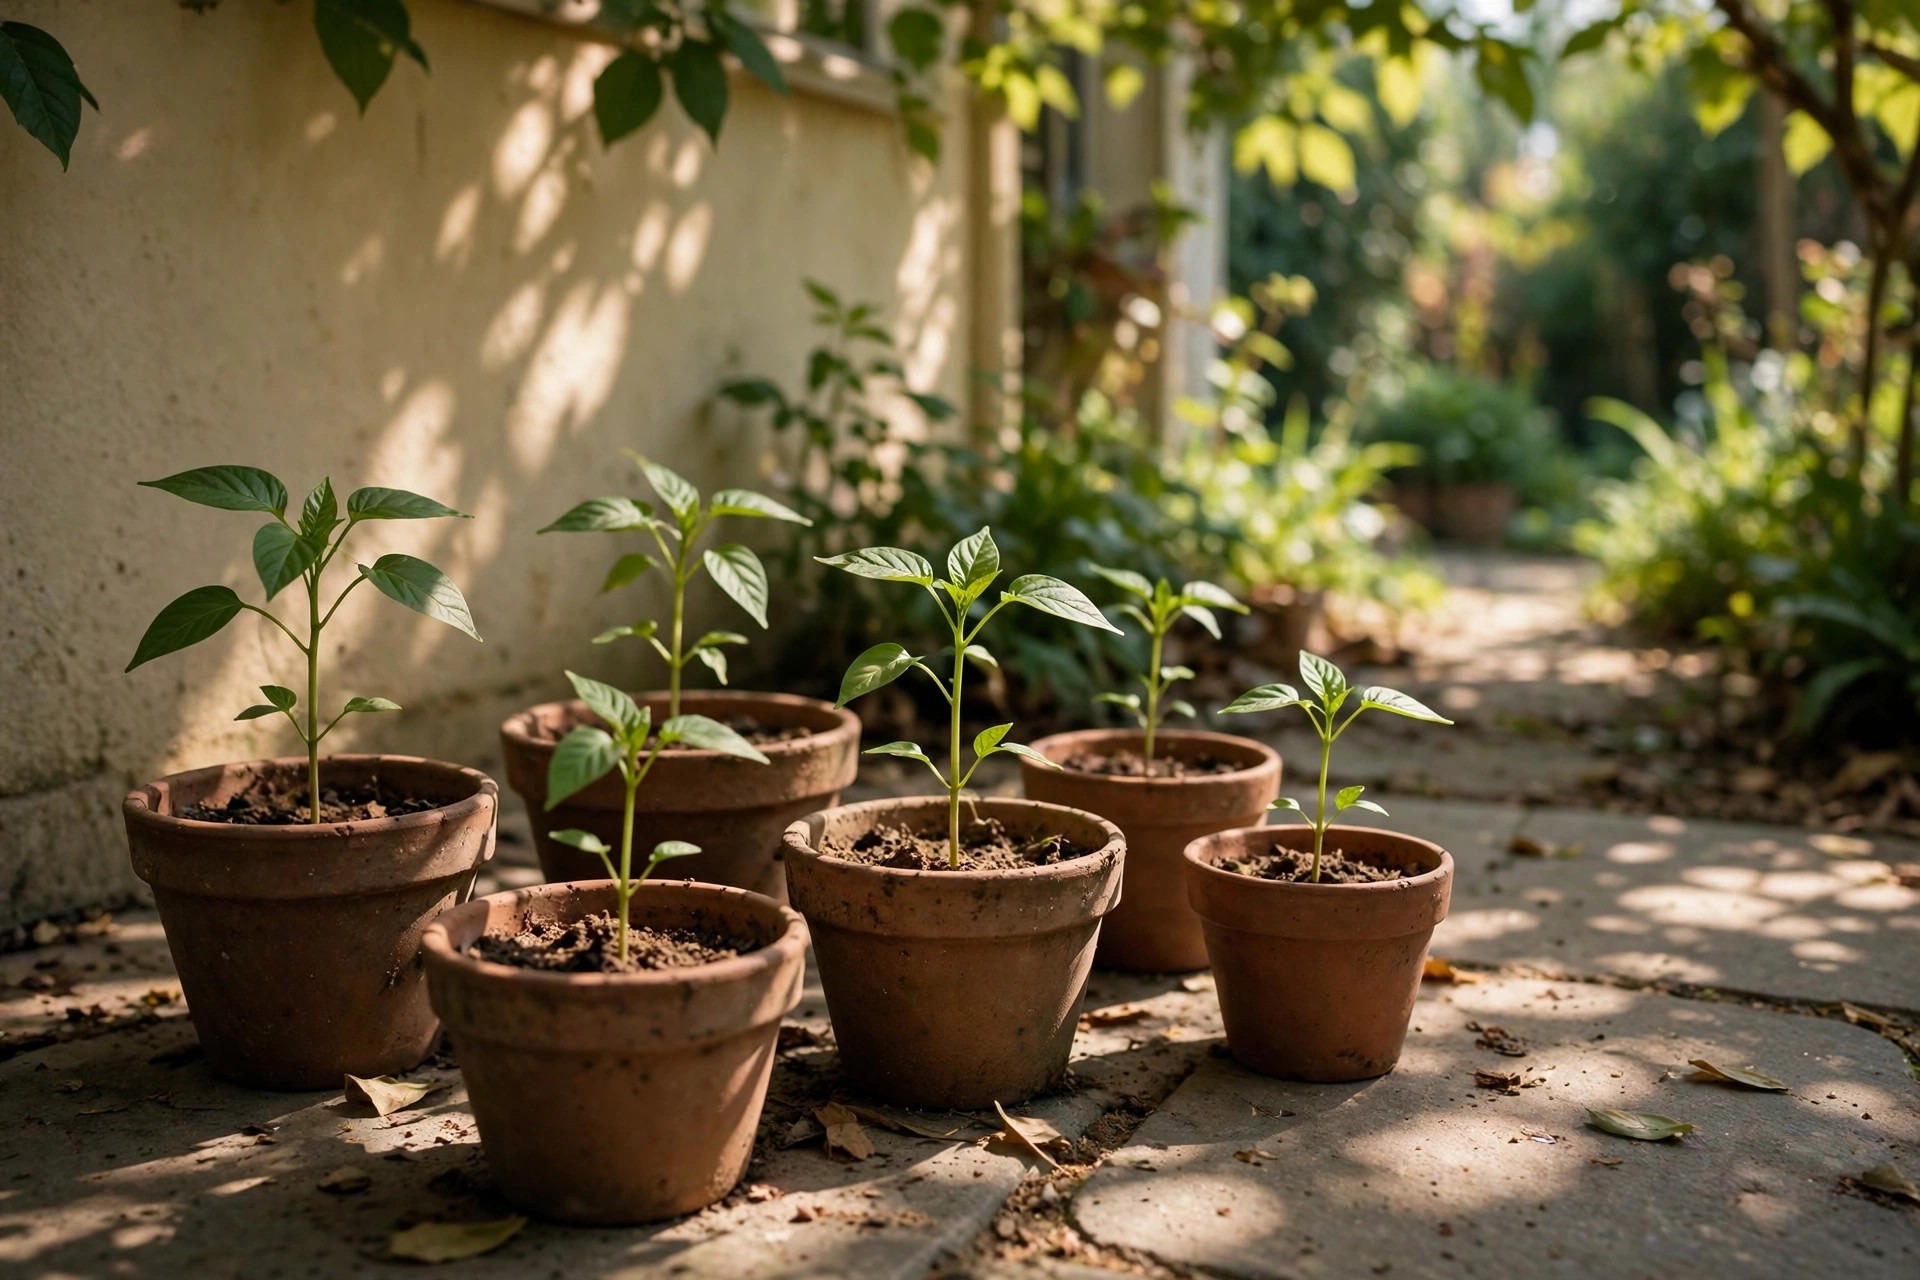
Days one and two mean shade or dappled light for 1 to 2 hours, sheltered from wind. Days three and four bring 3 to 4 hours with some morning sun, days five and six bring 5 to 6 hours, and by day seven they can take most of a day in full sun. By day nine or ten they can stay out all day and overnight, as long as no frost is forecast and nights stay above 55 degrees.
Water a little less than indoors, because slightly drier soil toughens the stems, but never let them wilt badly. A plant that shows no stress after a full day outside is ready to move.
Moving pepper seedlings outdoors starts with this step. A hardened seedling wilts for a day and then grows, while an unhardened one can lose most of its leaves in a single afternoon.
Step 2: Pick the Day and Time
Transplant in the late afternoon or on a cool, cloudy, calm day. A seedling set out at noon faces hours of hot sun with a root system that is not yet connected to the soil, so it loses water through its leaves faster than its damaged roots can replace it. Late afternoon planting gives the roots a cool night to settle in before the first full day of sun.
Check the forecast for the next three days before you plant. You want mild days, nights above 55 degrees and ideally above 60, and no hard wind, because a windy day dries leaves fast and snaps stems. If the only free day is windy, set up a temporary windbreak, or wait a day.
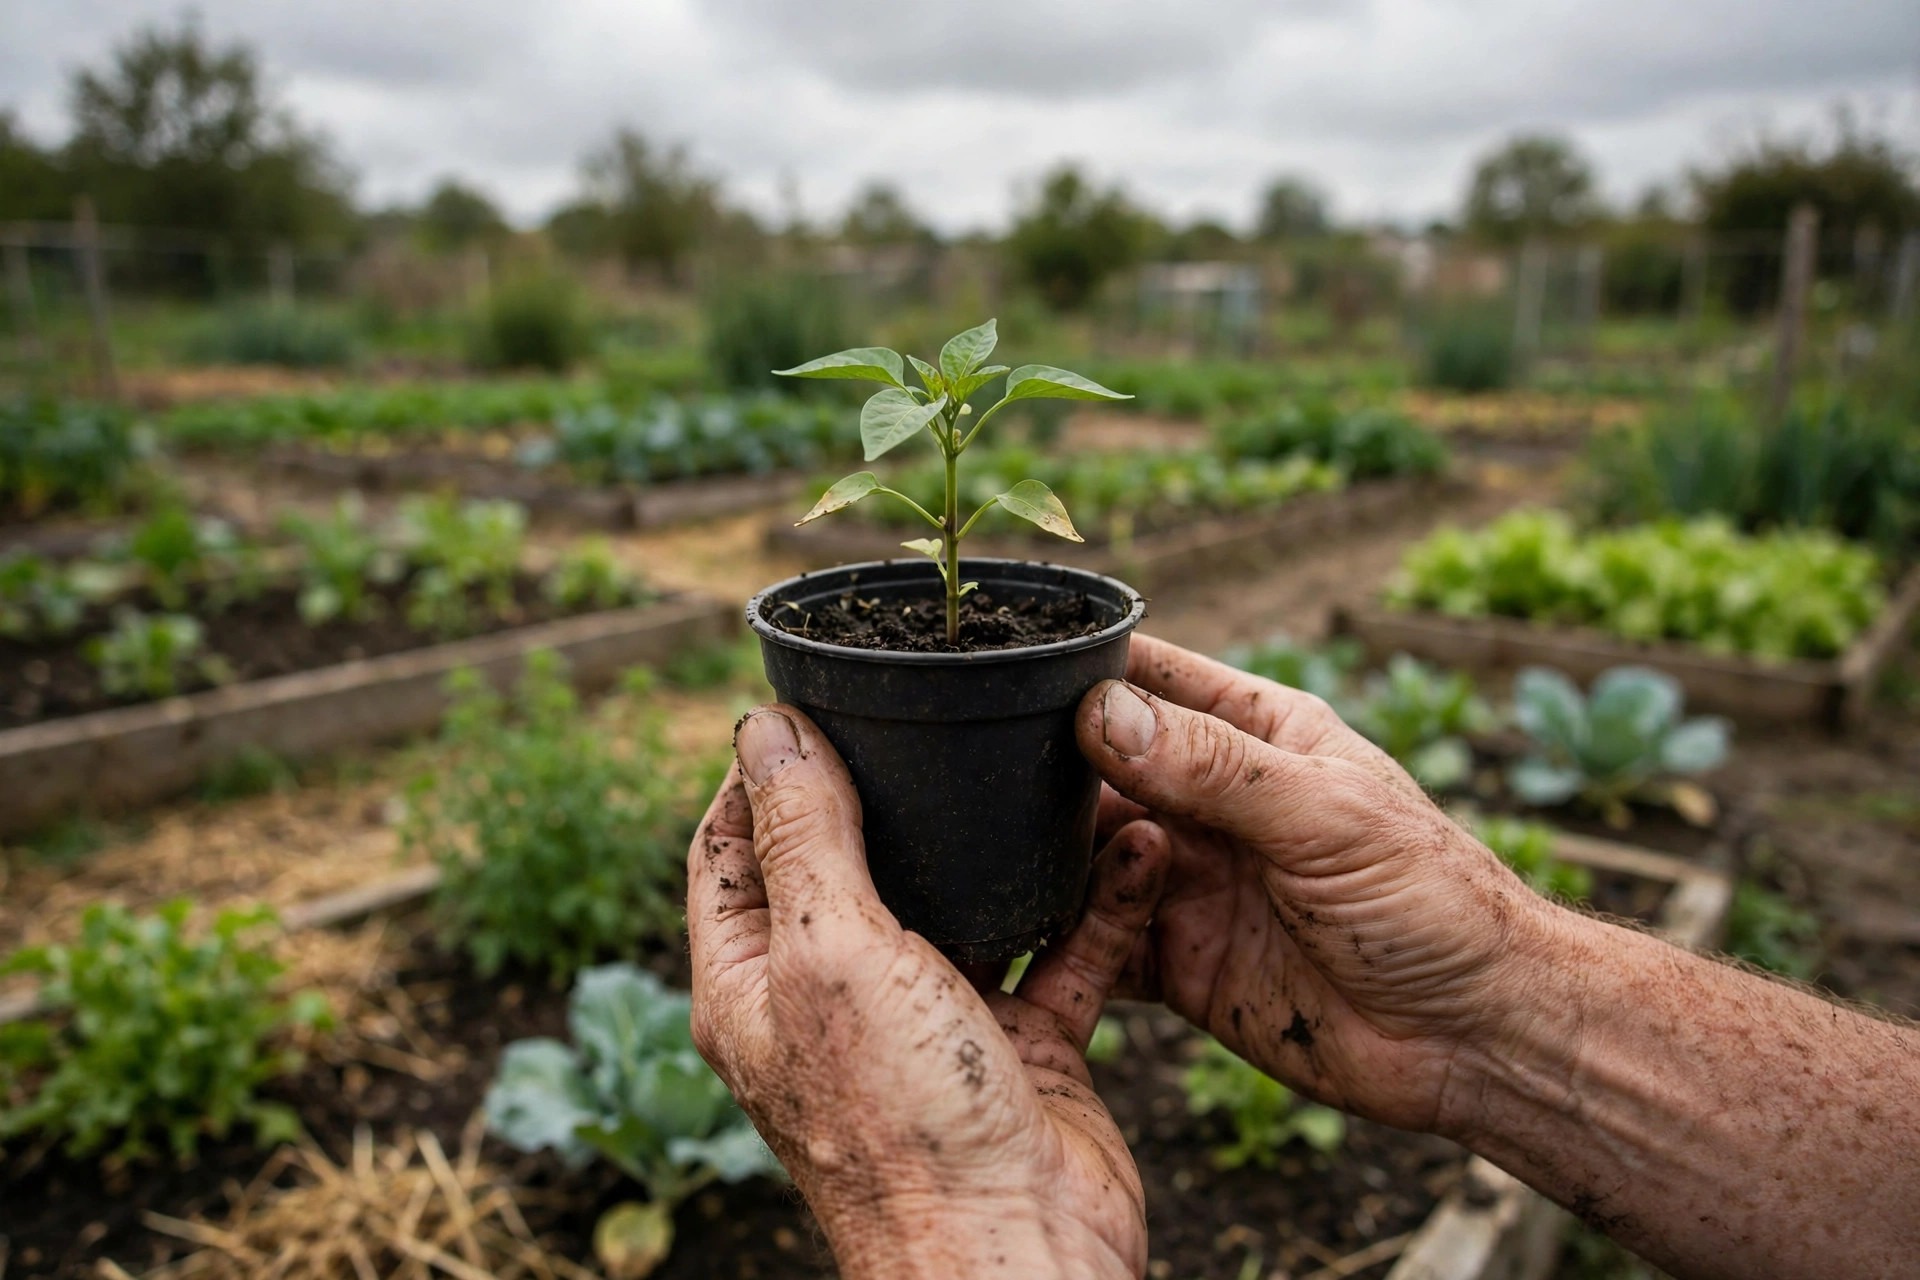
Water the seedlings well a few hours before you move them, so the root ball is moist all the way through. A dry root ball falls apart when you tip the plant out of its pot, and broken roots are the main cause of transplant shock. Water the bed too, the day before if it is dry. If you use peat pots, soak them first, and never leave the top edge above the soil surface, or the pot acts like a wick and dries the root ball out.
Step 3: Prepare the Bed
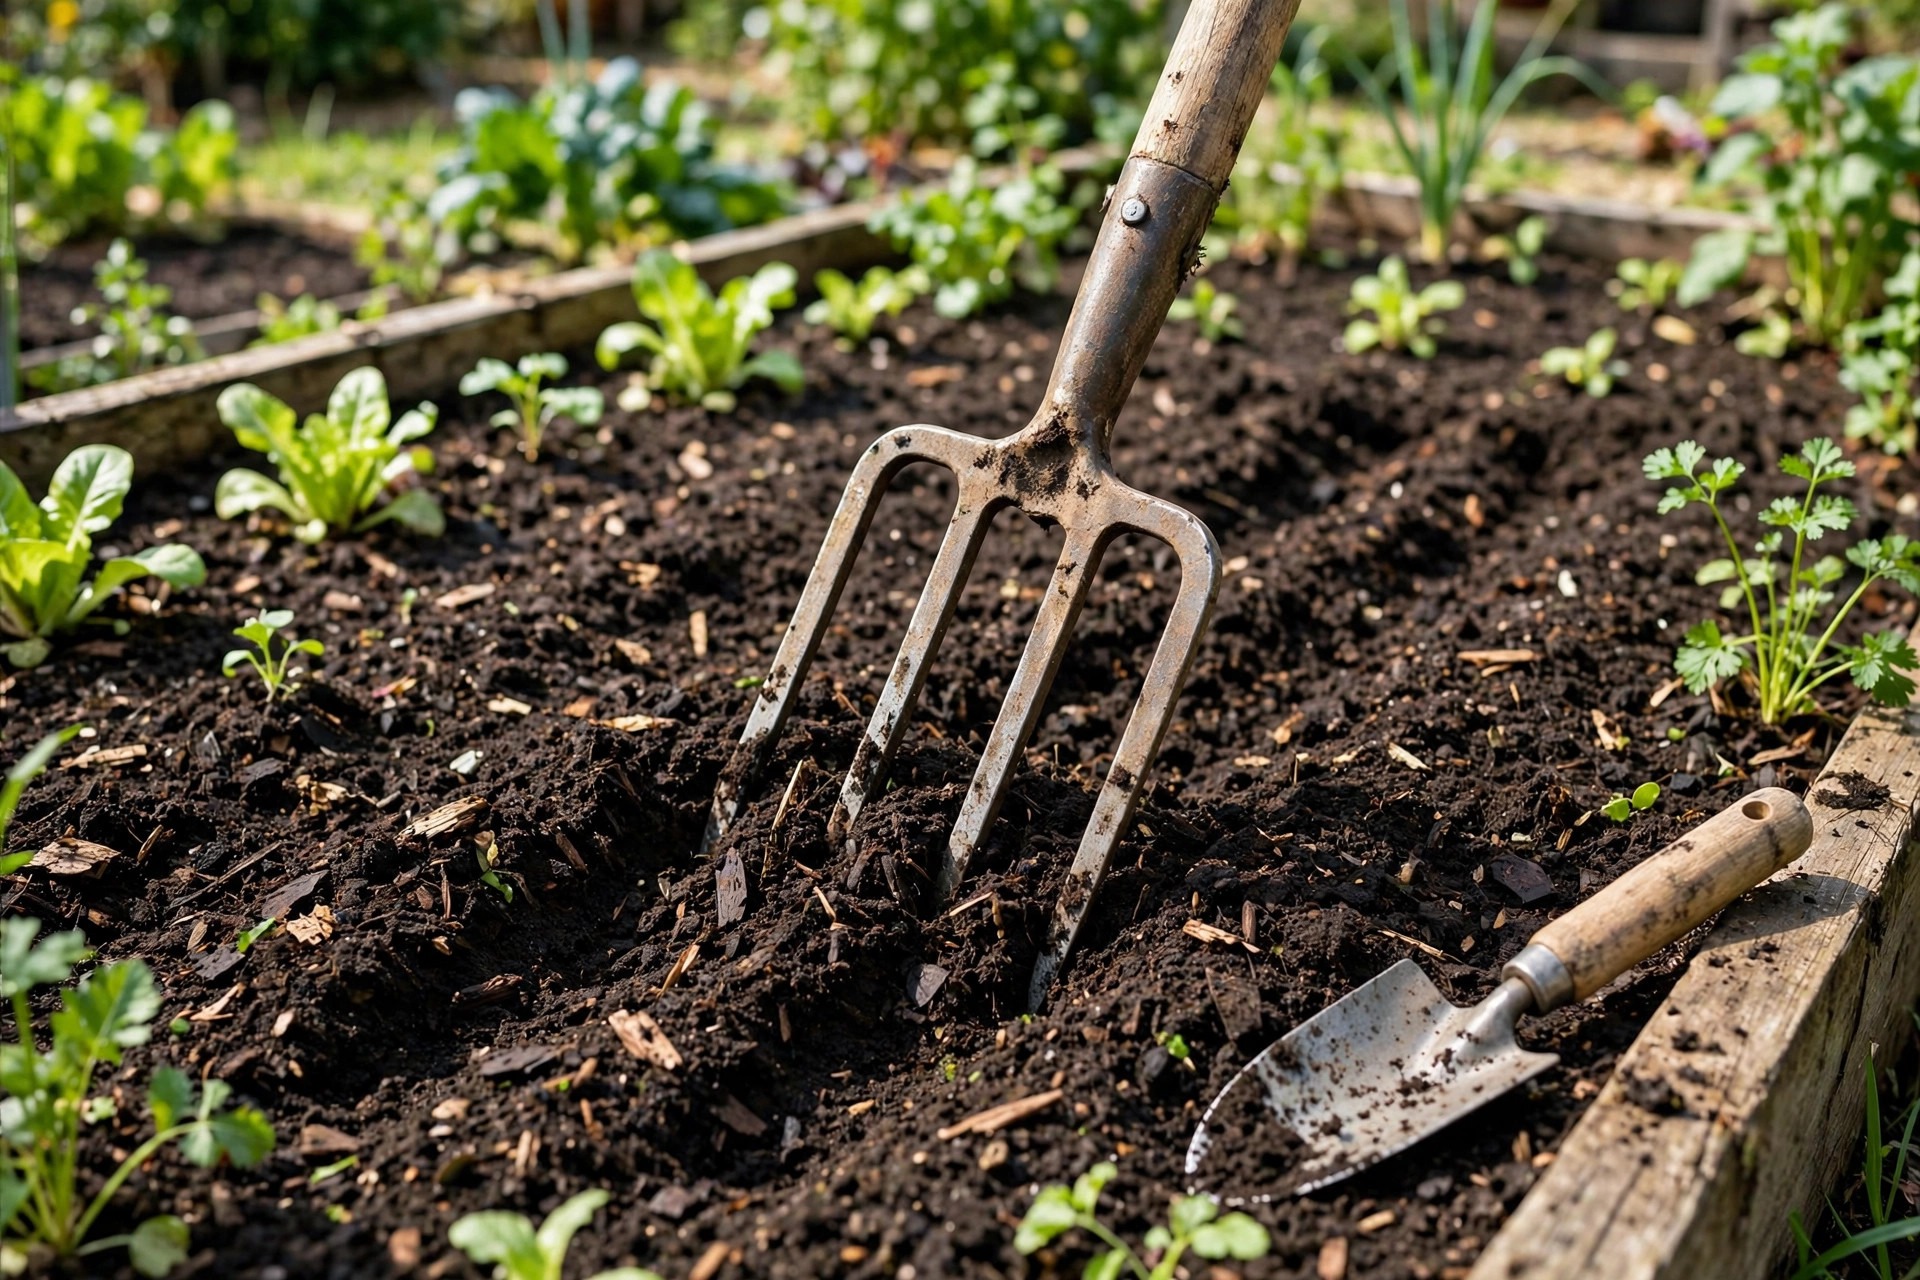
Loosen the soil to about a foot deep with a garden fork, and pull out weeds and old roots. Peppers need loose soil for their new roots to push into, and a compacted bed keeps the root ball wet on top and dry underneath. Mix compost in as you loosen the bed, and rake the surface smooth. In heavy clay, the compost matters even more, because it opens up drainage and keeps the soil from crusting after watering.
Warm the bed before planting day. Harvest to Table recommends pre-warming the bed with black plastic for two weeks before transplanting, which is the simplest way to lift a cool spring bed up to the 65 degree rule. Lay the plastic flat over the bed, weigh down the edges with soil or bricks, and leave it in place until transplanting day. In a warm climate the plastic may not be needed, but in a cool spring it can move your planting date a week earlier. This is the black plastic warm soil peppers trick in its simplest form.
Space the planting spots before you dig, so the row stays straight and the spacing stays honest. The table below sorts spacing by pepper type because the extension sources give a range: Clemson 12 inches, University of Minnesota 18 inches, Harvest to Table about 15 inches, and Alabama 24 inches, and the table uses the type-based consensus from those sources.
| Pepper type | Spacing in the row | Space between rows |
|---|---|---|
| Bell and sweet peppers | 18 to 24 inches | 30 to 36 inches |
| Hot peppers | 12 to 18 inches | 30 to 36 inches |
| Pimento peppers | 18 to 24 inches | 42 inches |
| Peppers in containers | 1 plant per 5 to 7 gallon container | Not applicable |
Give each plant its full space, even when the seedlings look small on planting day. A pepper plant doubles in size within a few weeks of transplanting, and crowded plants share less light and air. Poor airflow is the fastest route to leaf disease.
Step 4: Plant at the Same Depth
This is the step that makes peppers different from tomatoes, and it is the one to get exactly right. Tomatoes grow roots along any part of the stem that touches soil, so burying a tomato stem builds a bigger root system. Peppers do not. Harvest to Table states the rule plainly: set transplants at the same depth they grew in the container, and do not plant deeper, because a buried stem may rot. If you followed our tomato guide, forget the deep-planting trick here. One retail seed source advises planting slightly deeper, to the first leaves, but the extension sources agree on same depth.
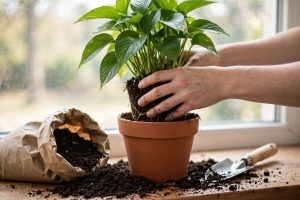
Dig a hole 6 to 8 inches deep for a standard seedling, as Harvest to Table recommends, or as deep as the root ball, as Alabama Cooperative Extension puts it. Set the seedling in so the top of the root ball sits level with the soil surface. Hold the seedling by its root ball or by a leaf, never by the stem.
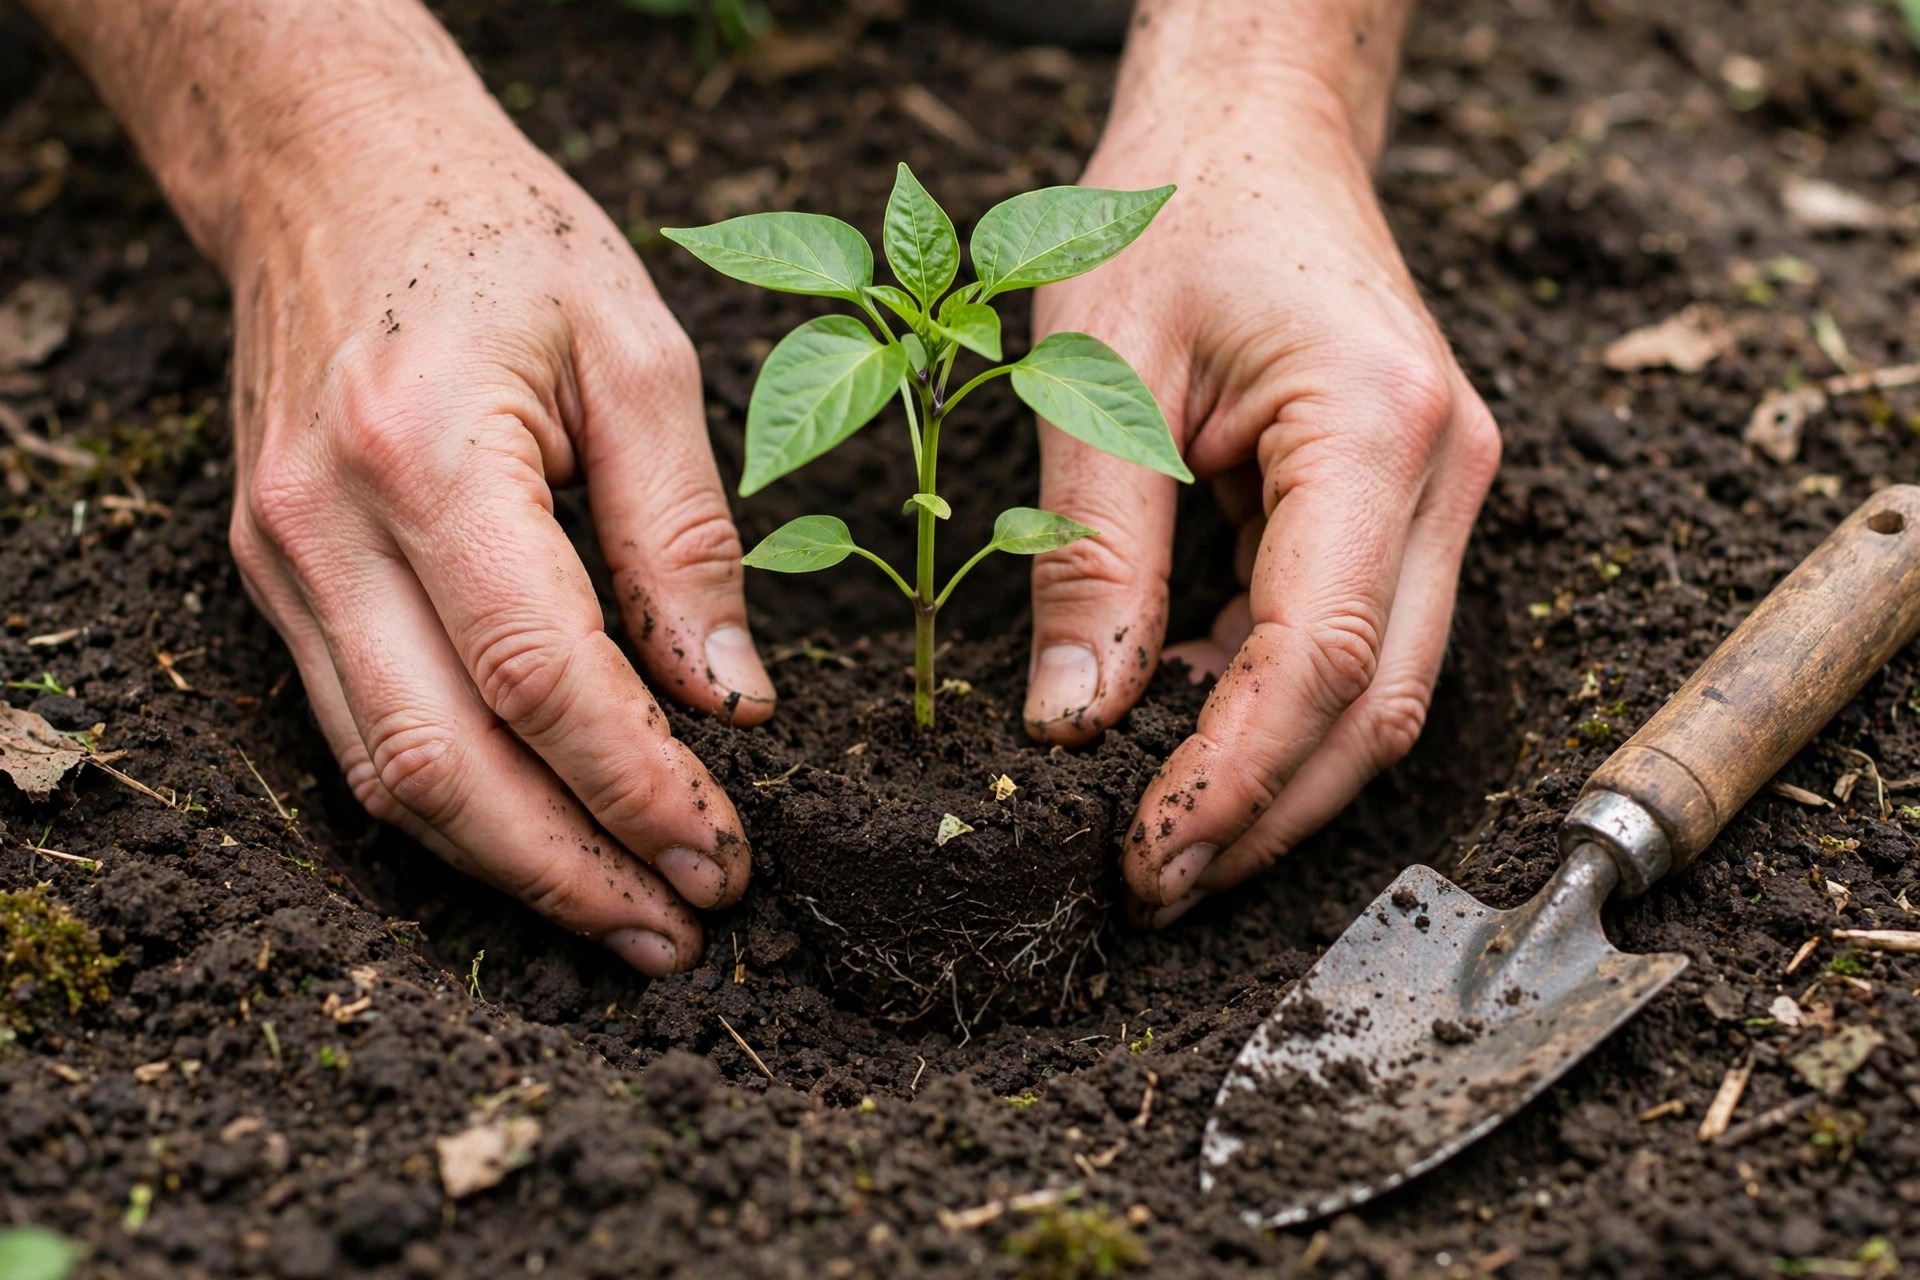
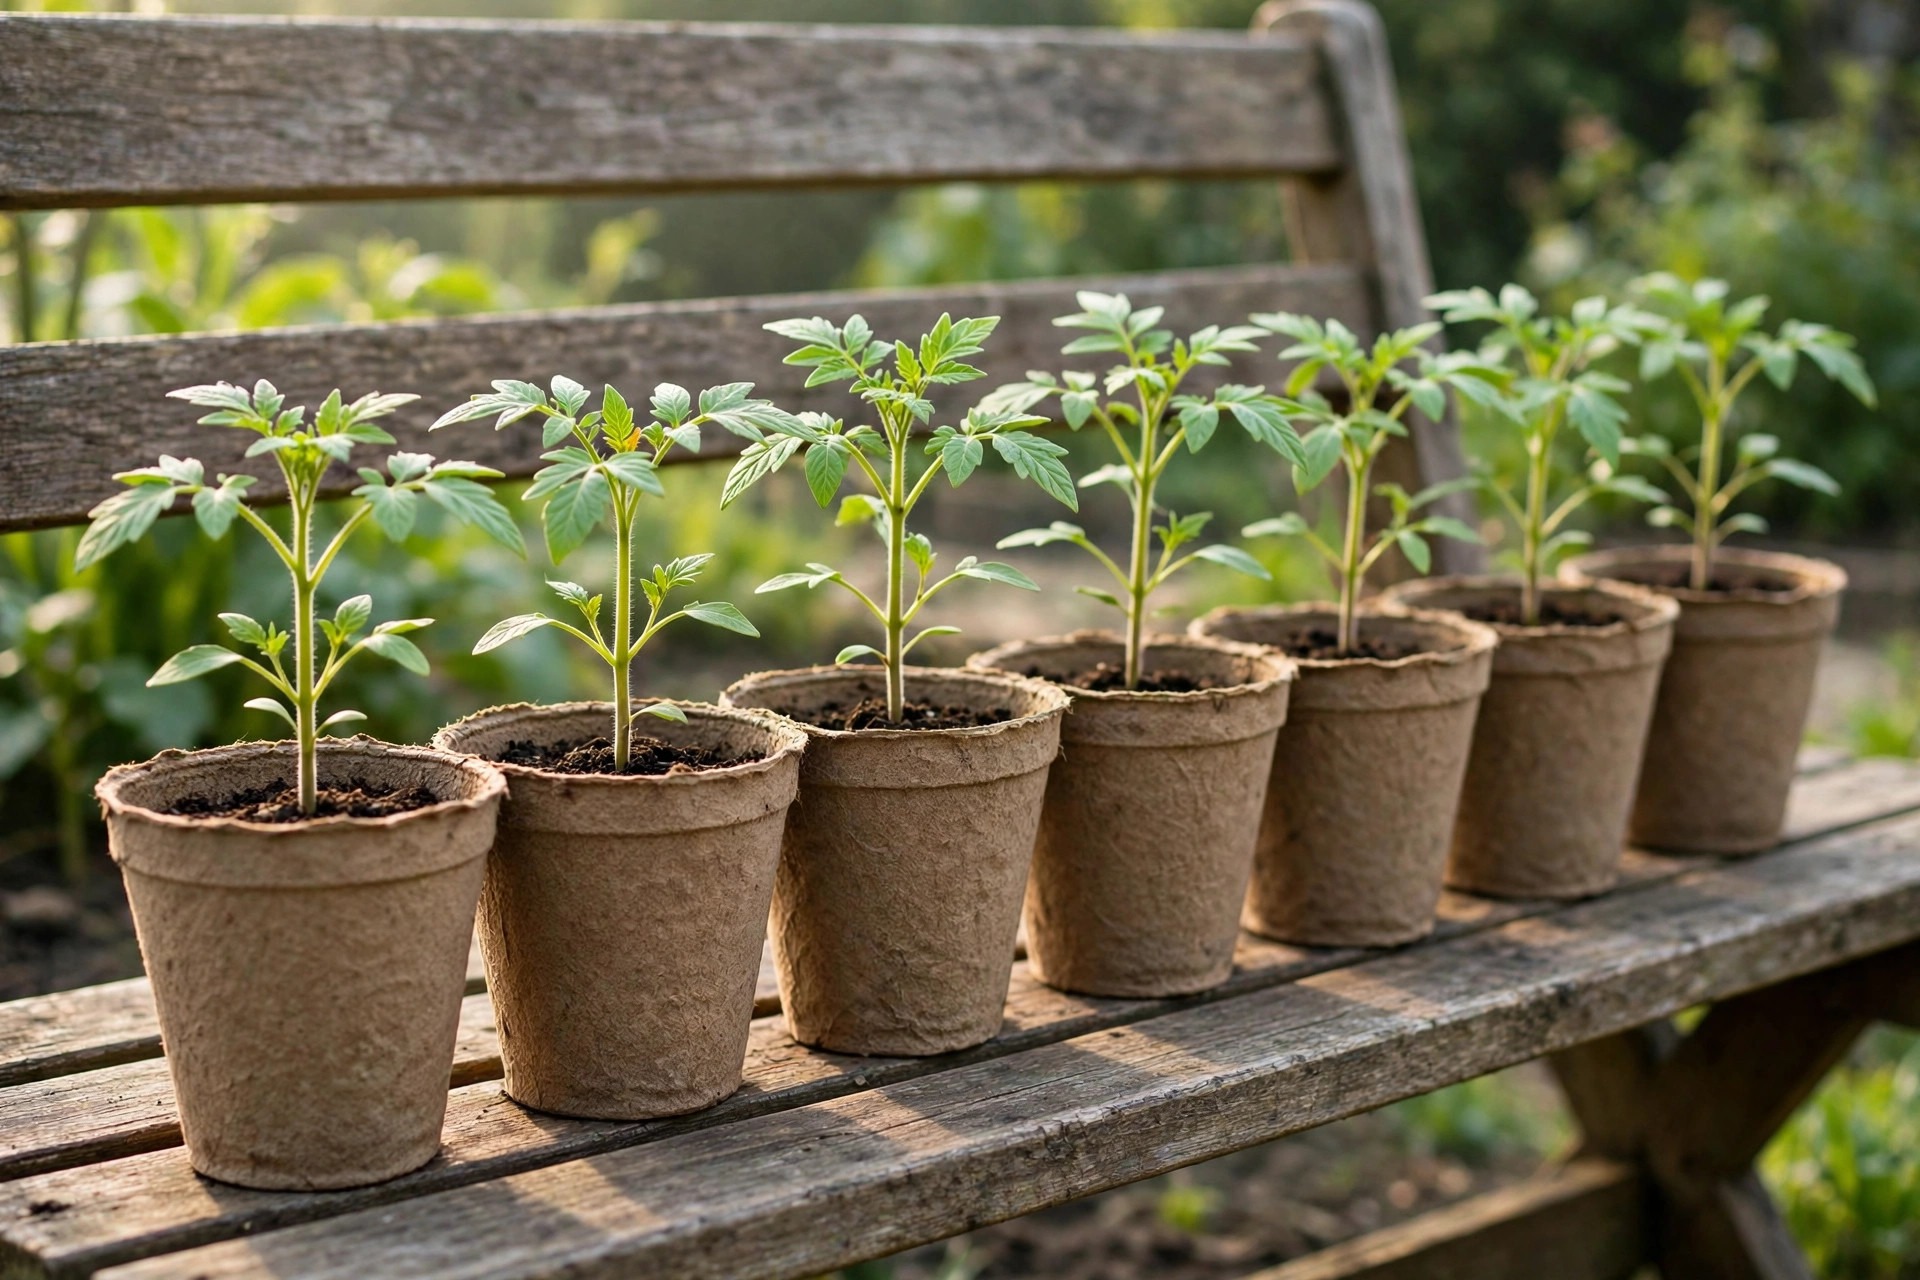
Backfill with the soil you dug out, firm it gently around the root ball, and leave a shallow basin around the plant to catch water. Do not stamp the soil down hard, because compacted soil squeezes out the air pockets roots need. Do not pile soil against the stem, and do not add extra soil on top of the root ball. If the plant was in a peat pot, tear off the top rim and set the pot fully below the soil line. If it was in a plastic pot, tip it out with the root ball whole, and tease the bottom roots loose only if they are circling tightly.
The depth rule is the heart of transplanting peppers well. A pepper planted at its old pot depth grows a root ball that breathes, drinks, and anchors the plant. The same seedling planted deep risks a rotting stem, and a rotted stem cannot be fixed.
Step 5: Water In
Water deeply the moment the plant is in the ground. Soak the soil around the root ball until water stands in the basin for a few seconds, then let it drain. This first watering settles the soil against the roots so no air pockets are left.
Clemson Extension advises watering enough to moisten the soil to at least 6 inches deep, and that depth is the check to use. Push a trowel into the soil the next day: if it is wet only an inch or two down, keep watering until the moisture reaches 6 inches or more.
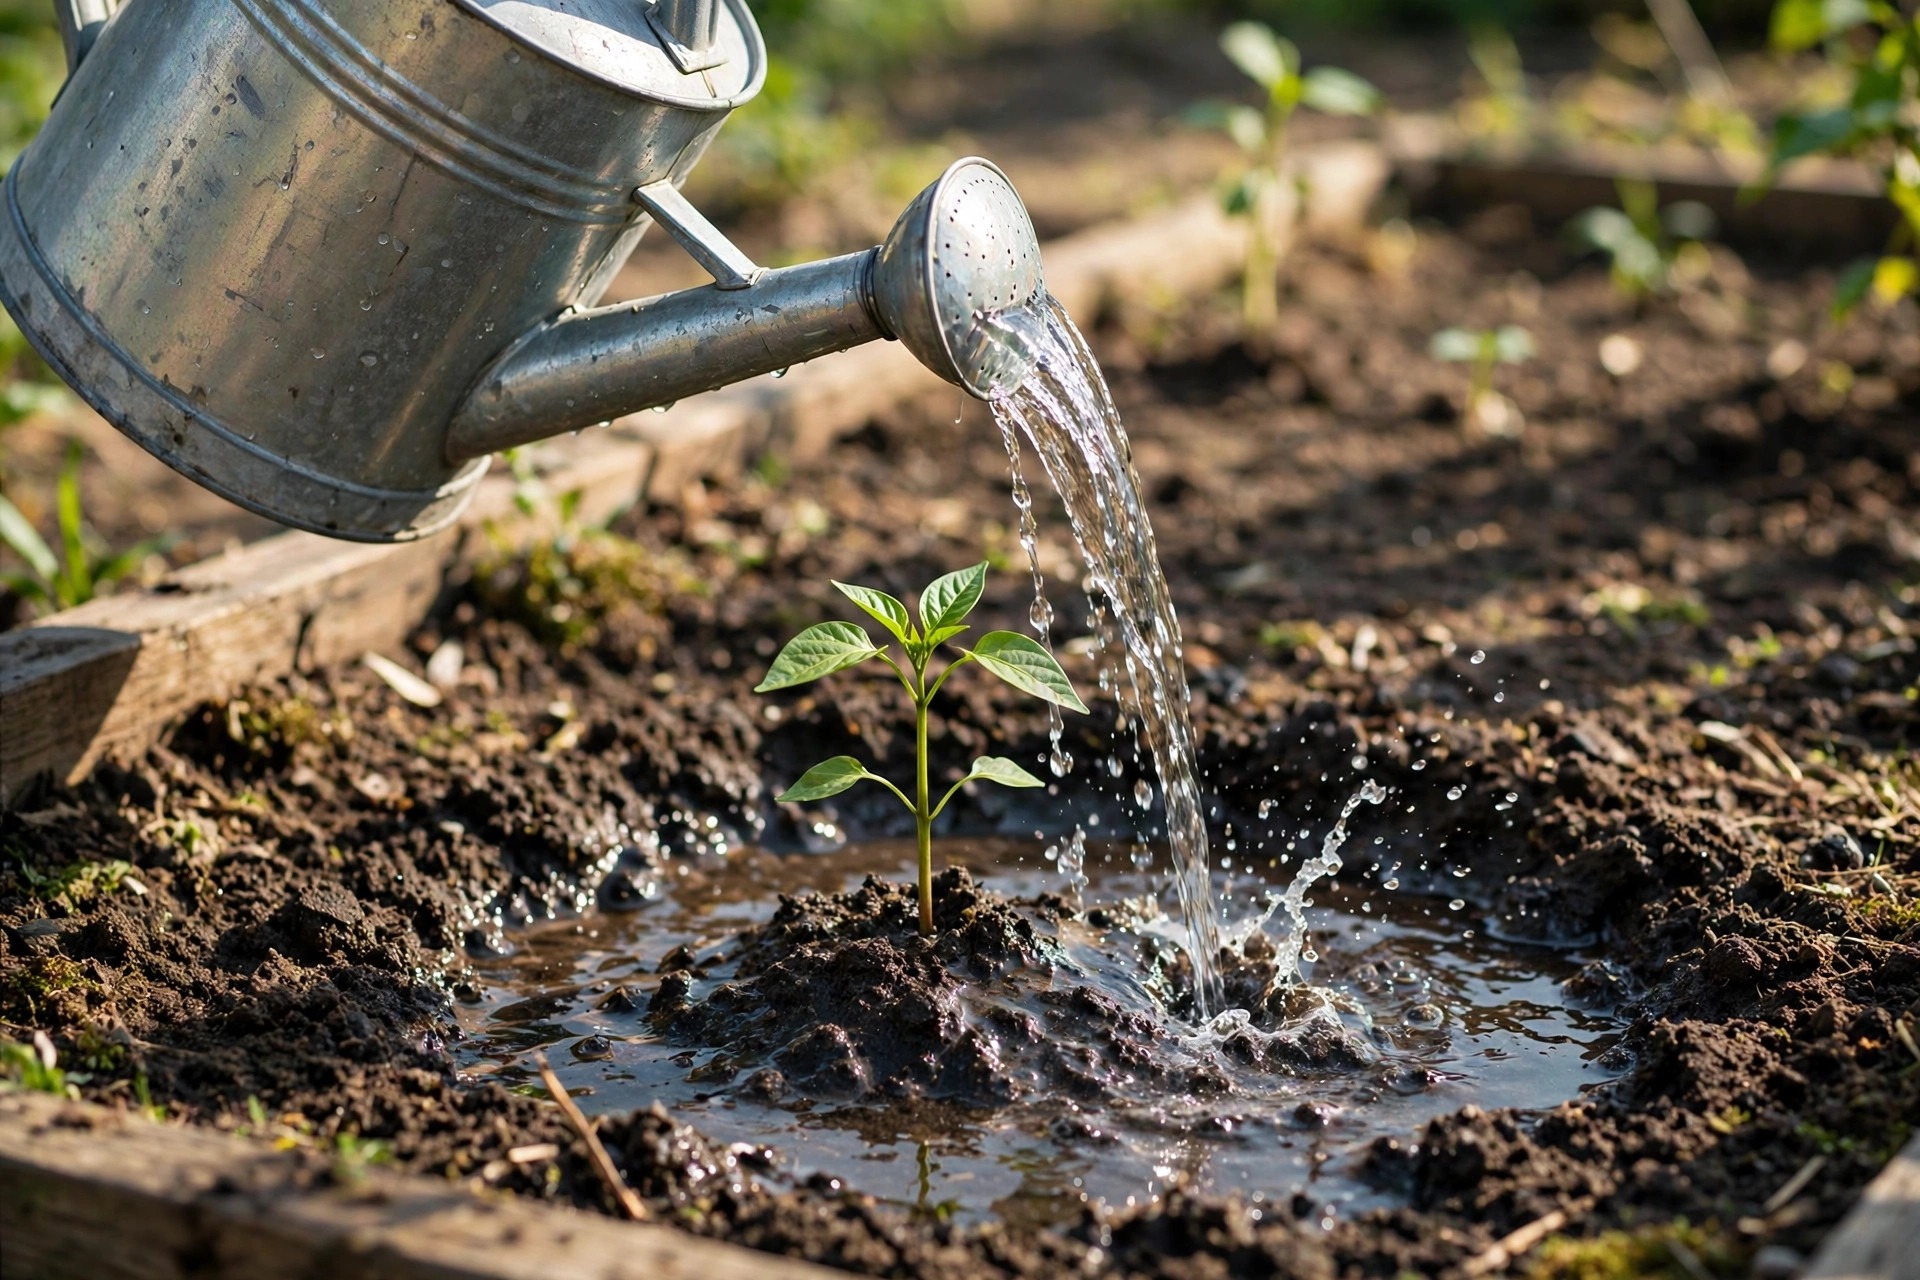
Keep the soil evenly moist for the first week or two, watering at the base of the plant, not over the leaves. Wet leaves invite disease, and soil splashed onto the lower leaves carries disease spores with it. Water in the morning, and water slowly enough that it soaks in instead of running off. A plant that dries out and then floods may drop its first flowers, so steady moisture matters more than heavy watering.
Watering well on day one is part of setting peppers out so they settle fast. A seedling that never dries out in its first week grows new roots within days, while one that wilts and recovers spends its first two weeks catching up.
Step 6: Mulch, But Wait for Warm Soil
Do not mulch on planting day. This is the second way peppers differ from tomatoes, and it catches growers who follow the tomato routine. Fresh mulch shades the soil and holds in cool spring temperatures, the opposite of what a heat-loving pepper needs. Wait until the soil has warmed, about 2 to 4 weeks after transplanting, before you spread any mulch at all.
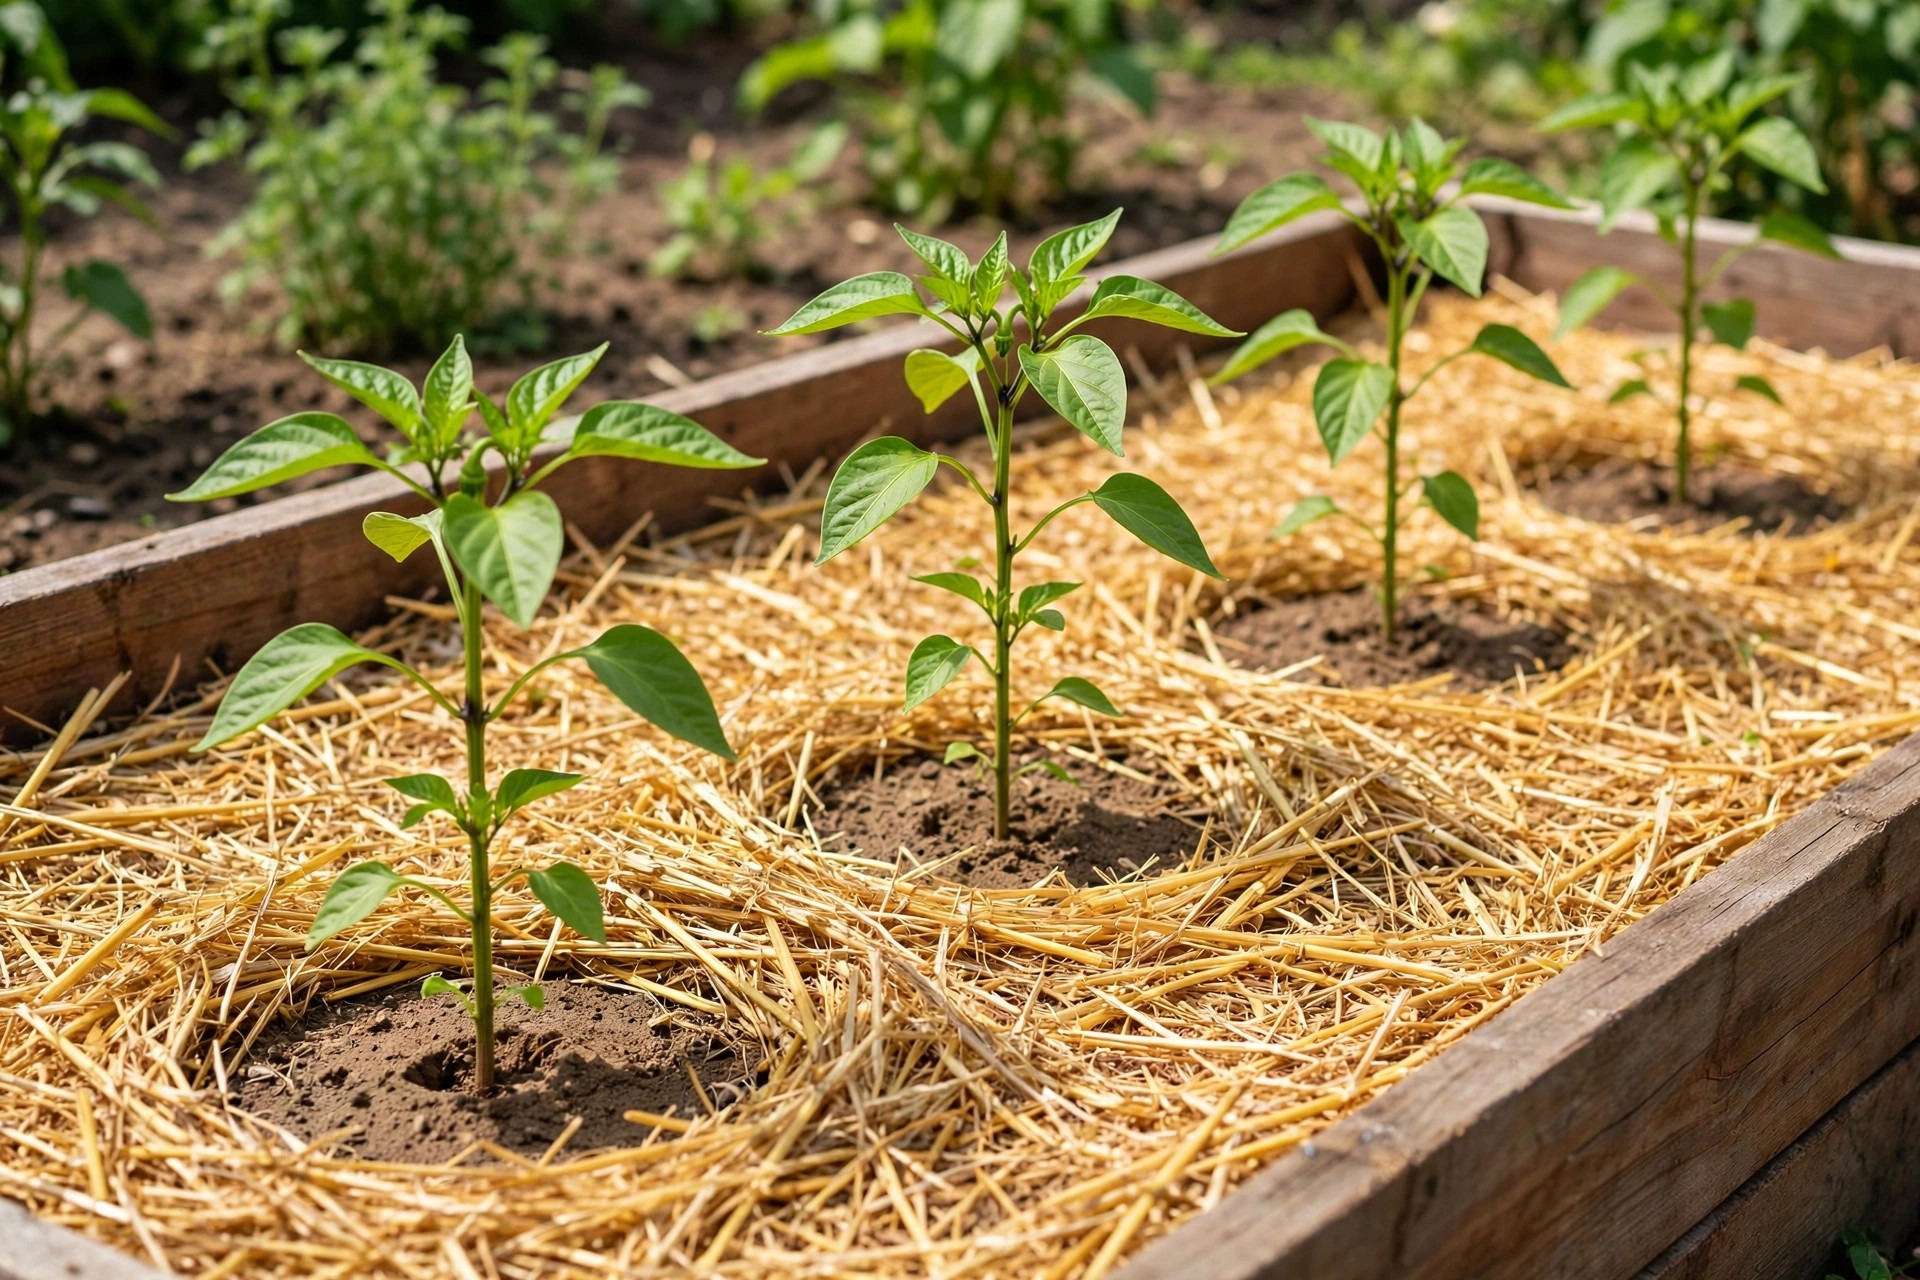
When the time comes, spread 2 to 3 inches of straw around each plant, keeping the mulch a few inches clear of the stem. Straw is the simplest choice, and shredded leaves work too. Mulch holds moisture, keeps weeds down, and stops soil from splashing onto the leaves in the rain. Never pile mulch against the stem, because a damp collar against the stem invites rot and gives slugs a hiding place.
The waiting is the hard part, because a bare bed looks unfinished. Remember what the mulch is for: moisture and weed control in warm soil, not insulation in cool soil. A pepper mulched too early sits in cool, damp soil and grows slowly.
Step 7: Watch the First Two Weeks
The first two weeks decide the season. Check the plants every day and water when the top inch of soil feels dry. The roots are still small and shallow, so they dry out fast on a hot day. Water at the base in the morning, slowly enough that it soaks in instead of running off.
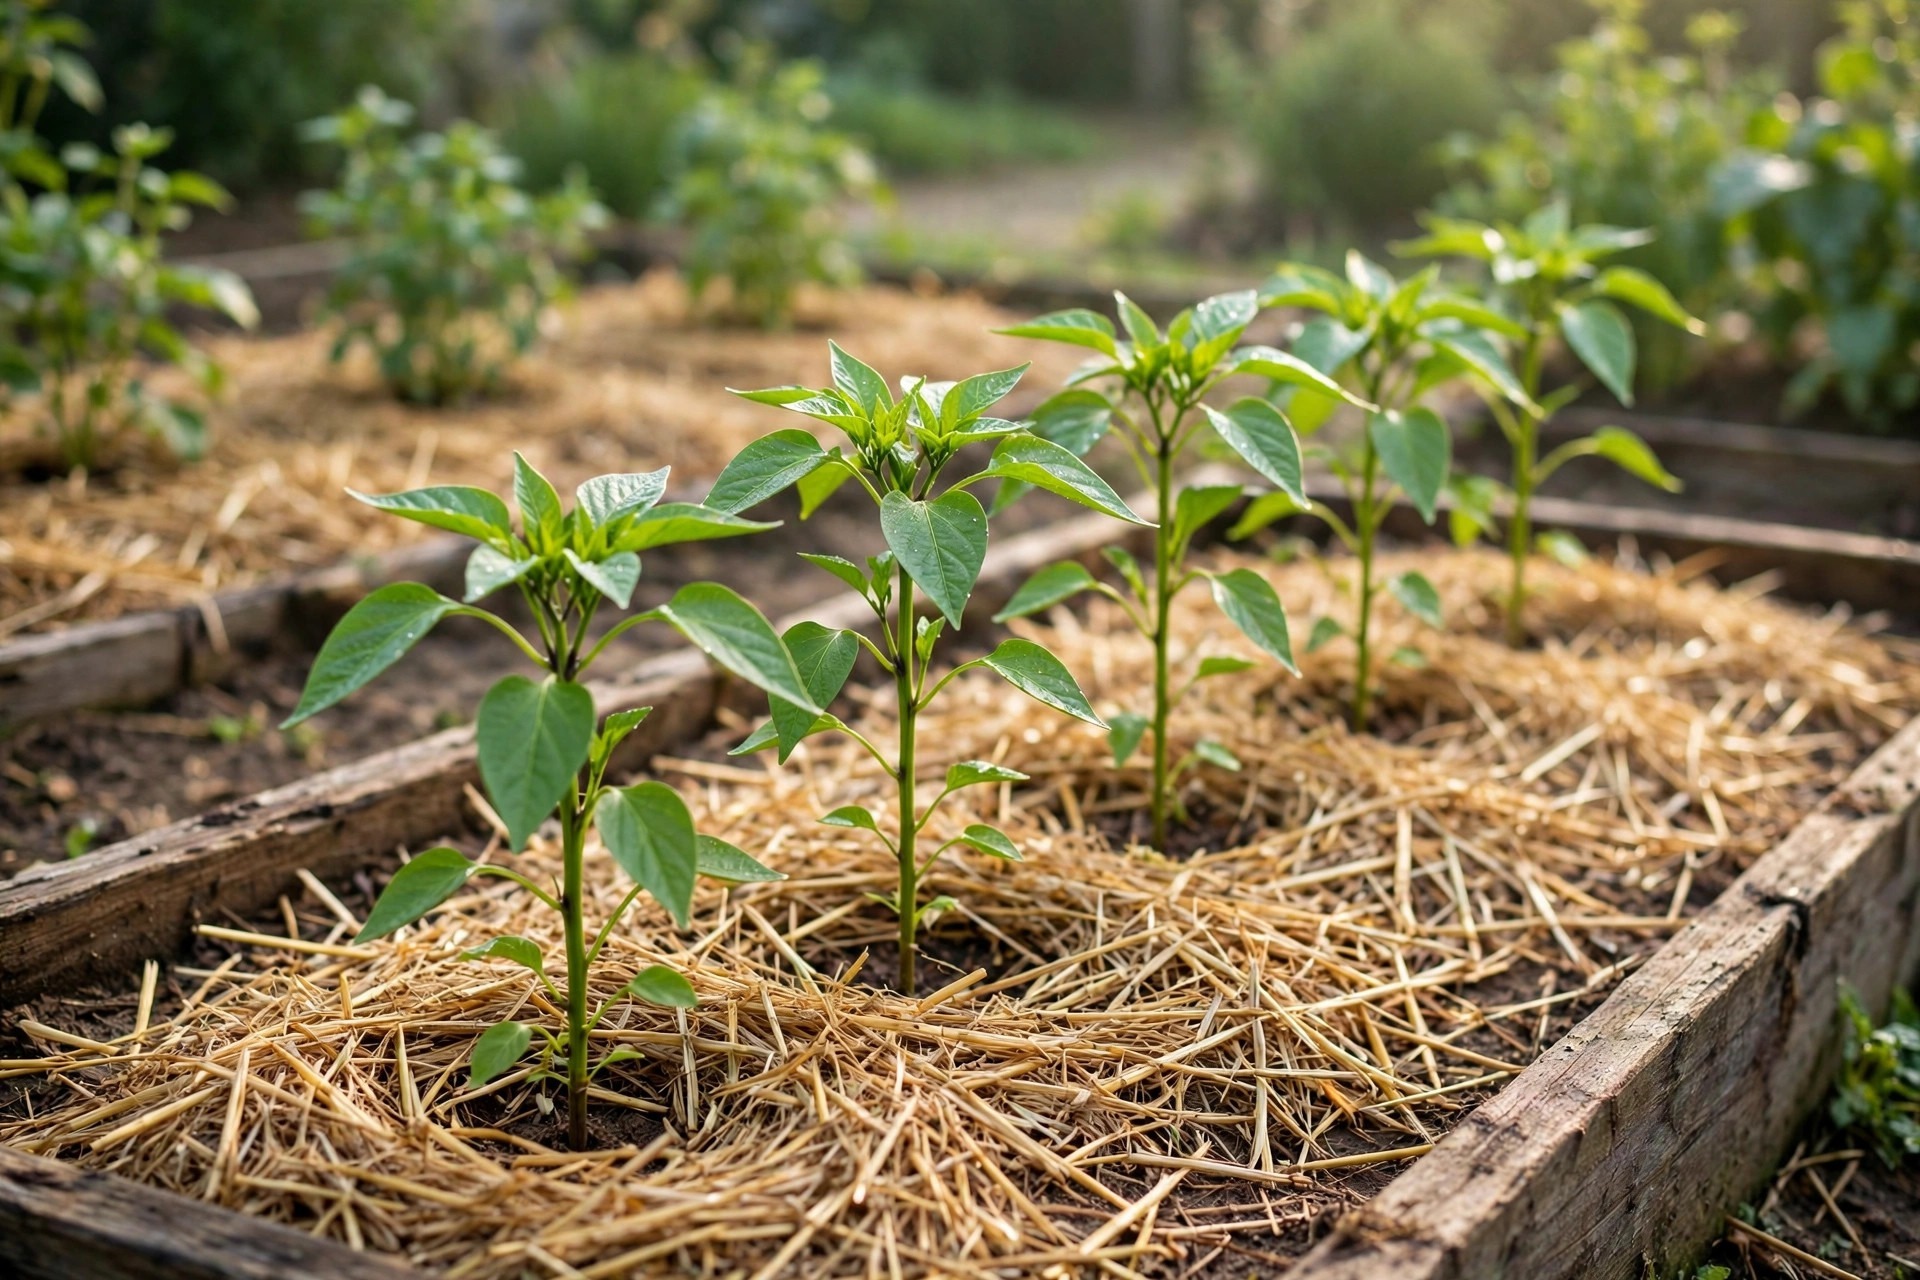
Keep floating row cover handy for cool nights. Harvest to Table recommends keeping row covers over the plants until daytime temperatures average in the mid-80s Fahrenheit, which in many gardens means the first two or three weeks after transplanting. The cover holds in warmth overnight and shields young leaves from wind.
Lift it on warm days so the plants get full sun and air, and put it back on before evening if the night looks cool. Sweet and hot peppers grow best at 65 to 80 degrees, according to Harvest to Table.
Some drooping in the first few days is normal, and it is the clearest sign of transplant shock. The plant is rebuilding its fine root hairs, and until they regrow, the leaves lose water faster than the roots can replace it. Shade a wilting plant for a day or two, keep the soil moist, and do not feed it yet. Most plants perk up within a few days and start growing new leaves within a week or two.
By the end of the second week, a settled transplant shows fresh growth at the tip and new leaves that are full size and deep green. That is the moment to start the normal routine: even moisture, mulch topped up as it settles, and the first side dressing a week or two later.
Clemson Extension recommends side dressing with 5 pounds of calcium nitrate (15.5-0-0) per 1000 square feet, or per 300 feet of row, 3 to 4 weeks after planting, while Alabama Cooperative Extension side dresses beside the plants, 4 to 6 inches from the stem, after the first fruit sets. Expect the first harvest about 70 to 85 days after transplanting, according to Clemson Extension, or 65 to 85 days according to Alabama Cooperative Extension, which is 100 to 120 days from seed. Cool, cloudy weather slows that count.
Transplant Shock: Signs and Fixes
Transplant shock is the stress a plant feels when its roots are disturbed and its growing conditions change all at once. It is not a disease, and it is usually temporary, but the wrong fix makes it worse.
The most common error is watering a wilted plant that is already sitting in wet soil, because a pepper can wilt in moist soil when its disturbed roots cannot yet replace the water its leaves lose. Check the soil before you water, and water only if it feels dry 2 inches down.
| Symptom | Likely cause | Fix |
|---|---|---|
| Leaves droop in the afternoon, recover overnight | Roots cannot yet replace water lost in sun and wind | Water at the base in the morning, shade for a day or two |
| Leaves droop and stay limp, soil is dry | Not enough water reaching the root ball | Water slowly and deeply around the root ball until the soil is wet 6 inches down |
| Leaves droop and stay limp, soil is soggy | Overwatering or poor drainage | Stop watering, let the soil dry, do not feed |
| Lower leaves turn yellow and drop | Cold soil, overwatering, or natural shedding of the oldest leaves | Check soil temperature and drainage, let the soil dry slightly |
| Growth stalls for a week or more | Cold soil, root damage, or soil below 65 degrees | Wait for warm weather, keep soil evenly moist, do not feed yet |
| Leaves turn white or papery on the edges | Sunscald from skipping hardening off | Shade the plant, remove badly scorched leaves |
| Stem turns dark and soft at the soil line | Buried stem rotting after planting too deep | Replace the plant and replant at pot depth |
Most shock clears on its own in one to two weeks if the plant gets even moisture, mild weather, and no further disturbance. The recovery signs are new growth at the tip and leaves that stay upright through the afternoon. If a plant has not improved after two weeks, dig it up and look at the roots: a healthy root ball shows white root tips growing into the surrounding soil, while a rotting one smells sour and falls apart. Replacing it with a fresh seedling is faster than nursing it. A plant whose stem has gone dark and soft at the soil line was almost certainly planted too deep.
Common Mistakes
Planting too early is the mistake that costs the most. A pepper set out two weeks before the last frost into cold soil does not grow faster than one planted on time. It sits, turns yellow or purple, drops its lower leaves, and may never catch up. Cornell University warns that cold can weaken plants so much they may never fully recover. Wait for warm soil and warm nights, as the timing section above explains.
Planting too deep is the second mistake, and it is the one that sets peppers apart from tomatoes. A tomato planted deep grows a bigger root system, but a pepper planted deep risks a stem that rots at the soil line. Set each seedling at exactly the depth it grew in its pot.
Skipping hardening off is the third. A plant that goes straight from a windowsill to full sun loses leaves to sunscald in a single afternoon, and a plant that has never felt wind snaps at the first gust. Ten days of gradual outdoor time is cheap insurance.
Mulching on planting day is the fourth. Fresh mulch keeps cool spring soil cool, which is the last thing a heat-loving pepper needs. Wait until the soil has warmed, as Step 6 explains, and mulch only then.
Watering the leaves instead of the soil is the fifth. Overhead watering wets the foliage, splashes soil onto the lower leaves, and invites leaf disease. Water at the base, in the morning, and keep the leaves dry.
Feeding a shocked plant is the sixth. A wilted transplant does not need fertilizer, it needs water, shade, and time. Wait until new growth shows, then feed lightly.
Final Thoughts
Knowing how to transplant pepper seedlings is mostly a matter of patience and one shallow hole. Wait for warm soil, harden the plants off, pick a cloudy afternoon, set each seedling at its old pot depth, water deeply, and hold the mulch until the soil is warm. Together they give a seedling everything it needs to grow roots fast.
The payoff shows up quickly. A well-transplanted pepper perks up in a few days, grows new leaves in a week, and reaches its first flowers within a month. A rushed transplant sulks for weeks and fruits late. That difference comes down to a week of waiting for warm soil.
References
- Clemson University Cooperative Extension Service. HGIC Pepper factsheet. Supports peppers as a warm-season crop best at 70 to 85 degrees during the day and 60 to 70 degrees at night, setting out 6 to 8 week-old transplants after the soil has thoroughly warmed and after the last chance of frost, spacing of 12 inches apart with rows 3 feet apart and pimento peppers at 18 to 24 inches with rows 42 inches apart, well-drained loamy or sandy loam soil, avoiding ground where eggplant, tobacco, pepper, tomato, or Irish potato grew the previous year, side dressing 5 pounds of calcium nitrate (15.5-0-0) per 1000 square feet or 300 feet of row 3 to 4 weeks after planting, watering to moisten the soil to at least 6 inches deep, and harvest about 70 to 85 days after transplanting. https://hgic.clemson.edu/factsheet/pepper/
- University of Minnesota Extension. Growing peppers. Supports transplanting after night lows stay above 50 degrees, spacing 18 inches apart with rows 30 to 36 inches apart, soil pH 6.5 to 7.0, hardening off over a week or two, and pinching off flower buds that form indoors. https://extension.umn.edu/vegetables/growing-peppers
- Cornell University, Home Gardening Vegetable Growing Guides. Peppers. Supports setting plants out 2 to 3 weeks after average last frost, cold weakening plants so they may never fully recover, and germination at 70 to 95 degrees with none below 55 degrees. http://gardening.cornell.edu/homegardening/scene9c8a.html
- Harvest to Table. When and How to Transplant Pepper Seedlings Outdoors. Supports night temperatures above 60 degrees and never below 55 degrees, soil 65 degrees or greater in the morning, transplanting 2 to 3 weeks after last frost, hardening off for 10 days, setting transplants at the same depth they grew in the container and not planting deeper because a buried stem may rot, a hole 6 to 8 inches deep, spacing about 15 inches apart, full sun for 8 hours a day, pre-warming the bed with black plastic for two weeks, floating row covers until daytime temperatures average in the mid-80s, and sweet and hot peppers growing best at 65 to 80 degrees. https://harvesttotable.com/when-and-how-to-transplant-pepper-seedlings-outdoors/
- Alabama Cooperative Extension System. Peppers card (ANR-2876). Supports full sun for 6 to 8 hours, spacing 24 inches apart within rows or 1 plant per 5 to 7 gallon container, planting in April to May after danger of frost, hardening off slowly for 1 week, digging the hole as deep as the root ball, side dressing 4 to 6 inches from the stem after the first fruit sets, and harvest in 65 to 85 days. https://www.aces.edu/wp-content/uploads/2022/08/ANR-2876-P_GMGM-Cards-Peppers_080422.pdf
Frequently Asked Questions
When should I transplant pepper seedlings outdoors?
Transplant 2 to 3 weeks after your average last frost, when the soil has warmed to 65 degrees Fahrenheit or warmer and nights stay above 55 degrees, ideally above 60. In most of the United States, that falls between late April and early June.
How deep should I plant pepper seedlings?
Plant them at exactly the same depth they grew in the pot. Harvest to Table advises setting transplants at the same depth they grew in the container and not planting deeper, because a buried stem may rot. Dig a hole 6 to 8 inches deep, set the root ball level with the soil surface, and do not pile soil against the stem.
How far apart should I space pepper plants?
Space bell and sweet peppers 18 to 24 inches apart, hot peppers 12 to 18 inches apart, and pimento peppers 18 to 24 inches apart, with rows 30 to 36 inches apart, or 42 inches for pimento. In containers, grow 1 plant per 5 to 7 gallon pot.
Why are my pepper seedlings wilting after transplanting?
Wilting after transplanting is usually transplant shock: the disturbed roots cannot yet replace the water the leaves lose in sun and wind. Check the soil first, because a pepper can wilt in moist soil. Water at the base in the morning if the soil is dry, shade the plant for a day or two, and wait. Most plants recover within a few days.
Do I need to harden off pepper seedlings before transplanting?
Yes. Harden seedlings off for about 10 days before they move to the garden, starting with 1 to 2 hours of shade or dappled light and building up to a full day in the sun. Skipping this step is the fastest way to scorch leaves and lose healthy seedlings.
When should I mulch peppers after transplanting?
Wait until the soil has warmed, about 2 to 4 weeks after transplanting, or once daytime temperatures are reliably warm. Do not mulch on planting day, because fresh mulch holds in cool spring temperatures. When the time comes, spread 2 to 3 inches of straw around each plant, keeping the mulch a few inches clear of the stem.

Thesis Link : https://saulibrary.edu.bd/daatj/public/uploads/BAU200601_19-Pp_5.pdf
- How to Transplant Pepper Seedlings Outdoors - November 9, 2026
- Best Worm Composters for Home Use: 10 Picks That Turn Scraps Into Black Gold - November 8, 2026
- How to Transplant Tomato Seedlings Outdoors - November 8, 2026