
Learning how to transplant tomato seedlings is the moment your indoor work turns into a garden crop. You spent six to eight weeks nursing small plants under lights, and now they are sturdy, green, and ready for real soil. The move itself takes only a few minutes per plant, but the details around it decide whether your tomatoes take off in a week or sulk for a month.
The good news is that tomatoes grow roots along a buried stem, so a leggy seedling can still become a strong plant. This guide walks through the whole move, from checking the soil temperature to watching the first two weeks after planting.
Quick Answer
Short on time? Here is the whole method in one paragraph. The first rule of how to transplant tomato seedlings is timing: wait until after your average last frost date, when the soil has warmed to 60 degrees Fahrenheit or more and night temperatures stay above 50 degrees. Harden the seedlings off for 7 to 10 days first, moving them outdoors for longer stretches each day. Pick a late afternoon or a cloudy day, water the plants well, and dig a hole or trench deep enough to bury the stem up to the first set of true leaves, after removing the lower leaves. Space determinate types 18 to 24 inches apart and indeterminate types 24 to 36 inches apart, with rows 3 to 4 feet apart. Water deeply right after planting, spread 2 to 3 inches of mulch once the soil is warm, and drive in the stake or cage on planting day. Keep the soil evenly moist for the first two weeks.
When to Transplant Tomato Seedlings
The calendar date matters less than the soil. Tomatoes are heat-loving plants, and a seedling set into cold soil stops growing, turns purple or yellow, and may never catch up to one planted a week later into warm soil. University of Minnesota Extension advises transplanting outdoors only after all danger of frost has passed and the soil has warmed, and its planting guide notes that warm-season crops need soil temperatures between 50 and 60 degrees. Most extension sources set the practical minimum at 60 degrees, measured with a soil thermometer pushed 2 to 3 inches into the bed in the morning. A few sources accept 55 to 60 degrees, but 60 degrees is the safer rule, because roots take up water and nutrients poorly in cold soil.
Night temperatures are the second check. Wait until nights stay above 50 degrees. A single cold night near freezing kills a tomato outright, and nights in the 40s weaken the plant enough that it may never fully recover. Cornell University advises setting plants out 2 to 3 weeks after your average last frost, and warns plainly not to rush. In most of the United States, that window falls between late April and early June.
These zones and dates are for gardeners in the United States. The dates shift with your climate: in warmer regions the window opens earlier, in colder regions it opens later. Wherever you garden, the soil and night temperature checks above matter more than the calendar date, so work from your own average last frost date.
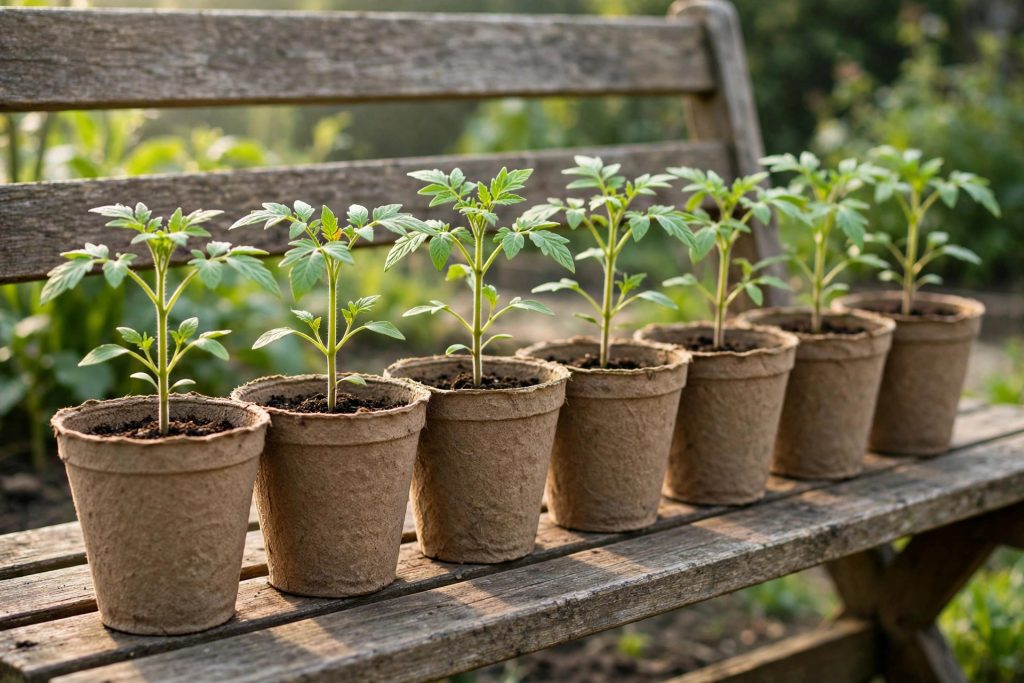
Your seedling should be ready too. A good transplant is 6 to 8 inches tall, with a stem at least as thick as a pencil, several sets of true leaves, and a root ball that holds together when you slip it out of its pot. A tall, pale seedling is leggy, but it still transplants fine if you bury it deep. A plant with spots on its leaves should not go into the garden at all, because you will carry disease into the bed with it.
| Your last frost | Transplant outdoors | Soil temperature |
|---|---|---|
| Late May (Zone 4) | Late May to early June | 60 degrees F or warmer |
| Late April (Zone 5) | Mid-May | 60 degrees F or warmer |
| Mid-April (Zone 6) | Early to mid-May | 60 degrees F or warmer |
| Early April (Zone 7-8) | Mid to late April | 60 degrees F or warmer |
| Little or no frost (Zone 9-11) | After nights stay above 50 degrees | 60 degrees F or warmer |
If a late frost is forecast after you have planted, cover the plants overnight with a bucket, a frost cloth, or an old sheet, and uncover them in the morning. A tomato has no frost tolerance at all, so one unprotected night can end the season before it starts.
What You Need Before You Transplant
Gather everything before you carry a single seedling outside, so plants never sit in the sun waiting while you hunt for a stake.
- Hardened-off tomato seedlings, 6 to 8 inches tall, watered well the day before
- A soil thermometer, for checking the bed before you plant
- A hand trowel or small spade, and a garden fork for loosening the bed
- Compost or well-rotted manure, to mix into the planting area
- Stakes, cages, or a trellis, ready before the first plant goes in
- Soft twine or cloth ties, for tying stems loosely to supports
- A watering can or hose with a gentle rose, for watering in
- Straw or shredded leaves, for mulching after the soil warms
- Cardboard collars, cut from toilet paper tubes or cartons, for cutworm protection
- A starter fertilizer solution, if your soil test or extension guide recommends one
- Plant labels and a marker, so varieties do not get mixed up
The bed itself needs at least 8 hours of sun a day and soil that drains well. Tomatoes do best in slightly acidic soil: University of Minnesota Extension gives a pH range of 5.5 to 7.0, while Cornell University says tomatoes produce best at 6.0 to 6.8. A soil test settles the number for your garden. Work 2 to 3 inches of compost into the top 6 to 8 inches of the bed a week or more before planting day, and do not plant tomatoes where tomatoes, potatoes, peppers, eggplants, or tomatillos grew in the past three or four years, because the same soil diseases attack the whole family.
If you are starting from seed, our guide to growing tomatoes from seed covers the whole indoor start.
Step 1: Harden Off
Hardening off is the slow introduction to sun, wind, and cool nights, and skipping it is the fastest way to lose healthy seedlings. A plant raised indoors has thin leaves and a soft stem, and full sun and wind on day one will scorch the leaves white and snap the stem. Start about 7 to 10 days before your transplant date: put the plants outside where they get wind protection and a couple of hours of sunlight, then bring them back in. University of Minnesota Extension describes the same rhythm, bringing plants indoors if night temperatures approach freezing.
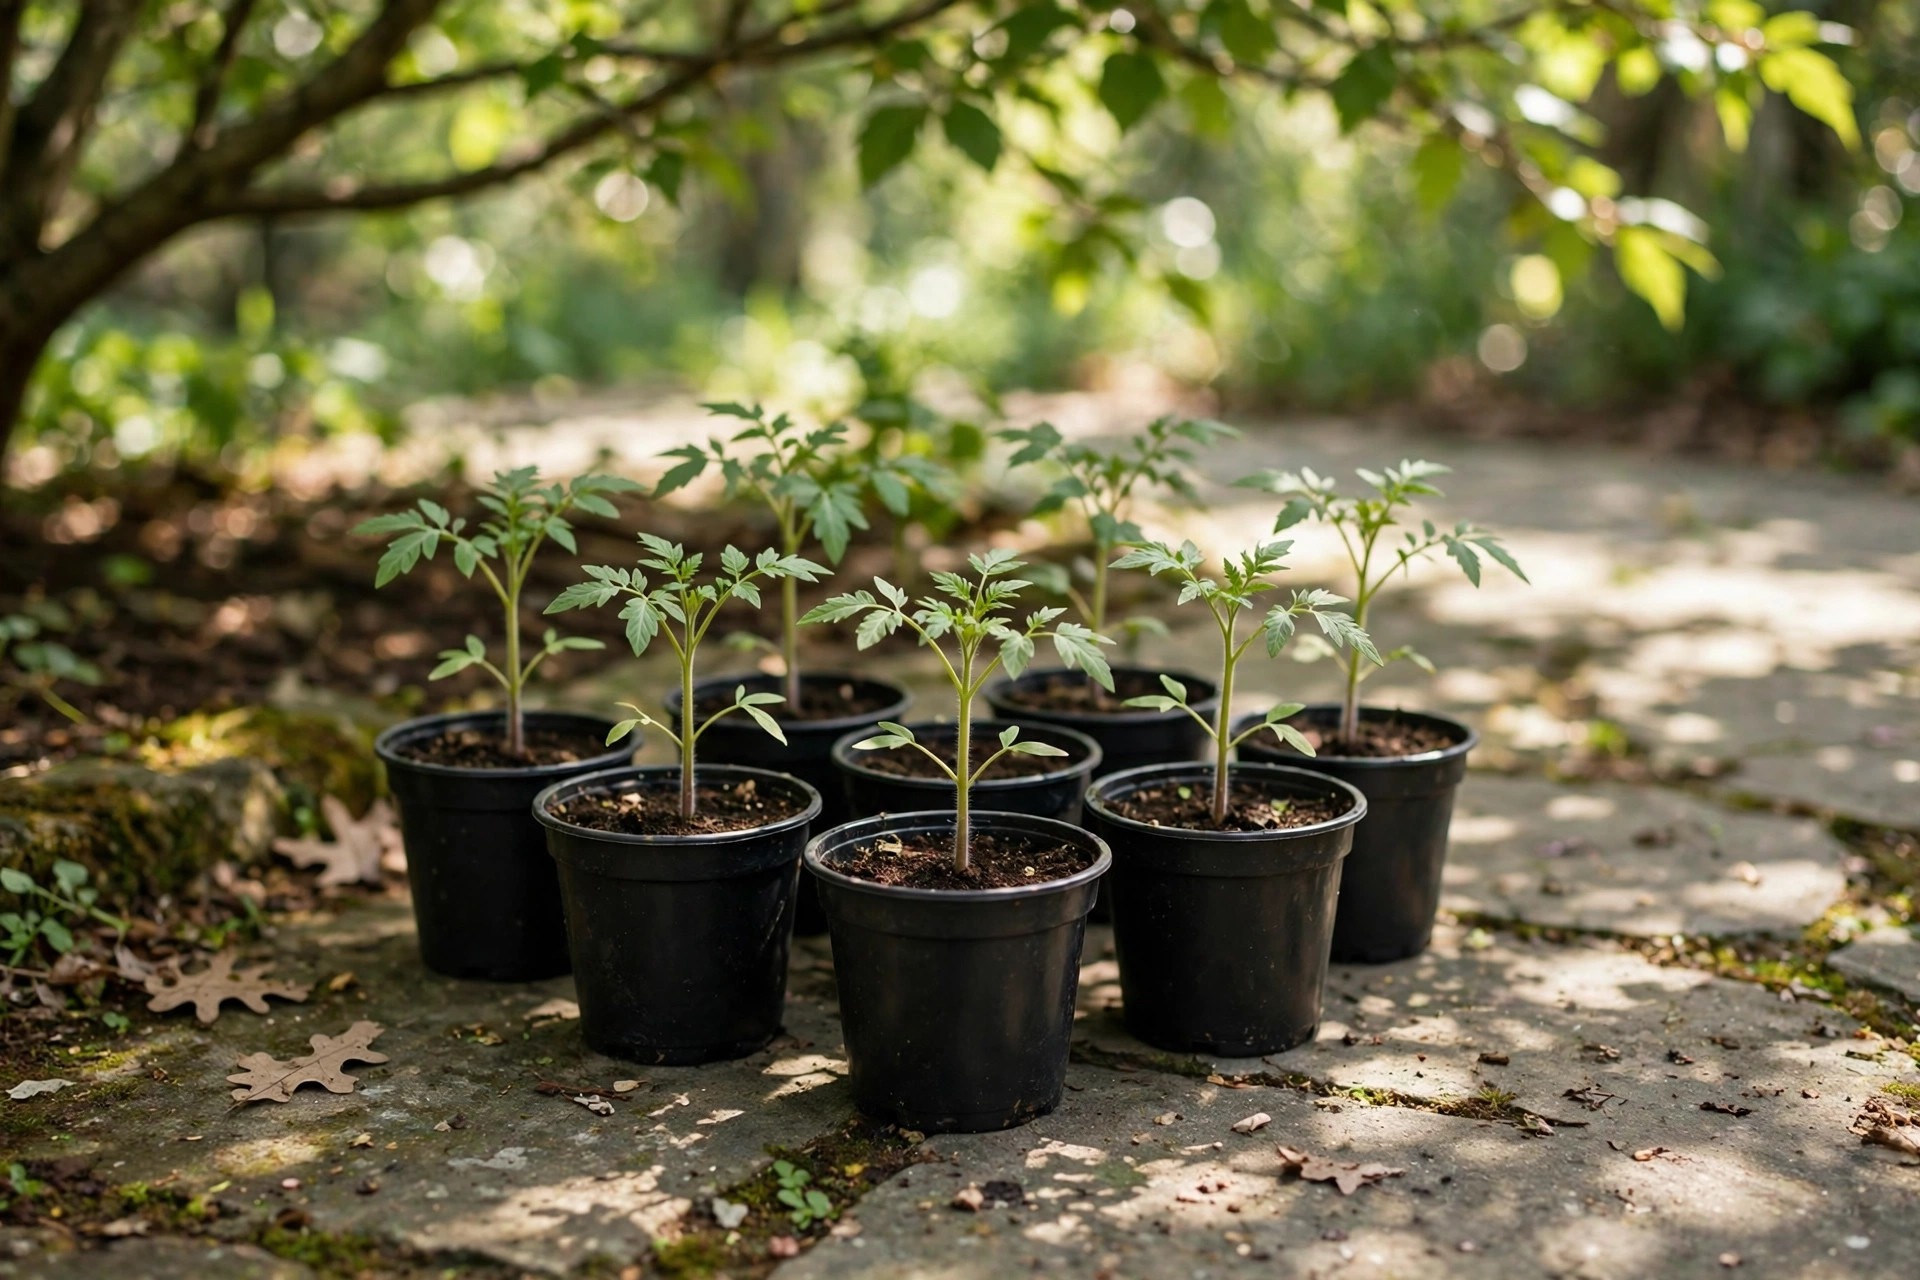
Days one and two mean shade or dappled light for 1 to 2 hours, sheltered from wind. Days three and four bring 3 to 4 hours with some morning sun, days five and six bring 5 to 6 hours, and by day seven they can take most of a day in full sun. By day nine or ten they can stay out all day and overnight, as long as no frost is forecast. Water a little less than indoors, because slightly drier soil toughens the stems, but never let them wilt badly. A plant that shows no stress after a full day outside is ready to move, and that is the real test, not the number of days on the calendar.
Learning how to transplant tomato seedlings starts with this step: a hardened seedling wilts for a day and then grows, while an unhardened one can lose most of its leaves in a single afternoon.
If you want the full day-by-day schedule, follow our 10-day hardening-off plan.
Step 2: Pick the Day and Time
Transplant in the late afternoon or on a cool, cloudy, calm day. University of Minnesota Extension gives exactly that advice, and the reason is simple: a seedling set out at noon faces hours of hot sun with a root system that is not yet connected to the soil, so it loses water through its leaves faster than its damaged roots can replace it. Late afternoon planting gives the roots a cool night to settle in before the first full day of sun. A cloudy day works just as well.
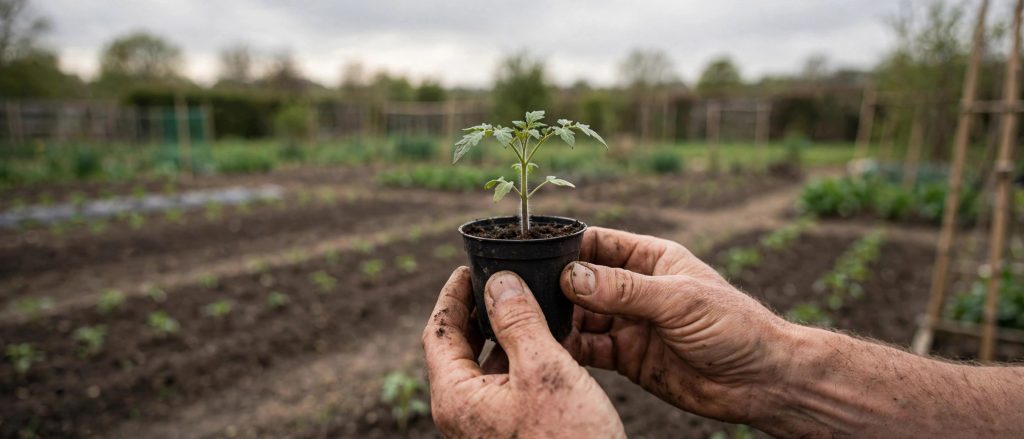
Check the forecast for the next three days before you plant. You want mild days, nights above 50 degrees, and no hard wind, because a windy day dries leaves fast and snaps stems. If the only free day is windy, set up a temporary windbreak from a board or a row of buckets, or wait a day.
Water the seedlings well a few hours before you move them, so the root ball is moist all the way through. A dry root ball falls apart when you tip the plant out of its pot, and broken roots are the main cause of transplant shock. Water the bed too, the day before if it is dry. If you use peat pots, soak them first, and never leave the top edge above the soil surface, or the pot acts like a wick and dries the root ball out.
Step 3: Prepare the Bed
Loosen the soil in the bed to about a foot deep with a garden fork, and pull out weeds and old roots. Tomatoes need loose soil for their new roots to push into, and a compacted bed keeps the root ball wet on top and dry underneath. Mix compost into the planting area as you loosen it, and rake the surface smooth. In heavy clay, the compost matters even more, because it opens up drainage and keeps the soil from sealing into a crust after watering.
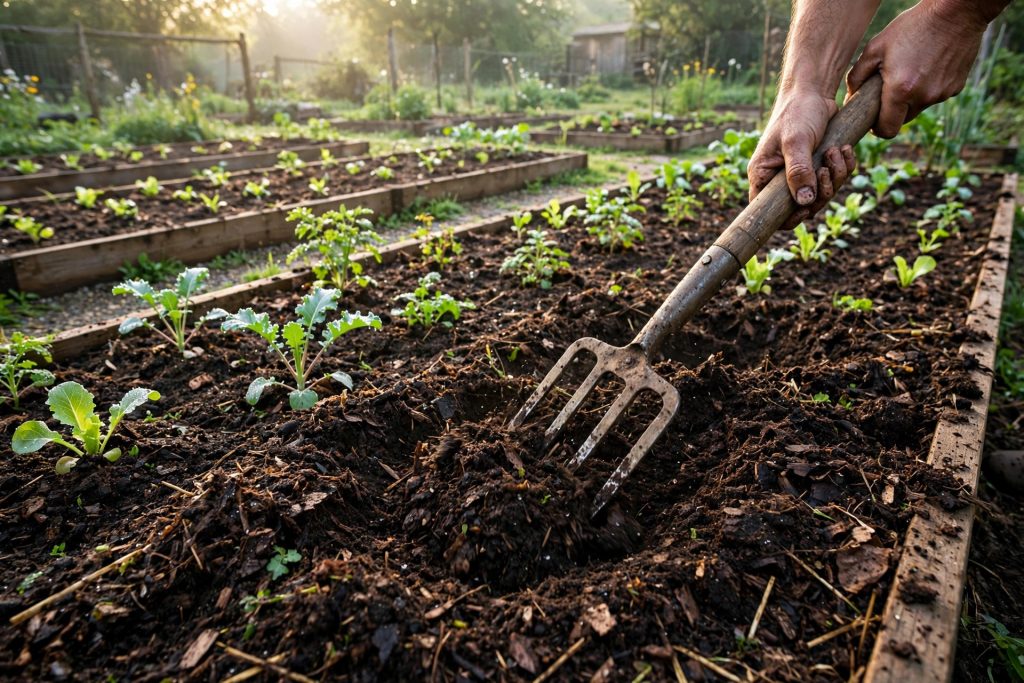
Space the planting spots before you dig. Determinate, or bush, types go 18 to 24 inches apart; indeterminate, or vining, types go 24 to 36 inches apart, with rows 3 to 4 feet apart, which leaves room to walk, water, and harvest without stepping on roots. Cornell University gives a similar spread, and University of Minnesota Extension allows two to three feet in all directions between vining plants. Crowded plants share less light and air, and poor airflow is the fastest route to leaf disease.
If you plan to use a starter fertilizer, have it mixed and ready. University of New Hampshire Extension recommends a starter solution of soluble fertilizer in water, about 2 tablespoons per gallon, applied at about half a pint per plant at transplanting, enough to saturate the whole root ball. Starter solutions carry two to three times as much phosphorus as nitrogen or potassium, because phosphorus drives root growth and is hard for the plant to take up when the soil is still cool. A starter solution is optional in rich, composted soil, but it helps in a new bed or a cool spring. Do not use dry fertilizer in the hole, because it can burn roots. Later in the season, Cornell University advises sidedressing about half a cup of 5-10-5 per plant when the fruits are about 1 inch across, and again when harvest begins.
Step 4: Dig the Hole and Plant Deep
This is the step that makes tomatoes different from every other vegetable you transplant. Tomatoes grow roots along any part of the stem that touches soil, so burying the stem builds a bigger root system, and a bigger root system means a plant that drinks better, stands stronger, and fruits earlier. University of Minnesota Extension puts it plainly: plant tomatoes so that some of the stem is below the soil line, and new roots will emerge from the buried part of the stem.
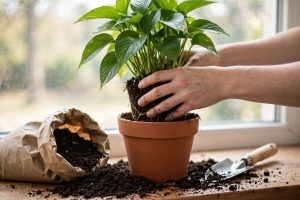
For most home gardeners, a deep hole is simpler than a trench, and it works just as well. Dig a hole deep enough to bury the stem up to the first set of true leaves, which usually means a hole 6 to 8 inches deep for a standard seedling. Remove every leaf that would sit below the soil line, because buried leaves rot and open the stem to disease. Leave the top two or three sets of leaves above ground, and keep the growing tip well clear of the soil. Hold the seedling by its root ball or by a leaf, never by the stem.
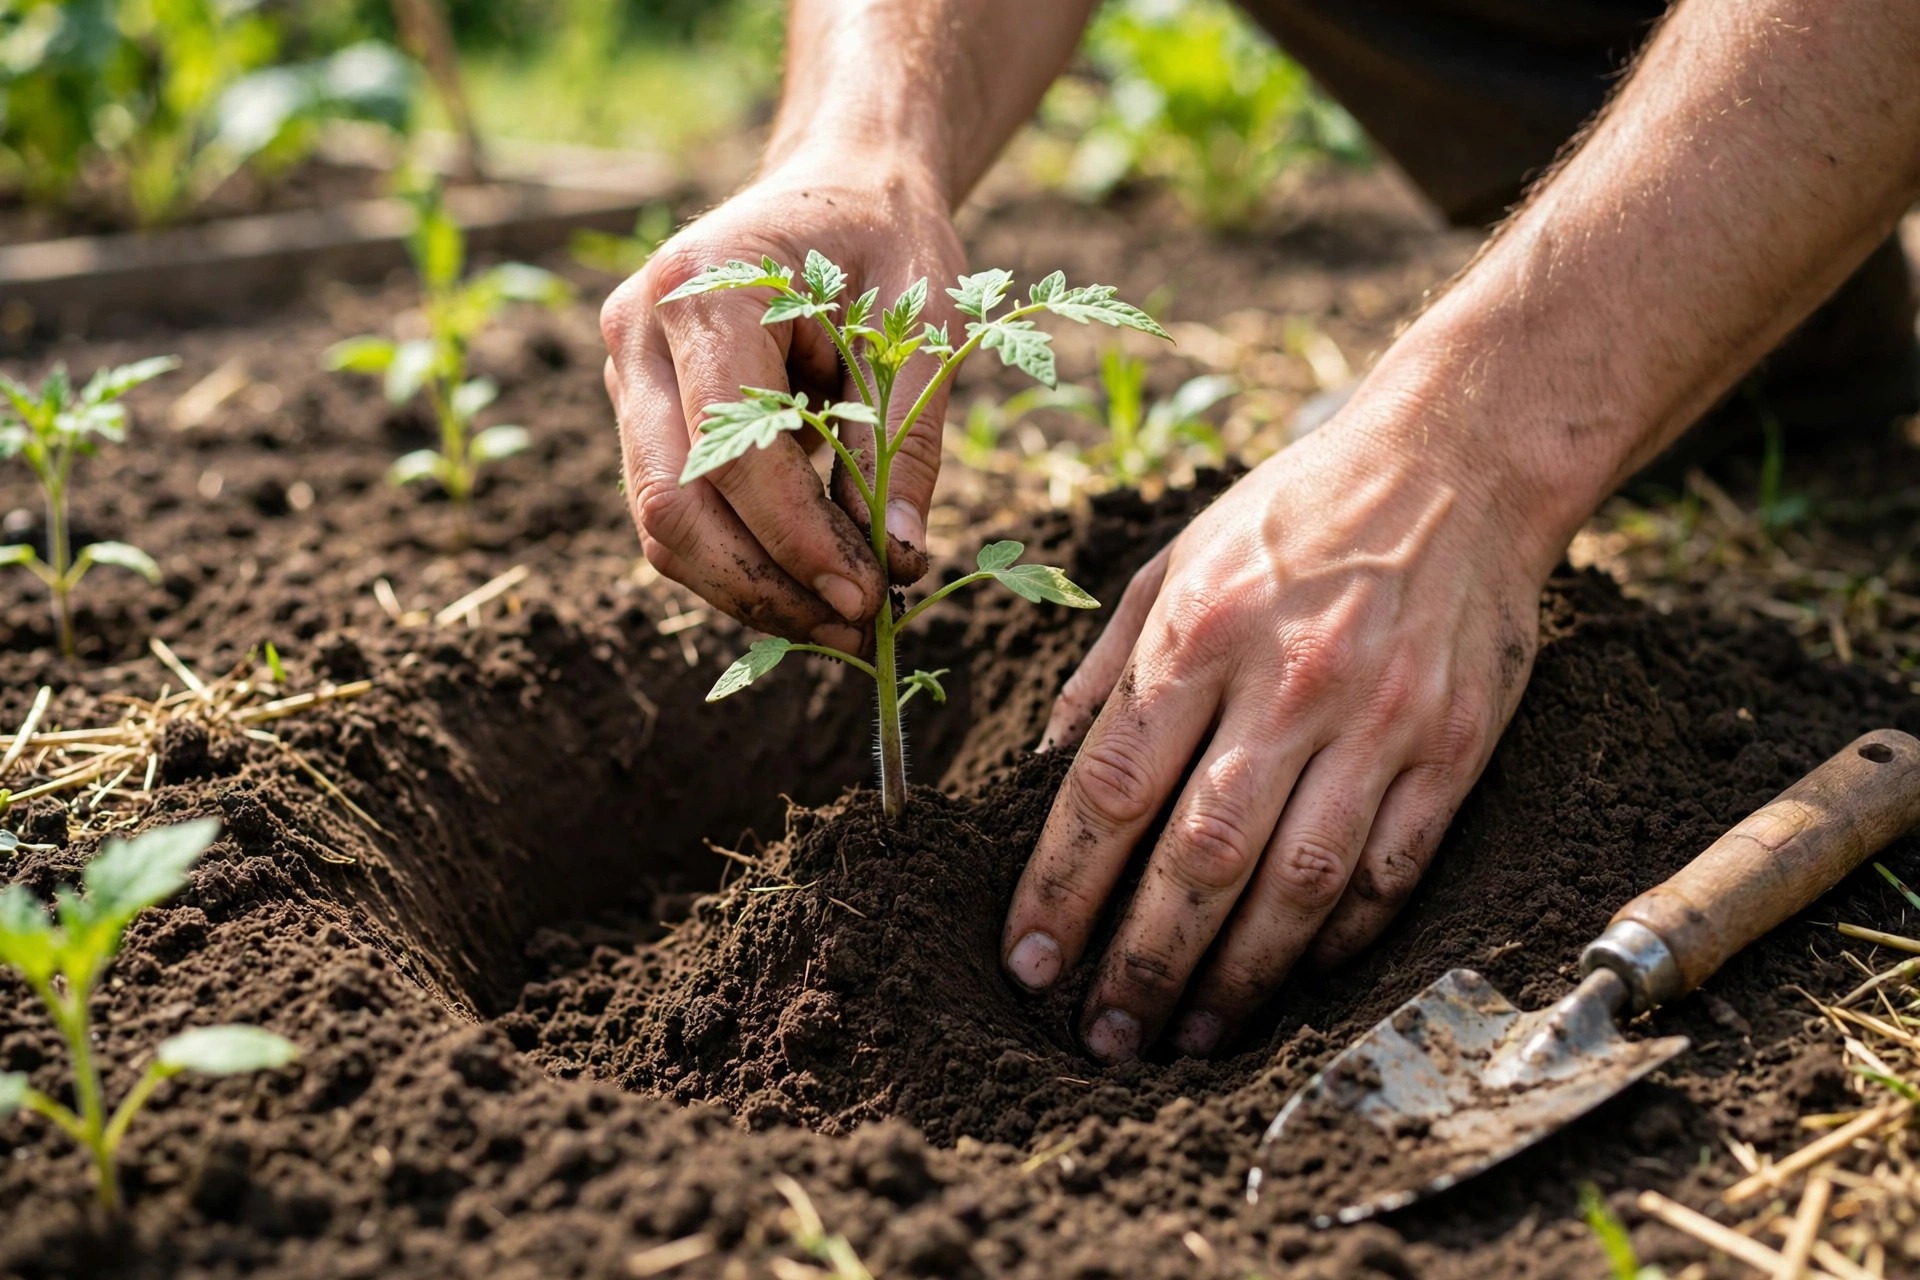
If your seedling is leggy, the trench method is the better choice. Lay the plant sideways in a shallow trench, bend the top 3 to 4 inches gently upward, and cover the stem with soil. The buried stem sprouts roots along its whole length within a week or two. Do not bury more than about two-thirds of the stem, and never bury the growing tip.
Backfill with the soil you dug out, firm it gently around the root ball, and leave a shallow basin around the plant to catch water. Do not stamp the soil down hard, because compacted soil squeezes out the air pockets roots need. If the plant was in a peat pot, tear off the top rim and set the pot fully below the soil line. If it was in a plastic pot, tip it out with the root ball whole, and tease the bottom roots loose only if they are circling tightly.
The depth rule is the heart of how to transplant tomato seedlings well: a tomato planted at its old pot depth grows a small root ball and a top-heavy plant, while the same seedling planted deep anchors itself and keeps drinking through a dry week.
Step 5: Water In and Mulch
Water deeply the moment the plant is in the ground. Soak the soil around the root ball until water stands in the basin for a few seconds, then let it drain. This first watering settles the soil against the roots so no air pockets are left, and it gives the plant the water it needs while its roots are still disturbed. University of Minnesota Extension advises soaking the soil thoroughly when you water, because light watering wets only the top inch and encourages shallow roots. Check the soil with a trowel the next day: if it is wet only an inch or two down, keep watering until the moisture reaches 6 inches or more.
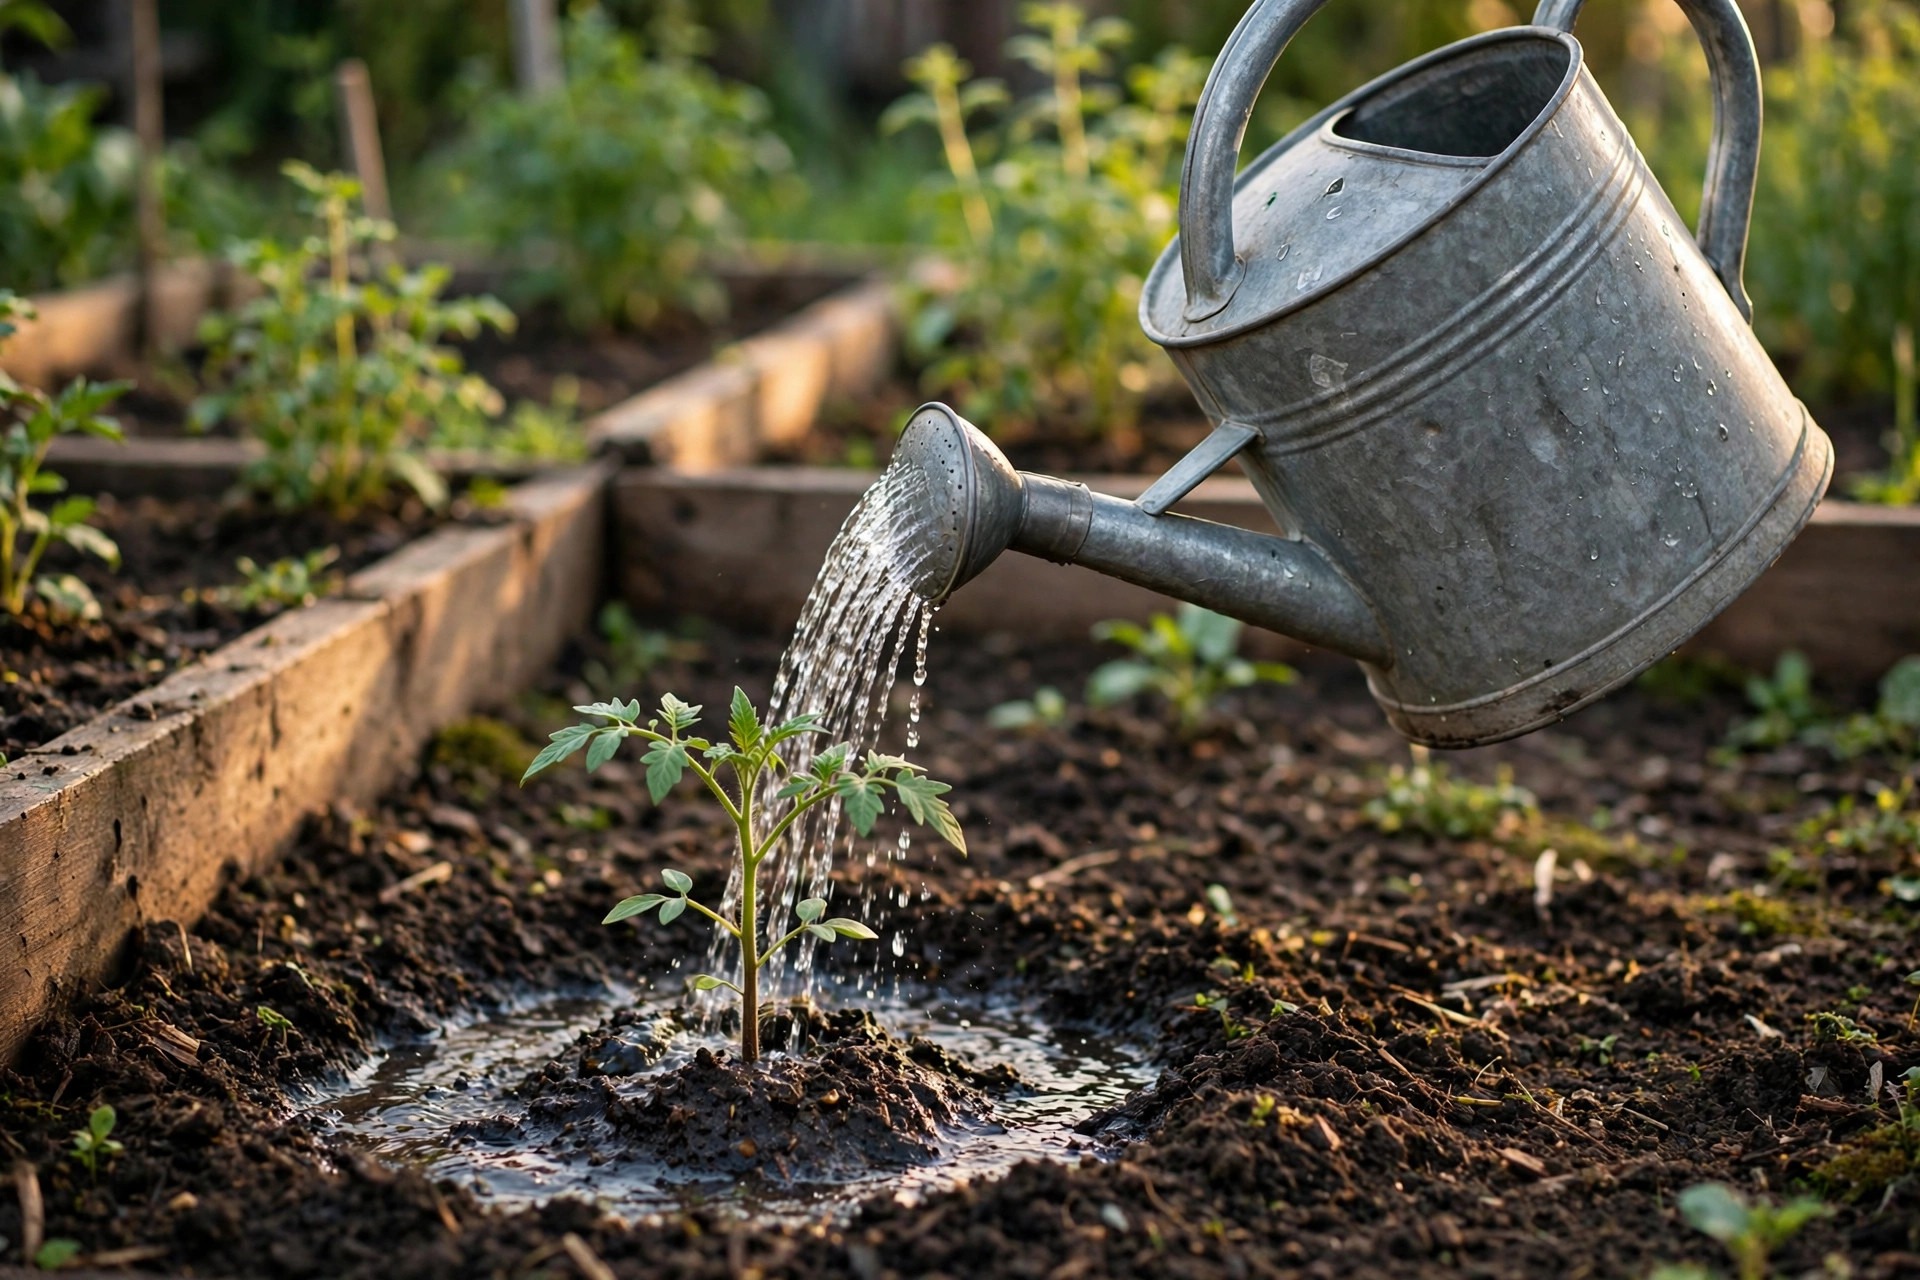
Keep the soil evenly moist for the first week or two, watering at the base of the plant, not over the leaves. About an inch of water per week, from rain or watering, is the guide University of Minnesota Extension gives for the season. A plant that dries out and then floods may drop its first flowers, and it may develop blossom end rot on its first fruit.
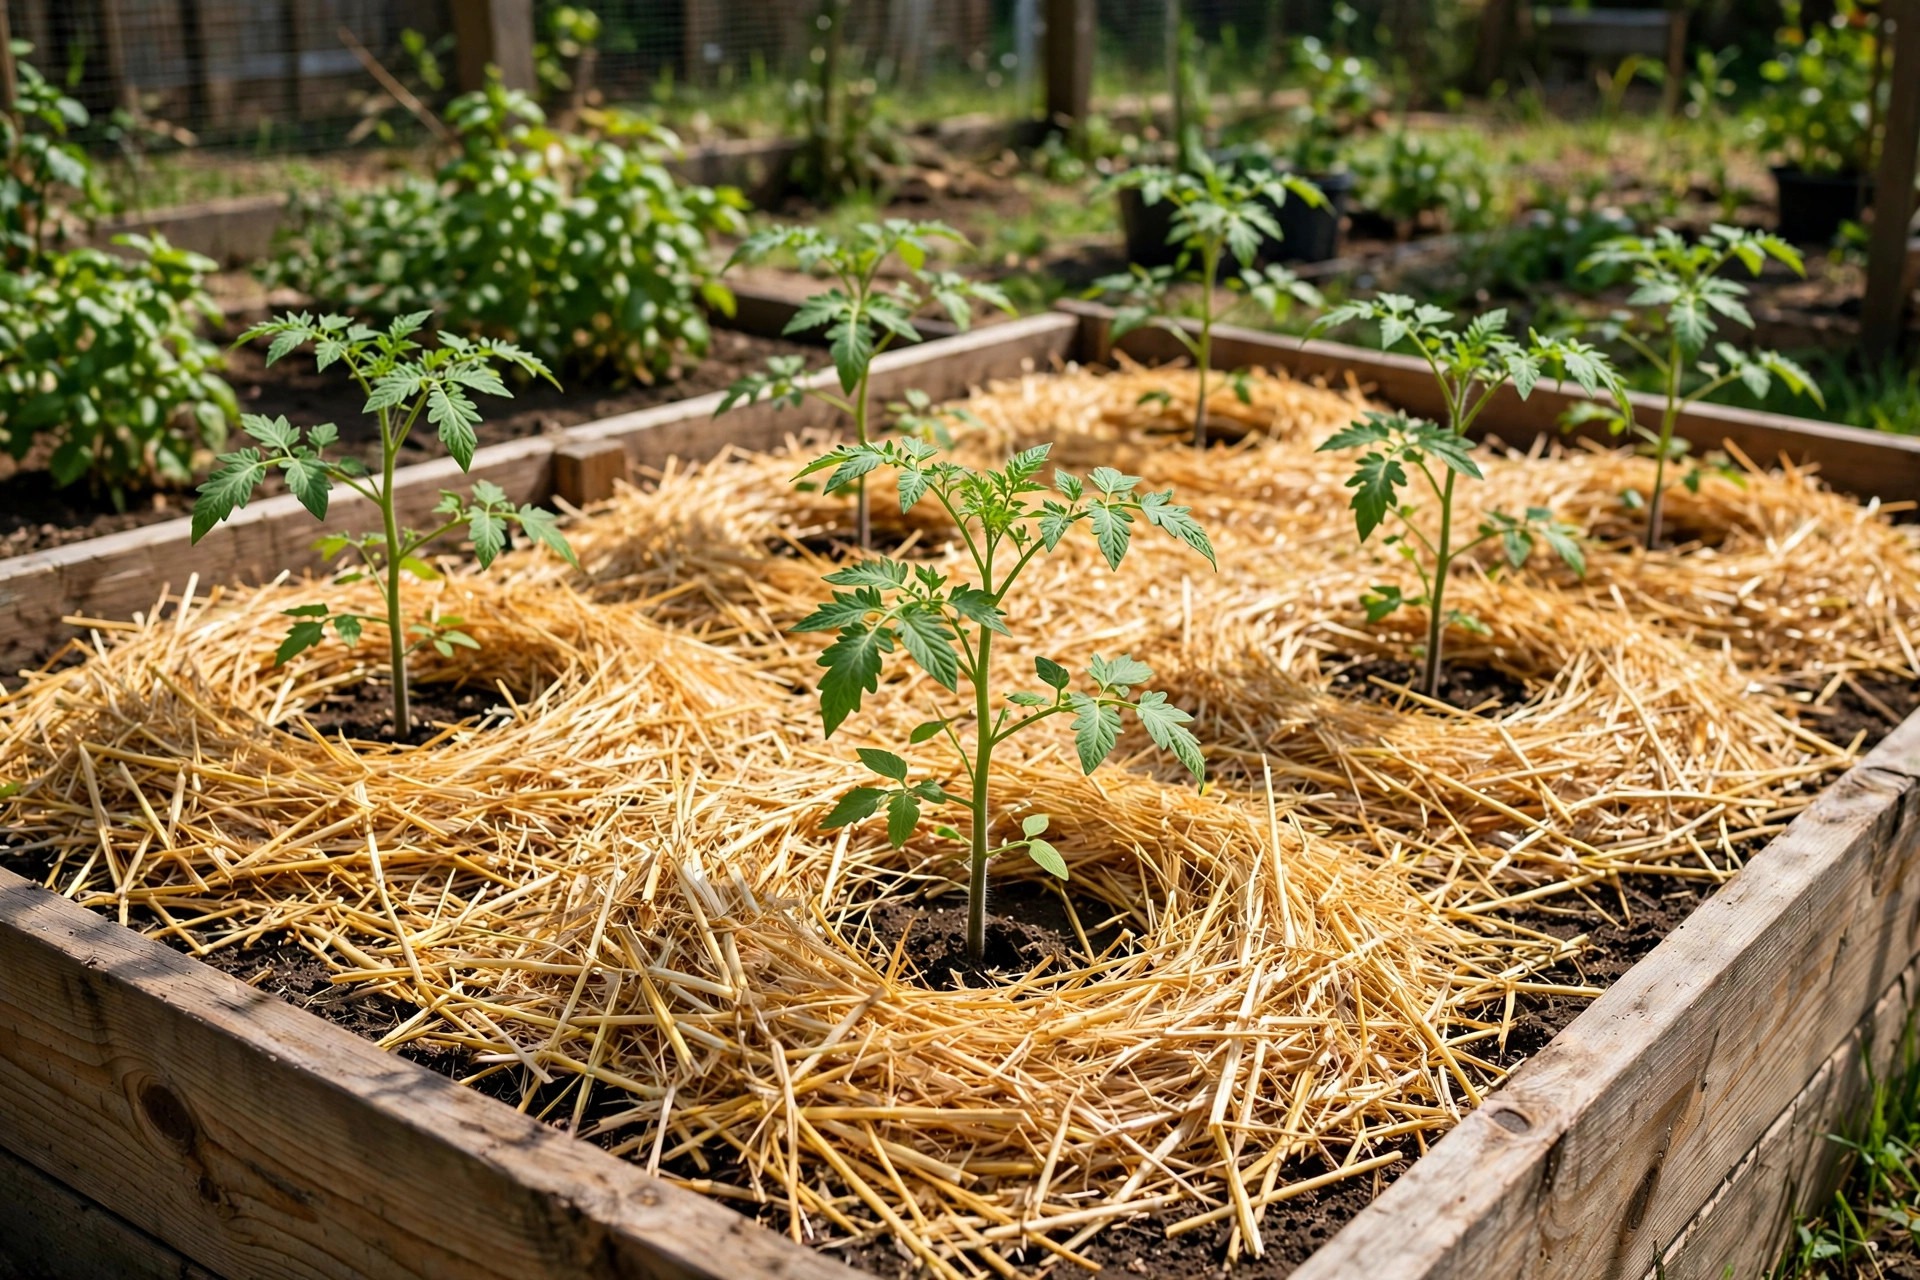
Wait a few days before you mulch, so the soil has a chance to warm up in the sun. Then spread 2 to 3 inches of straw, shredded leaves, or herbicide-free grass clippings around each plant, keeping the mulch a few inches clear of the stem. Mulch holds moisture, keeps weeds down, and stops soil from splashing onto the leaves in the rain. University of Minnesota Extension mulches 3 to 4 inches deep for weed control, so if weeds are your main problem, go to the deeper end of the range. Never pile mulch against the stem, because a damp collar against the stem invites rot and gives slugs a hiding place.
Step 6: Stake or Cage Now
Drive in the stake or set the cage on planting day, while the roots are still small. University of Minnesota Extension advises installing supports, stakes, cages, spirals, or trellises, at the time of planting. A stake driven in three weeks later spears the roots you just spent three weeks growing, and a cage dropped over a grown plant bends branches and breaks stems. Set the support 3 to 4 inches from the stem, drive it at least a foot into the ground, and tie the stem loosely with soft twine or cloth, leaving room for the stem to thicken.
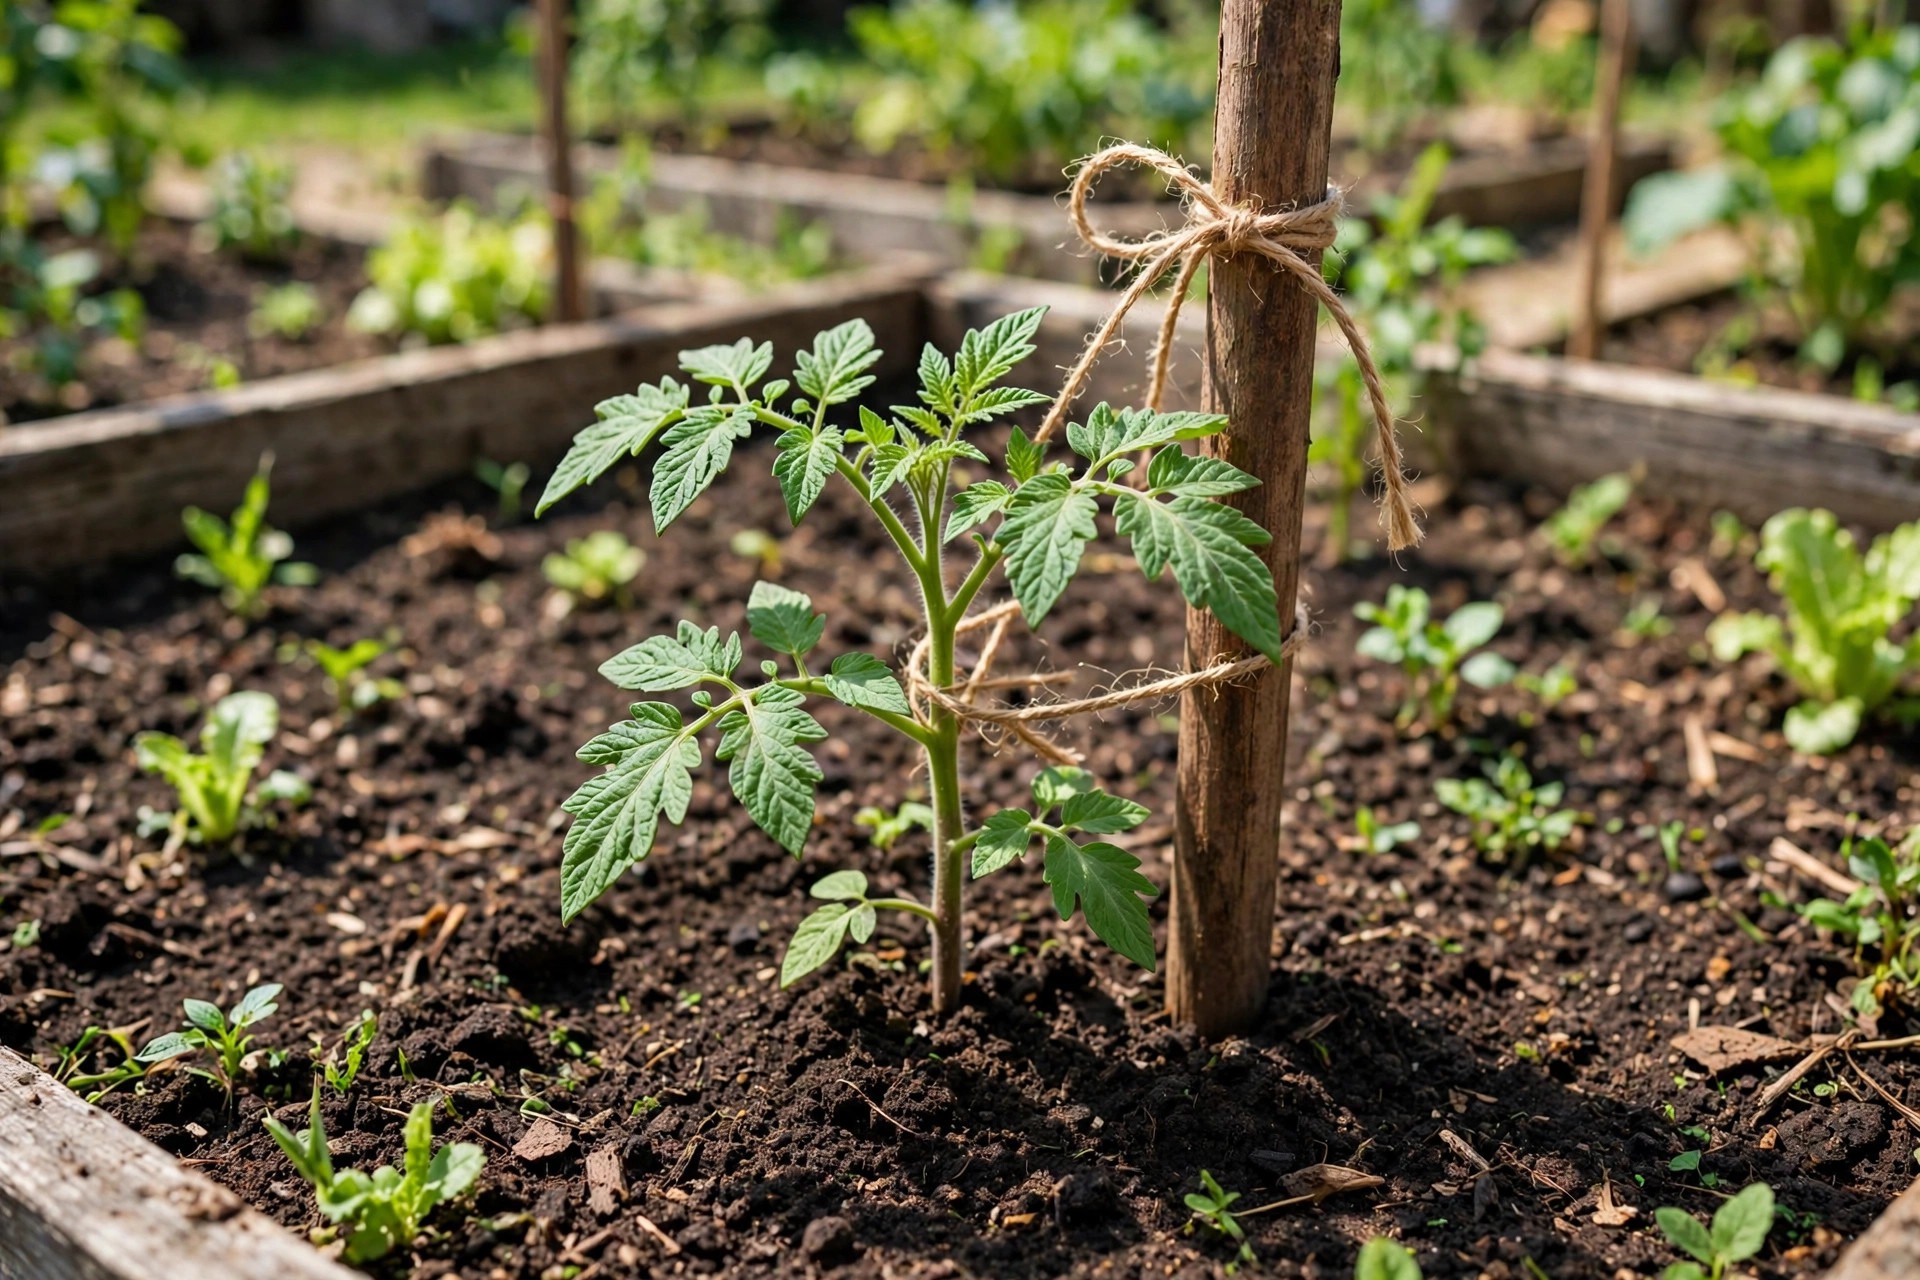
Indeterminate varieties grow 3 to 5 feet tall, sometimes more, and they need a tall stake, at least 6 feet, or a sturdy cage. Determinate, or bush, types reach 24 to 30 inches and often do fine with a short stake or a small cage. Tie the stem at a few points as it grows, always loosely, in a figure-eight loop that leaves a gap between stem and stake. A tight tie cuts into the stem as it thickens, so check the ties every couple of weeks and loosen any that have gone tight.
The same day, fit a cutworm collar around each stem if cutworms are a known problem in your garden. Cutworms are caterpillars that feed at night and cut young transplants off at the base, so one morning you may find a healthy seedling lying on its side, severed at the soil line. Illinois Extension recommends collars of cardboard, aluminum foil, or metal placed around transplants at planting. A ring cut from a toilet paper tube or a paper cup with the bottom removed works well: push it about an inch into the soil and leave an inch or two above it. Leave the collar in place for 3 to 4 weeks, by which time the stem is thick enough to resist attack.
Step 7: Watch the First Two Weeks
The first two weeks decide the season. Check the plants every day and water when the top inch of soil feels dry; the roots are still small and shallow, so they dry out fast on a hot day.
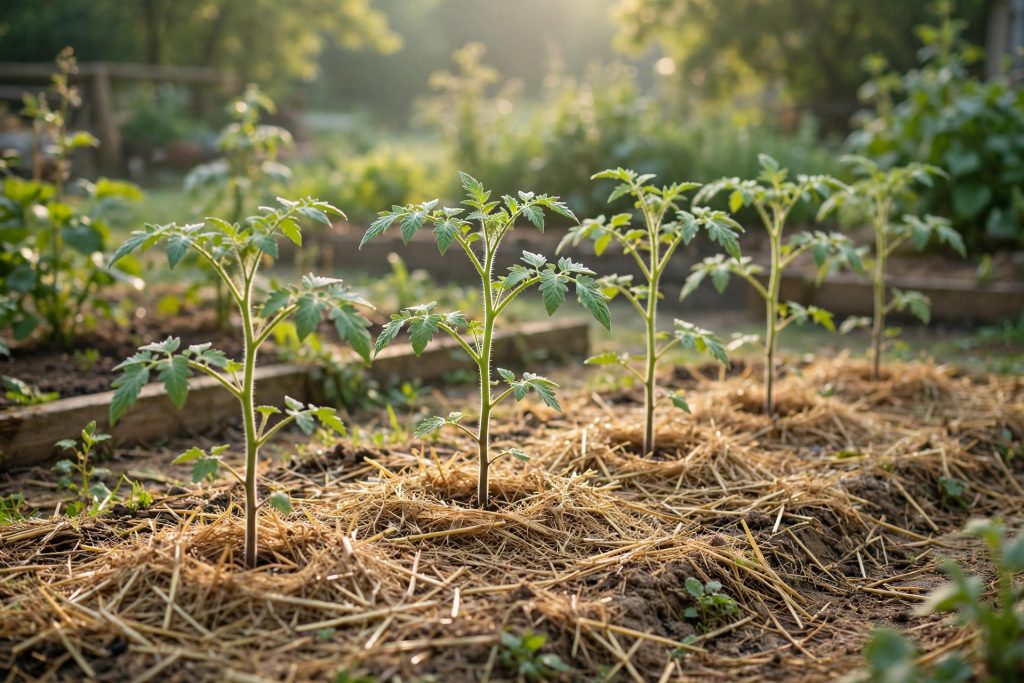
Some drooping in the first few days is normal: the plant is rebuilding its fine root hairs, and until they regrow, the leaves lose water faster than the roots can replace it. Shade a wilting plant for a day or two, keep the soil moist, and do not feed it yet. Most plants perk up within 3 to 5 days.
By the end of the second week, a settled transplant shows fresh growth at the tip and new leaves that are full size and deep green. That is the moment to start the normal routine: about an inch of water a week, mulch topped up as it settles, ties checked, and the first sidedressing when the fruits are about an inch across. Early varieties give their first ripe fruit about 60 to 65 days after transplanting, and most varieties follow at 70 to 85 days. Cool, cloudy weather slows that count, so treat the packet figure as a guide, not a promise.
For the rest of the season after transplanting, see our guide to growing tomatoes.
Transplant Shock: Signs and Fixes
Transplant shock is the stress a plant feels when its roots are disturbed and its growing conditions change all at once. It is not a disease, and it is usually temporary, but the wrong fix makes it worse. The most common error is watering a wilted plant that is already sitting in wet soil: a tomato can wilt in moist soil when its disturbed roots cannot yet replace the water its leaves lose. Check the soil before you water: push a finger 2 inches into the root ball, and water only if it feels dry.
| Symptom | Likely cause | Fix |
|---|---|---|
| Leaves droop in the afternoon, recover overnight | Roots cannot yet replace water lost in sun and wind | Water at the base in the morning, shade for a day or two, wait for new root hairs |
| Leaves droop and stay limp, soil is dry | Not enough water reaching the root ball | Water slowly and deeply around the root ball until the soil is wet 6 inches down |
| Leaves droop and stay limp, soil is soggy | Overwatering or poor drainage | Stop watering, let the soil dry, improve drainage, do not feed |
| Lower leaves turn yellow and drop | Cold soil, overwatering, or natural shedding of the oldest leaves | Check soil temperature and drainage, let the soil dry slightly between waterings |
| Growth stalls for a week or more | Cold soil, root damage, or planting into soil below 60 degrees | Wait for warm weather, keep soil evenly moist, do not feed until new growth shows |
| Leaves turn white or papery on the edges | Sunscald from skipping hardening off | Shade the plant, remove badly scorched leaves, harden off properly next time |
| Stem cut cleanly at the soil line, plant toppled | Cutworms feeding at night | Fit a cardboard collar, check for caterpillars in the soil near the stem |
Most shock clears on its own in one to two weeks with even moisture, mild weather, and no further disturbance. The recovery signs are new growth at the tip and leaves that stay upright through the afternoon. If a plant has not improved after two weeks, dig it up: white root tips growing into the surrounding soil mean it is recovering, while a sour-smelling root ball that falls apart means it is rotting. Replacing it is faster than nursing it.
Common Mistakes
Planting too early is the mistake that costs the most. A tomato set out two weeks before the last frost into cold soil does not grow faster than one planted on time. It sits, turns purple, drops its lower leaves, and may never catch up. Wait for 60 degree soil and nights above 50 degrees.
Planting at pot depth is the second mistake. Bury the stem up to the first true leaves, or trench a leggy seedling, and the plant builds the root system it needs.
Skipping hardening off is the third. A plant that goes straight from a windowsill to full sun loses leaves to sunscald in a single afternoon, and a plant that has never felt wind snaps at the first gust. Seven to ten days of gradual outdoor time is the cheapest insurance in the whole process.
Watering the leaves instead of the soil is the fourth. Overhead watering wets the foliage and splashes soil onto the lower leaves, which invites leaf disease. Water at the base, in the morning, and keep the leaves dry.
Feeding a shocked plant is the fifth. A wilted transplant does not need fertilizer, it needs water, shade, and time. Fertilizer adds salts to a root zone that is already struggling. Wait until new growth shows, then feed lightly.
Staking late is the sixth. A stake driven in after the roots have spread cuts the very roots you are trying to grow, and a cage dropped over a grown plant breaks branches. Put the support in on planting day.
Most transplant problems start indoors, so it helps to know the 10 seed-starting mistakes to avoid before your next batch.
Final Thoughts
Knowing how to transplant tomato seedlings is mostly a matter of patience and one deep hole. Wait for warm soil, harden the plants off, pick a cloudy afternoon, bury the stem, water deeply, mulch, and stake on the same day. Together they give a seedling everything it needs to grow roots fast and start fruiting on schedule.
The payoff shows up quickly. A well-transplanted tomato perks up in a few days, grows new leaves in a week, and reaches its first flowers within a month. A rushed transplant sulks for weeks and fruits late.
References
- University of Minnesota Extension. Growing tomatoes in home gardens. Supports transplanting after all danger of frost has passed and soil has warmed, planting deep so new roots emerge from the buried stem, trenching 3 to 4 inches deep, staking at planting time, transplanting in late afternoon or on a cool cloudy calm day, mulching 3 to 4 inches deep, soil pH 5.5 to 7.0, and about 1 inch of water per week. https://extension.umn.edu/vegetables/growing-tomatoes-home-gardens
- Cornell University, Home Gardening Vegetable Growing Guides. Tomatoes. Supports setting plants out 2 to 3 weeks after average last frost, soil pH best at 6.0 to 6.8, spacing of 12 to 24 inches for determinate varieties and 24 to 36 inches for unstaked indeterminate varieties, mulching after the soil has warmed, and days to harvest counted from transplanting. http://gardening.cornell.edu/homegardening/sceneea10.html
- University of Minnesota Extension. Planting the vegetable garden. Supports warm-season crops needing soil temperatures of 50 to 60 degrees, transplanting tomatoes after the last frost, transplanting in late afternoon or on a cool cloudy calm day, and watering plants well before transplanting. https://extension.umn.edu/garden-and-home/yard-and-garden/gardening-in-minnesota/planting-the-vegetable-garden
- University of New Hampshire Extension. Starter Solutions for Vegetable Crops. Supports starter solutions of about 2 tablespoons of soluble fertilizer per gallon, about half a pint per plant at transplanting, phosphorus at 2 to 3 times nitrogen or potassium, and starter solutions minimizing transplant shock. https://extension.unh.edu/sites/default/files/migrated_unmanaged_files/Resource000618_Rep640.pdf
- Illinois Extension. Cutworm. Supports cardboard, aluminum foil, or metal collars placed around transplants at planting to prevent cutworm feeding, and cutworms cutting young tomato transplants at the stem about half an inch above ground. https://extension.illinois.edu/insects/cutworm
Frequently Asked Questions
When should I transplant tomato seedlings outdoors?
Transplant after your average last frost date, when the soil has warmed to 60 degrees Fahrenheit or warmer and night temperatures stay above 50 degrees. Cornell University advises setting plants out 2 to 3 weeks after your average last frost. In most of the United States, that falls between late April and early June, depending on your region.
How deep should I plant tomato seedlings?
Bury the stem up to the first set of true leaves, after removing the lower leaves that would sit below the soil line. University of Minnesota Extension advises planting tomatoes so that some of the stem is below the soil line, because new roots emerge from the buried part of the stem. For a leggy seedling, dig a trench 3 to 4 inches deep, lay the plant sideways, and bury the stem up to just below the lowest remaining leaves.
How far apart should I space tomato plants?
Space determinate, or bush, types 18 to 24 inches apart, and indeterminate, or vining, types 24 to 36 inches apart, with rows 3 to 4 feet apart. Cornell University gives 12 to 24 inches for determinate varieties, 14 to 20 inches for staked indeterminate varieties, and 24 to 36 inches for unstaked indeterminate varieties. Crowded plants share less light and air, and poor airflow invites leaf disease.
Why are my tomato seedlings wilting after transplanting?
Wilting after transplanting is usually transplant shock: the disturbed roots cannot yet replace the water the leaves lose in sun and wind. Check the soil first, because a tomato can wilt in moist soil. Water at the base in the morning if the soil is dry, shade the plant for a day or two, and wait. Most plants recover within 3 to 5 days.
Do I need to harden off tomato seedlings before transplanting?
Yes. Harden seedlings off for 7 to 10 days before they move to the garden, starting with 1 to 2 hours of shade or dappled light and building up to a full day in the sun. Skipping this step is the fastest way to scorch leaves and lose healthy seedlings.
How long after transplanting will tomatoes produce fruit?
Early varieties give their first ripe fruit about 60 to 65 days after transplanting, and most varieties follow at 70 to 85 days. Cornell University counts days to harvest from transplanting, not from sowing, and notes that cool, cloudy weather slows the count. Treat the packet figure as a guide, and keep the soil evenly moist through the first fruit set.

Thesis Link : https://saulibrary.edu.bd/daatj/public/uploads/BAU200601_19-Pp_5.pdf
- How to Transplant Tomato Seedlings Outdoors - November 8, 2026
- Best Potting Soils for Indoor Plants: 10 Picks That Keep Houseplants Happy - November 7, 2026
- How to Grow Peppers from Seed: A Step by Step Guide for Beginners - November 7, 2026