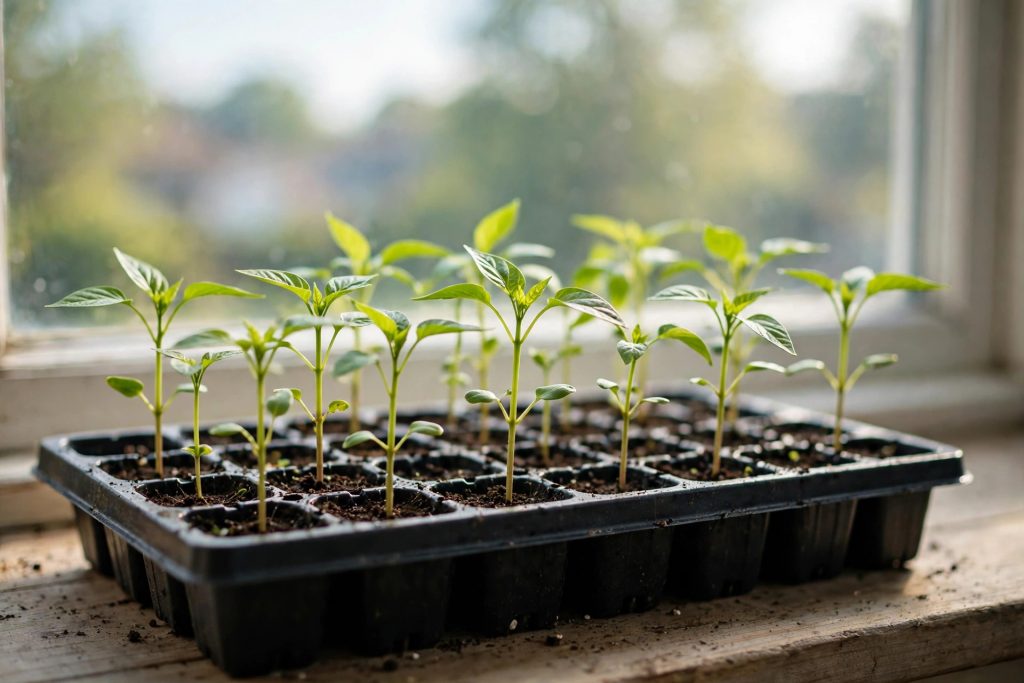

Learning how to grow peppers from seed is the single best way to grow exactly the pepper you want. A nursery sells a handful of varieties. A seed catalog sells dozens: thick-walled bells for stuffing, mild banana peppers for frying, jalapeños for salsa, and habaneros for cooks who like real heat. One packet costs less than a single nursery plant and grows a dozen seedlings. The work is simple, but peppers are fussier than tomatoes about warmth, and this guide walks through both the timing and the heat, step by step.
A pepper seed needs three things to become a strong plant: steady warmth to sprout, strong light to stay short and sturdy, and a slow introduction to the outdoors before it moves to the garden. Get those three right and the rest is routine watering and waiting. This guide covers the full run, from choosing a variety to setting a hardened-off seedling into warm garden soil.
Quick Answer
Short on time? Here is the whole method in one paragraph. Timing is the first lesson when you learn how to grow peppers from seed: start seeds indoors 8 to 10 weeks before your average last frost date. Sow two seeds per cell, a quarter inch deep, in sterile seed-starting mix. Keep the soil warm, 80 to 85 degrees Fahrenheit, until they sprout, which takes 7 to 14 days, and up to 21 days for slow hot varieties.
The moment green shows, give 14 to 16 hours of bright light a day with the fixture 2 to 4 inches above the leaves, water from below, and thin to one seedling per cell. Pot up when true leaves appear, feed at half strength, pinch off any flower buds that form indoors, harden off for 7 to 10 days, and transplant after the last frost, when nights stay above 50 degrees and the soil has warmed to about 65 degrees. Set each seedling at the same depth it grew in its pot.
Why Grow Peppers from Seed
A nursery flat limits you to the varieties that sell well in your town, usually a couple of bells and a jalapeño. Seed catalogs open the whole range. If you want a thick-walled bell that ripens red and sweet, a poblano for roasting, a cayenne for drying, or a habanero with real heat, seed is the only practical route. Smaller-fruited peppers also handle both cool and hot weather better than big bells, so planting a mix of types gives you a more reliable harvest, a point University of Minnesota Extension makes in its pepper guide.
Seed is also cheap insurance. One packet holds 20 to 30 seeds and costs less than a single potted transplant, so you can start extra seedlings and keep only the strongest. And a seed-started plant often settles in better than a store plant, because it has grown in your house, under your light, and never sat in a cold truck or a drafty garden center aisle.
The one real cost is patience. Peppers are tropical plants grown as warm-season annuals, and they germinate more slowly than tomatoes. Cornell University notes that pepper seed will not germinate below 55 degrees Fahrenheit, and that it germinates best when the soil is 80 degrees or warmer. That warmth is the whole difference between peppers and tomatoes, and it is why this guide treats heat as the first rule, not an afterthought.
When to Start Pepper Seeds
Count backward from your average last frost date when you plan how to grow peppers from seed, then sow 8 to 10 weeks before it. Your last frost date is the anchor for everything else, so look it up for your town (your local extension office publishes it) rather than guessing from your hardiness zone, which only tells you about winter cold. University of Minnesota Extension says to start pepper seeds about eight weeks before planting outside, and notes this is earlier than you would normally start tomato seeds. Cornell University gives 8 to 10 weeks before you expect to transplant outside.
You may also see a shorter window. Clemson Extension, writing for South Carolina gardeners, says 6 to 8 weeks before the last frost. The two numbers are not a contradiction: in a warm climate with a long growing season, seedlings grow fast and go outside soon after the last frost, so 6 to 8 weeks is enough.
In a cool northern climate, sow at the 8 to 10 week end of the range. Use your own last frost date and your climate as the guide, not a single number from any one source. And note that the 6 to 8 weeks mentioned later in this guide is different: that is the age of the seedling, counting from sowing, not the sowing window.
Hot peppers go in at the early end of the window, because they germinate more slowly than sweet bells. Sow your habaneros and other superhot types first, then the jalapeños and cayennes, then the sweet bells last, so everything is ready to harden off at the same time.
| Your last frost | Sow pepper seeds | Example |
|---|---|---|
| Late May (Zone 4) | Mid to late March | Duluth, last frost about May 22 |
| Late April (Zone 5) | Mid-February to early March | Minneapolis, last frost about April 30 |
| Mid-April (Zone 6) | Early to mid-February | Chicago, last frost about April 17 |
| Early April (Zone 7-8) | Late January to early February | Atlanta, last frost about April 1 |
| Little or no frost (Zone 9-11) | August to October, or January to February | Warm-winter regions, sow for a fall crop or an early spring crop |
Starting earlier is not better. Seedlings started 12 or more weeks before frost grow tall, root-bound, and leggy indoors, and they fruit later than plants started on time. Peppers are slow growers once they sprout, so an oversized seedling is worse than a compact one. If your season is short, pick an early variety instead of sowing sooner.
Mark two dates on your calendar now: your sowing date and your target transplant date, about 2 to 3 weeks after your last frost. Everything between them is the routine in the steps below.
What You Need Before You Sow
Gather everything before you open a packet, so seeds never sit in dry mix while you hunt for a tray.
- A seed tray with cells, or small pots, with drainage holes and a solid tray underneath
- Sterile, soilless seed-starting mix, never garden soil
- A heat mat with a thermostat, or a reliably warm spot that holds 80 to 85 degrees
- A clear dome or plastic wrap to hold humidity until seeds sprout
- A grow light on a timer, fluorescent or LED, that you can hang 2 to 4 inches above the tray
- A spray bottle or a tray for watering from below
- Plant labels and a marker, so varieties do not get mixed up
- Small pots, 3 to 4 inches across, for potting up
- A balanced liquid fertilizer for half-strength feeding later
- A soil thermometer, for checking the garden bed before transplanting
Seed-starting mix matters more for peppers than for most crops, because pepper seeds sit in warm, damp mix for up to three weeks. A fresh bagged soilless mix starts clean, while garden soil can carry the fungi that cause damping off. If you reuse trays, wash them with soapy water first and let them dry fully before filling.
Step 1: Pick the Right Variety
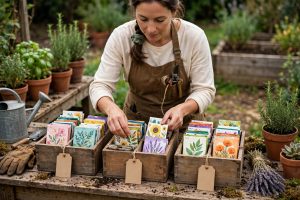
Start with the pepper you actually cook with, then add one variety for fun. A first-time grower does well with one sweet bell, one mild frying pepper, and one hot pepper, because the three ripen on different schedules and cover most recipes. Check the “days to maturity” figure on the packet, and remember it counts from transplanting, not from sowing. Clemson Extension puts pepper harvest at about 70 to 85 days after transplanting, or 100 to 120 days from seed, so a variety listed at 75 days still needs a full four months from your sowing date.
| Variety | Type | Heat | Days to harvest (from transplant, about) | Best for |
|---|---|---|---|---|
| California Wonder | Sweet bell | None | 75 | Stuffing, salads, and slicing |
| Sweet Banana | Sweet banana | None | 65 | Frying and pickling |
| Jalapeño M | Hot | Medium, 2,500 to 8,000 Scoville units | 70 | Salsa and pickling |
| Poblano (Ancho) | Mild to medium | Mild | 75 | Roasting and stuffing |
| Cayenne | Hot | Hot | 75 | Drying and hot sauce |
| Habanero | Very hot | Very hot | 90 to 100 | Hot sauce, for heat lovers only |
Pick by your season, not by the picture. In zones 4 and 5, choose varieties that mature in under 75 days from transplant, such as Sweet Banana at about 65 days or Jalapeño M at about 70 days, and leave 90 to 100 day varieties like Habanero for the earliest sowing or a greenhouse. A variety that never ripens before the first fall frost is a wasted tray, whatever the packet promises.
Days to harvest are “about” figures from seed catalogs and vary with season and region. In cooler areas, choose short-season varieties and disease-resistant types, which Cornell University recommends for northern gardens. Smaller-fruited peppers tolerate both cool and hot weather better than large bells, so if your summers run short or very hot, lean toward banana, jalapeño, and cherry types.
Heat lives in the seeds and the whitish membrane inside the fruit, so removing both before cooking cuts the heat sharply. Wear gloves when you handle hot peppers, and wash your hands before touching your eyes. Even sweet peppers can carry enough capsaicin to irritate skin, a warning University of Minnesota Extension includes in its pepper guide.
Step 2: Sow the Seeds
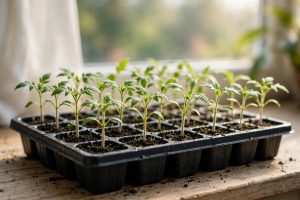
Moisten the seed-starting mix before you fill the cells. Pour it into a bucket, add water a little at a time, and mix until it feels like a wrung-out sponge: damp all through, not dripping. Dry peat and coir shed water at first, so this step saves you from seeds sitting in dry pockets. Fill each cell, tap the tray once to settle the mix, and level the top with your hand.
Sow two seeds per cell, a quarter inch deep. Push each seed in with a fingertip or a pencil tip, cover it lightly with mix, and press gently so the seed has good contact with the soil. Space seeds about an inch apart if you sow in an open flat instead of cells. Label every row or cell now, while the varieties are still obvious, because pepper seedlings all look alike for the first month.
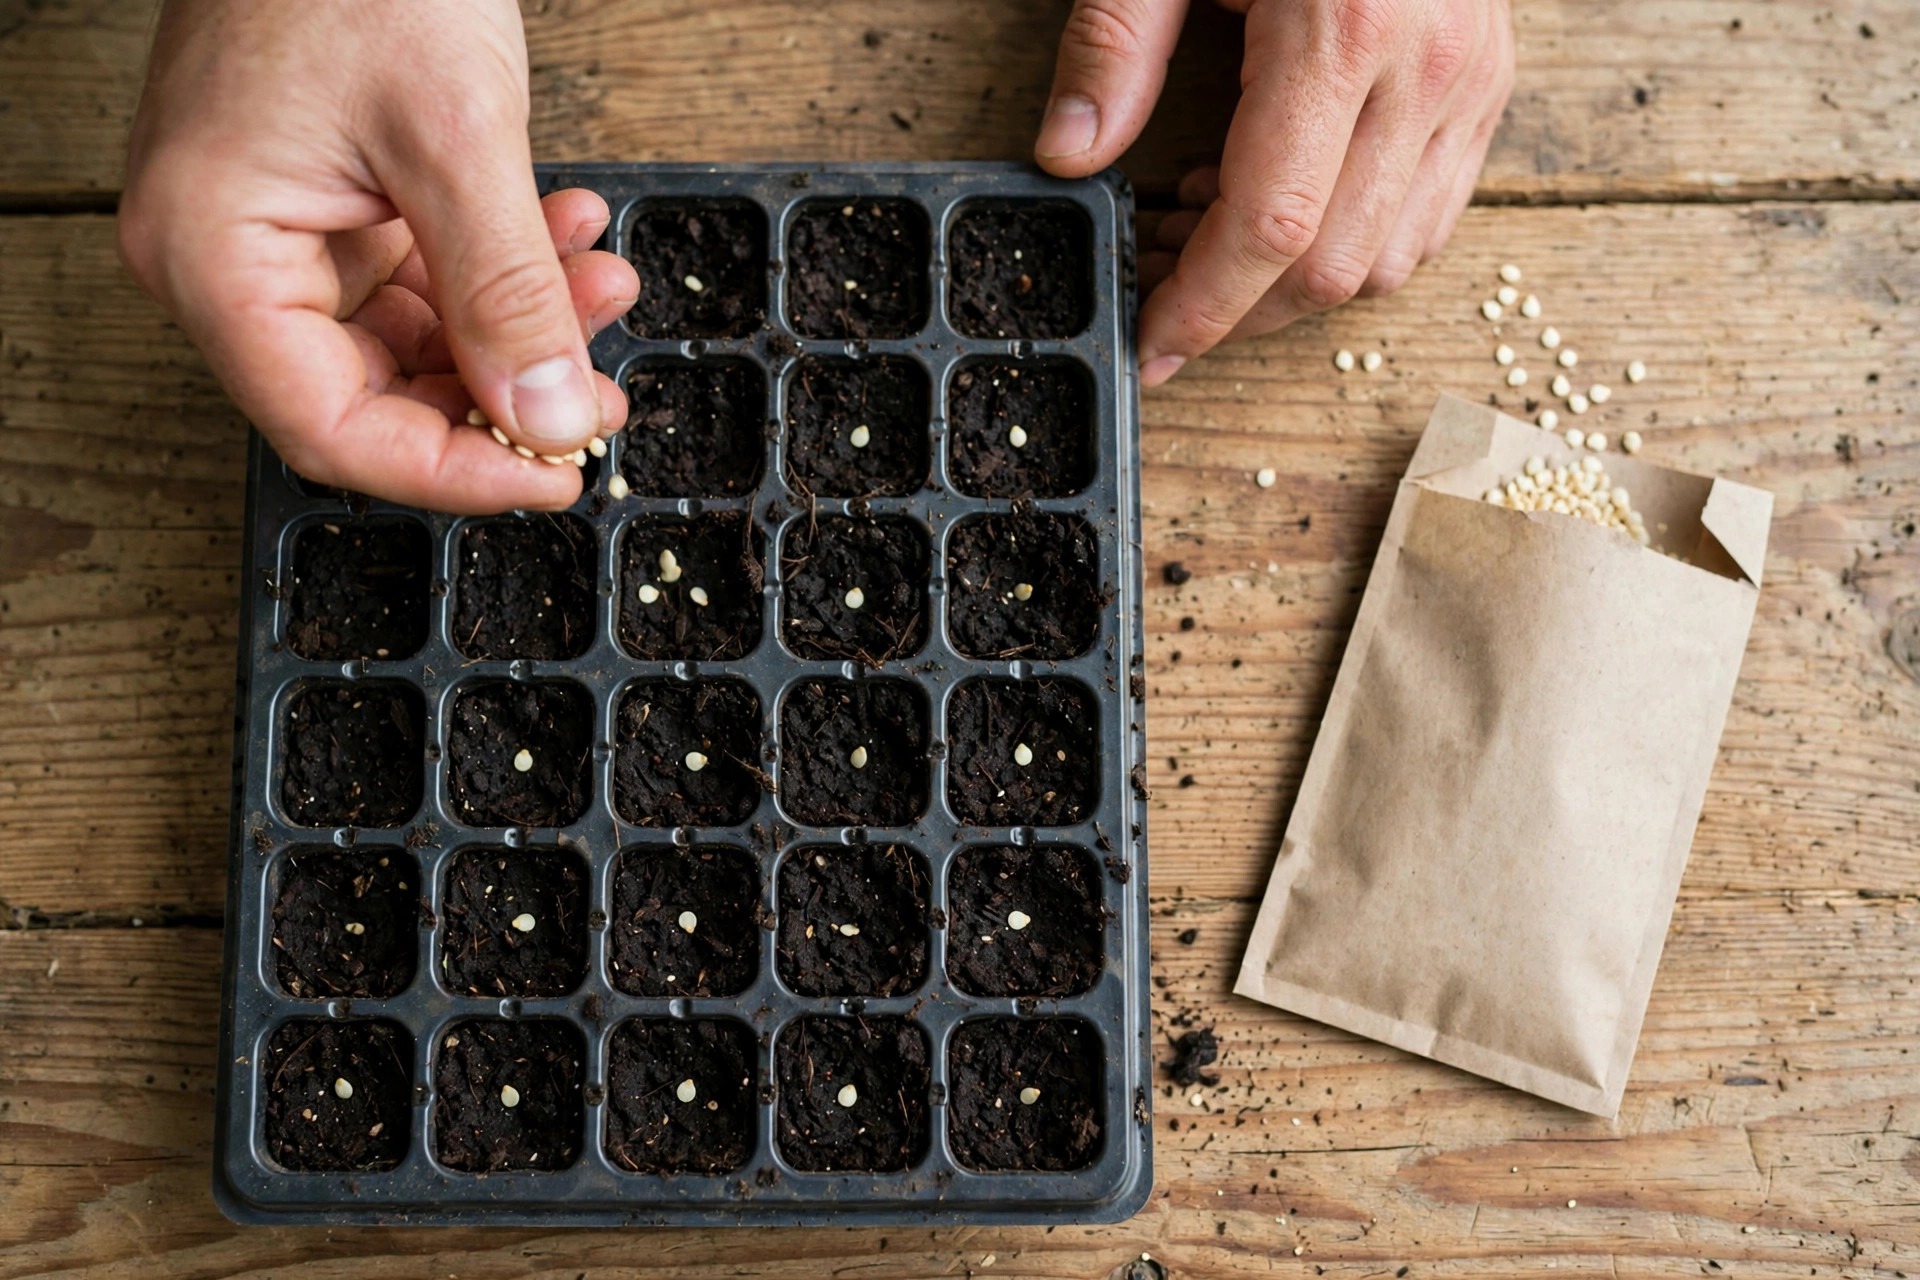
Cover the tray with its dome or a sheet of plastic wrap to hold humidity, and set it on the heat mat. Keep the tray out of direct sun while seeds are germinating, because a covered tray in sun can overheat fast. Check the mix daily and mist it lightly if the surface dries. Some gardeners soak pepper seeds in warm water for a few hours before sowing to soften the seed coat. It is optional, and this guide does not depend on it. What matters is steady warmth and steady moisture, not a pre-soak.
Step 3: Watch for Germination
Pepper seeds sprout in 7 to 14 days when the soil stays at 80 to 85 degrees. Cornell University gives 7 to 10 days at soil temperatures around 85 degrees, and slow hot varieties can take up to 21 days, so do not give up on a tray after one quiet week. The most common reason pepper seeds never sprout is cold soil. Cornell states plainly that pepper seed will not germinate below 55 degrees, and germination slows sharply below 70 degrees. If nothing has sprouted after two weeks, check the soil temperature first, before you blame the seed.
If your seed packet is more than a year old, test it first. Put ten seeds on a damp paper towel inside a plastic bag, keep it warm at about 80 degrees, and count how many sprout in two weeks. If fewer than seven sprout, sow two seeds per cell and thin later, or buy a fresh packet.
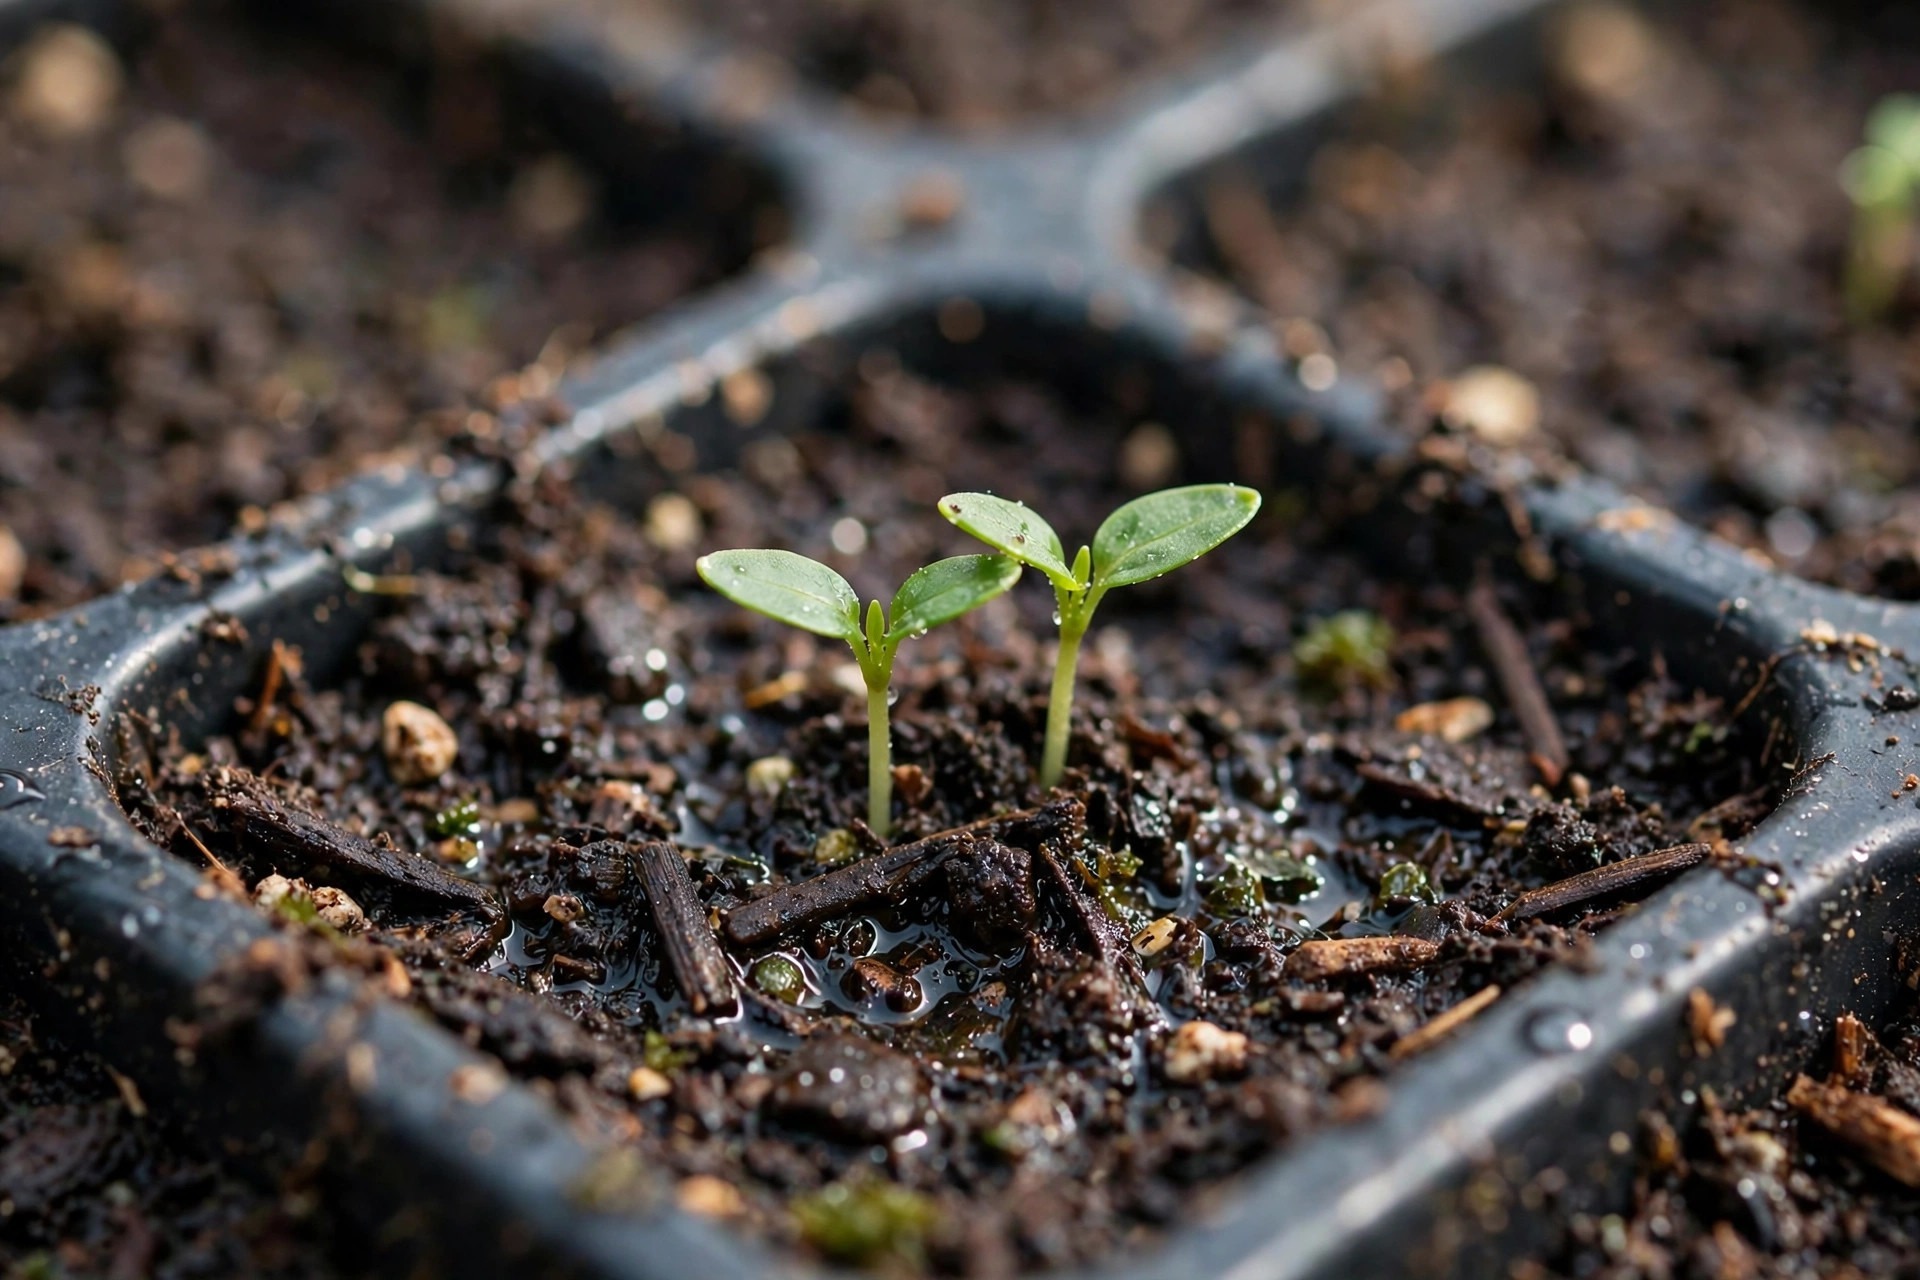
The moment you see green, take the dome off and move the tray under the light. Seedlings left under a cover in warm, still air are an open invitation to damping off, the fungal rot that collapses stems at the soil line. Good air movement from day one is part of germination care, not a later chore. Keep the mix evenly moist but never soggy, watering from below so the surface stays drier than the root zone.
Seeds stay viable for about two years when stored cool and dry, according to Cornell University, so last year’s packet is usually fine. If your seed is older than that, sow an extra seed per cell and thin later.
Step 4: Give Them Strong Light and Steady Water
Light is what keeps pepper seedlings short and sturdy instead of tall and floppy. The moment seedlings emerge, give them 14 to 16 hours of bright light a day, with the fixture 2 to 4 inches above the leaves. Raise the light as the plants grow, keeping that same small gap. A south-facing window may work for short-term seedlings, but University of Minnesota Extension notes that most plants need supplemental lighting, and a window in winter rarely delivers enough. Cornell University is blunt about it: lack of light will produce leggy, unproductive transplants.
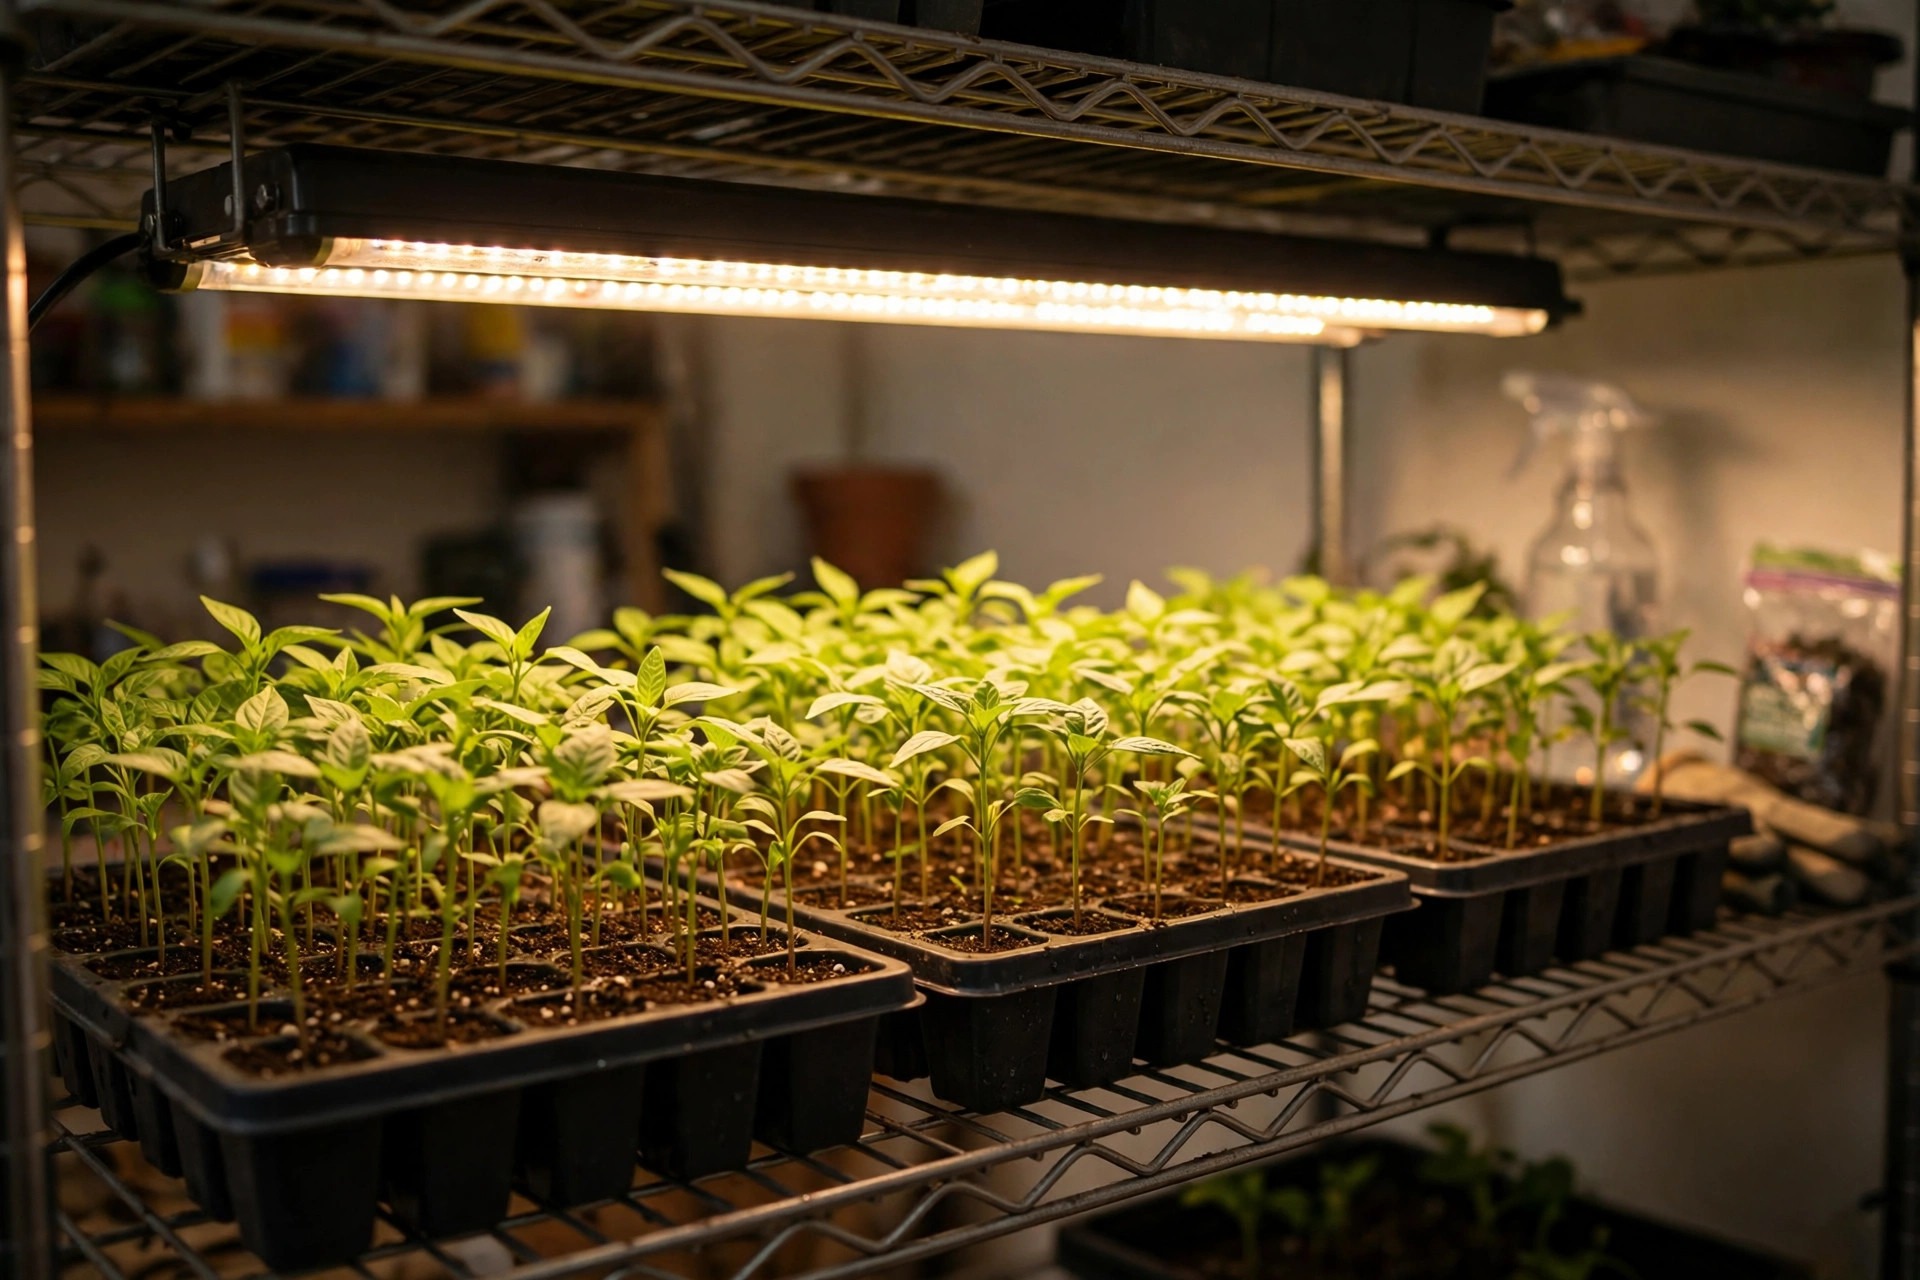
Run the lights on a timer so the day length never slips. Seedlings also need a dark night, so do not leave lights on around the clock. Keep the room warm during the day, about 70 degrees, and a little cooler at night, about 65 degrees, which is the indoor range Cornell University recommends for peppers.
Water from below whenever the mix surface starts to dry. Set the tray in a shallow dish of water for 10 to 15 minutes, let the mix soak it up, then drain the excess. Bottom watering keeps the stems dry and discourages damping off. If you water from above, use a gentle spray and water in the morning, so leaves dry during the day. Peppers like even moisture. A light sprinkling that only wets the surface encourages shallow roots, while deep, even watering builds the root system the plant needs later.
Step 5: Thin and Pot Up
When the first true leaves appear, thin to one seedling per cell. Keep the strongest plant and snip the other at soil level with small scissors, rather than pulling it out and disturbing the roots of the one you keep. University of Minnesota Extension advises thinning or transplanting seedlings after true leaves appear so that they stand 2 to 3 inches apart. Without enough bright light directly overhead, the stems of young plants elongate and lean, so this is also the moment to check your light height again.
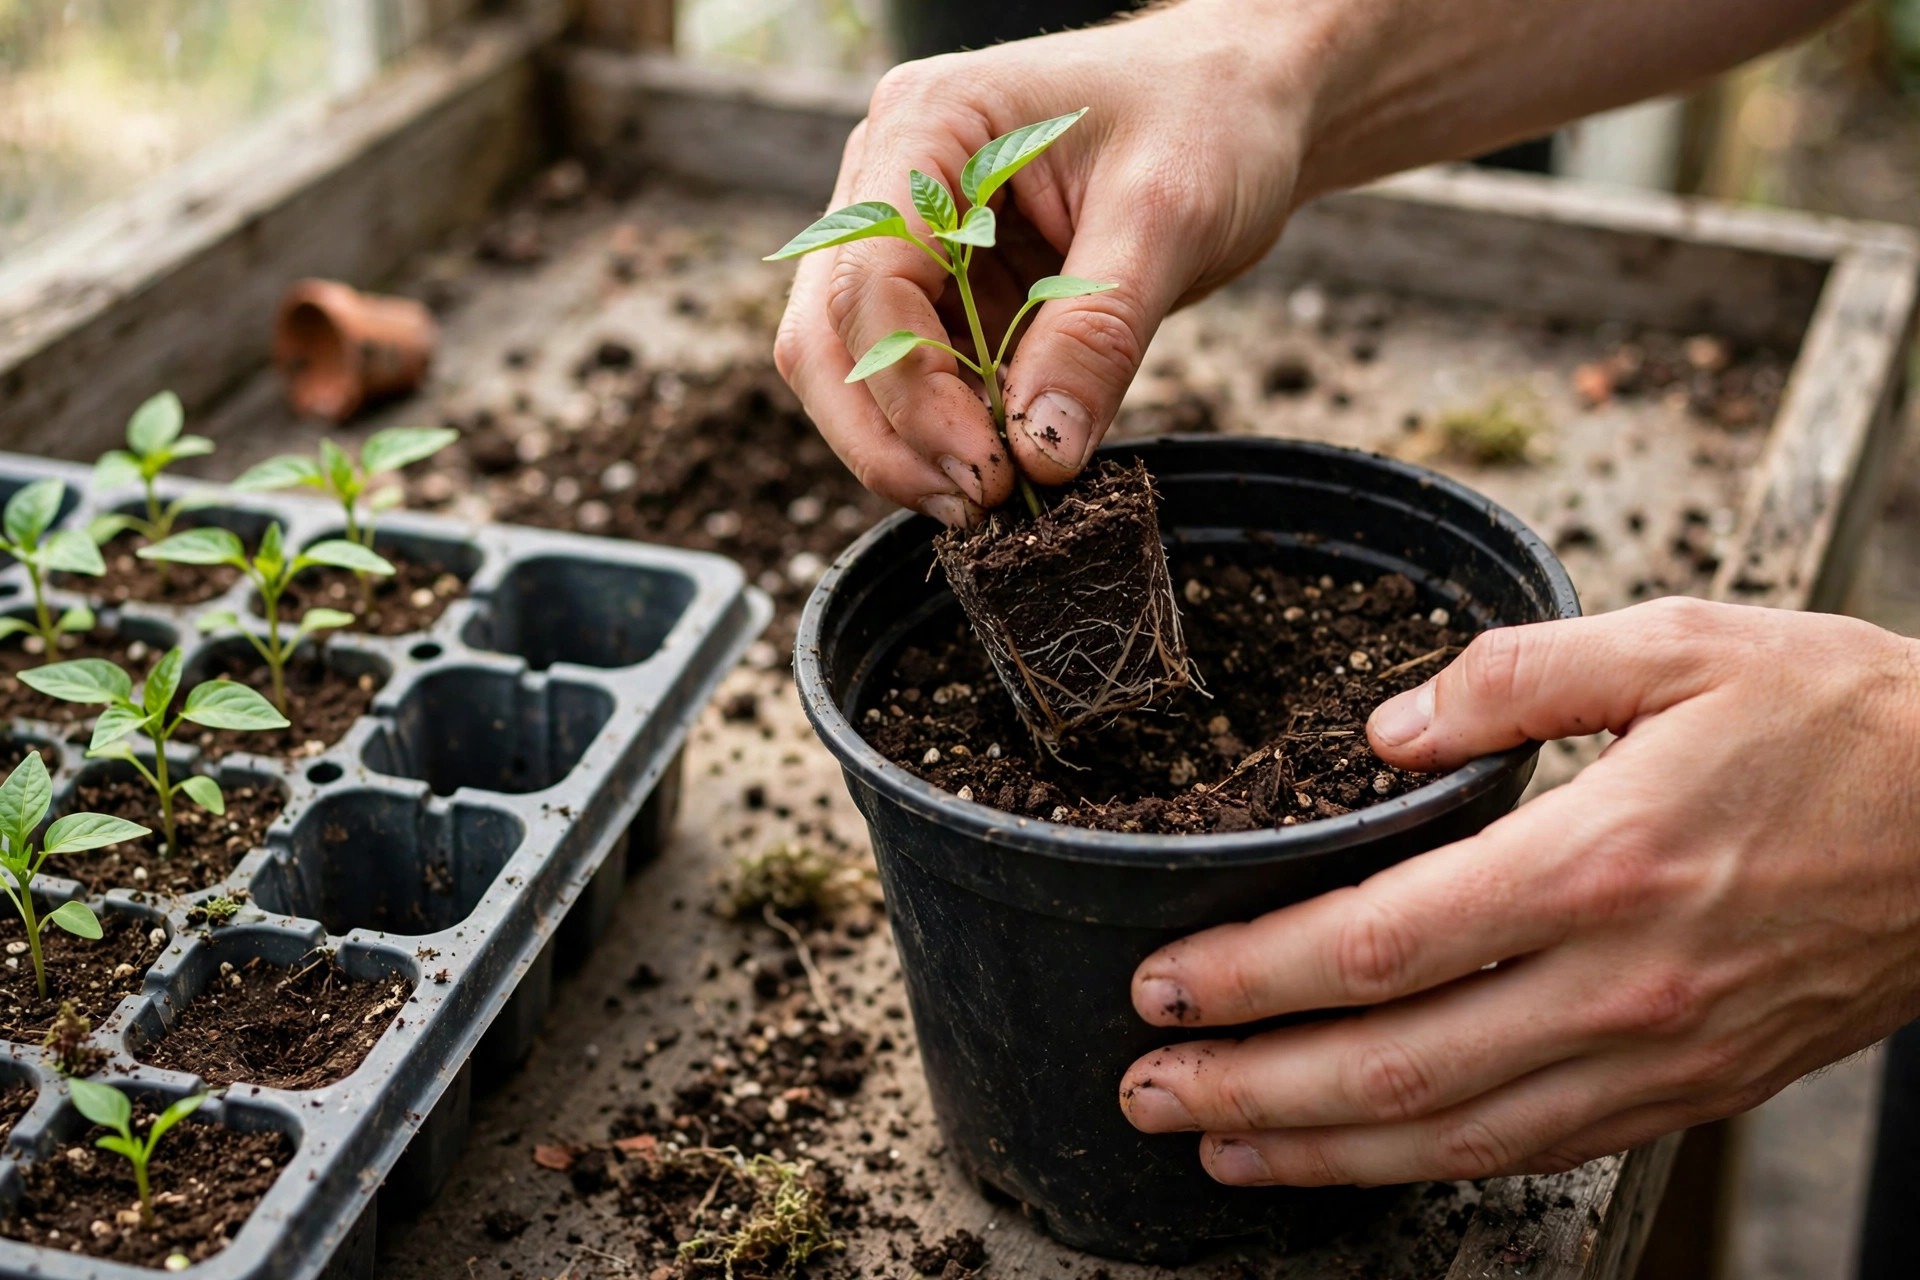
Pot up into 3 to 4 inch pots when roots start to show at the drainage holes, or when the seedling has two sets of true leaves. Fill the new pot with pre-moistened potting mix, make a hole with your finger, and lift the seedling out of its cell holding it by a leaf, never by the stem. A crushed pepper stem does not recover. Set the seedling at the same depth it grew before, firm the mix gently around the roots, and water it in from below. Peppers do not grow roots along a buried stem the way tomatoes do, so planting them deeper gains nothing and risks rot.
Give the potted seedlings a day or two in soft light after potting up, then return them to full light. They will look sulky for a day and then pick up again. If a seedling wilts badly after potting up, shade it for a day and keep the mix moist, but do not overwater to compensate.
Step 6: Feed Them Lightly
Peppers are light feeders as seedlings, and too much fertilizer does more harm than good. Once true leaves appear, feed at half strength with a balanced liquid fertilizer, about every two weeks. A full-strength feed on a small seedling can burn roots and push soft, leafy growth that falls over at the first gust outdoors. University of Minnesota Extension warns that too much nitrogen leads to plants that are bushy, leafy, and slow to bear fruit, and that applies indoors as much as in the garden.
Pinch off any flower buds that appear while plants are still indoors. Pepper plants may start to flower when they are 6 to 8 weeks old (their age since sowing), and University of Minnesota Extension advises pinching off the clusters of flower buds until just before you set the plants out. A seedling that sets fruit indoors spends its energy on one small pepper instead of on roots and leaves, and it transplants poorly.
Reduce watering slightly when plants are 4 to 5 inches tall and 6 to 8 weeks old, another University of Minnesota Extension tip. The goal is a stocky plant with a thick stem, closely spaced leaves, and a strong root ball, not the tallest plant on the shelf. If your seedlings are tall and pale, the fix is more light and less feed, not more of either alone.
Step 7: Harden Off and Transplant
Hardening off is the slow introduction to sun, wind, and cool nights, and skipping it is the fastest way to lose healthy seedlings. Start about 7 to 10 days before your transplant date. Put plants outside where they get wind protection and a couple of hours of sunlight, then bring them back in. Gradually expose them to more sun over the next week or two, bringing them indoors if night temperatures drop below 55 degrees, following University of Minnesota Extension.
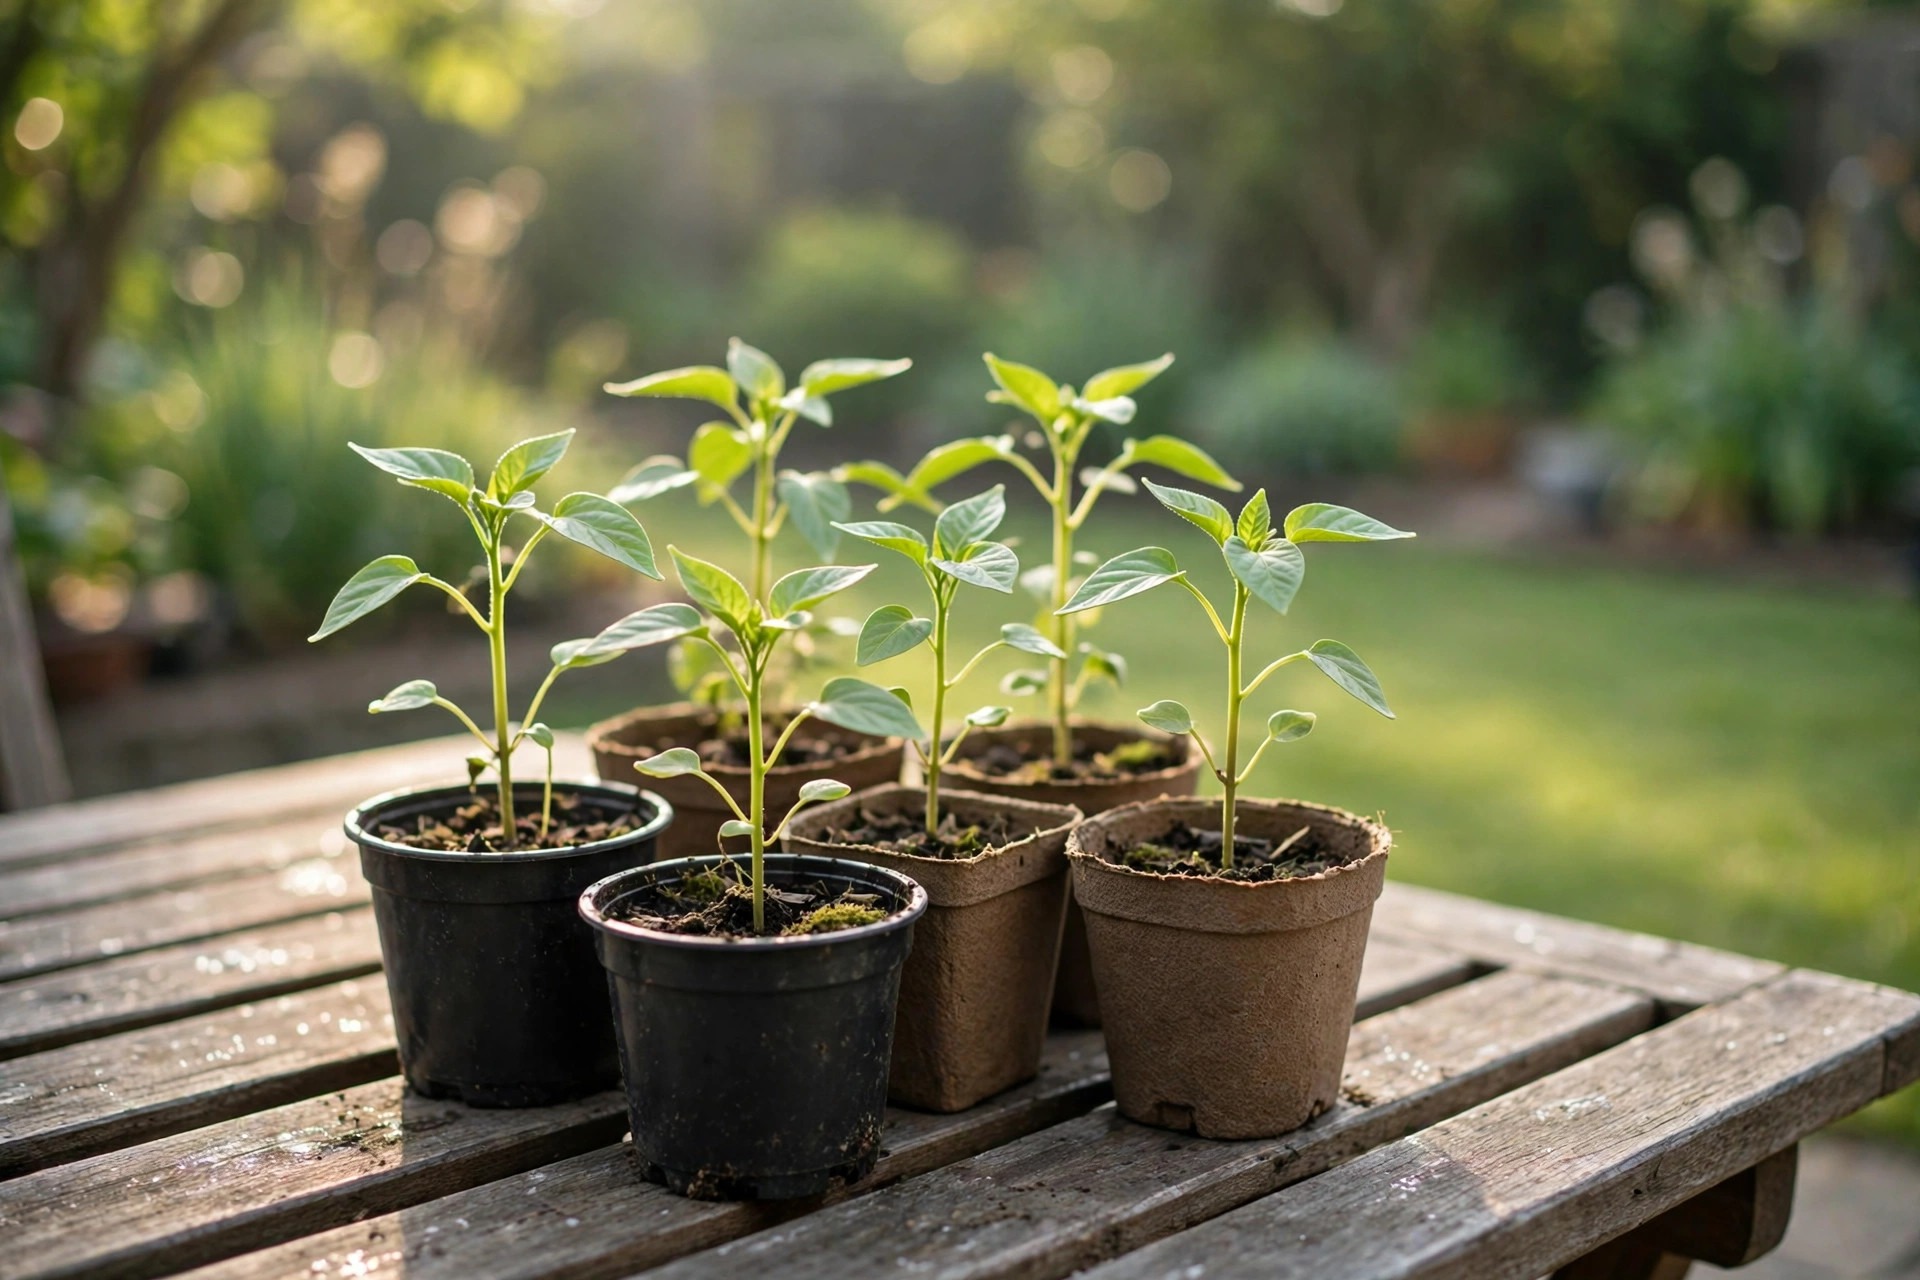
| Days | Where and how long | Notes |
|---|---|---|
| Days 1 to 2 | Shade or dappled light, 1 to 2 hours | Shelter from wind, bring in before evening |
| Days 3 to 4 | Dappled sun, 3 to 4 hours | Morning sun only, watch for wilting |
| Days 5 to 6 | Morning sun, 5 to 6 hours | Leave out longer, still bring in at night |
| Day 7 | Full sun most of the day | Stay out overnight only if nights stay above 50 degrees |
| Days 8 to 10 | Out all day and night, weather permitting | Ready to transplant if they show no stress after a full day outside |
Transplant after the danger of frost has passed, when night temperatures stay above 50 degrees. Cornell University advises setting plants out 2 to 3 weeks after your average last frost, when the soil has warmed and the weather has settled, and warns not to rush: cold temperatures can weaken plants and they may never fully recover. Wait until the soil has warmed to about 65 degrees, measured with your soil thermometer, and transplant in the late afternoon or on a cloudy, calm day so the sun does not stress the plants.
Water the plants well before transplanting. Space pepper plants 18 inches apart, in rows 30 to 36 inches apart, following University of Minnesota Extension. Set each seedling out so its shoots sit at the soil line, exactly as they were in the pot. With a hand shovel, make a hole large enough for the root ball, firm the soil around the roots, and water the transplant in. If you use peat pots, do not leave the top edge above the soil surface, or the pot acts like a wick and dries the root ball out.
Do not plant peppers where tomatoes, potatoes, peppers, eggplants, or tomatillos grew in the past three or four years, because the same soil diseases attack the whole family. Before planting, have your soil tested and aim for pH between 6.5 and 7.0, the range University of Minnesota Extension recommends, while Clemson Extension gives 6.0 to 6.5 for southern soils. A soil test settles the number for your garden. Black plastic mulch warms the soil, cuts weeds, and holds moisture, and it is worth using in cool climates. Once plants are established and the soil is warm, you can mulch with straw instead.
Common Pepper Seedling Problems
Most pepper seedling trouble comes from cold, weak light, or wet feet. The table below covers the problems you will actually meet indoors, with the fix for each one.
| Problem | What you see | Likely cause | The fix |
|---|---|---|---|
| No germination | Nothing sprouts after 14 days | Soil too cold, below 55 degrees seed will not germinate | Heat mat at 80 to 85 degrees, wait up to 21 days, sow fresh seed if the packet is over 2 years old |
| Leggy seedlings | Tall, pale stems that lean and flop | Not enough light | Fixture 2 to 4 inches above the leaves, 14 to 16 hours a day, raise the light as plants grow |
| Damping off | Stem pinches dark at the soil line, seedling falls over | Fungi in wet, cool, crowded mix | Discard affected seedlings, use clean trays and fresh soilless mix, bottom heat at 70 to 75 degrees, give air flow |
| Yellow leaves | Lower leaves turn yellow and drop | Overwatering, or cold roots | Let the mix dry slightly between waterings, keep the room warm, feed at half strength only |
| Flower buds indoors | Small buds form when seedlings are 6 to 8 weeks old (age since sowing) | Plant is old enough to flower before transplanting | Pinch buds off until just before setting plants out |
| Wilting after transplant | Leaves droop and stems go limp outdoors | Transplant shock, or soil still too cold | Harden off for a full 7 to 10 days, wait for soil near 65 degrees, water well before and after planting |
Damping off deserves a closer look, because it is the one problem with no rescue. Penn State Extension explains that damping off is the rotting of seeds and young seedlings by soil fungi, mainly Pythium, Fusarium, and Rhizoctonia. It is favored by excessive moisture, soil below 68 degrees before germination, and overcrowded flats.
The control is all prevention: start in pasteurized soil or a soilless mix, use only sterile flats or pots, supply bottom heat so the soil stays at 70 to 75 degrees, and keep moisture even. Once a seedling has fallen over with a pinched dark stem, it will not recover, so pull it out, improve the air and drainage, and start a fresh batch if the tray is badly hit.
Blossom end rot shows up later, on the fruit, not the seedling, but its cause starts with watering habits you build now. Cornell University notes that even moisture can reduce blossom end rot, a disorder caused by lack of calcium reaching the fruit. Clemson Extension adds that it is not always a calcium shortage in the soil: calcium moves poorly inside the plant, so interrupted watering stops it reaching the fruit even when the soil holds plenty. Keep the soil uniformly moist once plants are in the garden, and the habit you build indoors, watering deeply and evenly, pays off all season.
Final Thoughts
Learning how to grow peppers from seed rewards patience more than effort. The seeds ask for warmth, the seedlings ask for strong light, and the plants ask for a slow move outdoors. Give them those three things and a packet of seed turns into a summer of peppers you chose yourself, from sweet bells for stuffing to jalapeños for salsa and habaneros for cooks who like real heat.
Start with three varieties, keep the soil warm until they sprout, and do not rush the move outside. A pepper seedling set out into cold soil sulks for weeks, while one set out a week later into warm soil takes off and passes it. That one week of patience is the difference between a plant that fruits all summer and a plant that never catches up. Sow on time, keep the light close, harden them off properly, and your peppers will do the rest.
If you are new to starting seeds indoors, our seed starting guide covers the setup you will use for peppers too.
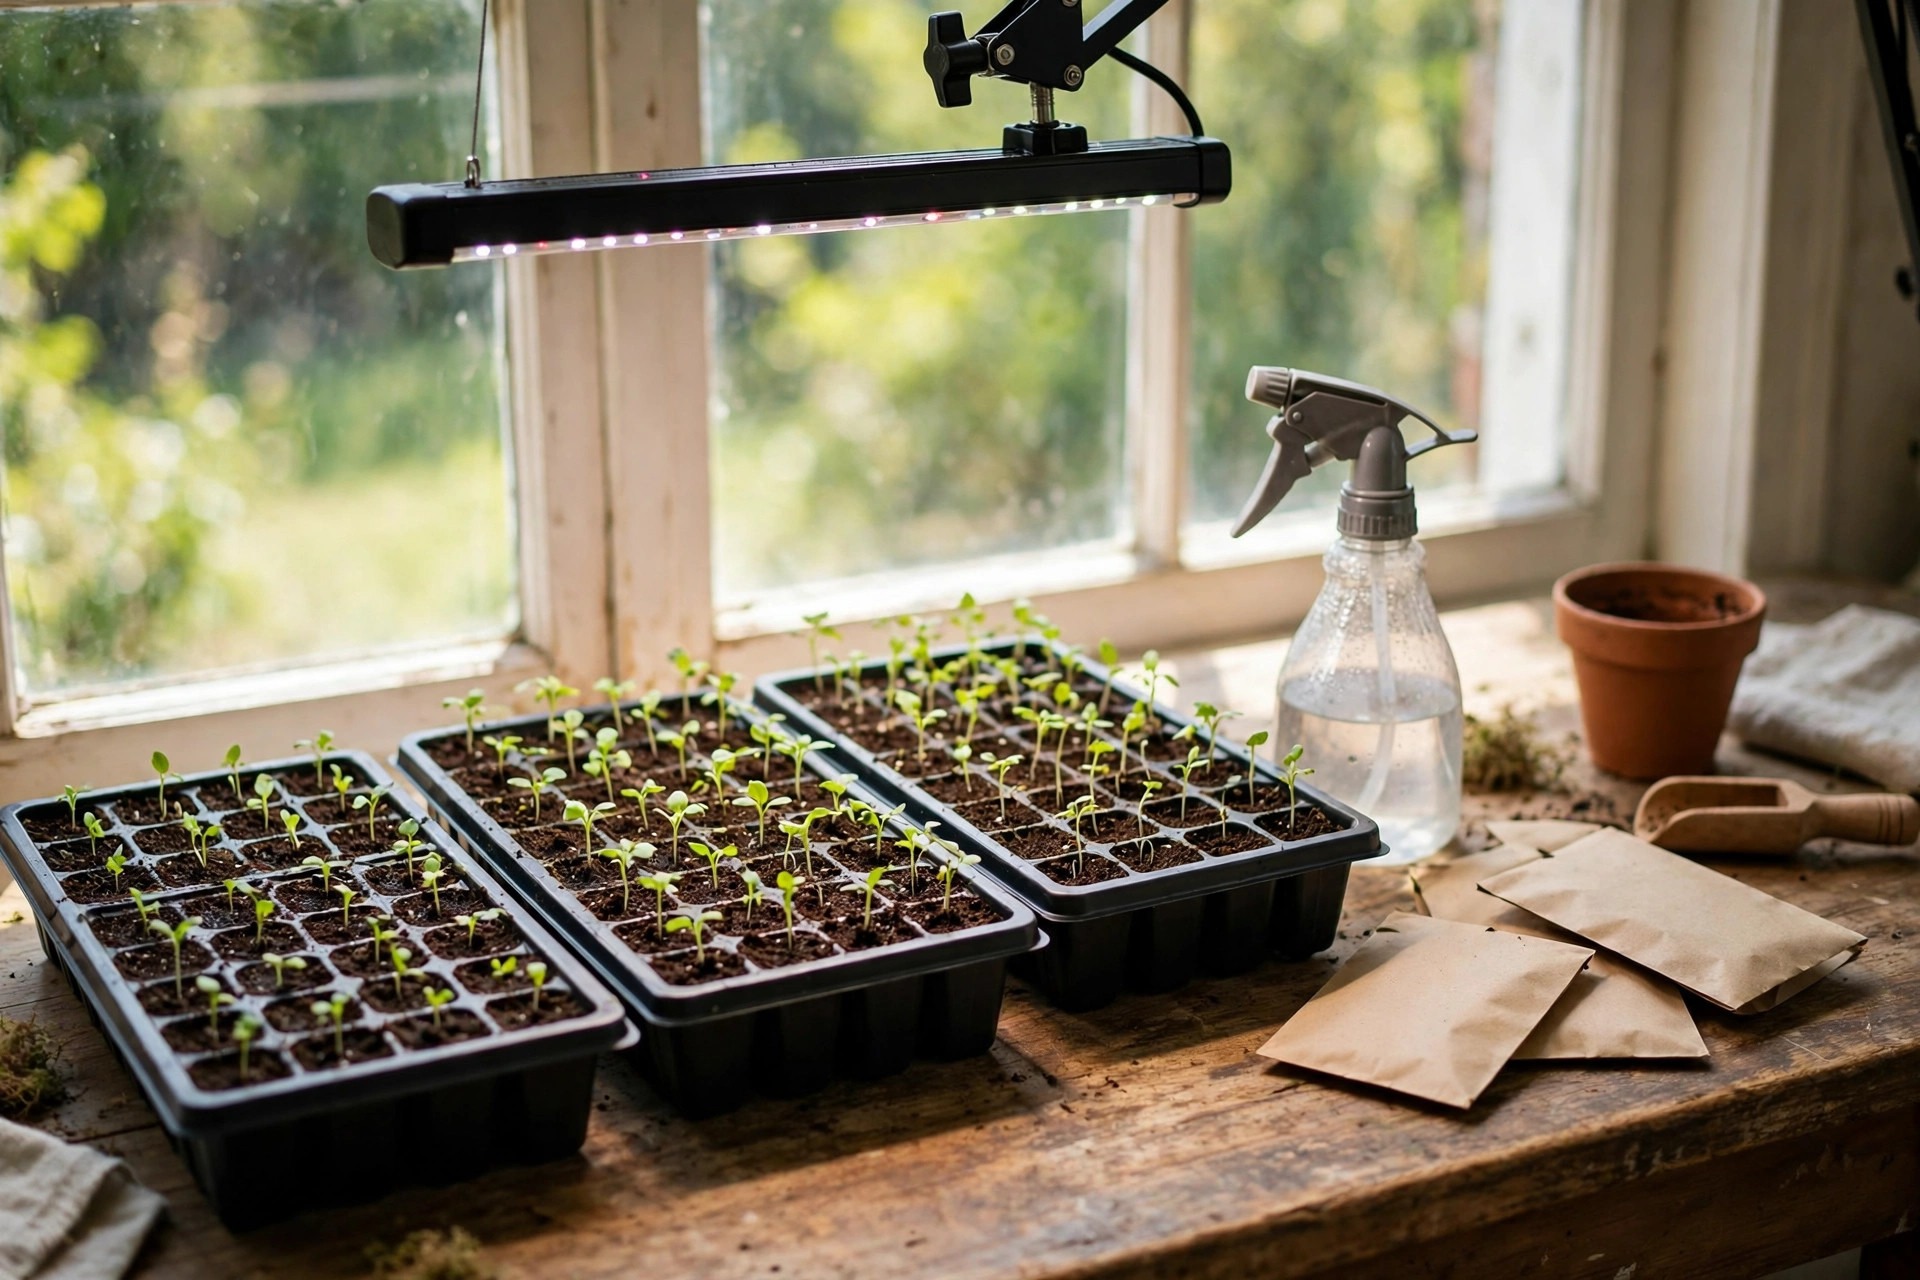
Timing matters most for peppers, so check the zone timing guide before you sow.
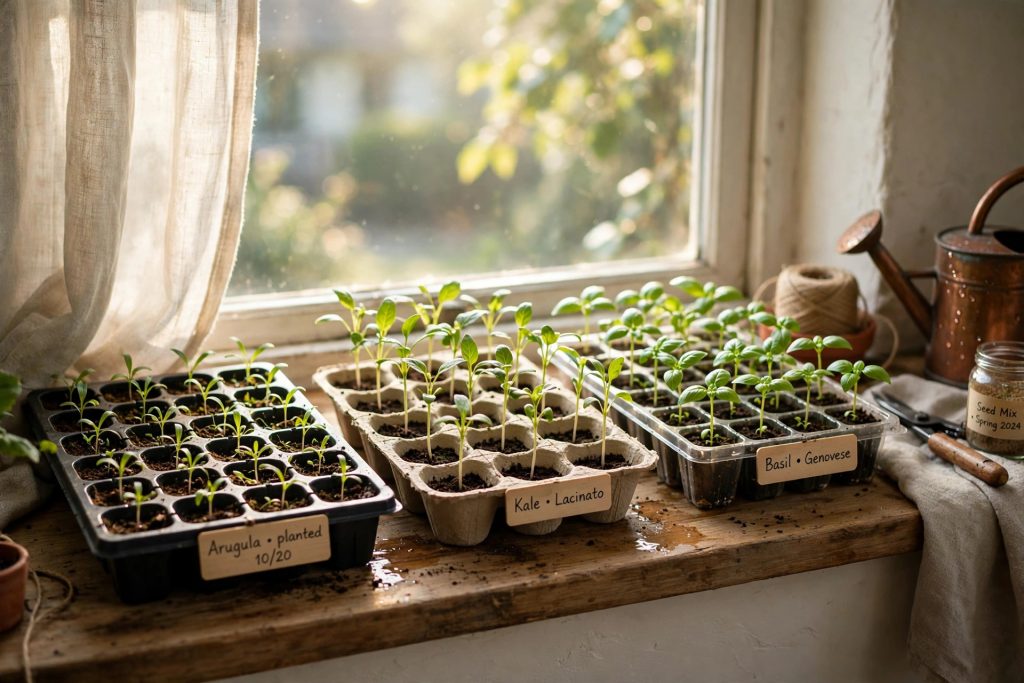
The hardening off routine in Step 7 follows our full hardening off guide.
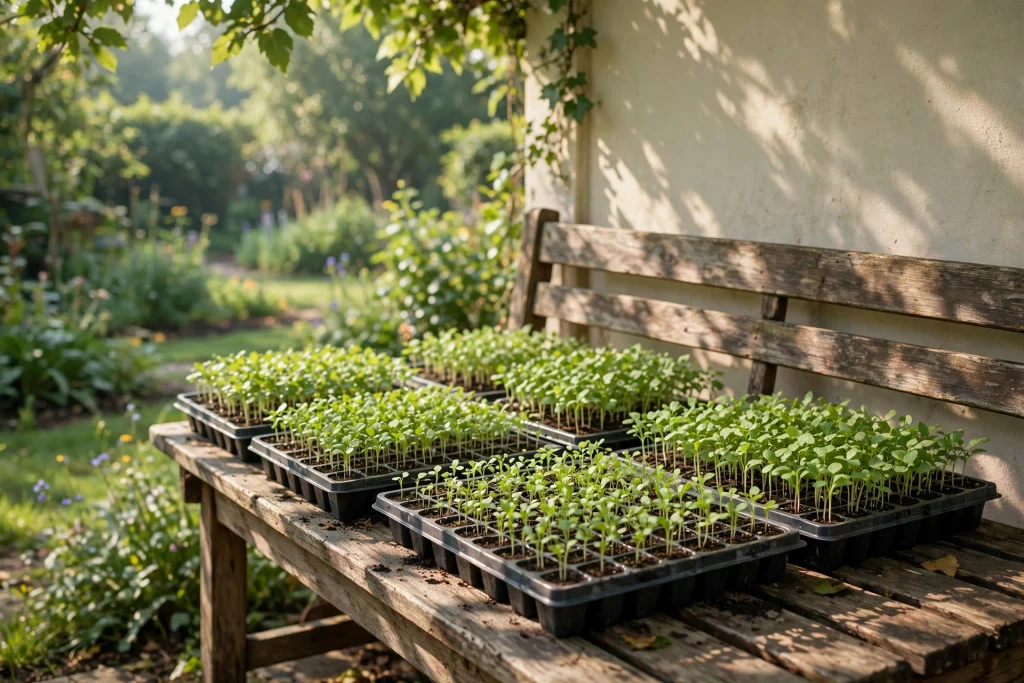
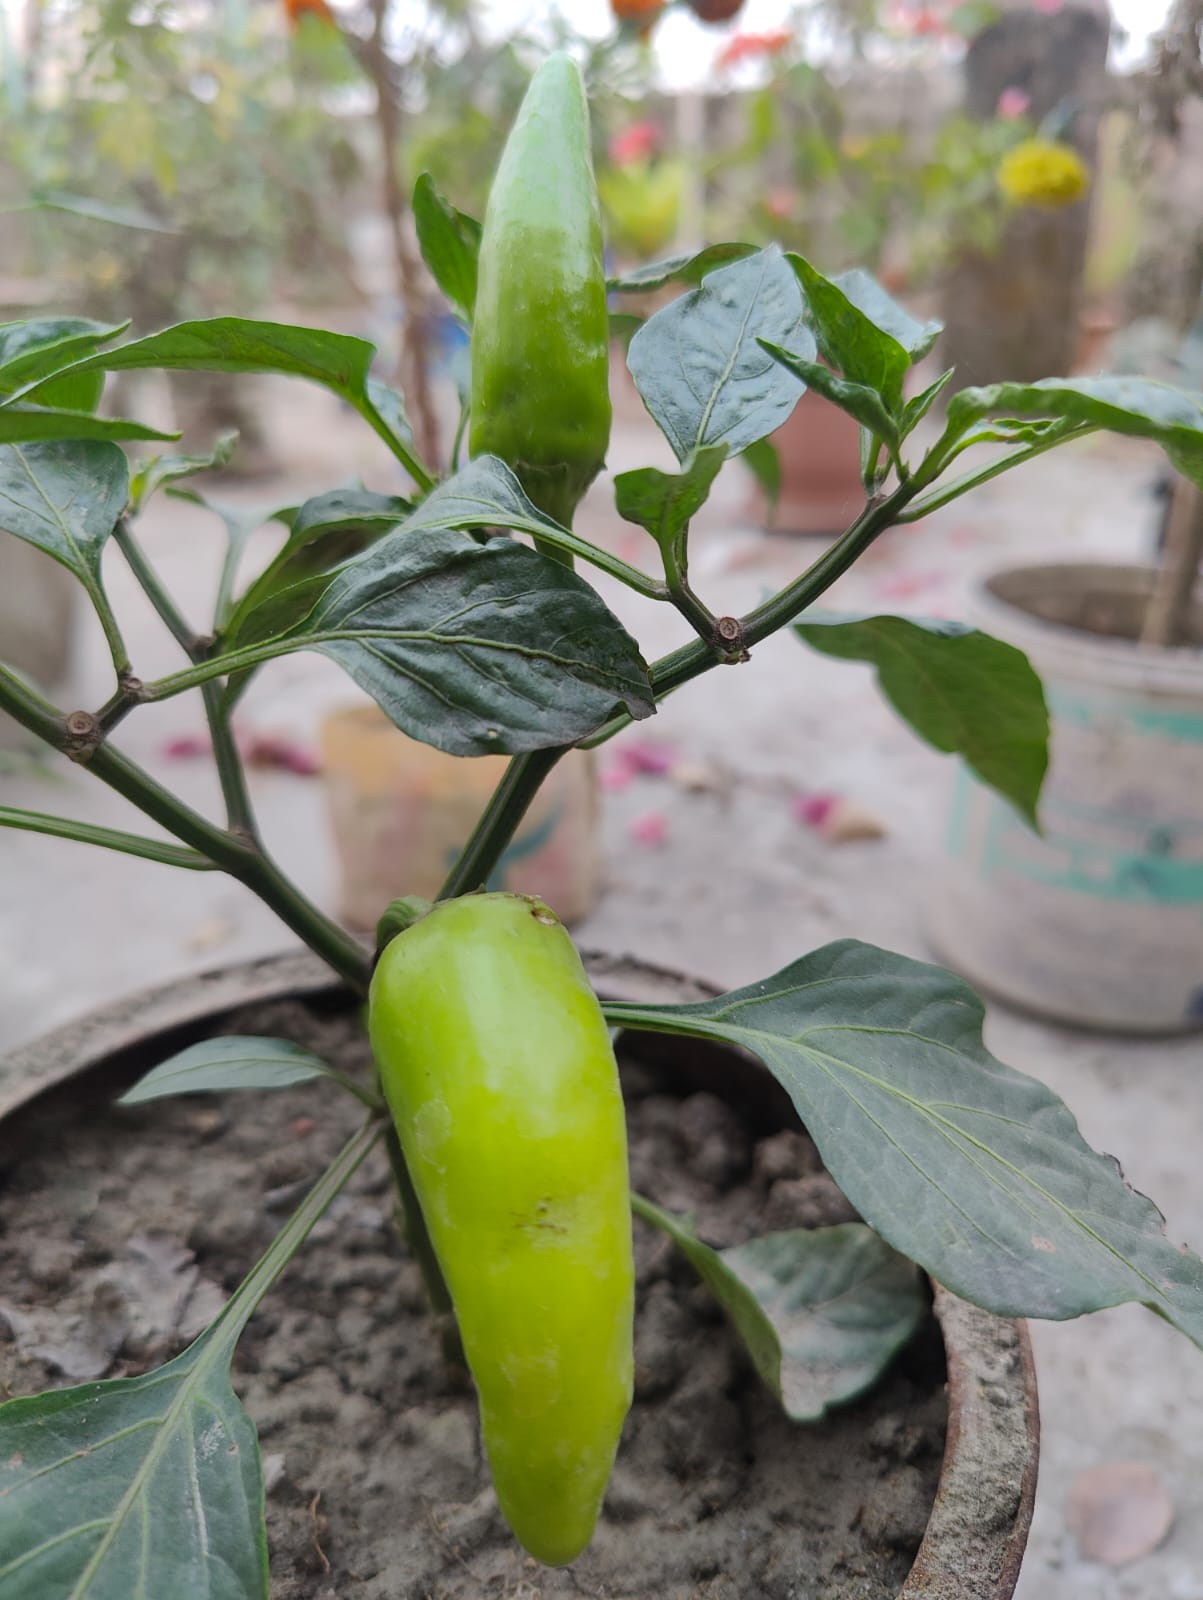
Peppers and chillies share the same seed starting routine, with heat as the main difference.
References
- University of Minnesota Extension. Growing peppers in home gardens. — Supports sowing a quarter inch deep, heat mat at 80 to 90 degrees until emergence, thinning after true leaves, pinching flower buds, hardening off over a week or two, transplanting after night lows above 50 degrees, and spacing 18 inches apart.
- Cornell University, Home Gardening Vegetable Growing Guides. Peppers. — Supports germination at 70 to 95 degrees, no germination below 55 degrees, 7 to 10 days to emergence at about 85 degrees, sowing 8 to 10 weeks before transplanting, and setting out 2 to 3 weeks after average last frost.
- Clemson University Cooperative Extension, Home and Garden Information Center. Pepper. — Supports starting seed indoors 6 to 8 weeks before the last frost, spacing 12 inches apart, soil pH 6.0 to 6.5, harvest 70 to 85 days after transplanting and 100 to 120 days from seed, and jalapeño heat at 2,500 to 8,000 Scoville units. Clemson writes for South Carolina gardeners, and its 6 to 8 week figure is the warm-climate end of the range.
- Penn State Extension. Damping Off. — Supports damping-off prevention with clean trays, soilless mix, and bottom heat of 70 to 75 degrees, and the conditions that favor it: excess moisture, soil below 68 degrees before germination, and overcrowding.
- University of Minnesota Extension. How and when to start your seeds. — Supports peppers as a long-season, heat-loving early start, strong supplemental light to prevent leggy seedlings, and removing covers once seedlings appear.
Frequently Asked Questions
When should I start pepper seeds indoors?
Timing is the first lesson when you learn how to grow peppers from seed: start seeds indoors 8 to 10 weeks before your average last frost date. Hot peppers germinate more slowly than sweet bells, so sow them at the early end of the window. In a short northern season, University of Minnesota Extension starts peppers about eight weeks before planting outside, earlier than tomatoes.
How long do pepper seeds take to germinate?
Pepper seeds sprout in 7 to 14 days when the soil stays at 80 to 85 degrees. Cornell University gives 7 to 10 days at soil temperatures around 85 degrees. Slow hot varieties can take up to 21 days. If nothing sprouts after two weeks, check the soil temperature first, because pepper seed will not germinate below 55 degrees.
Do pepper seeds need light to germinate?
No. Pepper seeds germinate in darkness, covered by a quarter inch of mix, and light only matters once seedlings emerge. The moment green shows, give 14 to 16 hours of bright light a day with the fixture 2 to 4 inches above the leaves, or the seedlings will stretch tall and weak.
Why are my pepper seedlings leggy?
Leggy seedlings almost always mean weak light. Cornell University states that lack of light produces leggy, unproductive transplants. Move the fixture to 2 to 4 inches above the leaves, run it 14 to 16 hours a day on a timer, and raise it as the plants grow. A windowsill alone rarely gives enough light in winter.
Can I grow peppers from seeds saved from a store-bought pepper?
You can, and they will often sprout, but the plants may not match the pepper you ate. Most grocery peppers are hybrids, so saved seed grows into something unpredictable, and it may fruit late or not at all. For reliable results, buy a named variety from a seed catalog and check its days to maturity against your season length.
When can I transplant pepper seedlings outside?
Transplant after the danger of frost has passed, when night temperatures stay above 50 degrees and the soil has warmed to about 65 degrees. Cornell University advises setting plants out 2 to 3 weeks after your average last frost, when the soil has warmed and the weather has settled. Always harden seedlings off for 7 to 10 days first, and set them at the same depth they grew in their pots.

Thesis Link : https://saulibrary.edu.bd/daatj/public/uploads/BAU200601_19-Pp_5.pdf
- How to Grow Peppers from Seed: A Step by Step Guide for Beginners - November 7, 2026
- Best Liquid Fertilizers for Fast Growth: 10 Picks That Feed Fast - November 6, 2026
- How to Grow Tomatoes from Seed: A Step by Step Guide for Beginners - November 6, 2026