Grow Ginger at Home: Simple Guide for Fresh Roots
Let’s be honest there’s something oddly satisfying about growing your own spices. And ginger? That’s the golden root that’s not only good for your curry but also great for your health, home garden, and even your mood. Growing ginger at home isn’t rocket science. In fact, it’s one of those “set it and mostly forget it” kinds of gardening projects. With a bit of care and a cozy spot, ginger will reward you with fresh, zesty flavor straight from the soil.Learn how to grow ginger at home with step by step care tips, real life advice, and expert solutions for pests, soil, and harvesting naturally and simply.
I’ll walk you through every step. No fluff. No textbook language. Just real talk and solid tips backed by both experience and reliable sources.
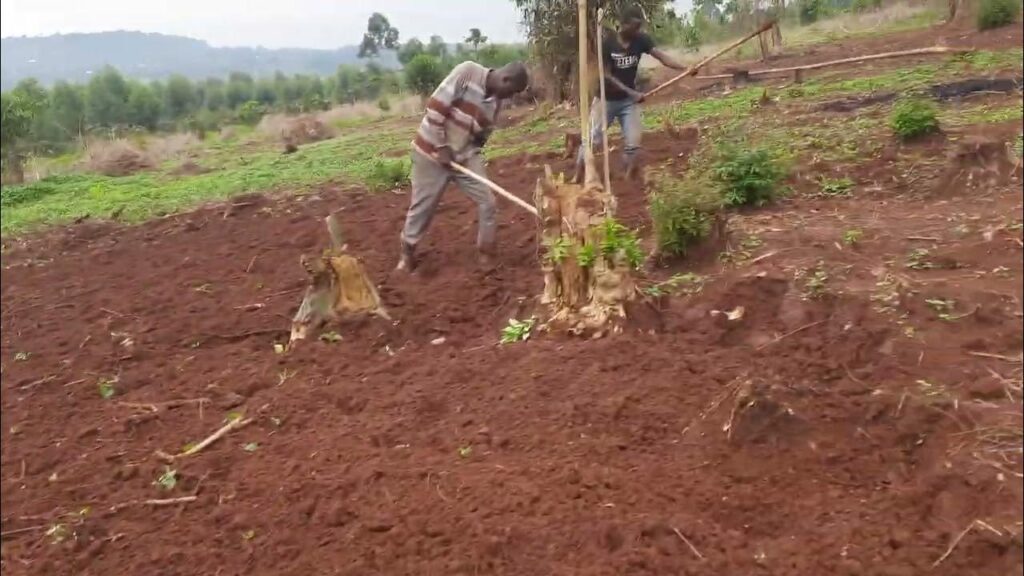
Step 1: Grow Ginger at Home: Soil Prep – Ginger’s Foundation for Growth
Ginger doesn’t ask for much, but good soil is non negotiable.
Research Backed Soil Requirements
Ginger is a tropical perennial (Zingiber officinale) that thrives in loamy, well drained soil with high organic matter. According to the University of Florida Extension, the ideal pH for ginger is between 5.5 and 6.5. This slightly acidic environment helps nutrient uptake, especially phosphorus and potassium, which are crucial for rhizome development.
Clay soil? That’s a problem. Too much clay holds water, and ginger hates wet feet. You’ll want a texture that drains well but doesn’t dry out too quickly think the texture of chocolate cake after a few crumbs fall off.
Real Life Insight: Grandma’s Garden Trick
My grandmother used to mix equal parts of compost, river sand, and old leaf litter from our backyard. She never used fancy pH kits. Just crushed a bit of soil in her hand if it clumped but crumbled quickly, it was good to go. I still use her mix today.
What to Do:
- Choose a spot with partial shade. Ginger likes light but not blazing sun.
- Add compost or well aged manure to enrich the soil.
- If you’re using a pot, make sure it has plenty of drainage holes.
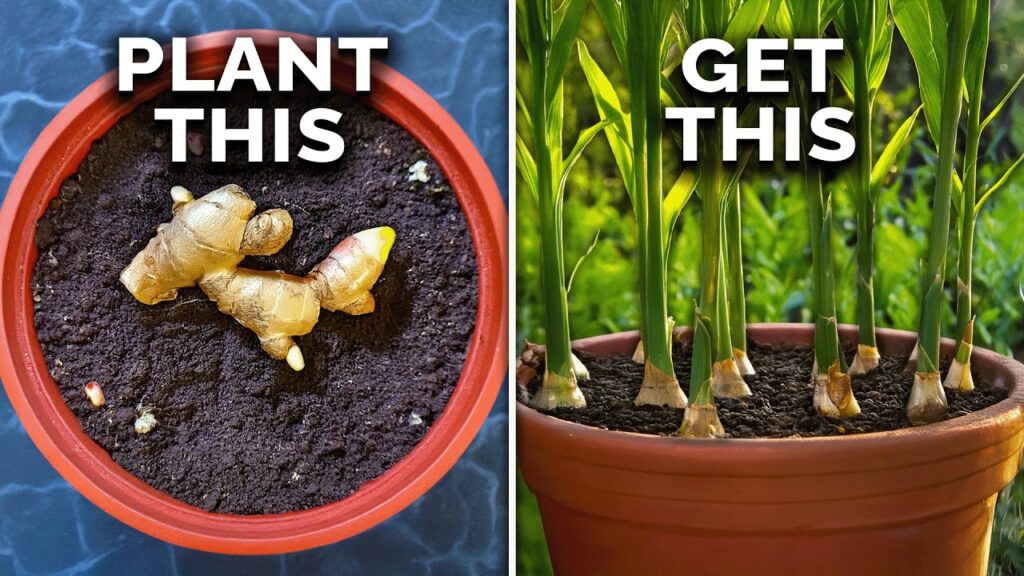
Step 2: Grow Ginger at Home: Picking & Preparing Your Ginger Root
You don’t need special seed stock grocery store ginger often works fine.
Research on Ginger Propagation
Ginger is propagated by rhizomes, not seeds. According to a study published in Scientia Horticulturae (2021), fresh rhizomes with visible buds or “eyes” are the most viable. Dormant or overly dried pieces may delay sprouting or fail to grow.
Buying Tips:
- Look for firm, plump rhizomes with visible nodes (eyes).
- Avoid wrinkled or moldy ginger.
- Organic ginger is preferable some conventional roots are treated with growth inhibitors.
Cutting & Curing
Cut the rhizomes into 1.5–2 inch pieces, each with at least one bud. Let them air dry for 1–2 days before planting to form a callus. This reduces the risk of rot.
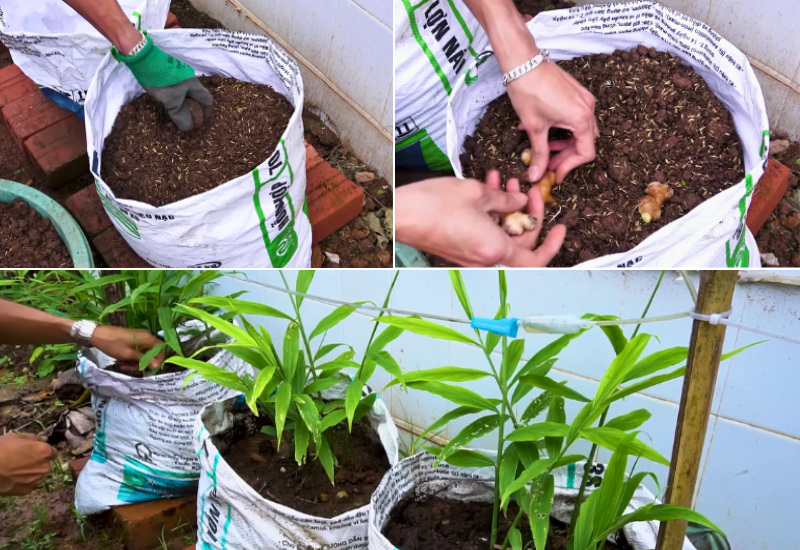
Step 3: Grow Ginger at Home: Planting – How to Put Ginger in the Ground
Once your ginger is ready, it’s planting time no green thumb required.
Research Based Planting Guidelines
The Indian Institute of Spices Research (IISR) recommends planting ginger rhizomes at a depth of 2–4 cm with buds facing upward. Spacing should be 25–30 cm apart to allow rhizomes room to expand.
Indoor vs. Outdoor Planting
- Indoor planting: Use 12–14 inch deep pots; keep near a bright window .
- Outdoor planting: Choose a partially shaded area. Avoid low lying spots where water collects.
Practical Example:
I once planted a bunch of ginger pieces in an old laundry basket with holes drilled into the bottom. I lined it with jute and filled it with soil mix. Worked like a charm and better air flow kept the rot away.
Step 4: Grow Ginger at Home: Watering & Daily Care – Ginger’s Spa Routine
Moist but not soggy ginger likes its “feet” damp and warm.
Watering Tips from Experts
According to the Food and Agriculture Organization (FAO), ginger needs moderate but consistent moisture, especially during the first 2–3 months of vegetative growth. Overwatering is the leading cause of failure.
- During sprouting: Water lightly every 2–3 days.
- Once shoots appear: Increase to watering every other day adjust if it’s rainy/humid.
- Reduce water near harvest time to concentrate flavors in rhizomes.
Feeding Your Plant
Ginger is a heavy feeder. The IISR suggests using compost, cow dung slurry, or bone meal every 4 weeks during the growing season. You can also use liquid compost tea for gentle feeding.
DIY Fertilizer Blend:
- 1 cup compost
- 1 tsp molasses
- 1 liter water
- Shake and steep overnight. Strain and use as a root drench every 3 weeks.
Step 5: Grow Ginger at Home: Dealing with Pests & Diseases
Like any plant, ginger has a few enemies. But most can be managed naturally.
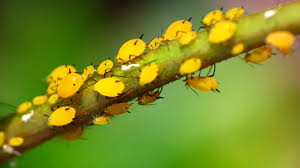
Common Pests:
- Aphids – Small green bugs that suck sap.
- Solution: Spray with neem oil or soapy water.
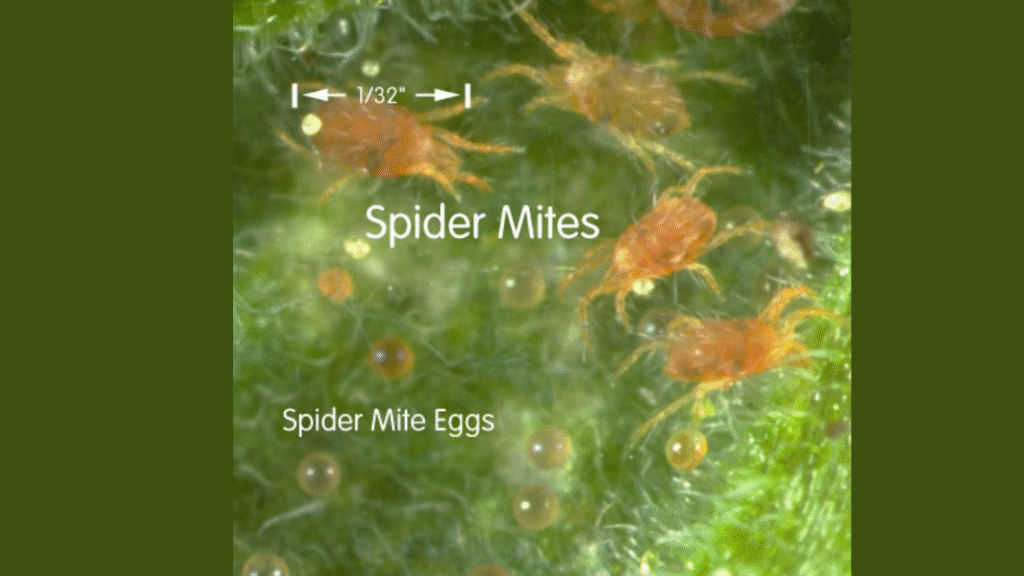
2. Spider mites – Thrive in dry air.
- Solution: Increase humidity; mist leaves regularly.
3. Shoot borers – Burrow into stems.
- Solution: Use Spinosad or Chlorpyrifos in moderation.

Common Diseases:
- Rhizome rot: Caused by Pythium and Fusarium fungi. Avoid overwatering.
- Bacterial wilt: Sudden leaf wilt. No cure—remove and destroy infected plants.
Research Based Solutions:
The Journal of Plant Pathology (2019) recommends Trichoderma harzianum as a biological control agent to reduce root rot and promote healthy soil microbiome.
Step 6: Patience & Progress – Watching Ginger Grow
You won’t see results overnight. Ginger takes its sweet time.
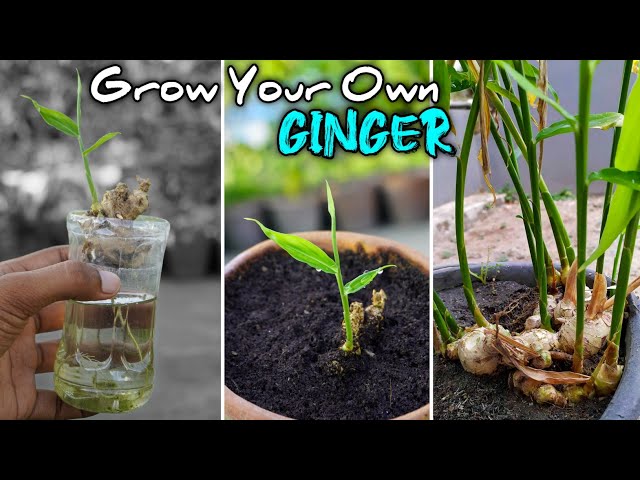
Growth Timeline:
- Month 1–2: Sprouting and initial shoots
- Month 3–5: Rhizome development underground
- Month 6–8: Shoots get taller; rhizomes thicken
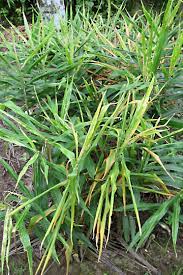
- Month 9–10: Leaves begin yellowing time to harvest
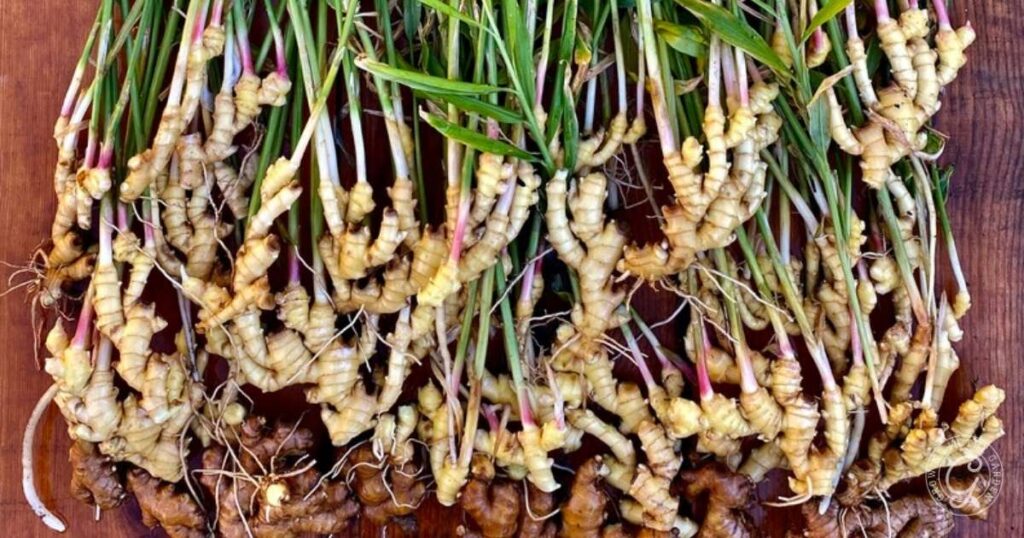
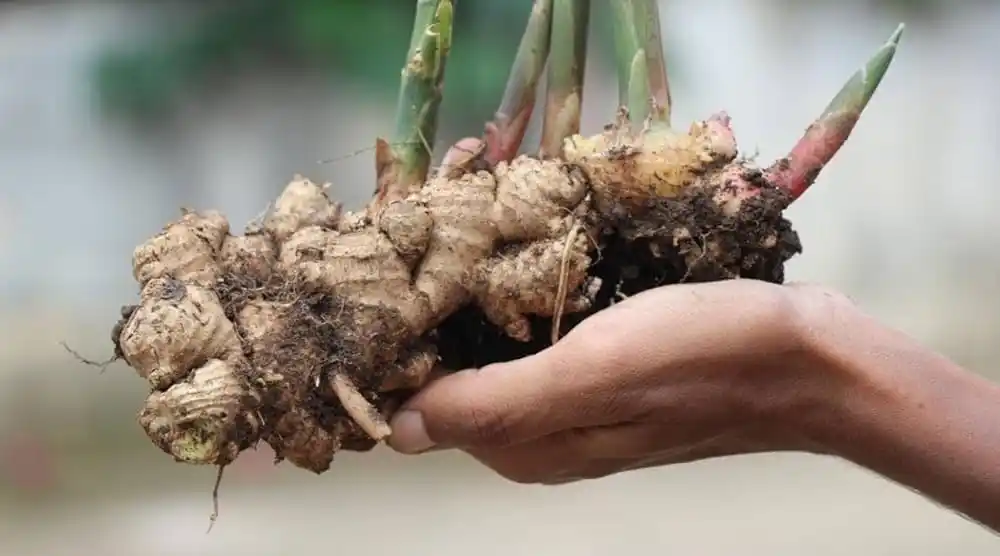
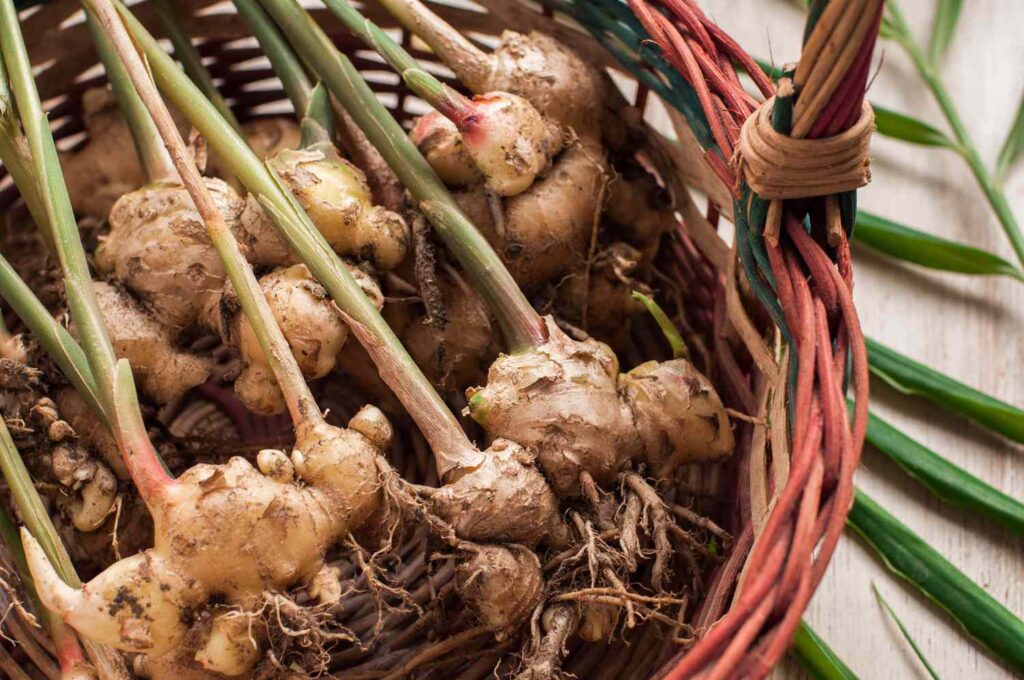
Real Life Story: My First Harvest
I planted my first ginger batch in early spring. By late fall, the leaves were wilting. I gently dug up one plant, and there it was golden, plump ginger, better than store bought. I made tea with it that evening. Nothing like it.
Step 7: Harvesting – The Big Moment
You’ve waited months. Time to get your hands dirty in the best way.
Signs It’s Time:
- Leaves yellow and dry
- Soil feels loose
- Rhizomes peek through the surface
How to Harvest:
- Use a garden fork or your hands, be gentle.
- Break off what you need and leave the rest if you want continued growth.
- Clean gently with a soft brush. Store in a cool, dry place.
Storage Tips:
- Store unwashed in the fridge (lasts 3–4 weeks)
- Freeze sliced ginger in bags for longer use
- Save a few chunks to replant next season
Health & Culinary Benefits of Fresh Ginger
Let’s not forget why we’re growing it.
Health Boosts:
- Contains gingerol, a compound with anti inflammatory properties.
- Helps with nausea, digestion, and cold symptoms.
- Backed by Mayo Clinic, fresh ginger can reduce muscle pain and lower blood sugar in some people.
Kitchen Use:
- Add slices to tea for a soothing drink
- Grate into soups or stir fries for a kick
- Ferment it with garlic for a Korean style pickle
Grow Ginger at Home: Quick Summary Table
| Aspect | Details |
|---|---|
| Plant Type | Perennial rhizome (commonly grown as an annual in home gardens) |
| Best Growing Season | Late winter to early spring (warm, frost free climate) |
| Growing Method | Pots, grow bags, raised beds, or garden soil |
| Light Requirements | Partial shade to filtered sunlight (avoid direct scorching sun) |
| Soil Type | Loose, well drained, loamy soil rich in organic matter |
| Soil pH | Slightly acidic to neutral (pH 5.5 to 6.5) |
| Watering Needs | Keep soil consistently moist but not soggy; avoid waterlogging |
| Planting Material | Fresh, healthy ginger rhizome with visible “eyes” or buds |
| Planting Depth | 1–2 inches deep with buds facing upward |
| Spacing | 6–8 inches between rhizomes |
| Fertilization | Compost or balanced organic fertilizer every 3–4 weeks |
| Germination Time | 2–4 weeks (depending on temperature and moisture) |
| Time to Harvest | 8–10 months for mature rhizomes; 4–6 months for baby ginger |
| Harvest Method | Gently dig up rhizomes; use a fork or hand to avoid damaging roots |
| Container Size | Minimum 12 inches deep and wide; larger is better |
| Common Issues | Root rot (from overwatering), fungal diseases, mealybugs, aphids |
| Storage Tips | Store harvested ginger in a cool, dry place or freeze in small portions |
| Companion Plants | Turmeric, lemongrass, garlic, chili |
| Indoor Growing? | Yes, with warmth, indirect light, and deep containers |
Final Thoughts: Ginger Is Worth the Wait
Growing ginger at home is more than just gardening it’s a satisfying cycle of patience, care, and reward. It’s waking up to see new shoots peeking out of the soil, the smell of fresh ginger in your kitchen, and the pride that comes with doing it yourself.
So go ahead. Give ginger a corner in your home or backyard. In a few months, you’ll not only spice up your cooking you’ll gain a whole new respect for the humble root.
References:
- Scientia Horticulturae – Ginger Propagation Study (2021)
- University of Florida IFAS Extension – Ginger Production Guide
- Indian Institute of Spices Research – Cultivation Practices
- FAO: Ginger Production and Post Harvest Techniques
- Journal of Plant Pathology – Biological Controls for Ginger Diseases
- Mayo Clinic – Ginger Health Benefits
FAQs: Growing Ginger at Home
Yes, as long as they’re fresh and have visible eyes. Organic roots are best since they’re less likely to be treated with growth inhibitors.
You can harvest baby ginger in 4–6 months. For full size rhizomes, wait 8–10 months.
Absolutely. Just give it a warm spot with indirect light and keep humidity up.
Possible reasons: dormant rhizome, too little warmth, or overwatering. Be patient it can take 3–5 weeks to sprout.
Keep the soil lightly moist, water when the top inch feels dry. Avoid waterlogging.

Thesis Link : https://saulibrary.edu.bd/daatj/public/uploads/BAU200601_19-Pp_5.pdf
- Best Backpack for Work, Travel, College, and Everyday Use - May 24, 2026
- Best Soil Test Kits for Lawns and Gardens - May 16, 2026
- Best Farm Loans in USA – How to Get Approved Fast in 2026 - April 29, 2026