
Learning how to grow tomatoes from seed is the single best way to grow exactly the tomato you want. A nursery sells a handful of varieties. A seed catalog sells hundreds: early slicers, paste tomatoes for sauce, sweet cherry types for snacking, and heirlooms with flavors no store tomato can match. One packet costs less than a single nursery plant and grows a dozen seedlings. The work is simple, but the timing and the light have to be right, and this guide walks through both, step by step.
A tomato seed needs three things to become a strong plant: warmth to sprout, strong light to stay short and sturdy, and a slow introduction to the outdoors before it moves to the garden. Get those three right and the rest is routine watering and waiting. This guide covers the full run, from choosing a variety to setting a hardened-off seedling into warm garden soil.
Contents
Quick Answer
Short on time? Here is the whole method in one paragraph. Start tomato seeds indoors 6 to 8 weeks before your average last frost date. Sow two or three seeds per cell, a quarter inch deep, in sterile seed-starting mix. Keep the soil warm, 70 to 80 degrees Fahrenheit, until they sprout, which takes 5 to 10 days.
The moment green shows, give 14 to 16 hours of bright light a day with the fixture 2 to 4 inches above the leaves, water from below, and thin to one seedling per cell. Pot up when true leaves appear, feed at half strength, harden off for 7 to 10 days, and transplant after the last frost, when the soil reads 60 degrees or warmer and nights stay above 50 degrees.
Why Grow Tomatoes from Seed
A nursery flat limits you to the varieties that sell well in your town. Seed catalogs open the whole range. If you want an early slicer for short summers, a paste tomato that cooks down thick, or a cherry type your kids eat off the vine, seed is the only practical route. Heirlooms like Cherokee Purple rarely appear as nursery plants at all.
Seed is also cheap insurance. One packet holds 20 to 30 seeds and costs less than a single potted transplant, so you can start extra seedlings and keep only the strongest. And a seed-started plant often settles in better than a store plant, because it has grown in your house, under your light, and never sat in a cold truck or a drafty garden center aisle.
The one real cost is time. Tomatoes are heat lovers with a long season, so in most of the United States they must start indoors. That is the whole job this guide covers, and it takes about ten minutes a day once the setup is in place.
When to Start Tomato Seeds
Count backward from your average last frost date, then sow 6 to 8 weeks before it. Your last frost date is the anchor for everything else, so look it up for your town (your local extension office publishes it) rather than guessing from your hardiness zone, which only tells you about winter cold.
| Your last frost | Sow tomato seeds | Example |
|---|---|---|
| Late May (Zone 4) | Late March to mid-April | Duluth, last frost about May 22 |
| Late April (Zone 5) | Early to mid-March | Minneapolis, last frost about April 30 |
| Mid-April (Zone 6) | Late February to early March | Chicago, last frost about April 17 |
| Early April (Zone 7-8) | Early to mid-February | Atlanta, last frost about April 1 |
| Little or no frost (Zone 9-11) | November to January | Warm-winter regions, sow for a winter or early spring crop |
Starting earlier is not better. Seedlings started 10 or more weeks before frost grow tall, root-bound, and leggy indoors, and they fruit later than plants started on time. University of Minnesota Extension, writing for a short northern season, even shortens the window to 5 to 6 weeks before planting outside, because a compact 6-week-old seedling transplants better than an 8-week-old plant that has outgrown its pot. If you are in a cold climate, follow the shorter end of the range.
Mark two dates on your calendar now: your sowing date and your target transplant date, about 1 to 2 weeks after your last frost. Everything between them is the routine in the steps below.
What You Need Before You Sow
Gather everything before you open a packet, so seeds never sit in dry mix while you hunt for a tray.
- Tomato seed packets, fresh if possible (germination drops as seed ages)
- A seed tray with drainage holes, or clean recycled containers with holes punched in the bottom
- Sterile seed-starting mix, not garden soil and not potting soil
- A solid tray or lid to catch water, and a clear dome or plastic wrap
- Plant labels and a marker
- A spray bottle or a watering can with a fine rose
- A heat mat (optional but very helpful for tomatoes)
- A grow light, LED or fluorescent, on a timer
- 3 to 4 inch pots for potting up, and a bag of potting mix for that stage
- A small fan
Garden soil has no place in a seed tray. It compacts, holds too much water, and can carry the fungi that cause damping off. Sterile seed-starting mix is light, drains well, and starts clean, which is exactly what a seed needs for its first two weeks.
Step 1: Pick the Right Variety
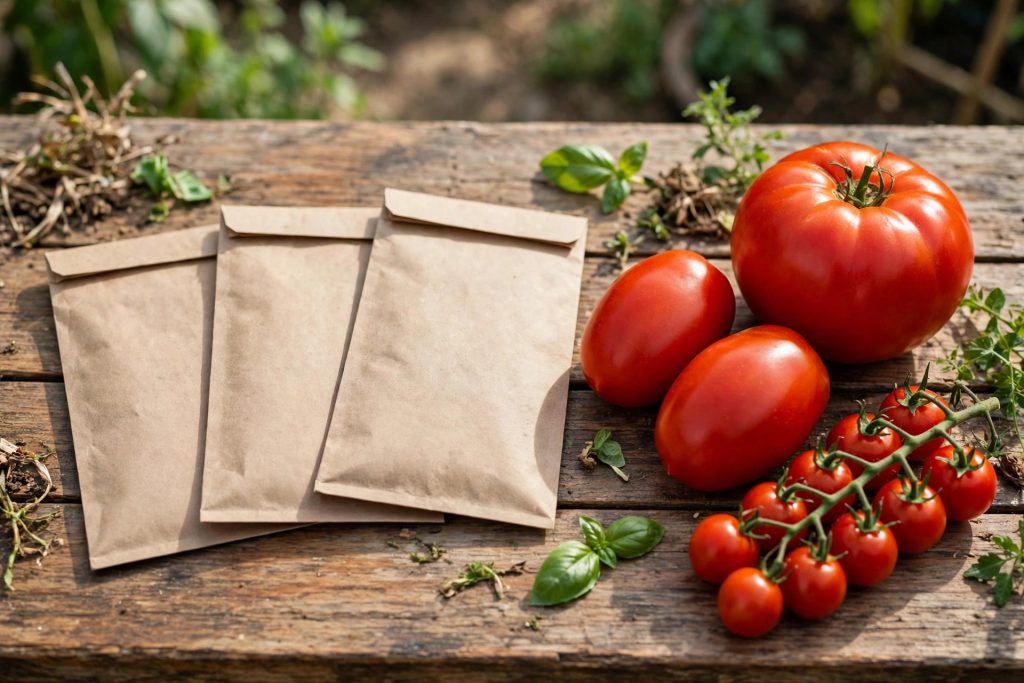
The first choice is growth habit, and it decides how you support the plant all summer. Determinate tomatoes grow to a set height, fruit over a few weeks, and stop. They suit containers, small beds, and canning, because the harvest comes at once. Indeterminate tomatoes keep growing, flowering, and fruiting until frost kills them. They need a tall stake or cage, but they give fresh fruit all season.
| Variety | Type | Days from transplant | Best for |
|---|---|---|---|
| Early Girl | Indeterminate slicer | About 50 | Short seasons, first ripe fruit |
| Celebrity | Determinate slicer | About 70 | Disease resistance, all-purpose use |
| Better Boy | Indeterminate slicer | About 70 | Heavy yields, classic sandwich tomato |
| Roma | Determinate paste | About 75 | Sauces, canning, drying |
| Sweet Million | Indeterminate cherry | About 60 | Snacking, sweet flavor, crack resistance |
| Cherokee Purple | Indeterminate heirloom slicer | About 80 | Rich old-fashioned flavor |
Days to maturity are approximate figures from seed catalogs and vary with weather and region, so treat them as a ranking, not a promise. For a first attempt, grow one early variety and one main-season variety. The early one gives you fruit while the main one is still filling out, and if one struggles, the other carries the season.
Check the packet for disease resistance letters. VFN means resistance to Verticillium wilt, Fusarium wilt, and nematodes. In a bed where tomatoes grew last year, that resistance is worth more than any flavor claim.
Step 2: Sow the Seeds
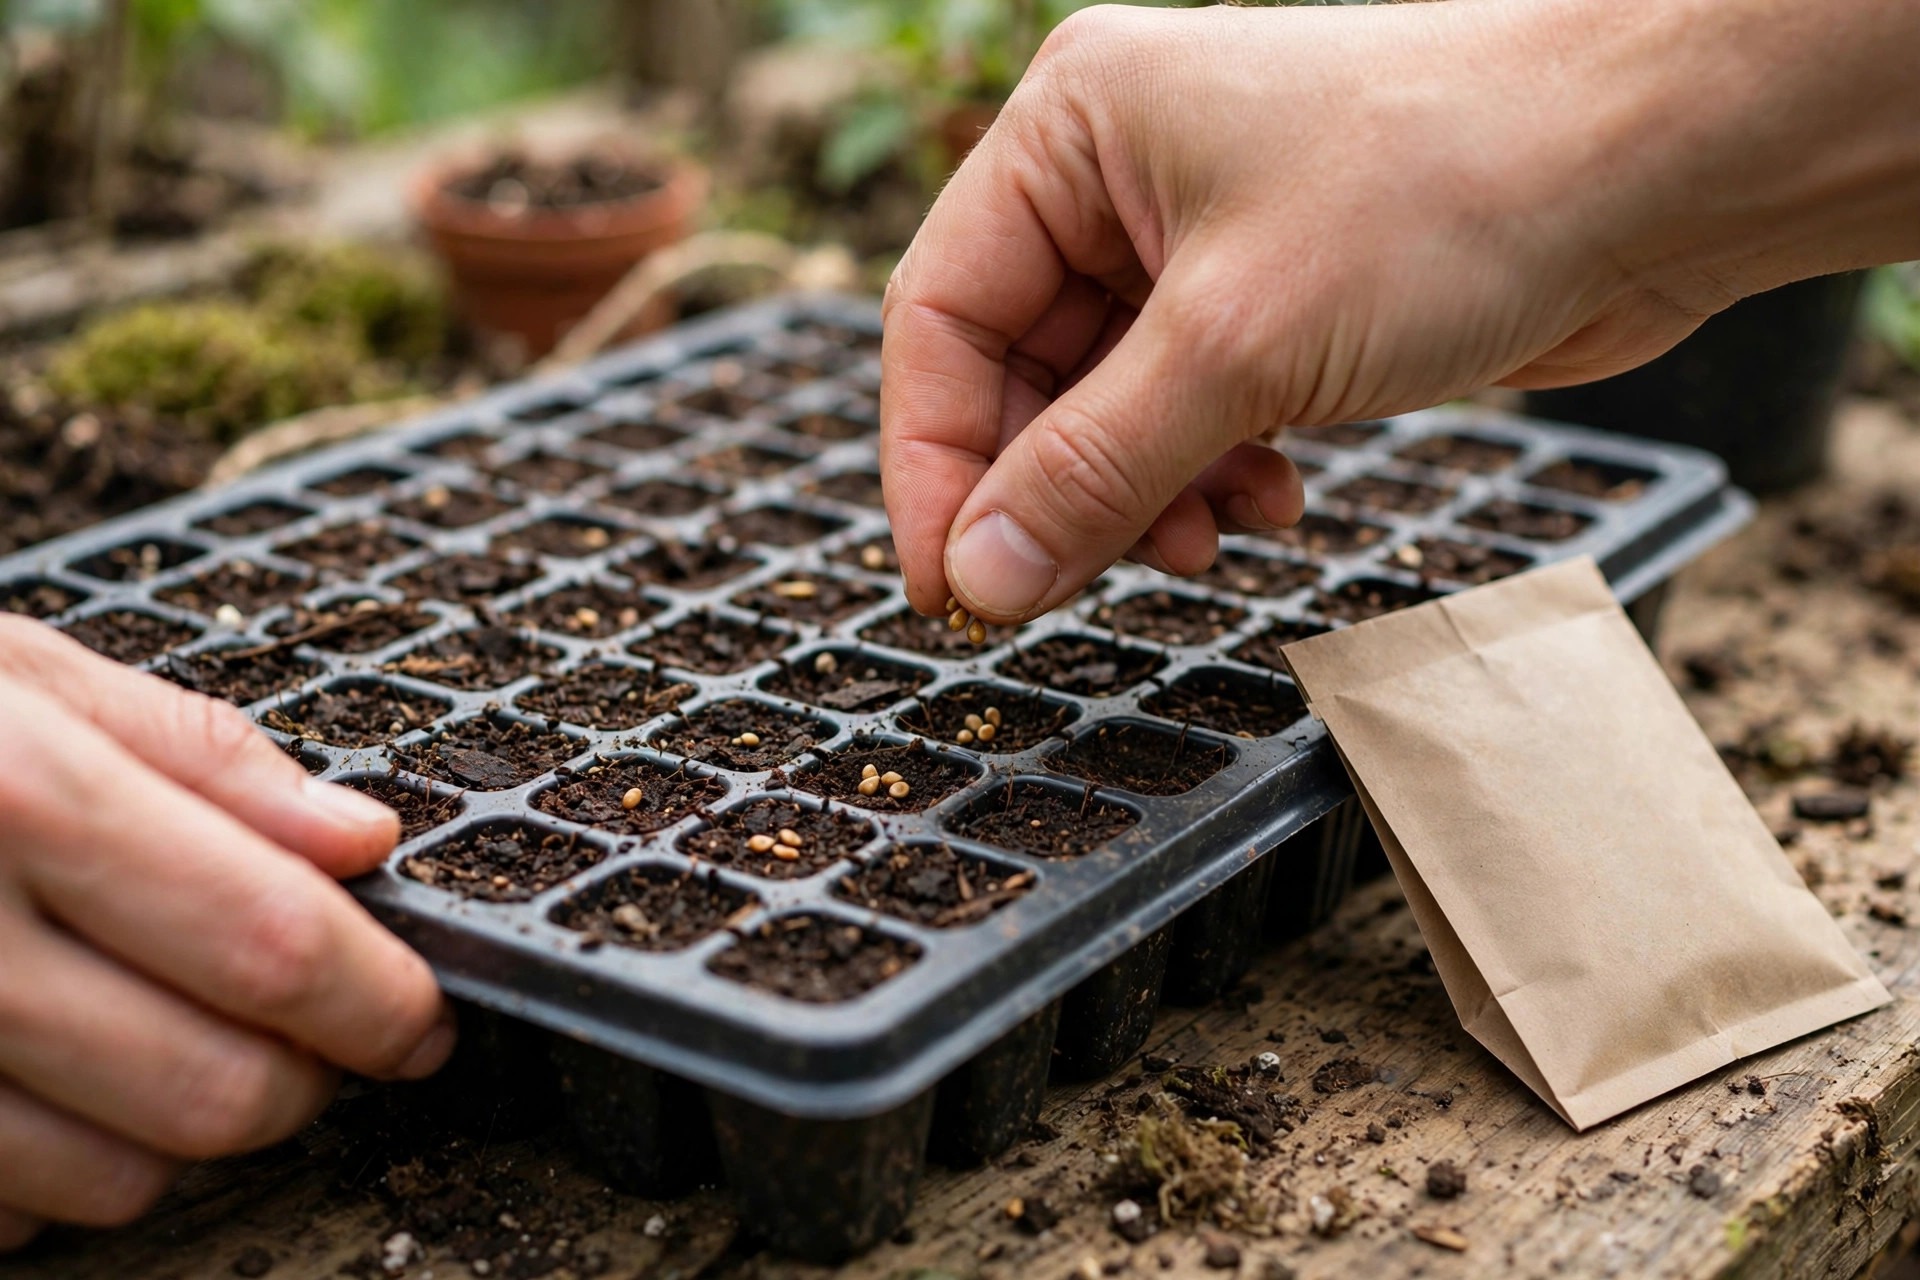
Moisten the mix before you sow. Fill the tray, water it until it is damp all through, like a wrung-out sponge, and let it drain. Dry mix pulls water away from seeds, and mix watered after sowing can wash seeds deeper than you intended.
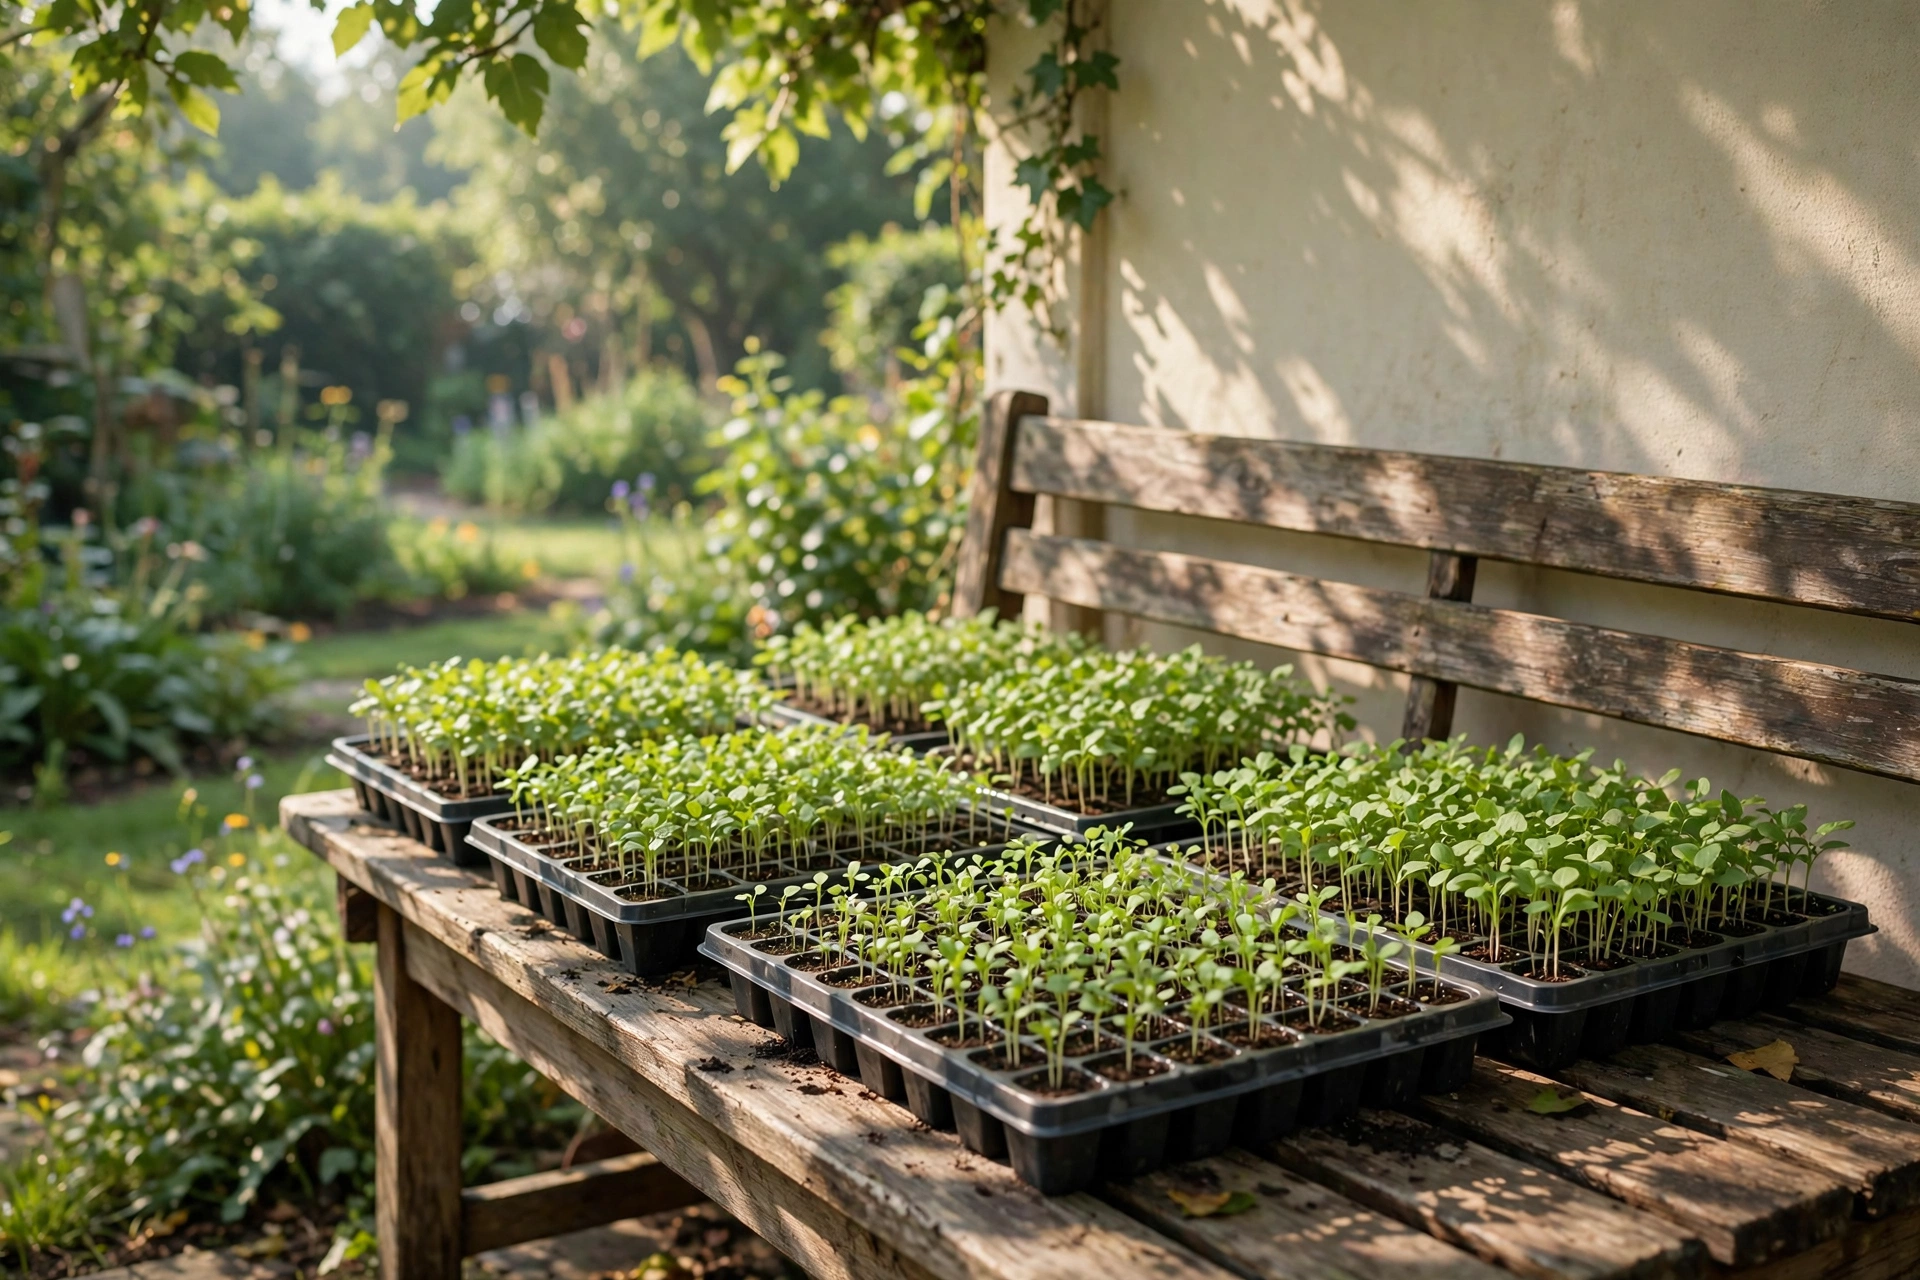
Sow two or three seeds per cell, a quarter inch deep. Press each seed gently into the mix and cover it with a thin layer of mix. Tomato seeds are small, and a quarter inch is deep enough to hold moisture around them without burying them beyond their strength. Label every row as you go. Varieties look identical as seedlings, and a label is the only thing that tells them apart in April.
Cover the tray with a clear dome or plastic wrap. The cover holds humidity while the seeds wake up, which matters more than light at this stage. Set the tray somewhere warm, 70 to 80 degrees Fahrenheit in the soil. A heat mat under the tray is the most reliable way to hold that range; University of Minnesota Extension recommends 75 to 85 degrees until seedlings emerge. A warm spot above a refrigerator works too, as long as you can check it daily.
Step 3: Watch for Germination
Most tomato seeds sprout in 5 to 10 days in warm soil. Cooler soil stretches that to two weeks or more, and soil below 50 degrees makes germination slow and uneven, with some seeds rotting before they sprout. If nothing shows after 14 days at proper warmth, the seed was likely old or the mix stayed too wet, and a fresh sowing is faster than waiting.
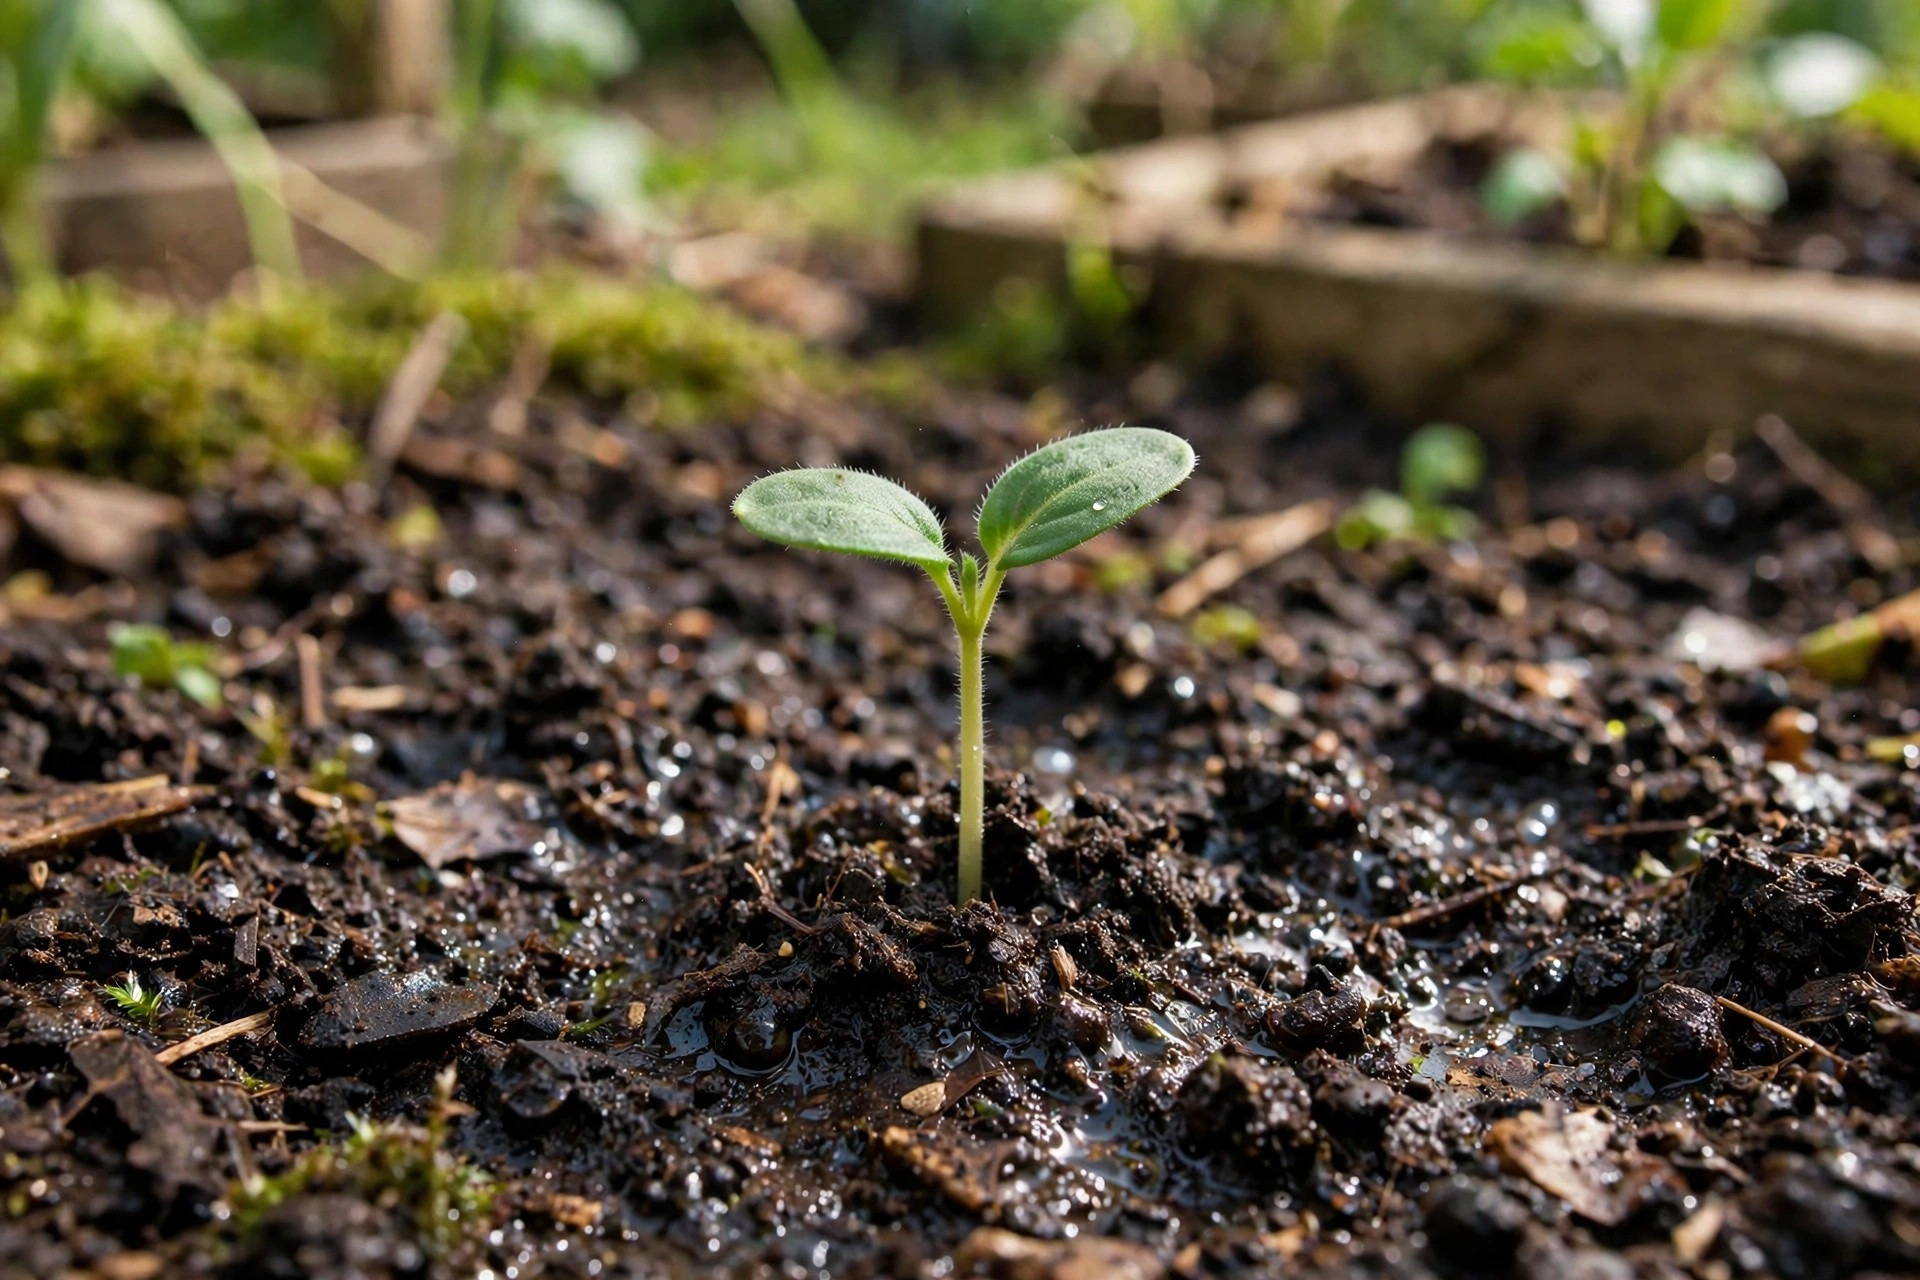
The moment the first green loop breaks the surface, take the dome off. Leaving it on traps humid, still air, and that is exactly the condition damping-off fungi love. Move the tray under your lights the same day, even if only half the cells have sprouted. The sprouted seedlings need light immediately, and the rest will catch up within a day or two.
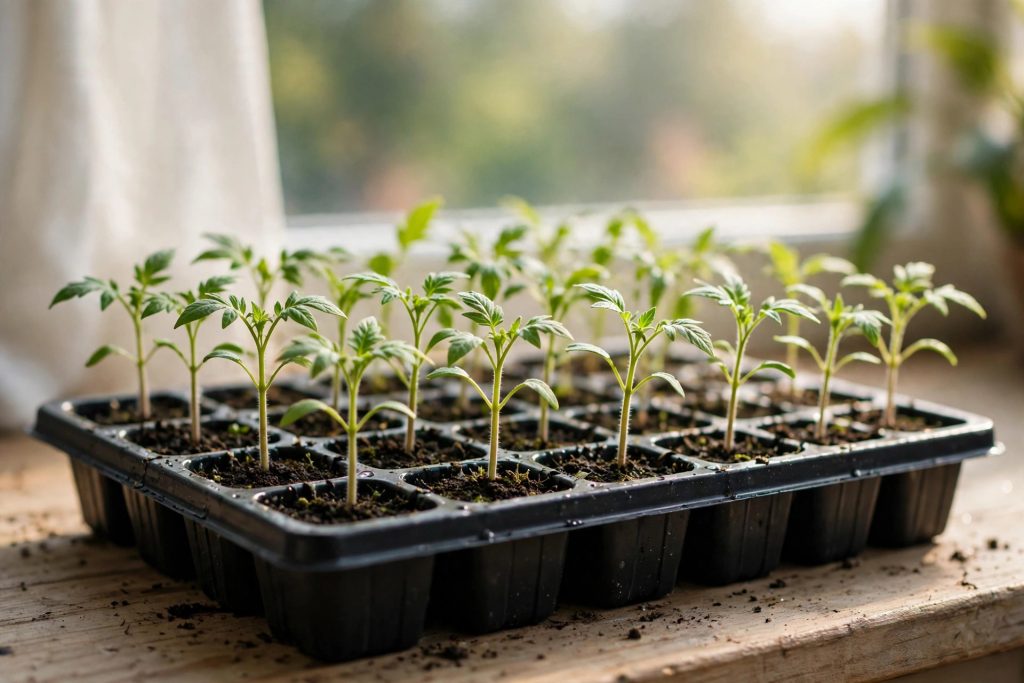
You will see two smooth, oval leaves first. Those are cotyledons, the seed leaves, not true leaves. True leaves come next, 10 to 14 days after germination, and they look like small serrated tomato leaves, with the tomato smell already on them. Everything from here on is about light, water, and air.
Step 4: Give Them Strong Light and Steady Water
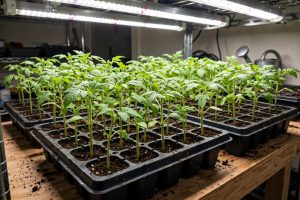
Light is the step that decides whether your seedlings are short and sturdy or tall and floppy. A windowsill, even a south-facing one, rarely delivers enough light in late winter. Seedlings stretch toward the glass, stems thin out, and the plant never fully recovers. Use a grow light.
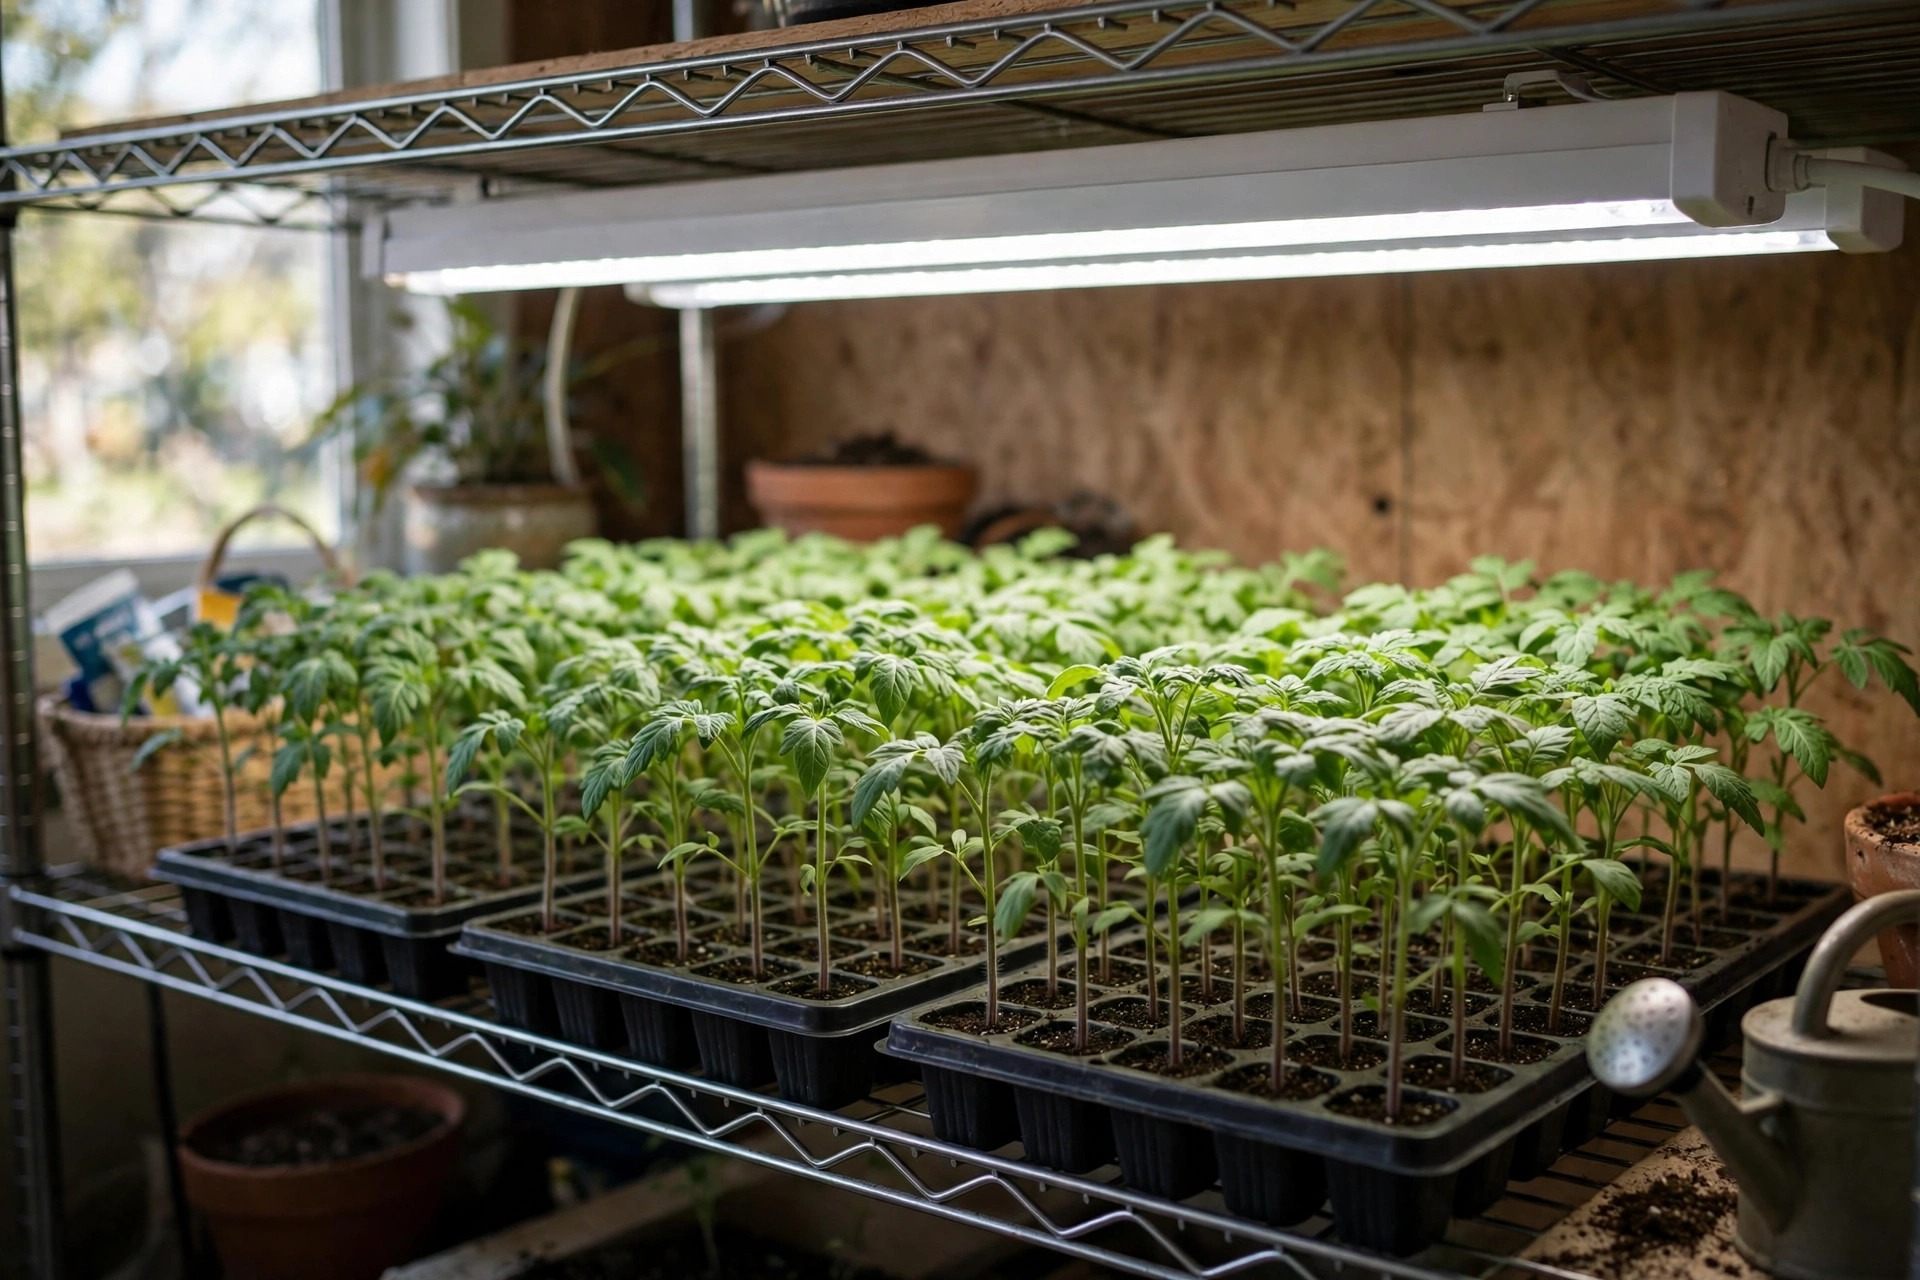
Hang the fixture 2 to 4 inches above the tops of the seedlings and run it 14 to 16 hours a day on a timer. Raise the light as the plants grow, keeping the same gap. Give them a dark period every night; plants need rest as much as light, and running lights around the clock stresses them.
After germination, the temperature can come down. Daytime 65 to 75 degrees and nights of 60 to 65 degrees keep growth compact. Warmth above 85 degrees pushes soft, stretched growth, so move trays away from hot radiators once they have sprouted.
Water from below whenever you can. Set the tray in a shallow pan of water for a few minutes and let the mix wick it upward, then drain the tray fully. Top watering splashes mix onto stems and keeps the surface wet, which invites damping off. Water when the top quarter inch of mix feels dry, and water in the morning so leaves and stems dry during the day.
Set a small fan to blow gently across the seedlings for a few hours a day. Moving air dries the soil surface, discourages fungi, and makes stems thicker. A fan is a small step that prevents two of the most common seedling failures at once.
Step 5: Thin and Pot Up
When the first true leaves are fully open, thin to one seedling per cell. Keep the strongest plant in each cell and snip the others off at soil level with small scissors. Pulling them out disturbs the roots of the one you want to keep, so cut, do not pull.
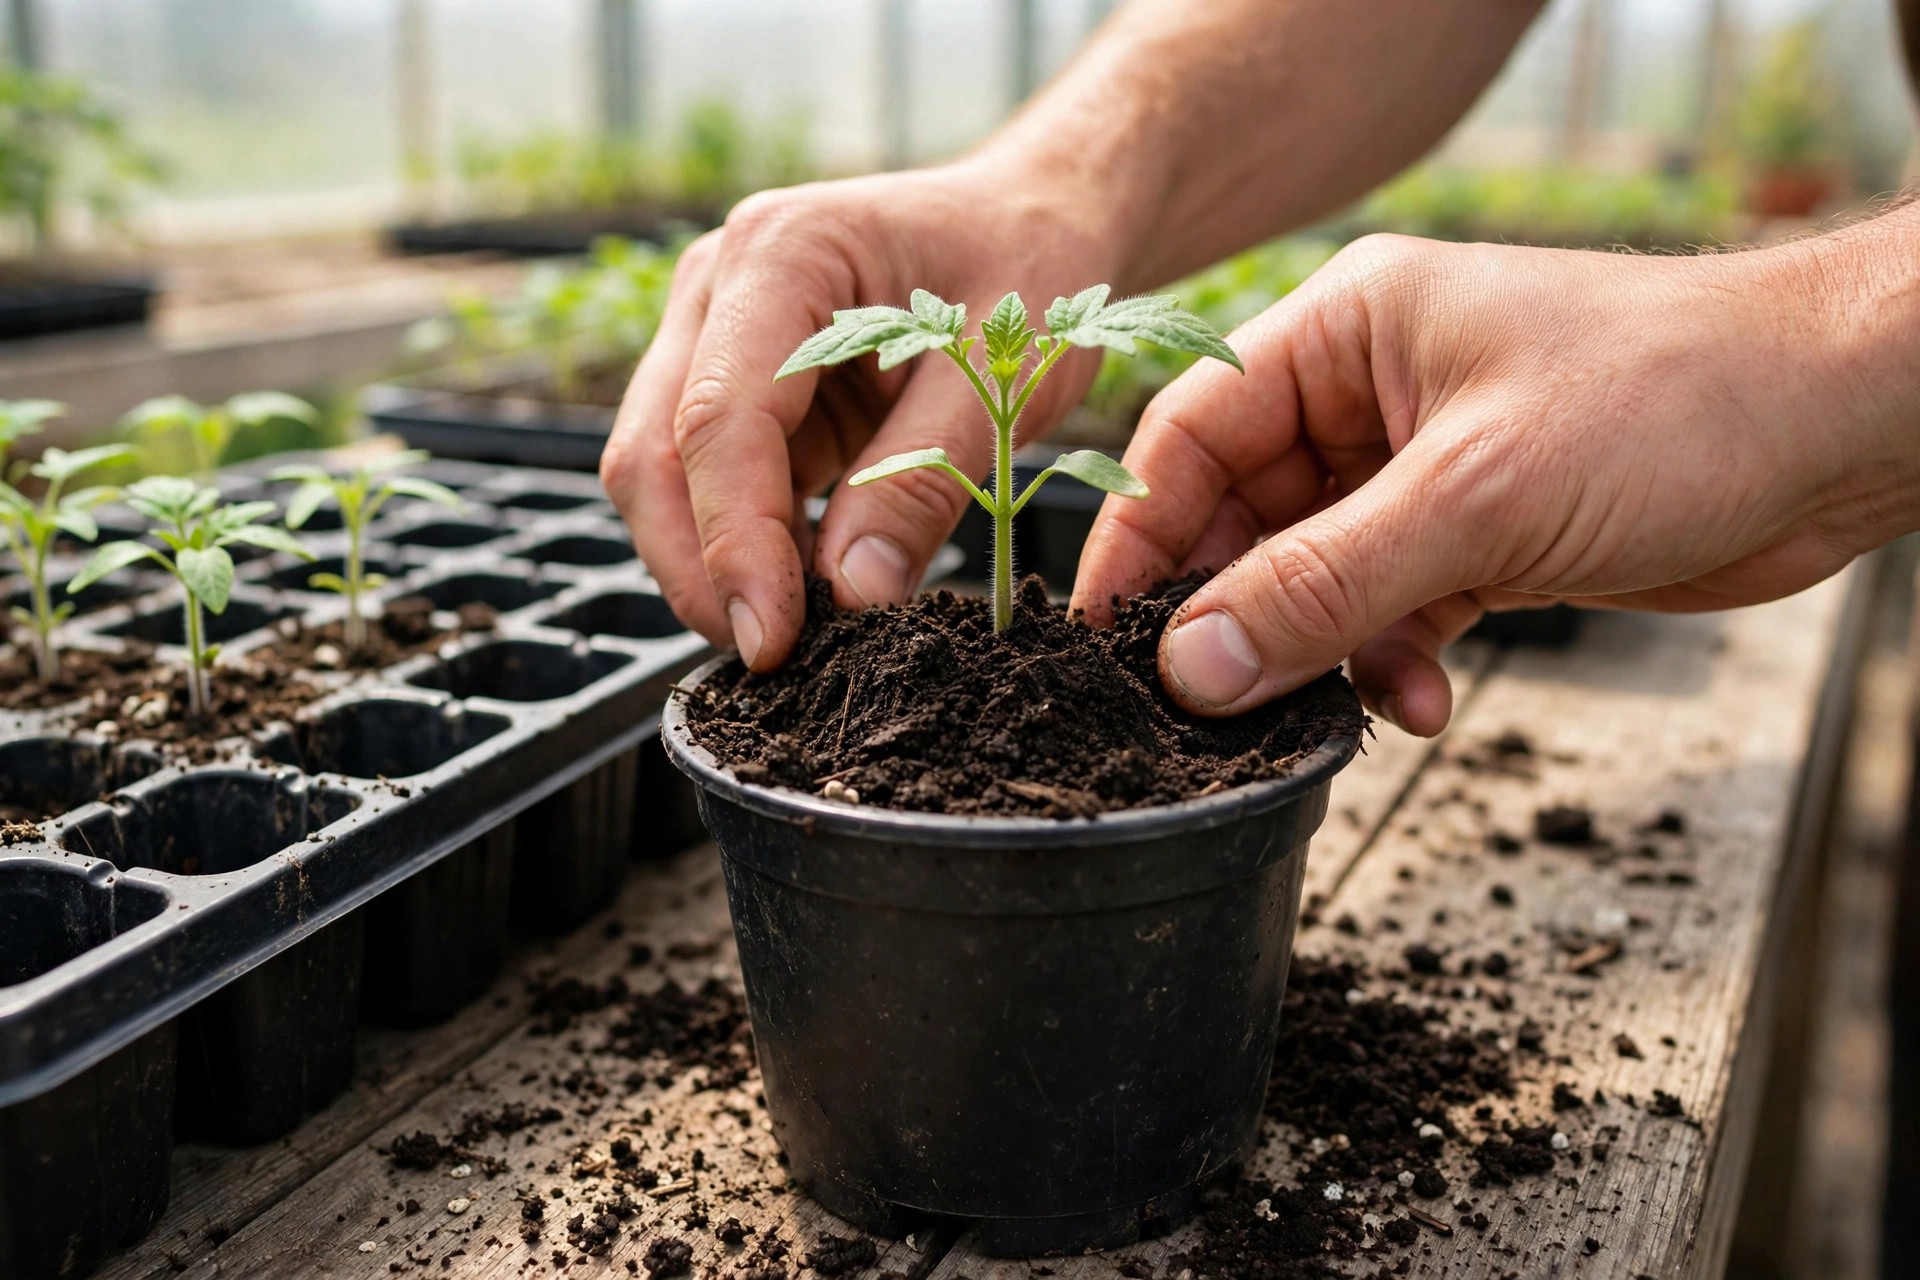
Pot up when seedlings are 3 to 4 inches tall, or when roots start showing through the drainage holes. Move each seedling into a 3 to 4 inch pot of fresh potting mix, and bury the stem deeper than it grew before, up to the first set of true leaves. Tomatoes are unusual in a useful way: they grow new roots all along a buried stem, so deep potting turns extra stem into extra root system. Strip off any leaves that would sit below the soil line first.
Water the new pots well and set them back under the lights. A seedling that was crowded in a cell tray will sulk for a day, then take off. If roots fill the new pot before transplant time, pot up once more into a larger container rather than letting the plant sit root-bound.
Step 6: Feed Them Lightly
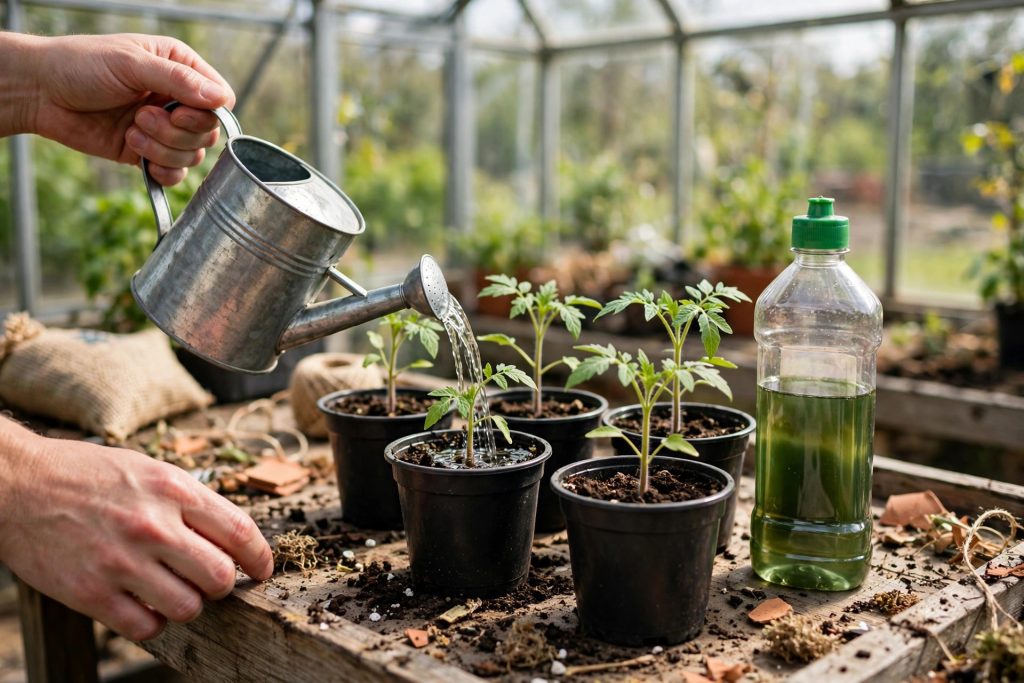
Seed-starting mix has almost no nutrients in it, which is fine for germination but not enough once true leaves are working. Start feeding when the first true leaves are fully open, with a balanced liquid fertilizer at half the label strength, once a week. University of Minnesota Extension suggests a starter fertilizer solution of 1 and a half tablespoons of 5-10-5 in a gallon of water, about a quarter cup per seedling every two weeks, which is the same light touch: little and often.
Overfeeding does more harm than underfeeding at this stage. Too much fertilizer burns young roots and pushes soft, leggy growth that a strong stem cannot support. If leaves look deep green and growth is steady, you are feeding enough. Pale lower leaves with steady growth usually mean it is time for the next light feeding, not a double dose.
Step 7: Harden Off and Transplant
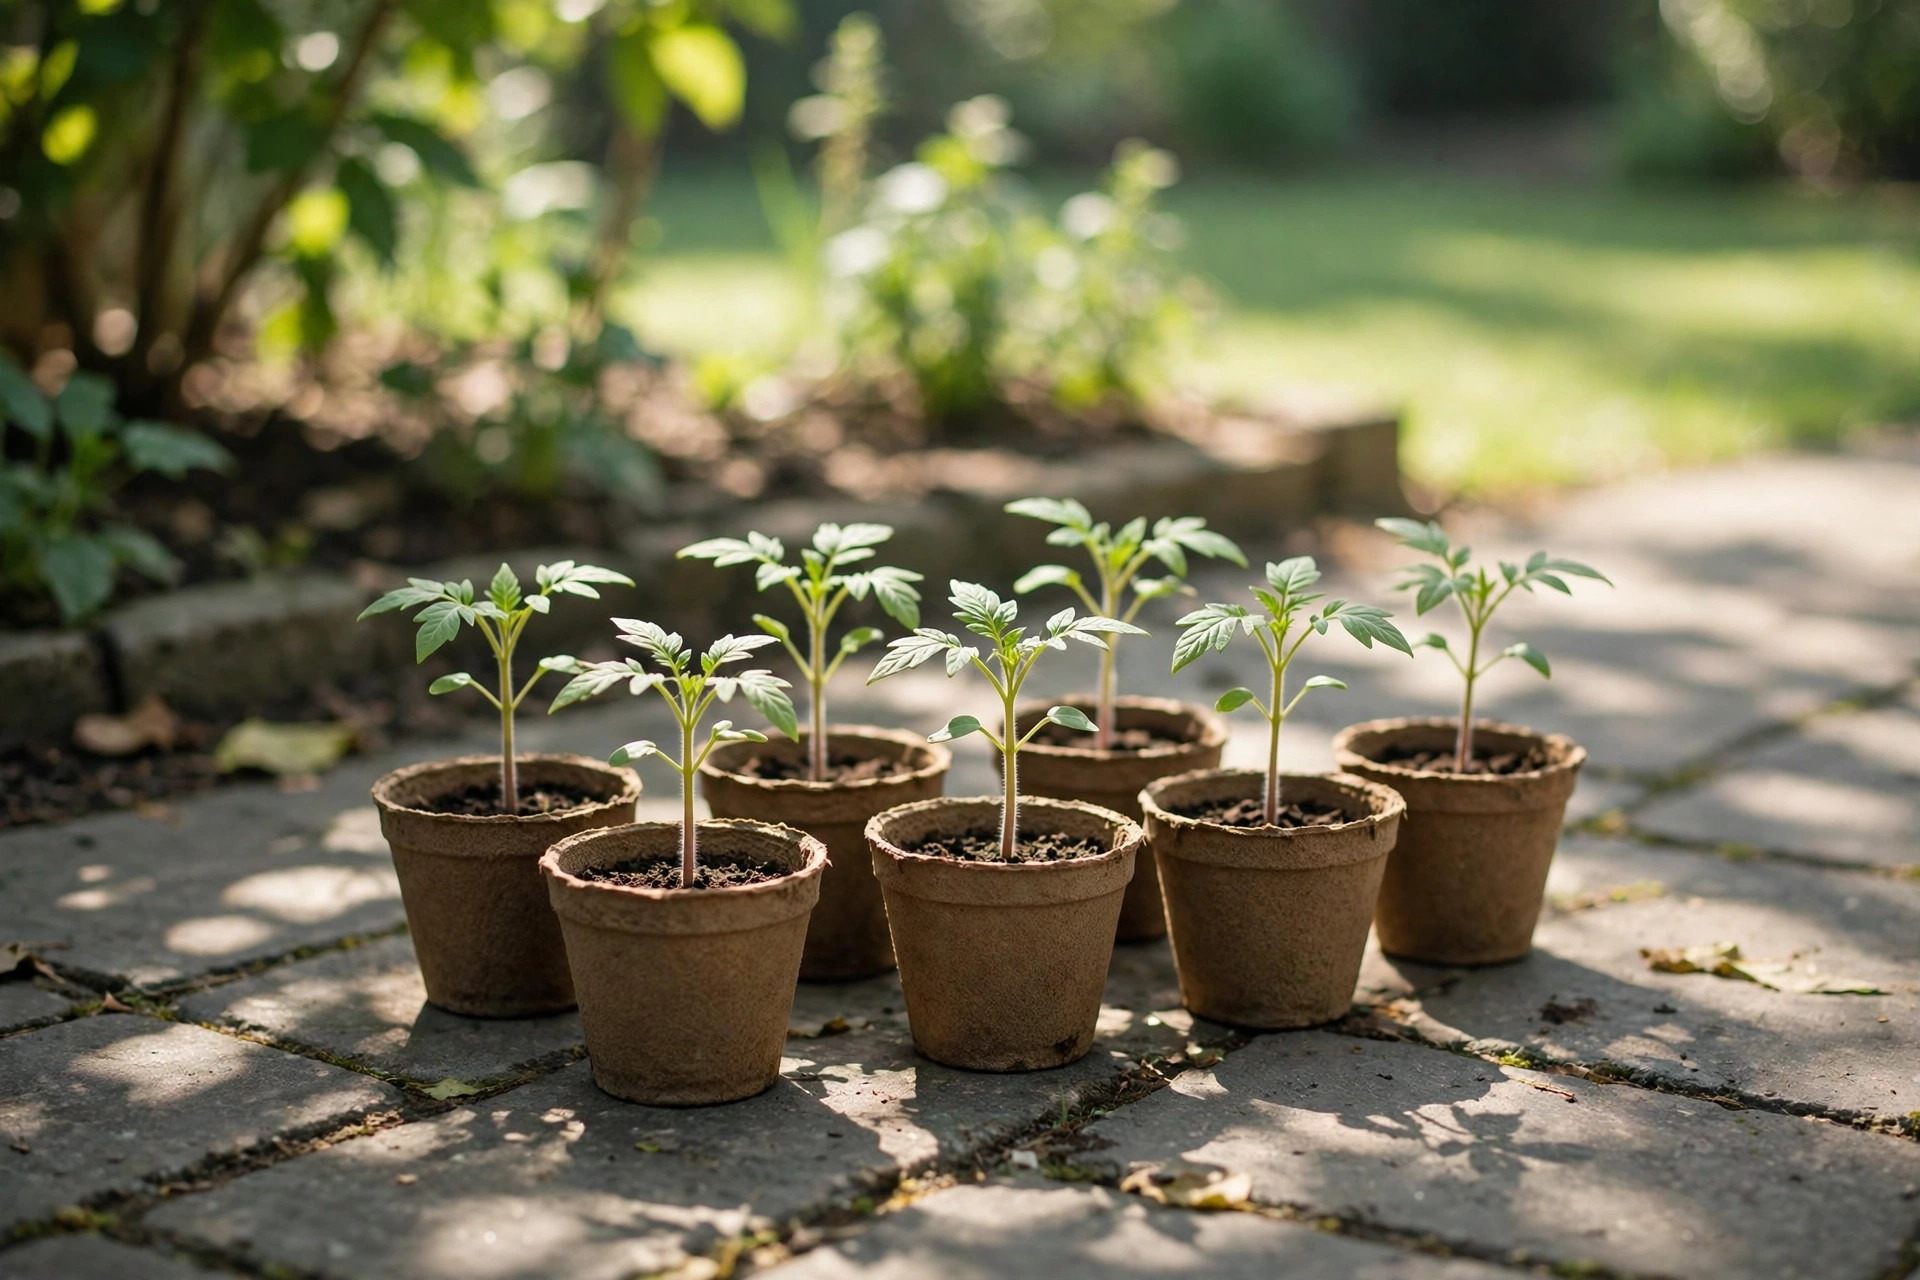
A seedling raised indoors has never felt real sun, wind, or a cool night. Moving it straight to the garden shocks it, and the plant can stall for two or three weeks. Hardening off is the slow introduction that prevents that stall, and it takes 7 to 10 days.
| Days | Outdoor time | Conditions |
|---|---|---|
| 1 to 2 | 1 to 2 hours | Shade, sheltered from wind |
| 3 to 4 | 3 to 4 hours | Morning sun, bring in before midday heat |
| 5 to 6 | 5 to 6 hours | Full sun part of the day |
| 7 to 8 | 8 hours or more | Full sun, bring in if nights drop below 50 degrees |
| 9 to 10 | All day, overnight if no frost is forecast | Ready to transplant |
Bring seedlings in on any night forecast below 50 degrees, and on any day with hard wind or driving rain. Cornell Garden-Based Learning puts it simply: expose seedlings to outside conditions slowly over a week or so, adding a little more time and sun each day.
Transplant only when three conditions line up: the last frost has passed, the soil at 3 to 4 inches deep reads 60 degrees or warmer for several mornings in a row, and nights stay above 50 degrees. Soil temperature matters more than the calendar. A seedling set into cold soil sits still, roots barely work, and the plant is more likely to catch a soil disease.
On transplant day, water the seedlings first, and plant in the late afternoon so they settle overnight. Dig a deep hole and set the plant in up to two thirds of its stem underground, with only the top leaves above soil. Strip the lower leaves first. That deep planting is the tomato’s great advantage: the buried stem grows roots, and the plant builds a much larger root system within two weeks.
Space plants 24 to 36 inches apart in rows 3 to 4 feet apart, in full sun with 6 to 8 hours of direct light. Put the stake or cage in at planting time, while the roots are still small, so you never have to drive support through an established root ball. Water deeply, then mulch to hold moisture and keep soil from splashing onto the lower leaves.
Common Tomato Seedling Problems
| Problem | What you see | Likely cause | Fix |
|---|---|---|---|
| Leggy seedlings | Tall, thin, pale stems leaning toward light | Not enough light, fixture too far away | Move lights to 2 to 4 inches above leaves, 14 to 16 hours a day; add a fan; bury the stem deeper at transplant |
| Damping off | Seedling collapses at the soil line, stem thin and dark there | Fungi in wet, still, cool conditions | Remove affected seedlings, improve air flow, water from below, start fresh with clean trays and fresh mix |
| Yellow leaves | Lower leaves turn yellow while growth continues | Needs a light feeding, or mix stays too wet | Feed at half strength; let the top quarter inch dry between waterings |
| Slow or no germination | Nothing emerges after 14 days | Soil too cool, seed too old, or mix too wet | Warm the soil to 70 to 80 degrees; sow fresh seed |
| Purple leaves | Stems and leaf undersides turn purple | Cool nights, or phosphorus locked out by cold soil | Warm the growing area; the color usually fades once temperatures rise |
| Wilting after transplant | Seedling droops and stalls outdoors | Skipped hardening off, or cold soil | Harden off for 7 to 10 days next time; check soil is 60 degrees before planting |
Damping off has no rescue. Once a stem has rotted at the soil line, that seedling will not recover, so prevention is the whole strategy: sterile mix, clean trays, air movement, and watering from below. Leggy seedlings, by contrast, are usually salvageable, because tomatoes root along a buried stem. Give them strong light now and plant them deep, and most recover.
Final Thoughts
Growing tomatoes from seed is a slow start with a big payoff. Six to eight weeks of indoor care buys you the exact variety you want, a dozen strong seedlings for the price of one packet, and plants that settle into your garden without the shock of a store shelf. The method is forgiving if you respect the three rules: warmth to sprout, strong light to stay compact, and a slow move outdoors.
Start with two varieties this year, one early and one main-season, and keep notes on your sowing date, your last frost, and which variety fruited first. Once you learn how to grow tomatoes from seed, the same routine works for peppers, eggplants, and most warm-season crops, so the skill pays off well beyond one bed of tomatoes. Next spring those notes are worth more than any guide, because they are tuned to your town, your windowsill, and your soil. The seed packet gives you the plant. Your calendar gives you the timing. Everything else is just steady watering and patience.
If this is your first time starting any seeds indoors, our step-by-step indoor seed starting guide covers the full setup.
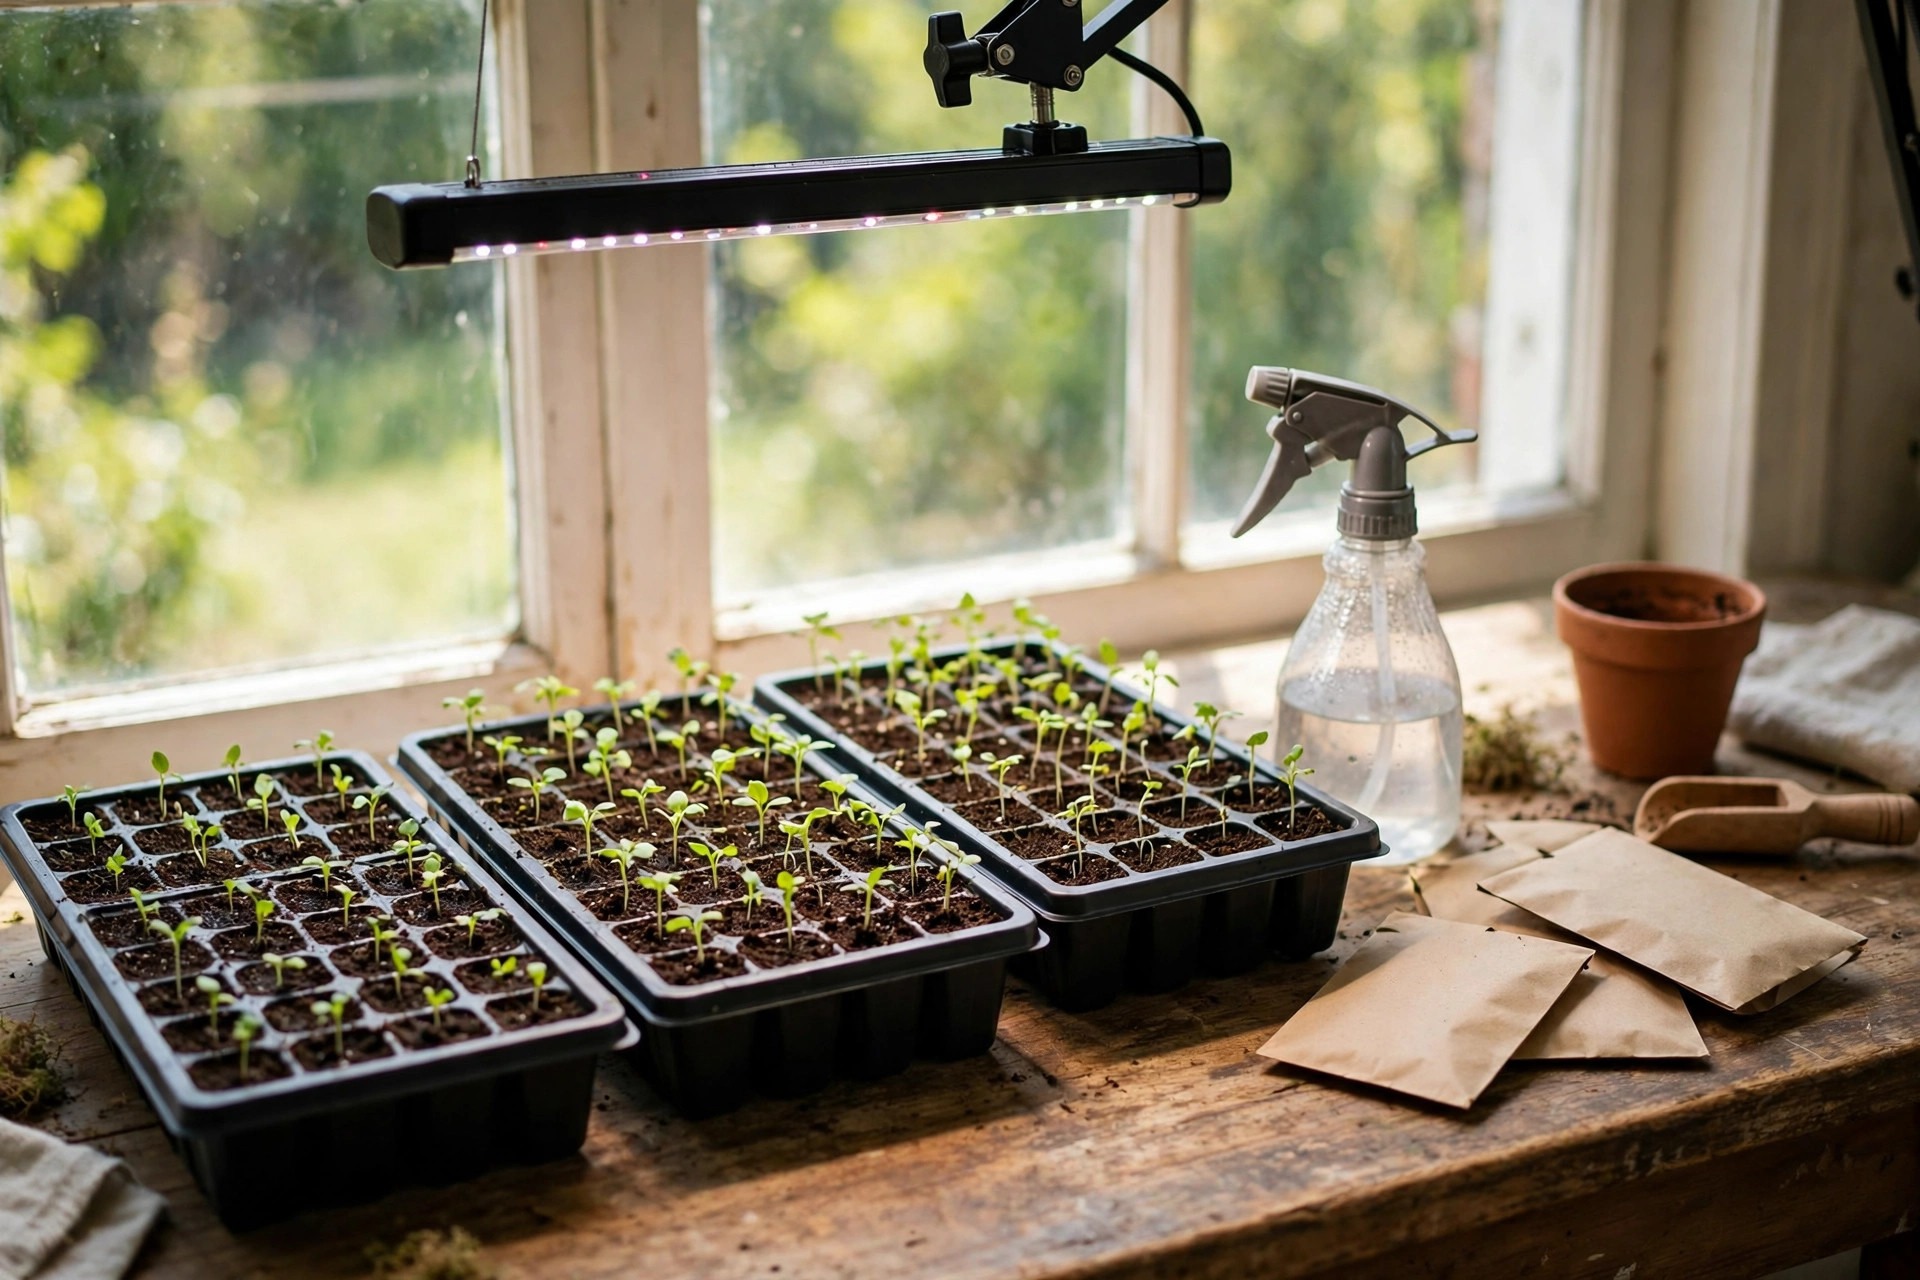
Timing depends on your frost date, so check our zone-by-zone seed starting calendar before you sow.
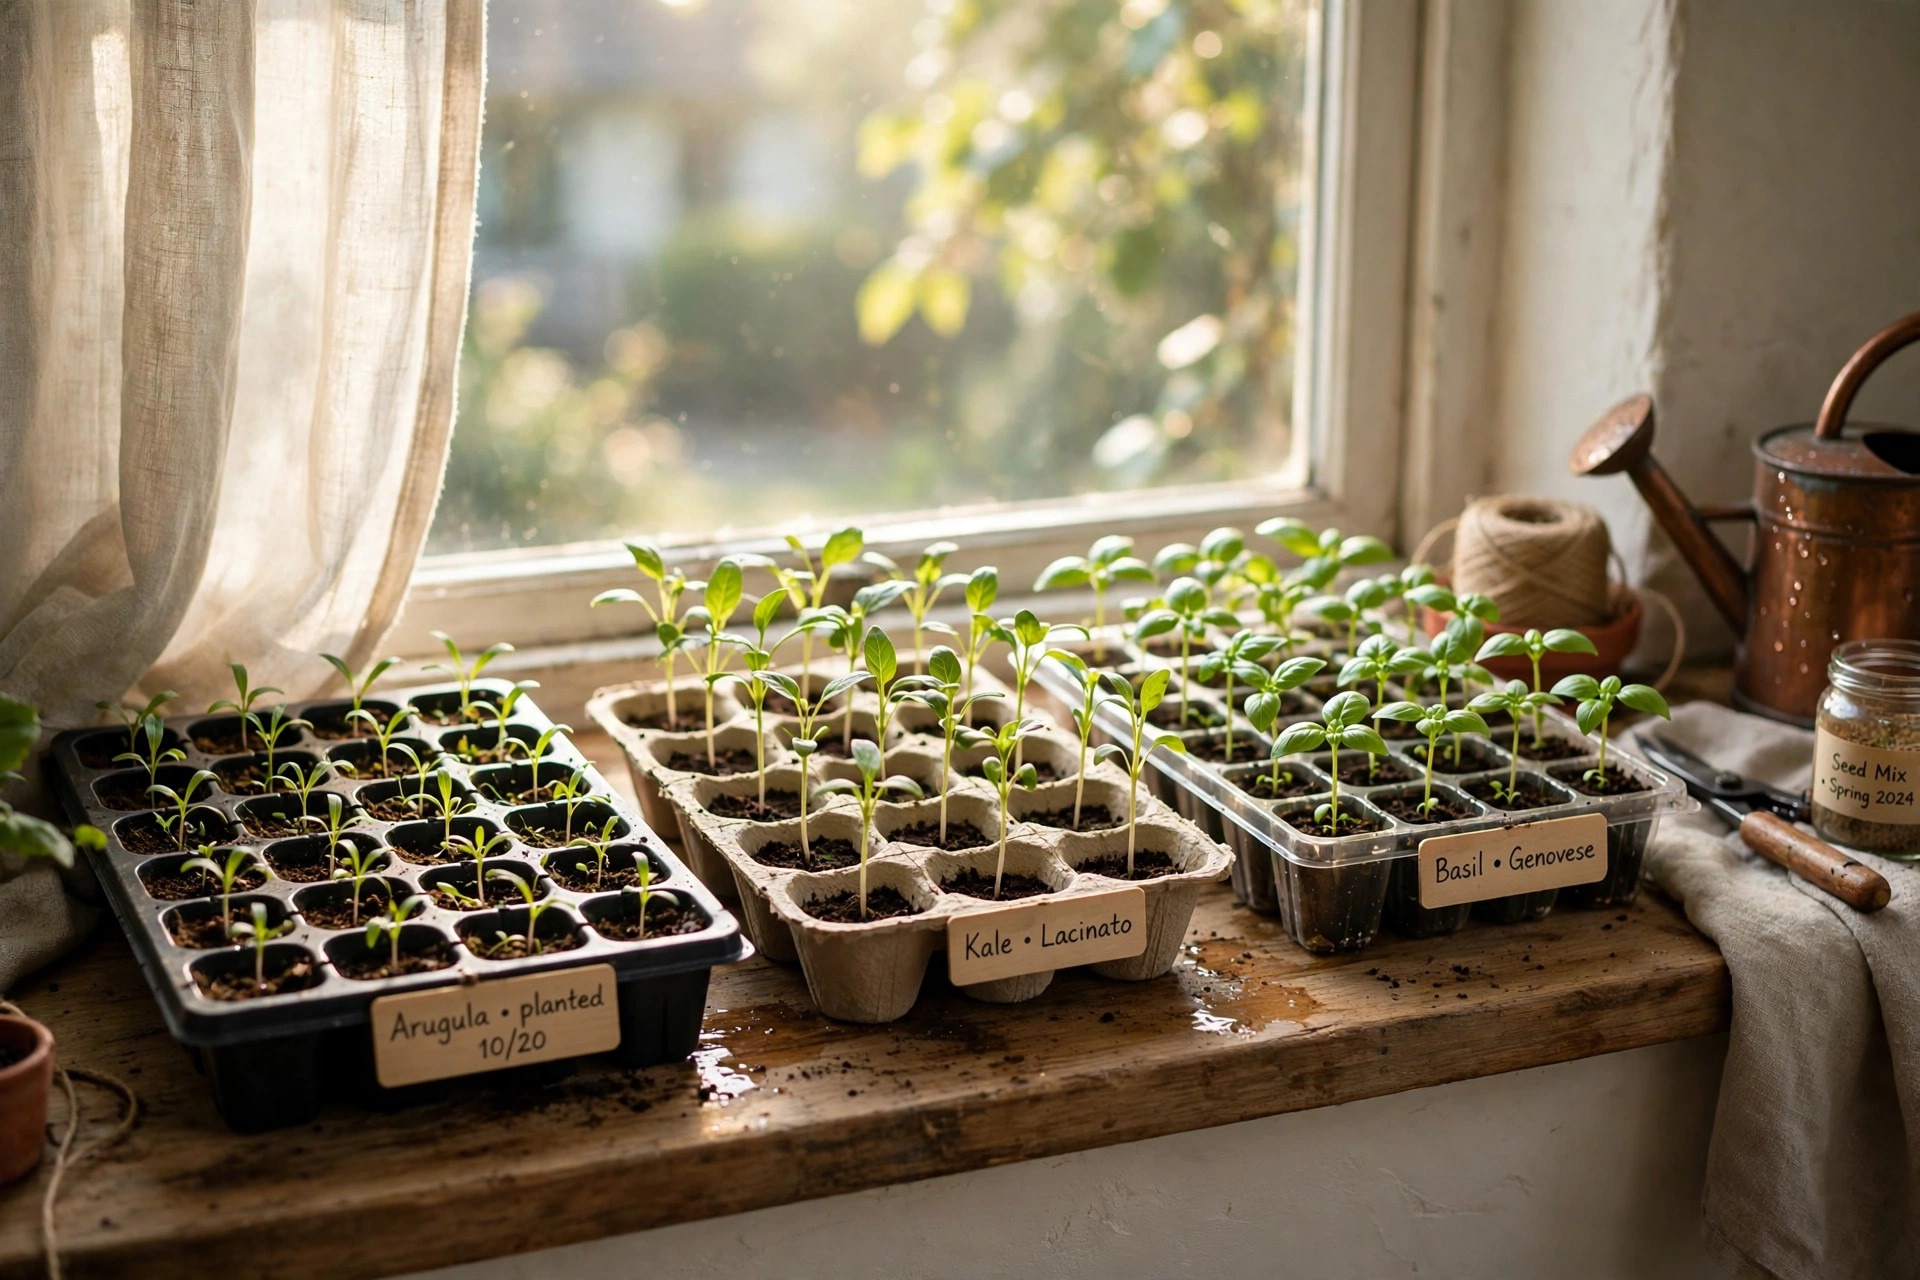
Before your seedlings move outside, read our 10-day hardening-off plan so the move does not shock them.
Once your seedlings are in the garden, our general tomato growing guide takes over from planting to harvest.
References
- University of Minnesota Extension. Growing tomatoes in home gardens. Supports sowing a quarter inch deep, heat mat at 75 to 85 degrees until emergence, thinning to one plant, and the 5 to 6 week start for Minnesota. https://extension.umn.edu/garden-and-home/yard-and-garden/gardening-in-minnesota/growing-tomatoes
- University of Minnesota Extension. Planting the vegetable garden. Supports sowing two to three seeds per cell, covering trays until germination, removing the cover at emergence, and the starter fertilizer schedule. https://extension.umn.edu/garden-and-home/yard-and-garden/gardening-in-minnesota/planting-the-vegetable-garden
- Cornell Garden-Based Learning. 3.7 Planting the Garden. Supports hardening off seedlings slowly over a week and planting tomatoes deeper, up to two thirds of the plant underground. https://gardening.cals.cornell.edu/lessons/project-s-o-w-seeds-of-wonder-food-gardening-with-justice-in-mind/unit-3-sowing-seeds-of-curiosity/3-7-planting-the-garden/
- Penn State Extension. Damping Off. Supports damping-off prevention with clean trays, soilless mix, and bottom heat of 70 to 75 degrees. https://extension.psu.edu/damping-off
- University of Minnesota Extension. How and when to start your seeds. Supports timing by crop and the need for strong supplemental light. https://extension.umn.edu/news/how-and-when-start-your-seeds
Frequently Asked Questions
When should I start tomato seeds indoors?
Start tomato seeds indoors 6 to 8 weeks before your average last frost date. In a short northern season, University of Minnesota Extension shortens that to 5 to 6 weeks before planting outside, because a compact younger seedling transplants better than an older root-bound one.
How long do tomato seeds take to germinate?
Most tomato seeds sprout in 5 to 10 days when the soil stays at 70 to 80 degrees Fahrenheit. Cooler soil can stretch germination to 14 days or more, and soil below 50 degrees makes it slow and uneven.
Do tomato seeds need light to germinate?
No. Warmth matters for germination, not light. Light becomes critical the moment seedlings emerge, and they need 14 to 16 hours of bright light a day from then on, with the fixture 2 to 4 inches above the leaves.
Why are my tomato seedlings leggy?
Leggy seedlings are reaching for light they cannot get. Move the grow light to 2 to 4 inches above the leaves, run it 14 to 16 hours a day, and add a fan for gentle air movement. Tomatoes can be rescued by burying the stretched stem deeper at transplant, since roots form along the buried stem.
When can I transplant tomato seedlings outside?
Transplant after the last frost has passed, when the soil at 3 to 4 inches deep reads 60 degrees Fahrenheit or warmer for several mornings, nights stay above 50 degrees, and the seedlings have been hardened off for 7 to 10 days.
Can I grow tomatoes from seed without grow lights?
A south-facing window alone is usually not enough, even in late winter, because the light is too weak and too short-lived for compact growth. A basic LED or fluorescent shop light hung 2 to 4 inches above the seedlings works well and costs far less than a lost batch of leggy plants.

Thesis Link : https://saulibrary.edu.bd/daatj/public/uploads/BAU200601_19-Pp_5.pdf
- How to Grow Tomatoes from Seed: A Step by Step Guide for Beginners - November 6, 2026
- Best Compost Bins for Beginners: 10 Picks for Easy First Compost - November 6, 2026
- Best Seed Storage and Organizers: 10 Picks for Every Collection - November 5, 2026