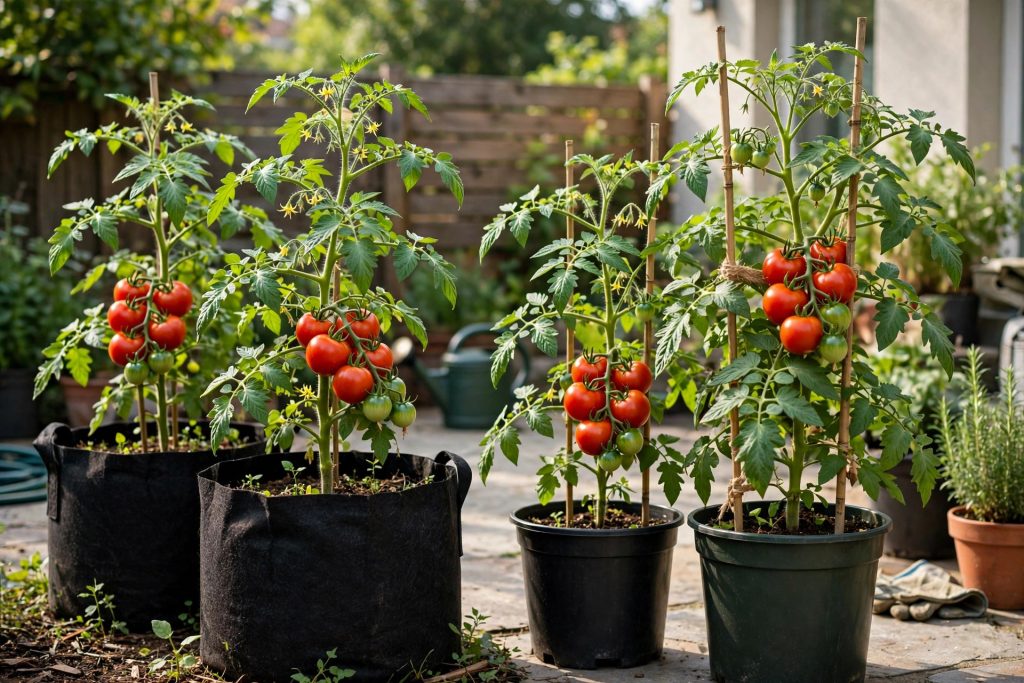

A tomato plant does not care whether it grows in a garden bed or a pot on a balcony. It cares about root room, sun, water, and warmth, and a pot can give it all four when you set it up right. A patio, a balcony, or a sunny rooftop can grow real tomatoes, the kind that smell like summer when you pick them warm.
Learning how to grow tomatoes from seed in pots takes a little more care than planting in the ground, because a pot holds a small world. The soil dries faster, the roots have less room, and a mistake shows up sooner. Get the pot size right, start the seeds at the right time, and water with a steady hand. This guide covers the whole job in seven steps.
Quick Answer
Start tomato seeds indoors 6 to 8 weeks before your average last frost date. Sow them a quarter inch deep in moist seed starting mix, keep the soil at 70 to 80 degrees, and give the seedlings 14 to 16 hours of bright light a day once they sprout. Harden the plants off for 7 to 10 days, then move each one into its final pot after the last frost, when nights stay above 50 degrees. Use a minimum of 5 gallons for a compact determinate variety (7 gallons is recommended), a minimum of 7 gallons for Roma (10 gallons is recommended), and a minimum of 10 gallons for a tall indeterminate one (15 gallons is recommended). Fill the pot with bagged potting mix, water daily in warm weather, and give it 6 to 8 hours of direct sun, with 8 or more hours recommended for good yield.
Why Grow Tomatoes in Pots
Pots solve problems that garden beds cannot. A renter can grow food without digging up a yard, and a gardener with poor soil can skip the soil entirely. A pot can be moved to chase the sun, pulled under cover in a storm, and carried inside when a late frost threatens. Container plants also meet fewer soil-borne diseases, because the potting mix starts clean.
Pots have real limits too. A pot dries out faster than a bed, so watering becomes a daily job in summer heat. A pot caps the root system, so a variety that wants to grow six feet tall will struggle in five gallons of mix. And a pot full of wet soil is heavy, so set it in its final spot before you fill it.
Growing Tomatoes in Containers: What You Need Before You Sow
Gather the supplies before the seeds go in. You need tomato seed, seed starting mix, small pots or cell trays with drainage holes, a tray to catch water, plant labels, a spray bottle or small watering can, and a grow light with a timer. A heat mat helps if your house runs cool. Buy the final pots early, because garden centers sell out of 10 and 15-gallon containers in spring.
Step 1: Choose the Right Tomato Variety for Pots
The variety decides the pot, not the other way around. A tomato plant grows to the size its genes set, and no feeding will keep a six-foot vine happy in a three-gallon pot. Choose first, then buy the pot to match.
Determinate vs Indeterminate Tomatoes for Containers
Determinate tomatoes, also called bush types, grow to a set height and then stop. Minnesota Extension describes bush-type plants as reaching 24 to 30 inches, with fruit that ripens over a four to six week period, and notes that they need no pruning or staking. That makes them the natural container choice, with one concentrated harvest for canning and sauce making.
Indeterminate tomatoes keep growing and fruiting until frost stops them. Indeterminate tomatoes continue growing throughout the season and can become several feet tall, depending on the variety and growing conditions. They need a sturdy stake, cage, or trellis.
Best Varieties for Pots
Check the plant tag or seed packet before you buy, because Early Girl and Bush Early Girl are different plants.
- Tiny Tim: A micro-dwarf cherry, about 12 to 18 inches tall, with small sweet fruit in roughly 45 to 60 days. It fits a 3-gallon pot on a windowsill or small table.
- Tumbling Tom: A cascading cherry that spills over the edge of a pot or hanging basket. It needs a 5-gallon pot and no staking, because the stems drape rather than climb.
- Patio Princess: A compact determinate, about 18 to 24 inches tall, with full-size slicing tomatoes. An All-America Selections winner for small spaces, it fits a 5-gallon pot as a minimum (7 gallons is recommended).
- Bush Early Girl: A compact determinate slicer, about 3 to 4 feet tall, with full-size fruit in about 55 to 60 days. Do not confuse it with standard Early Girl, which is indeterminate and much taller.
- Celebrity: A compact determinate slicer that produces large, reliable fruit on a tidy plant. Give it a minimum of 5 gallons (7 gallons is recommended).
- Roma: A determinate paste tomato, about 3 to 4 feet tall, with meaty fruit for sauce and roasting. It needs a minimum of 7 gallons (10 gallons is recommended).
One plant per pot is the rule for full-size varieties. Crowded roots dry out fast, and two plants in one pot compete for water, food, and light.
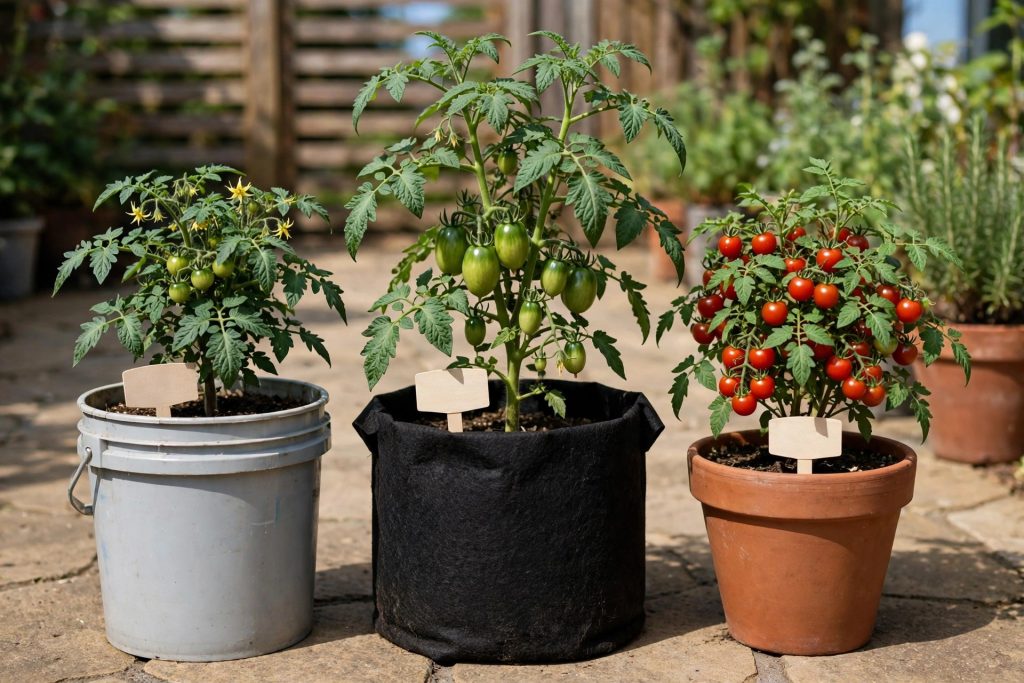
Pot Size vs Tomato Type
| Variety Type | Example Varieties | Minimum Pot Size | Recommended Pot Size | Mature Height | Best For |
|---|---|---|---|---|---|
| Micro-dwarf cherry | Tiny Tim, Micro Tom | 3 gallons | 3 gallons | 12 to 18 inches | Windowsills, small tables |
| Cascading cherry | Tumbling Tom, Patio Choice Yellow | 5 gallons | 5 gallons | 18 to 24 inches, trailing | Hanging baskets, small balconies |
| Compact determinate slicer | Patio Princess, Bush Early Girl, Celebrity | 5 gallons | 7 gallons | 2 to 4 feet | Patios, balconies, first-time growers |
| Determinate paste | Roma | 7 gallons | 10 gallons | 3 to 4 feet | Sauce making, canning |
| Indeterminate cherry or slicer | Sweet 100, Sungold, Big Beef | 10 gallons | 15 gallons | 5 feet or more | Large patios, long harvests |
Treat these sizes as floors, not targets. The minimum is 5 gallons for a compact determinate, 7 gallons for Roma, and 10 gallons for an indeterminate variety, while the recommended size is 7 gallons for a compact determinate, 10 gallons for Roma, and 15 gallons for an indeterminate variety. A bigger pot holds more water and gives the roots more room, so going one size up usually means steadier moisture and a stronger plant. Choose the pot for the variety at full size, not the size of the seedling in front of you.
Step 2: Pick the Best Pot Size for Tomatoes
The best pot size for tomatoes depends on the variety you chose in Step 1, but the minimums are settled. Maryland Extension lists 2 gallons as the minimum for a cherry tomato and 5 gallons for a standard tomato. Iowa State gives the same split, and Wisconsin Extension adds that a 5-gallon bucket works for a determinate plant while an indeterminate plant needs something bigger. For the varieties in this article, the minimums are 5 gallons for a compact determinate, 7 gallons for Roma, and 10 gallons for an indeterminate variety. The recommended sizes are larger than those minimums: 7 gallons for a compact determinate, 10 gallons for Roma, and 15 gallons for an indeterminate variety.
Drainage holes are not optional. Every pot needs several holes in the bottom, and a bucket needs holes drilled before it gets soil. Water that cannot drain out will sit at the bottom, push the air out of the mix, and rot the roots. A saucer under the pot is fine for catching drips, but empty it after watering so the plant never sits in standing water.
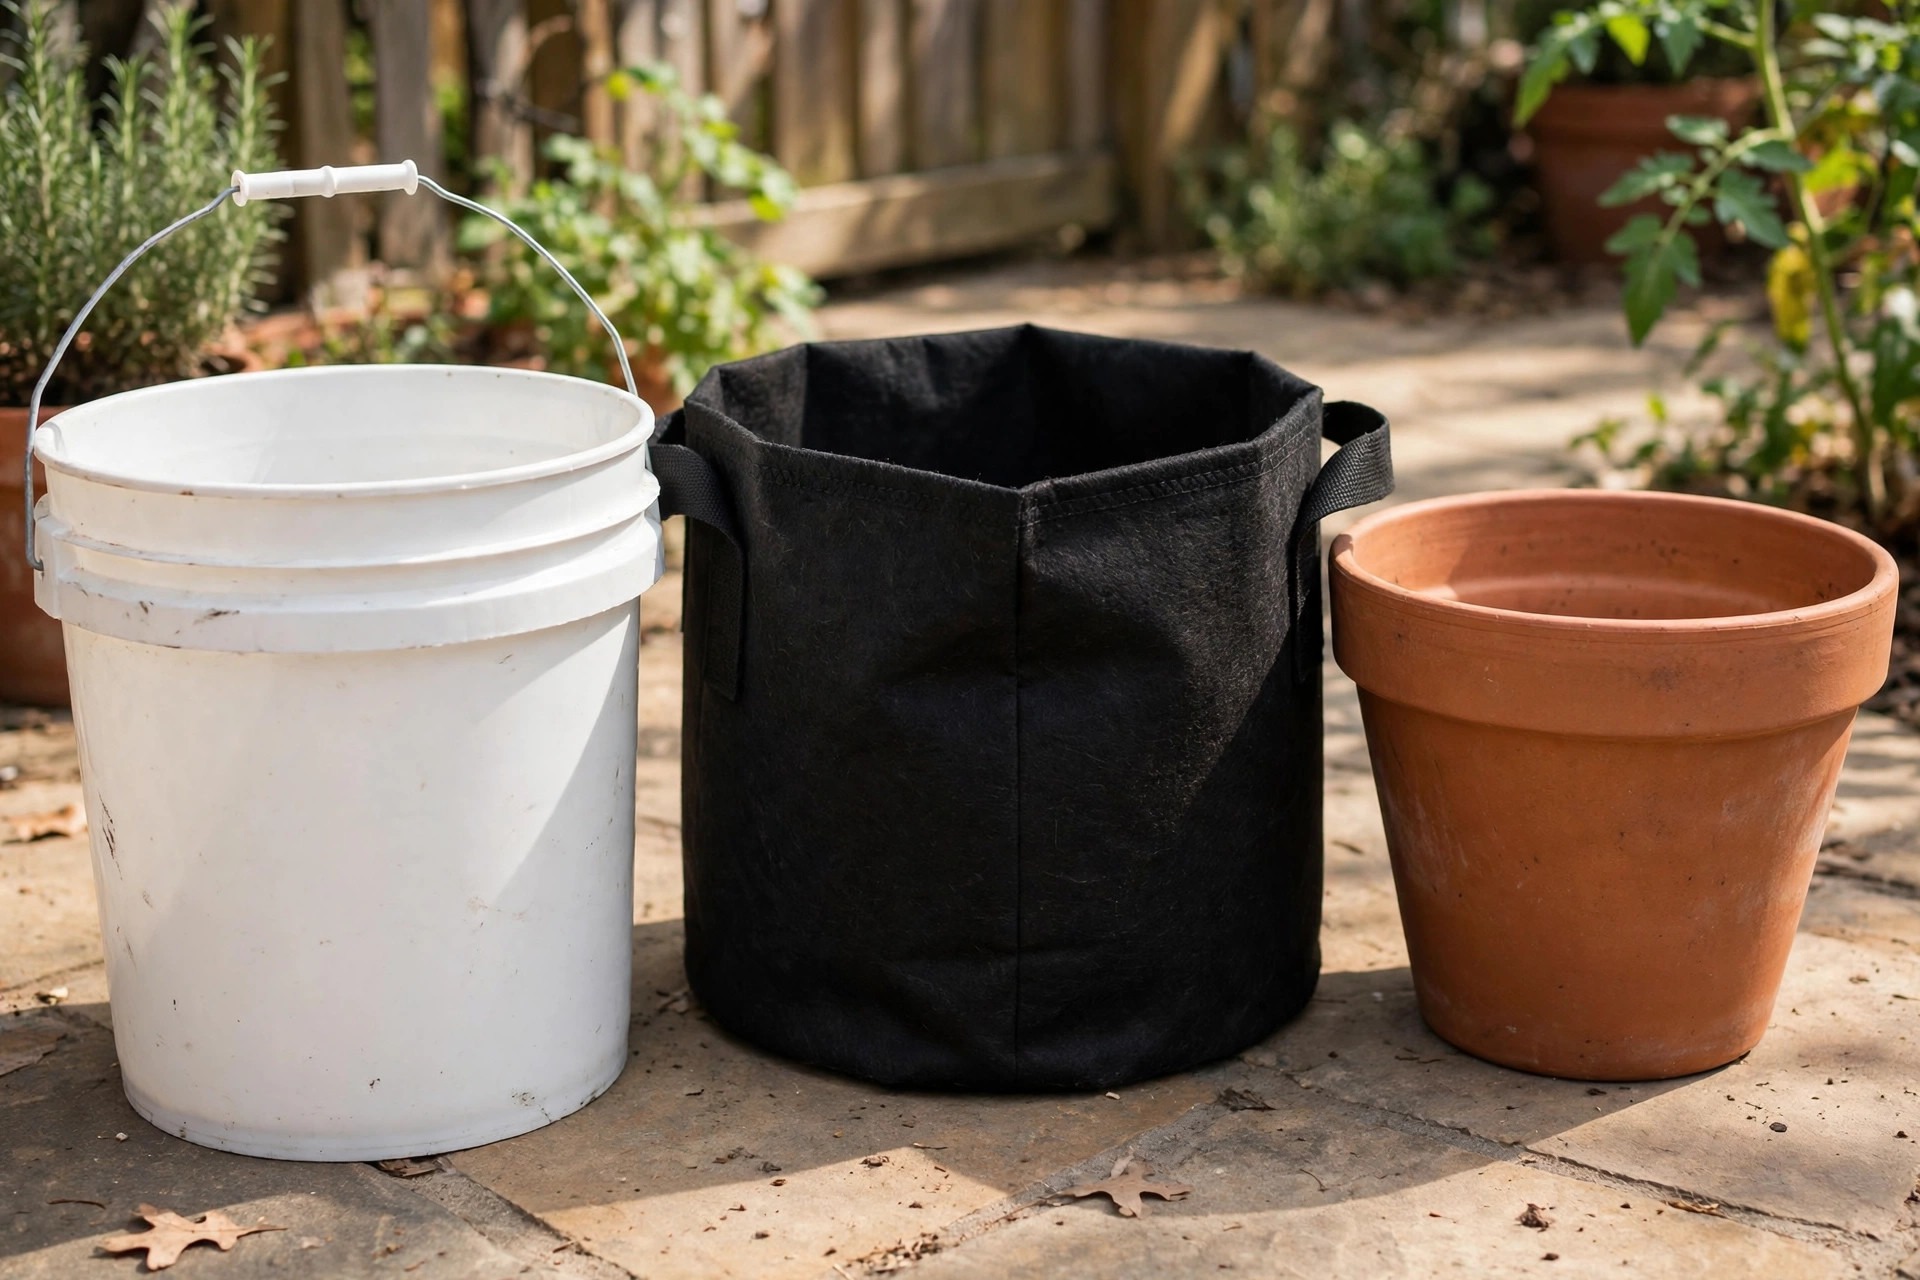
Fabric Grow Bags vs Plastic vs Terracotta
The material changes how often you water, how the roots grow, and how heavy the pot gets.
| Material | Holds Moisture | Root Health | Weight | Main Drawback |
|---|---|---|---|---|
| Fabric grow bag | Dries fastest | Air-prunes roots, so they branch instead of circling | Very light | Needs watering most often |
| Plastic pot | Holds moisture well | Roots can circle the pot wall | Light | Heats up in full sun |
| Terracotta | Dries fast through the walls | Good airflow, roots can still circle | Heavy | Dries fastest, can crack in a freeze |
Fabric grow bags are the easiest win for a beginner. The breathable walls let air reach the root tips, which dries them and makes the plant grow new side roots instead of circling, so the root system grows denser in the same volume of mix. The trade-off is water: a fabric bag dries from the sides as well as the top, so check it every day in summer. Plastic holds moisture longer and costs less, but a dark plastic pot in full sun can heat the root zone, so a light color helps. Terracotta looks good and breathes well, but it dries fastest and a large one is heavy once filled.
Step 3: Sow the Seeds Indoors
Sow 6 to 8 weeks before your average last frost date. That window gives a stocky plant about 6 to 8 inches tall by transplant time. Sow earlier and the plant outgrows its light and its pot before the weather is ready. Maryland Extension gives 5 to 6 weeks before planting out as the timing that produces stocky 8 to 10-inch plants.
Fill the cells or small pots with moist seed starting mix, not potting soil and not garden soil. Seed starting mix is fine, sterile, and drains well, which is what a tiny seed needs. Press the mix down lightly, make a shallow hole about a quarter inch deep, drop in two or three seeds per cell, and cover them lightly. Minnesota Extension gives the same depth: plant seeds one-fourth inch deep in sterile, soilless germination mix. Deeper than half an inch and many seeds never emerge.
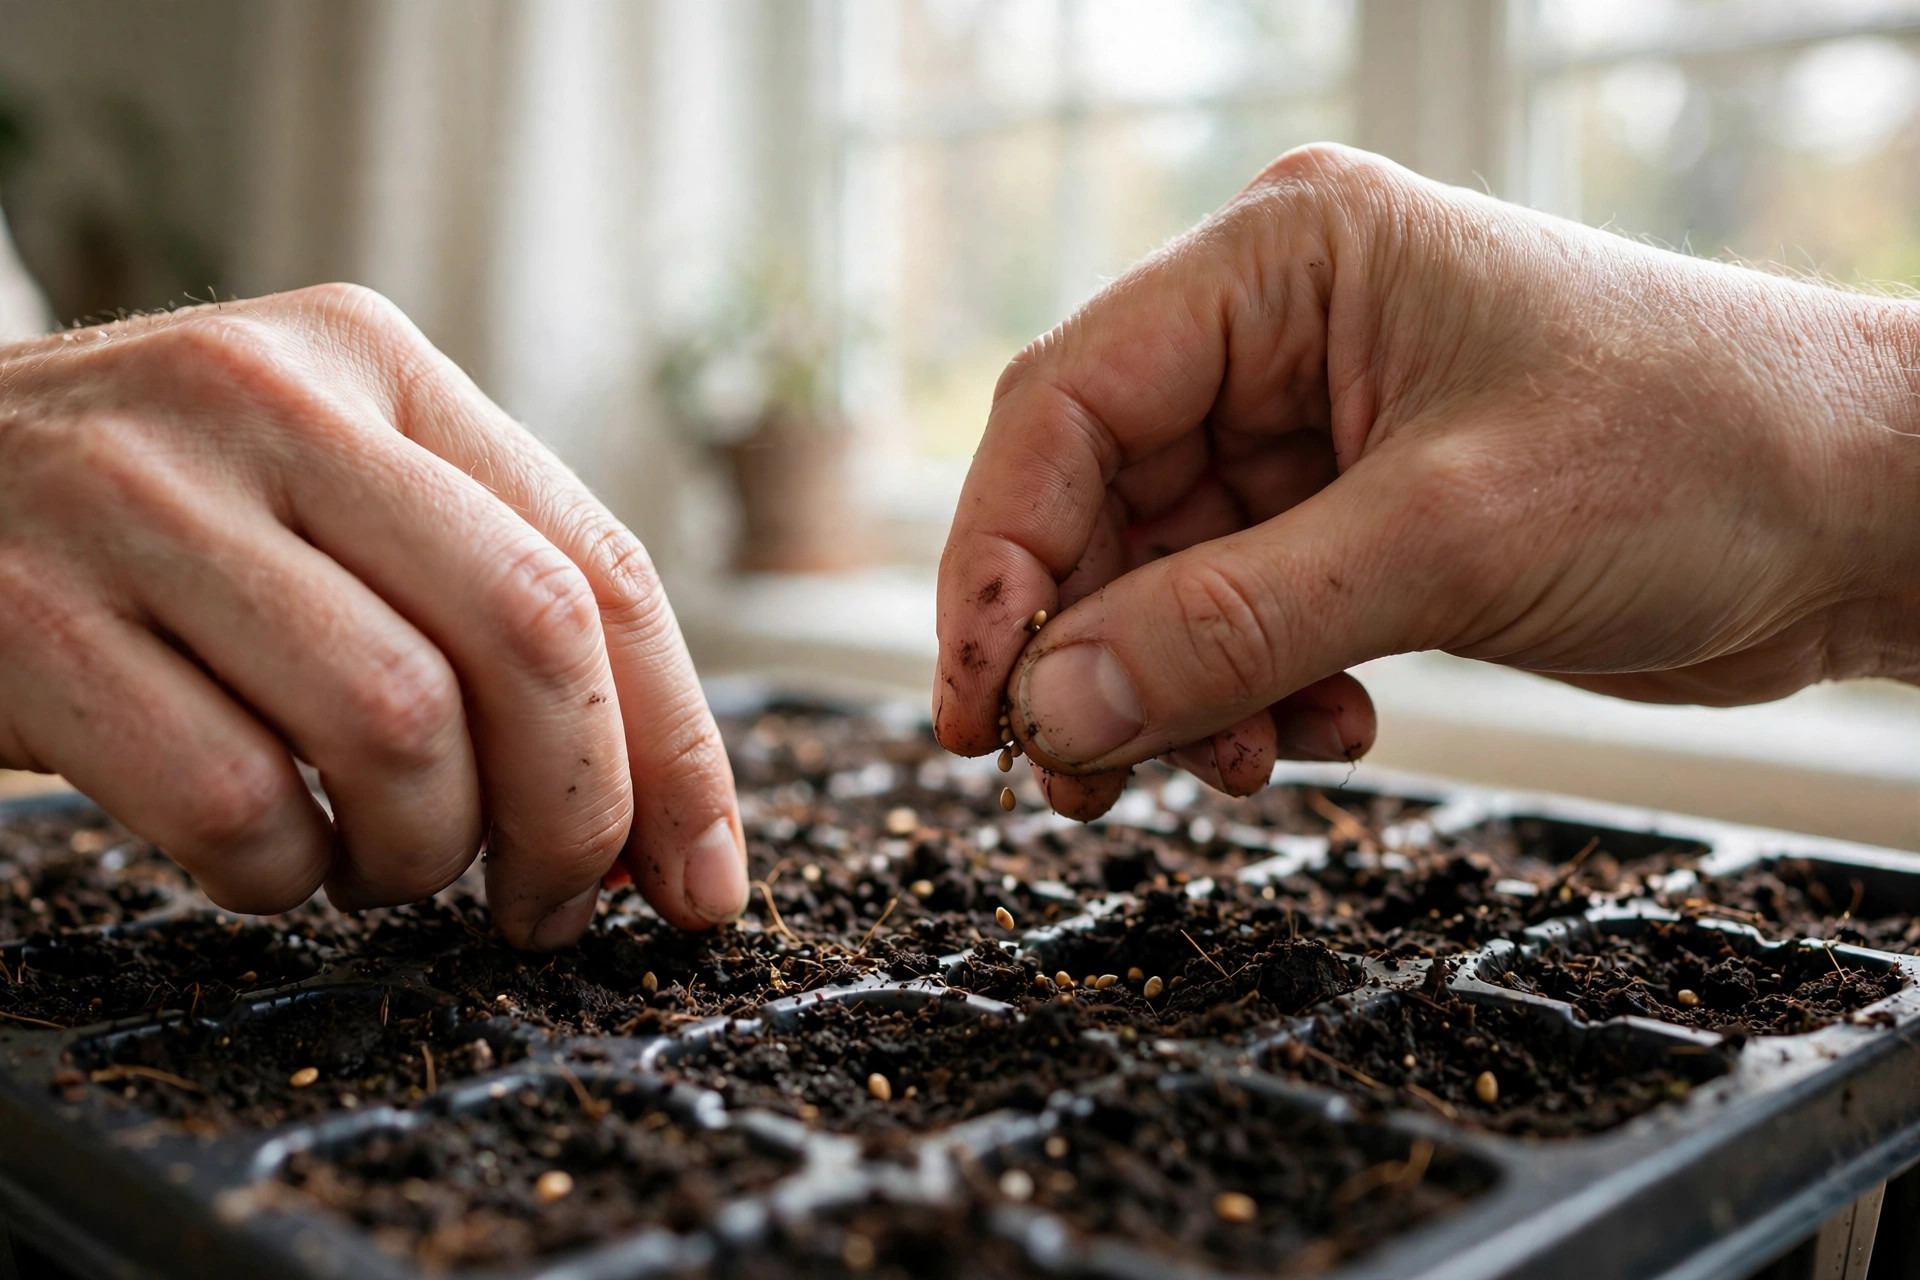
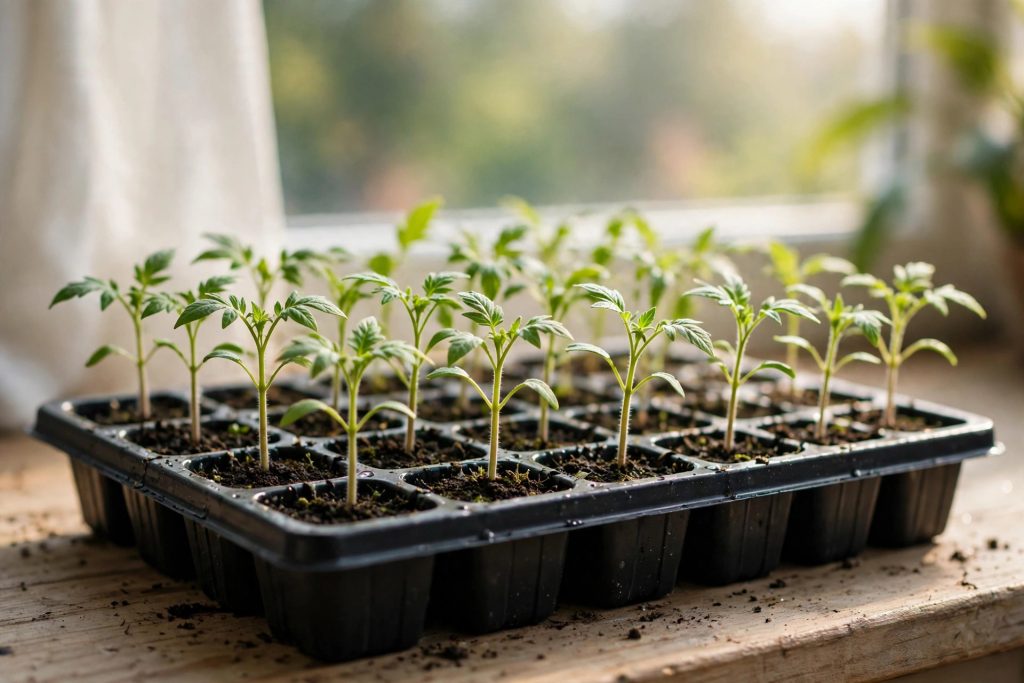
Mist the surface until the mix is damp all the way through, then cover the tray with a clear dome or plastic wrap. Put the tray somewhere warm. Tomato seeds sprout best when the soil sits between 70 and 80 degrees. Minnesota Extension suggests a heat mat set to 75 to 85 degrees until the seedlings emerge, then a cooler spot at about 70 degrees.
Most tomato seeds sprout in 5 to 10 days at the right temperature. Cooler soil stretches that to two weeks or more. As soon as the first green loops push through, take the dome off and move the tray under the light.
If you want the full indoor seed-starting routine, our guide to growing tomatoes from seed walks through trays, lights, and timing in detail.
Step 4: Care for Seedlings Under Lights
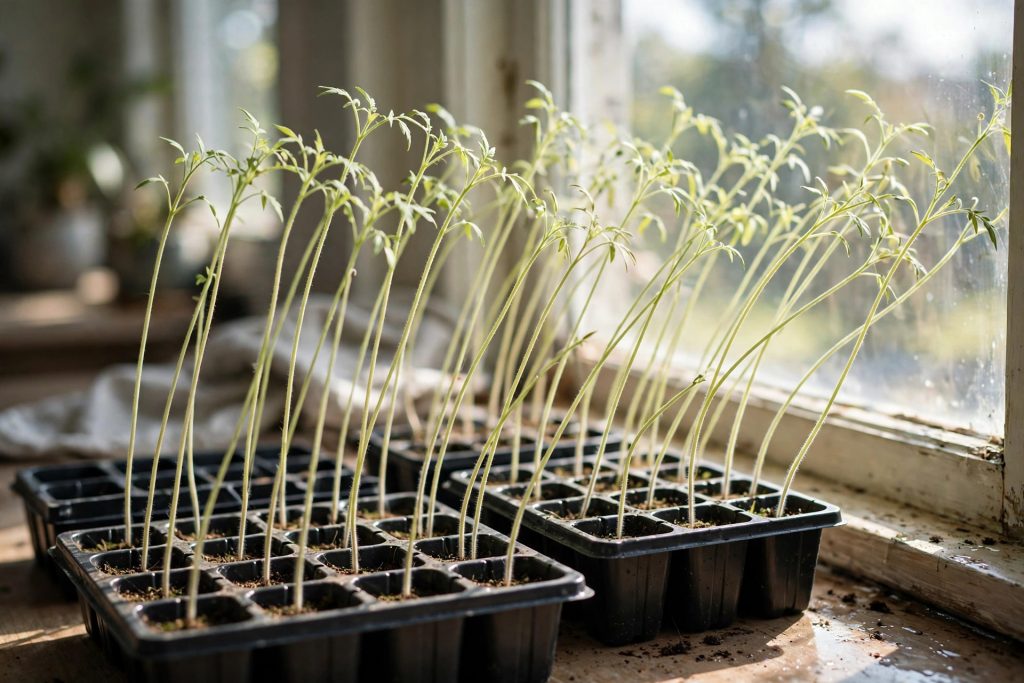
Light is the whole job for the next five weeks. A windowsill is not enough, even a bright south-facing one, because the light comes from one side and the plant stretches toward it. Minnesota Extension says it plainly: grow seedlings under fluorescent or LED lights rather than relying only on natural light. Hang the light 2 to 4 inches above the leaves for a fluorescent tube, and follow the maker’s height for an LED panel. Run it on a timer for 14 to 16 hours a day, with a dark period every night.
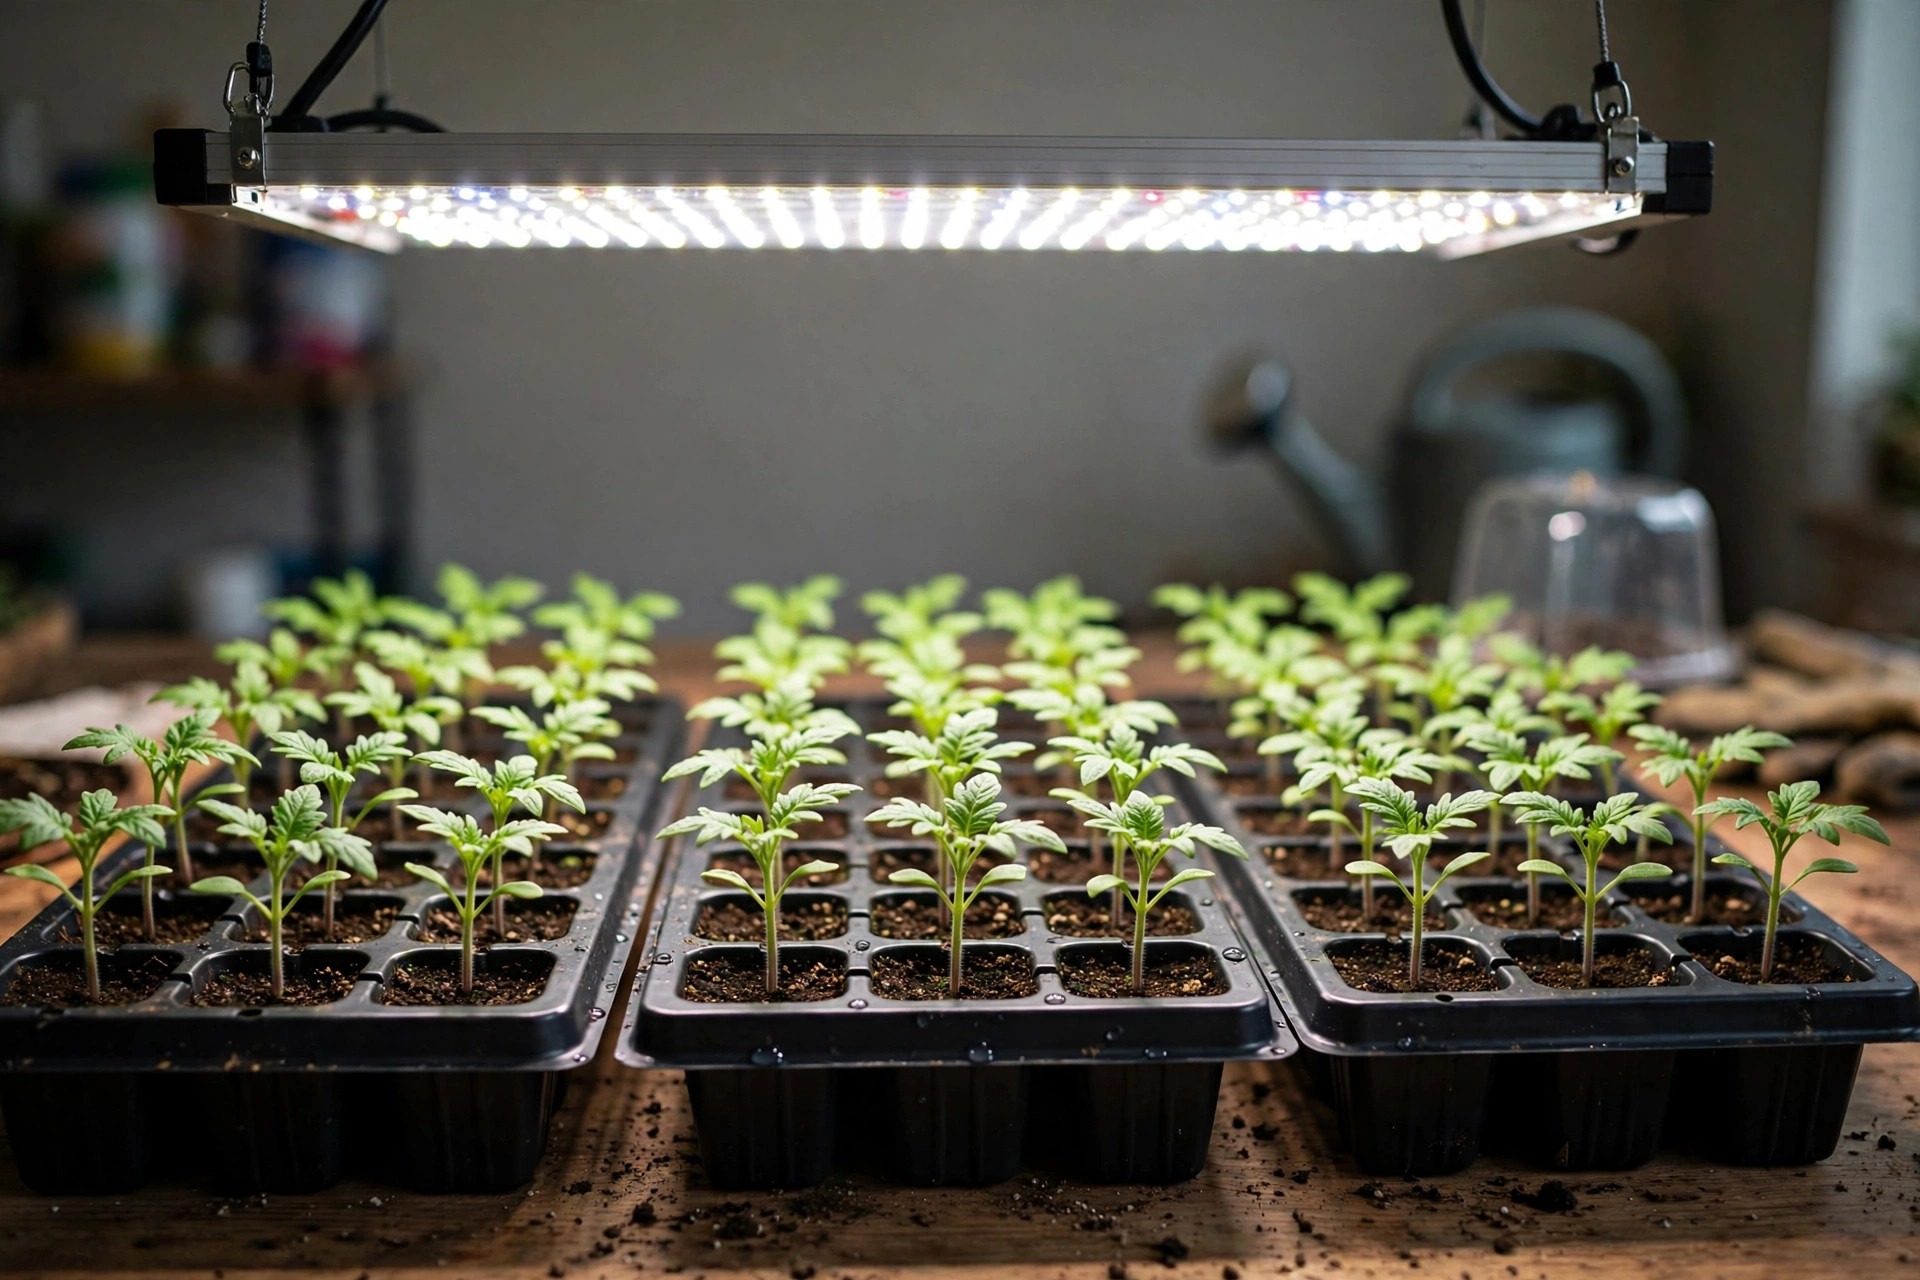
Thin to one seedling per cell once the first true leaves appear. The true leaves are the second set, with the jagged tomato-leaf shape, and they show about two weeks after sprouting. Keep the strongest plant in each cell and snip the others off at the soil line with scissors. Three seedlings in one cell grow into three weak plants, not three good ones.
Cool the tray after germination. The warmth that helped the seeds sprout now pushes the seedlings to stretch, so take the tray off the heat mat the day they emerge and move it to 60 to 70 degrees. Water from the bottom when you can, by setting the tray in a shallow pan of water and letting the mix wick it up, then drain the excess. Water thoroughly when the surface feels dry, then let the mix dry somewhat before you water again. Seedlings that sit wet all the time develop damping off, a stem rot that kills the plant overnight.
Feed lightly or not at all. Seedlings draw their first energy from the seed itself, and most seed starting mixes carry enough nutrients for the first few weeks. Once the plants have several sets of true leaves, a weak water-soluble fertilizer at quarter strength, once a week, is enough. Too much nitrogen makes leafy plants that are slow to fruit. Pot the seedlings up into individual 3 or 4-inch pots when the first true leaves appear, burying the stem a little deeper than it was growing, because tomatoes grow roots along any buried stem.
If your seedlings stretch tall and thin under weak light, our leggy seedling guide shows how to match the symptom to the cause and rescue them.
Step 5: Fill the Pots with the Right Mix
Use bagged potting mix, never garden soil. Maryland Extension is direct on this point: garden soil is too heavy for containers, while commercial potting mix drains well and holds air around the roots. Garden soil in a pot packs down, holds water at the bottom, and can carry soil-borne disease into a clean container. A good potting mix is mostly peat or coir, perlite or bark for drainage.
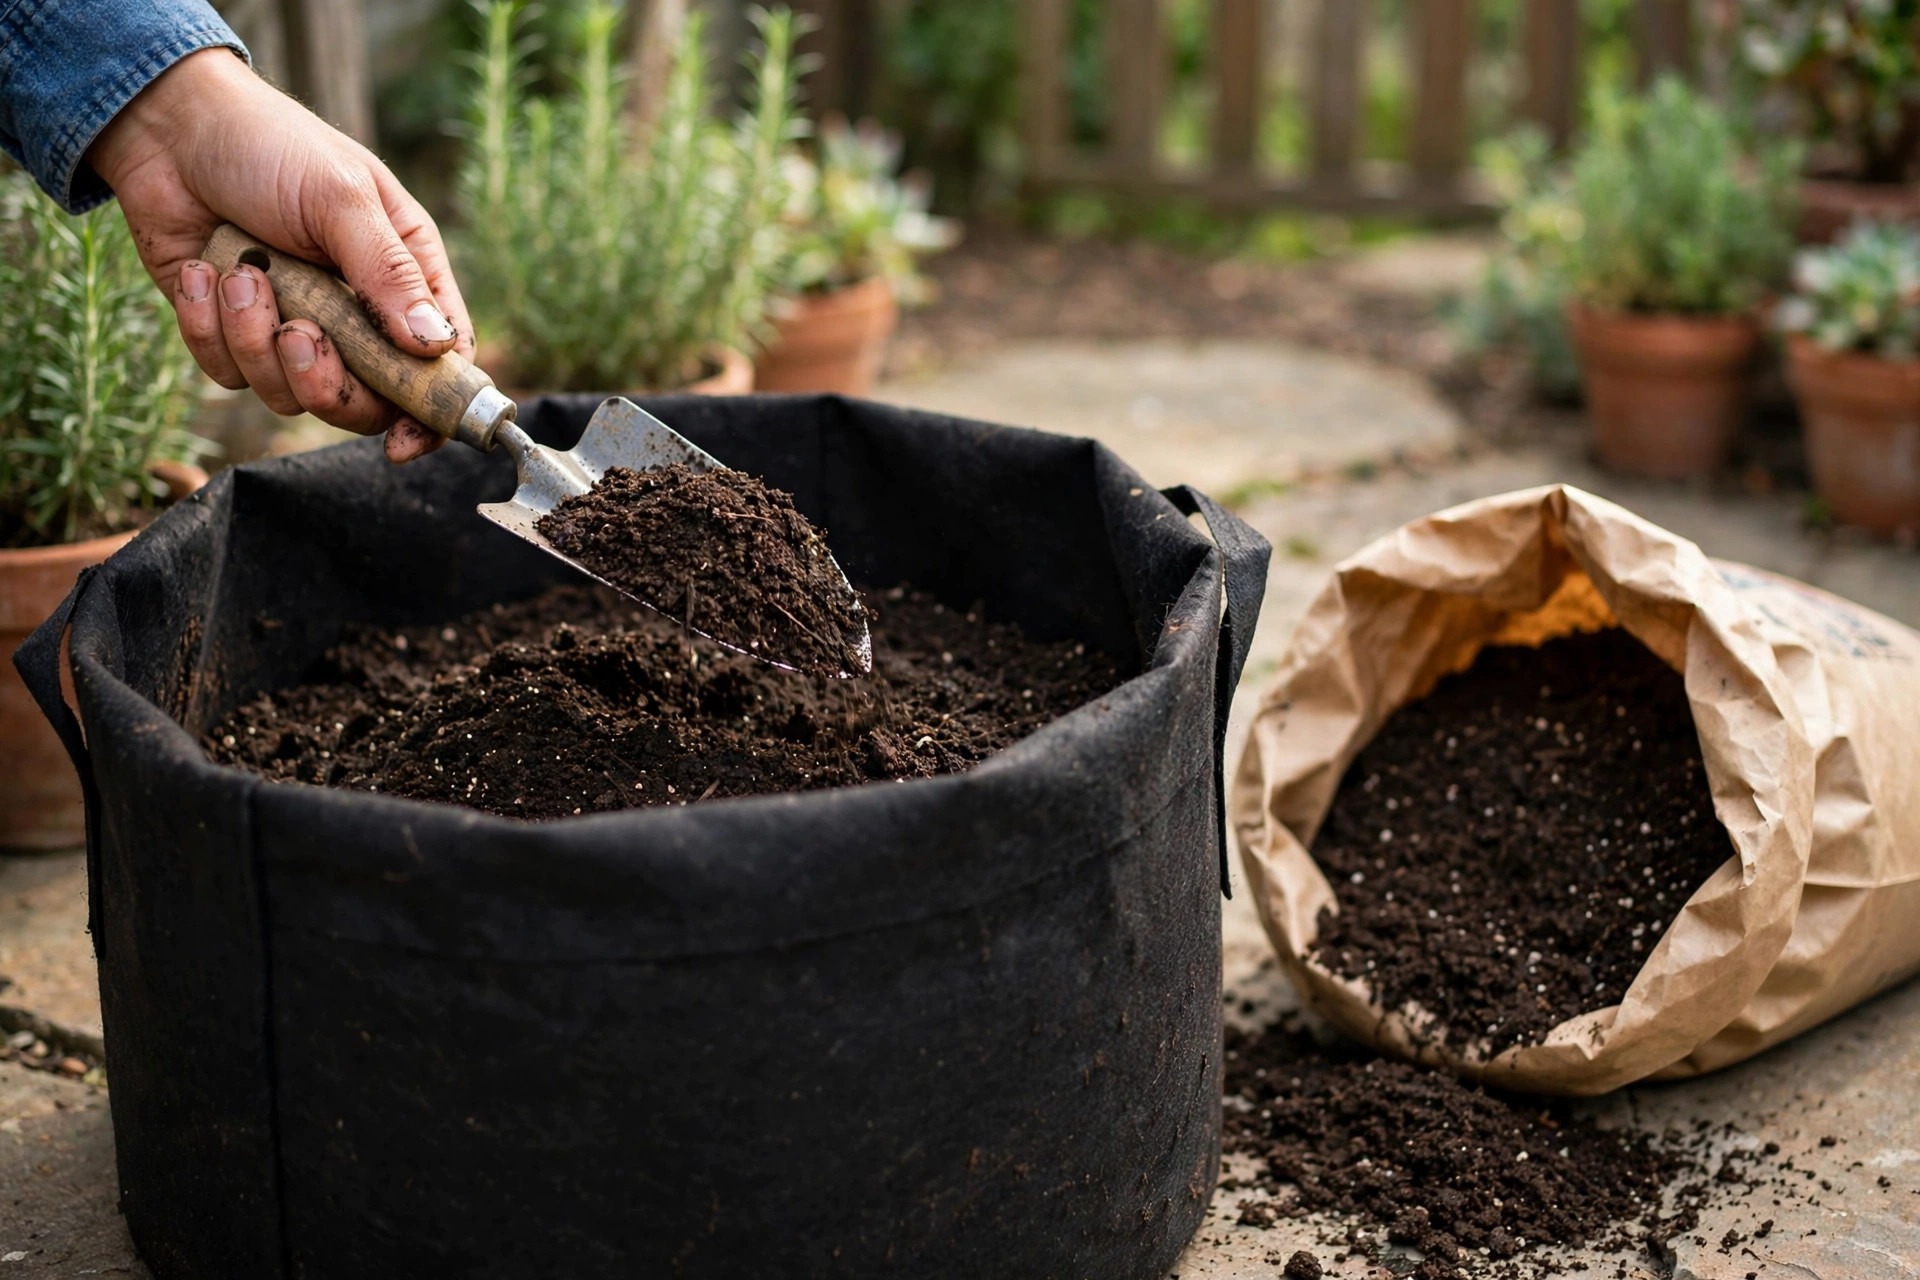
Moisten the mix before it goes into the pot. Dry potting mix repels water at first, so pour it into a wheelbarrow or bucket, add water, and stir until it feels like a wrung-out sponge. Then fill the pot, leaving about an inch of space below the rim. Do not pack the mix down hard. Tap the pot on the ground a few times to settle it.
Mix in a handful of compost per pot if you have it. Most bagged potting mixes already contain enough fertilizer for about six weeks of growth, so the plants will not need feeding until they start setting fruit. Tomatoes do best in slightly acidic to neutral mix, and Minnesota Extension gives 5.5 to 7.0 as the ideal soil pH range.
Step 6: When to Transplant Tomato Seedlings into Pots
Wait until the weather is truly ready. Move the plants into their final pots after your average last frost date, when the soil in the pot has warmed to 60 degrees or more and night temperatures stay above 50 degrees. Minnesota Extension advises transplanting only after all danger of frost has passed and the soil has warmed, and Cornell advises setting plants out two to three weeks after the average last frost rather than rushing. A tomato planted in warm soil catches up to one planted early in cold soil.
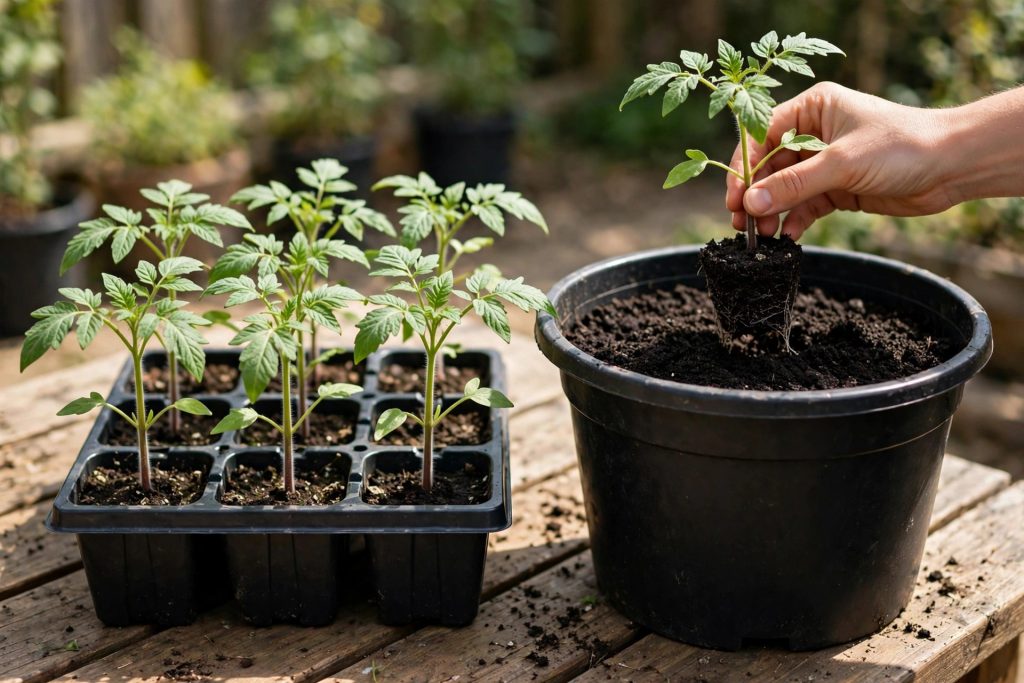
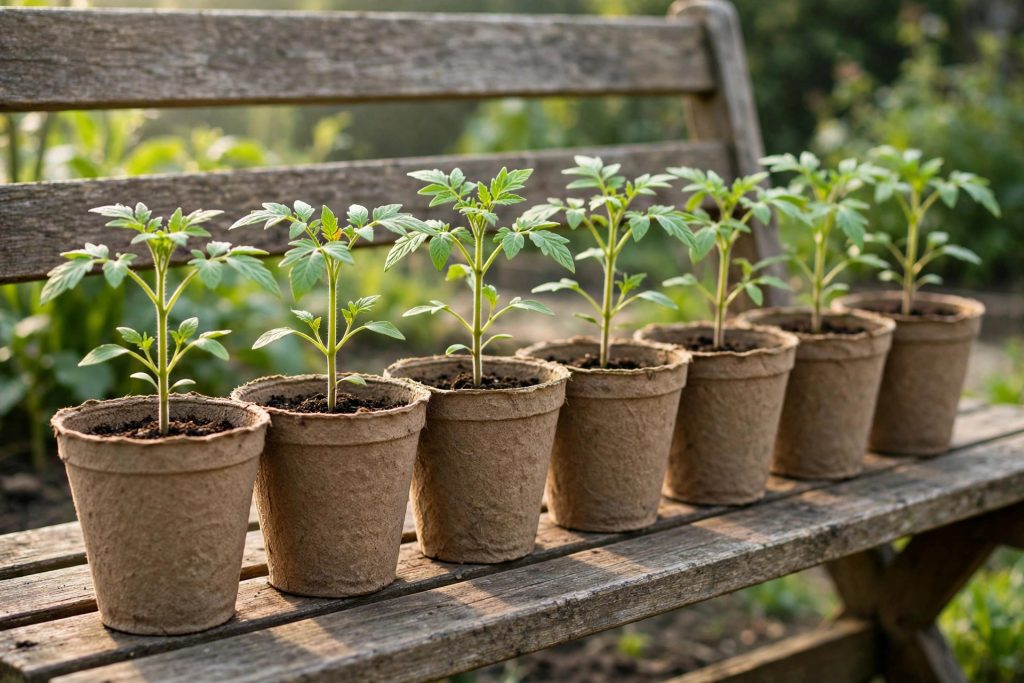
Harden the seedlings off for 7 to 10 days before the move. This is the slow introduction to sun, wind, and cool nights, and skipping it is the fastest way to lose healthy plants. Start with one or two hours in shade, sheltered from wind, then bring them back inside. Add an hour or two of sun each day, and by day seven they can take most of a day in full sun. Maryland Extension adds that warm-season crops should come inside at night if the temperature is expected to fall below 50 degrees.
Step 7: Transplant Seedlings into Their Final Pots
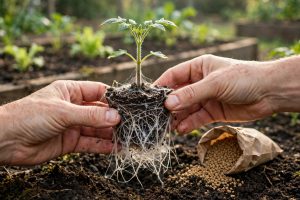
Water the seedling well, then slide it out of its small pot with the root ball intact. If the roots circle the bottom, tease them loose gently with your fingers. Dig a hole in the final pot deep enough to bury the stem up to the first set of true leaves. Tomatoes grow roots along any part of the stem that touches soil, so planting deep gives the plant a bigger root system from day one.
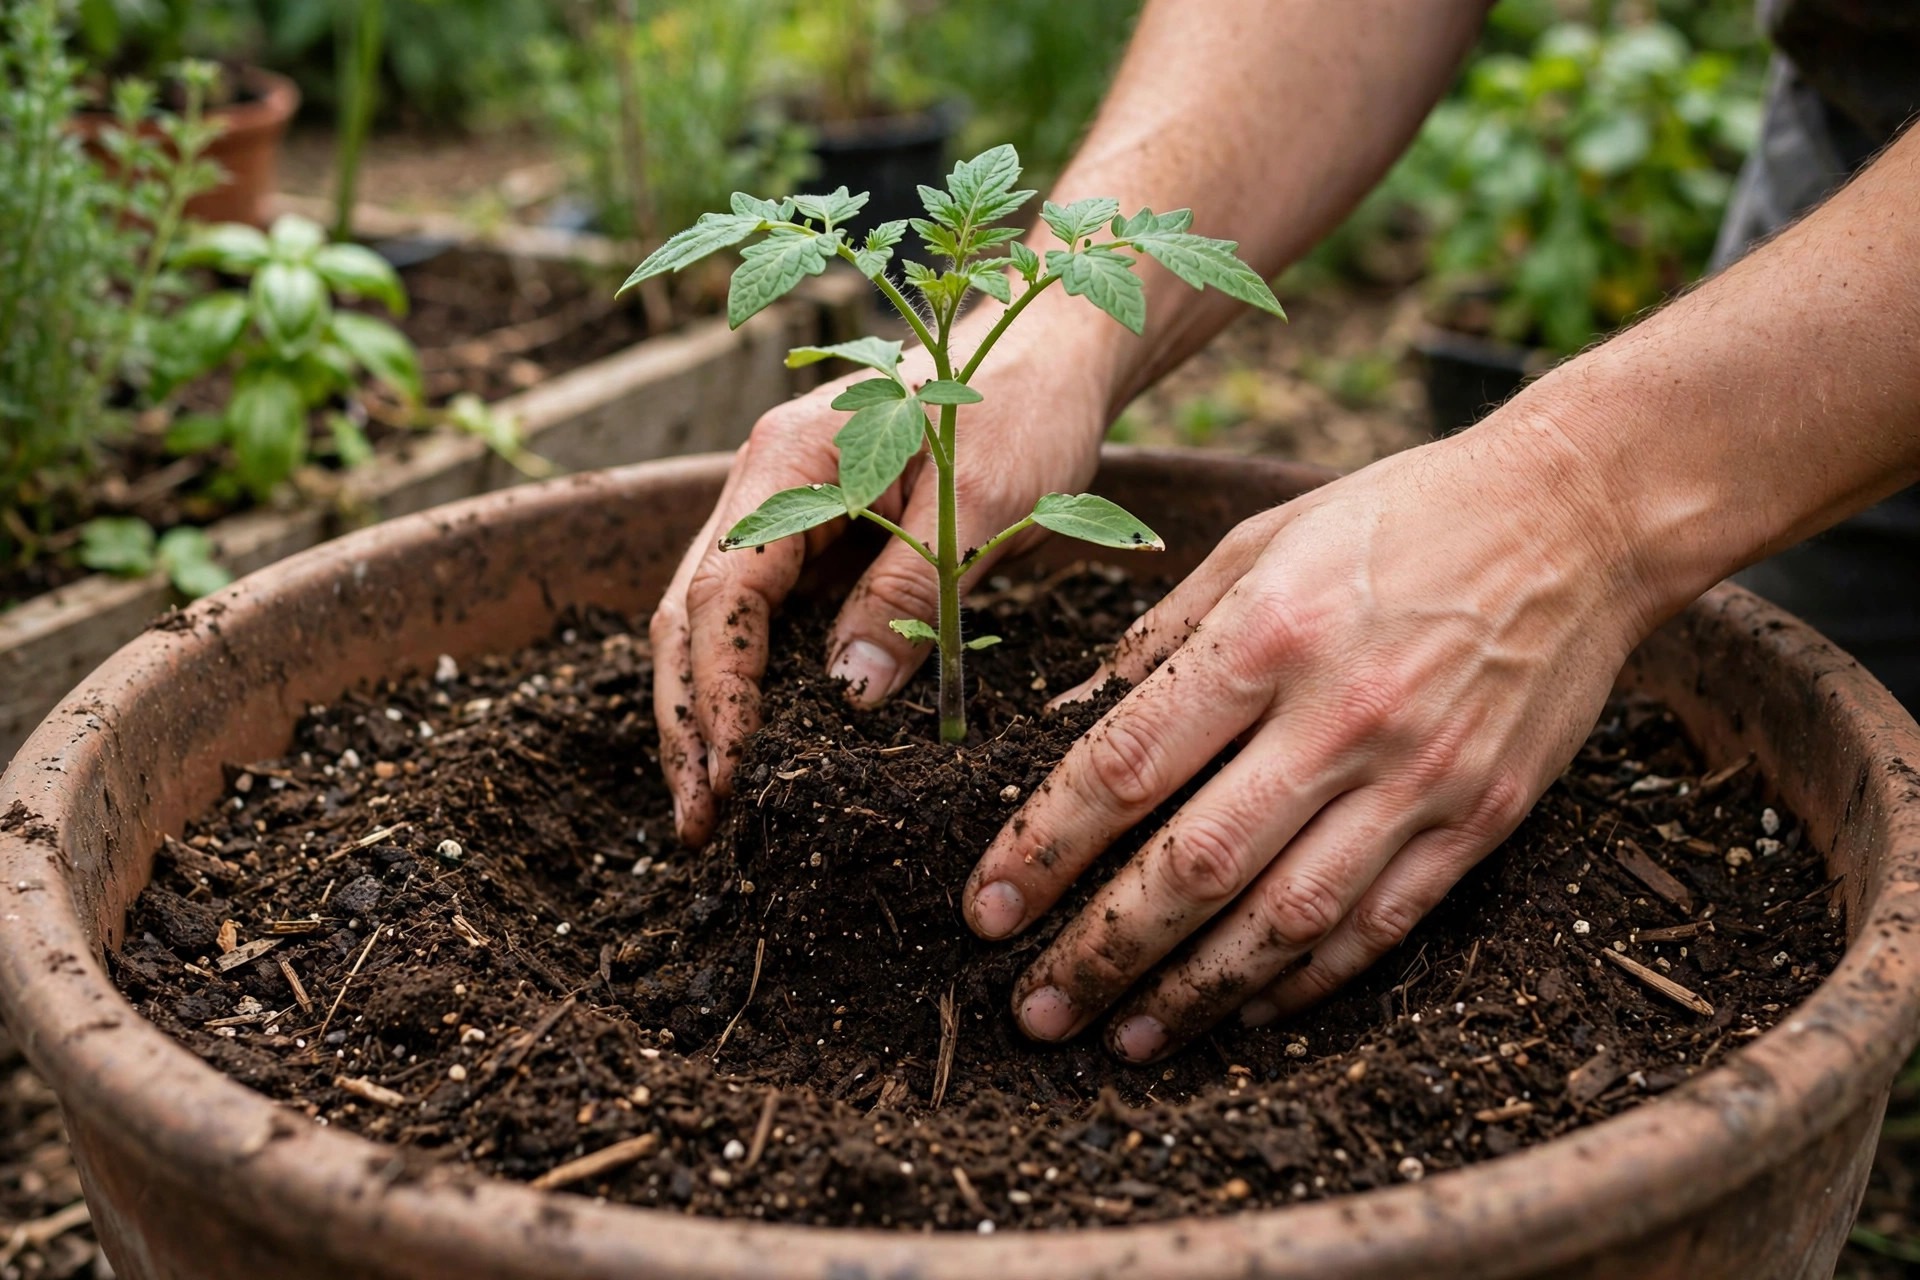
Set the plant in the hole, fill in around it with moist mix, and firm it gently. Water slowly until water runs from the drainage holes, which settles the mix around the roots and removes air pockets. Leave about an inch of space below the rim, then add a 2-inch layer of straw or shredded leaves on the surface to slow evaporation and stop soil from splashing onto the lower leaves.
Put the support in now, not later. A stake, a small cage, or a trellis goes in at planting time, while the roots are still small and you cannot stab through them by accident. A determinate plant needs a short stake or a small cage. An indeterminate plant needs a tall, sturdy cage or a stake at least five feet high, anchored well.
The same deep-planting method works for garden beds too, and our transplant guide covers the full outdoor move step by step.
Watering Potted Tomatoes
Watering potted tomatoes is a daily habit in summer, not a weekly chore. A pot holds far less water than a garden bed, and a fruiting tomato in full sun can drink its pot dry in a day. Minnesota Extension notes that container plants usually need at least daily watering and may need more than once per day. Iowa State adds that container plants in hot weather may need water twice a day. When you learn how to grow tomatoes from seed in pots, watering is the skill that takes the most practice.
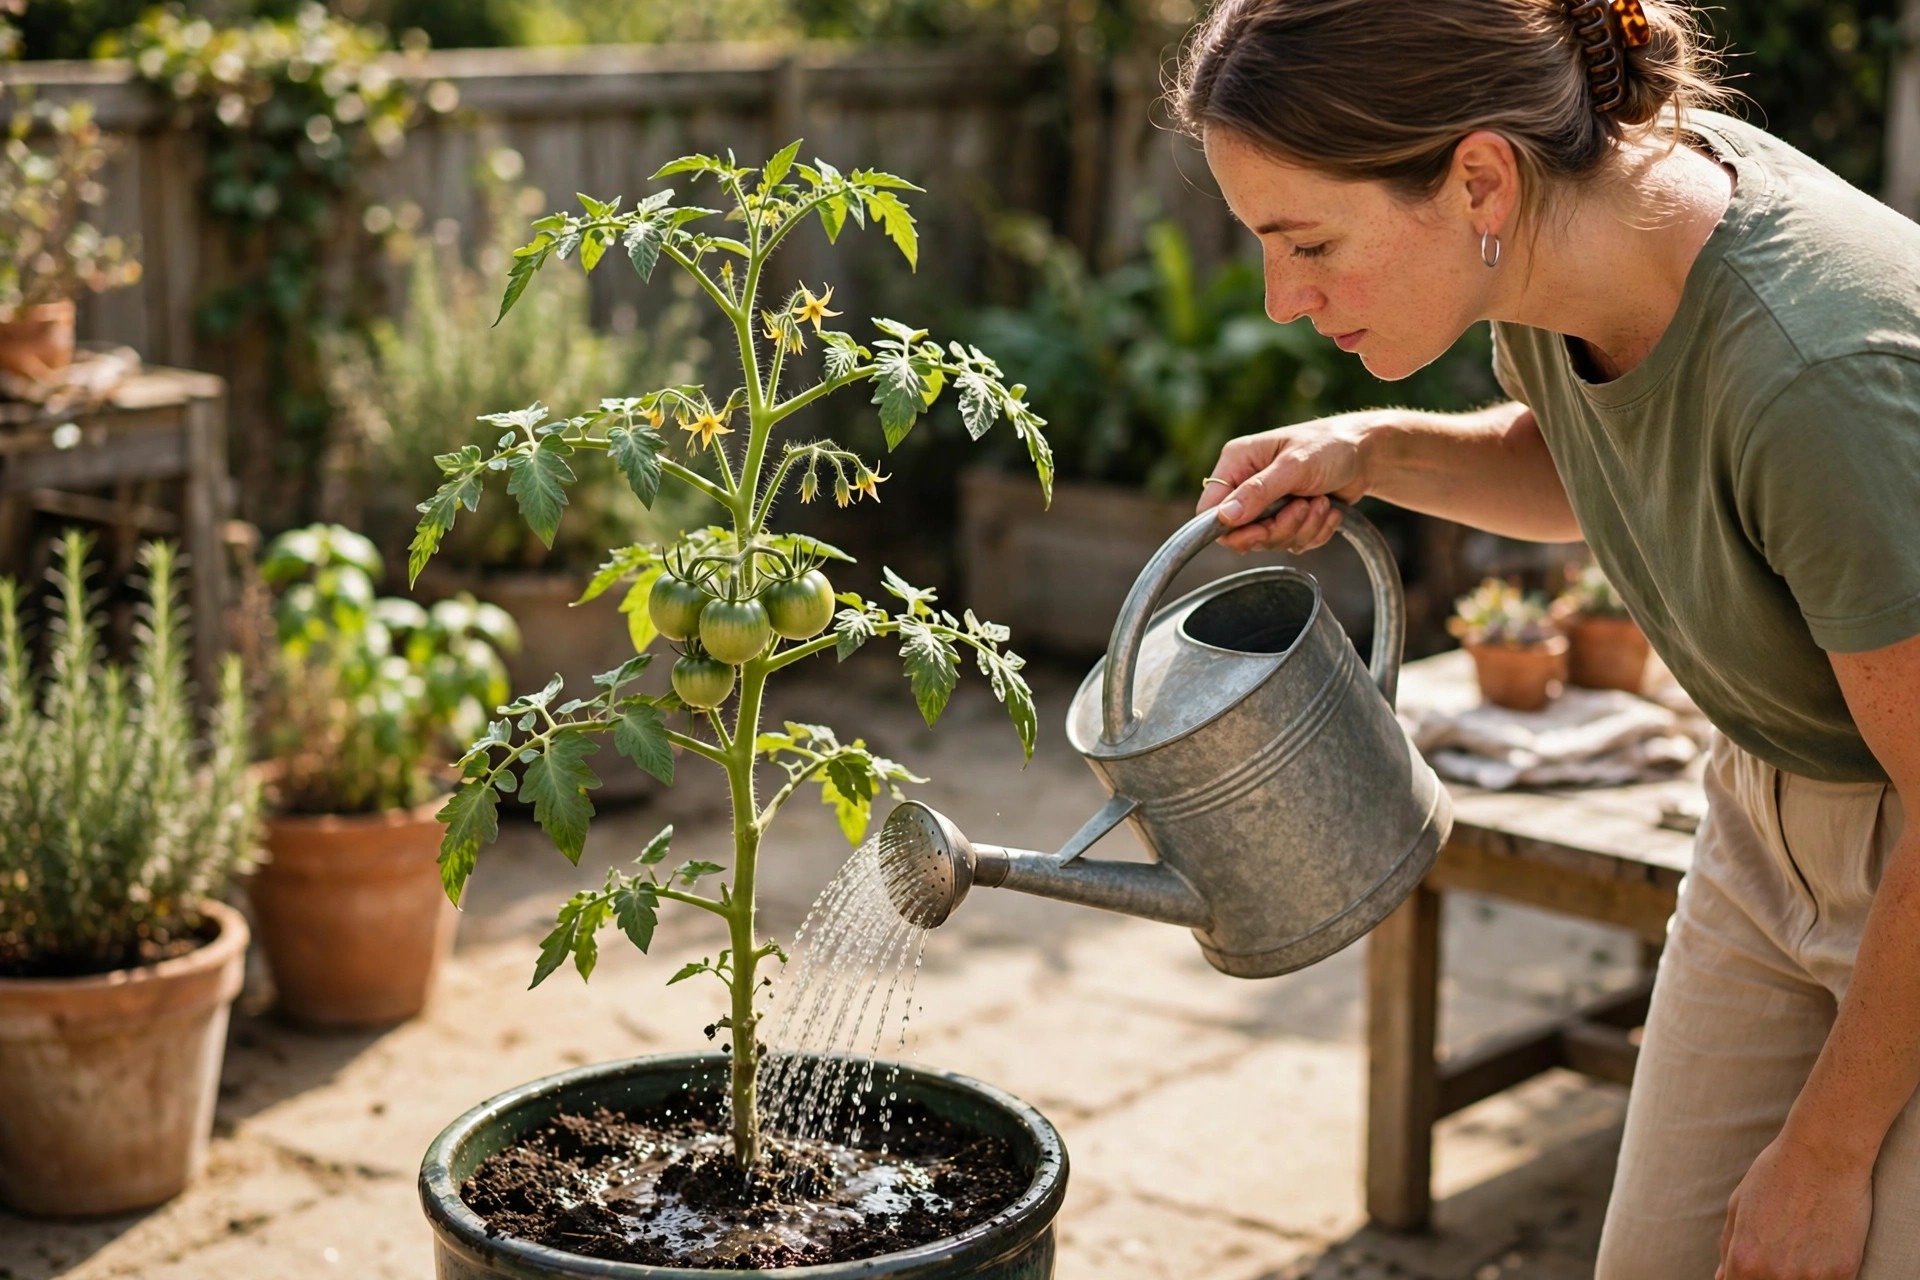
Use the finger test, not the calendar. Push your finger two inches into the mix near the base of the plant. If it feels dry at that depth, water now. If it feels damp, wait. Water in the morning, slowly, at the base of the plant, until water runs from the drainage holes. Morning watering lets any splashed leaves dry before evening. Never water the leaves on purpose. Wet leaves invite fungal disease, and soil splashed onto them can carry spores.
Keep the moisture steady, because swings cause the most common fruit problem in pots. Minnesota Extension explains that when soil moisture levels fluctuate during fruit growth, blossom end rot can develop, the dark, sunken patch on the bottom of the fruit. Steady watering matters more than any calcium spray, because the plant takes up calcium only when water moves steadily through the roots. A mulch layer and a bigger pot both help, because they slow the drying cycle.
Feeding and Supporting Potted Tomatoes
A tomato in a pot eats through its food faster than one in a bed, because every watering washes a little nutrition out of the drainage holes. Most potting mixes feed the plant for about six weeks, so start feeding when the first flowers open or the first small fruits appear. Use a balanced water-soluble fertilizer at half the label strength, once every two weeks, and water with plain water between feedings. Hold off for 7 to 10 days after transplanting, because fresh roots are sensitive.
Too much nitrogen is the classic feeding mistake. It grows a big, dark green, bushy plant with few flowers and fewer fruit. Minnesota Extension warns that too much nitrogen leads to plants that are bushy, leafy, and slow to bear fruit. If your plant looks lush but sets no fruit, stop feeding for two weeks and check that it gets enough sun. Once the first fruits start to enlarge, a side dressing of compost around the base gives a slow, gentle feed.
Support the plant as it grows, not after it falls over. Tie the main stem loosely to the stake with soft twine every 8 to 12 inches, leaving room for the stem to thicken. For indeterminate varieties, pinch out the small side shoots, called suckers, where a leaf meets the stem, if you want one or two main stems. Do not prune determinate varieties this way. Their fruit sets on terminal clusters, and cutting those off removes the harvest.
Common Mistakes When Growing Tomatoes in Pots
Most failed pot tomatoes trace back to one of these mistakes, and all of them are easy to avoid once you know them.
Pot too small. A beefsteak vine in a 3-gallon pot will wilt every afternoon and set little fruit. Match the pot to the mature plant, and when in doubt go one size up.
No drainage holes. A pot without holes turns into a bucket. Roots sitting in water run out of air and rot, and the plant wilts even though the soil is wet. Drill holes before you plant.
Garden soil in the pot. Garden soil packs down, drains poorly, and can carry disease. Use bagged potting mix every time.
Skipping hardening off. A plant raised indoors has thin leaves and a soft stem. Full sun and wind on day one will scorch the leaves white and snap the stem. Give it 7 to 10 days of gradual exposure.
Feeding too much nitrogen. A lush, leafy plant with no fruit is usually overfed, not underfed. Feed lightly, and only after flowers open.
Harvest: When to Pick
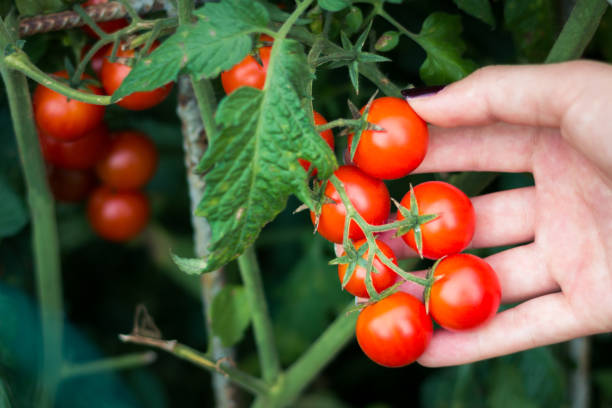
Cherry tomatoes ripen fast once they start, and most varieties are ready about 60 to 75 days after transplanting. Pick cherry tomatoes when they have developed their full color and come away easily from the stem. Tomatoes harvested at the breaker stage, when the first color appears, can also ripen indoors, but fully ripe fruit usually offers the best flavor. Picking often encourages the plant to set more fruit.
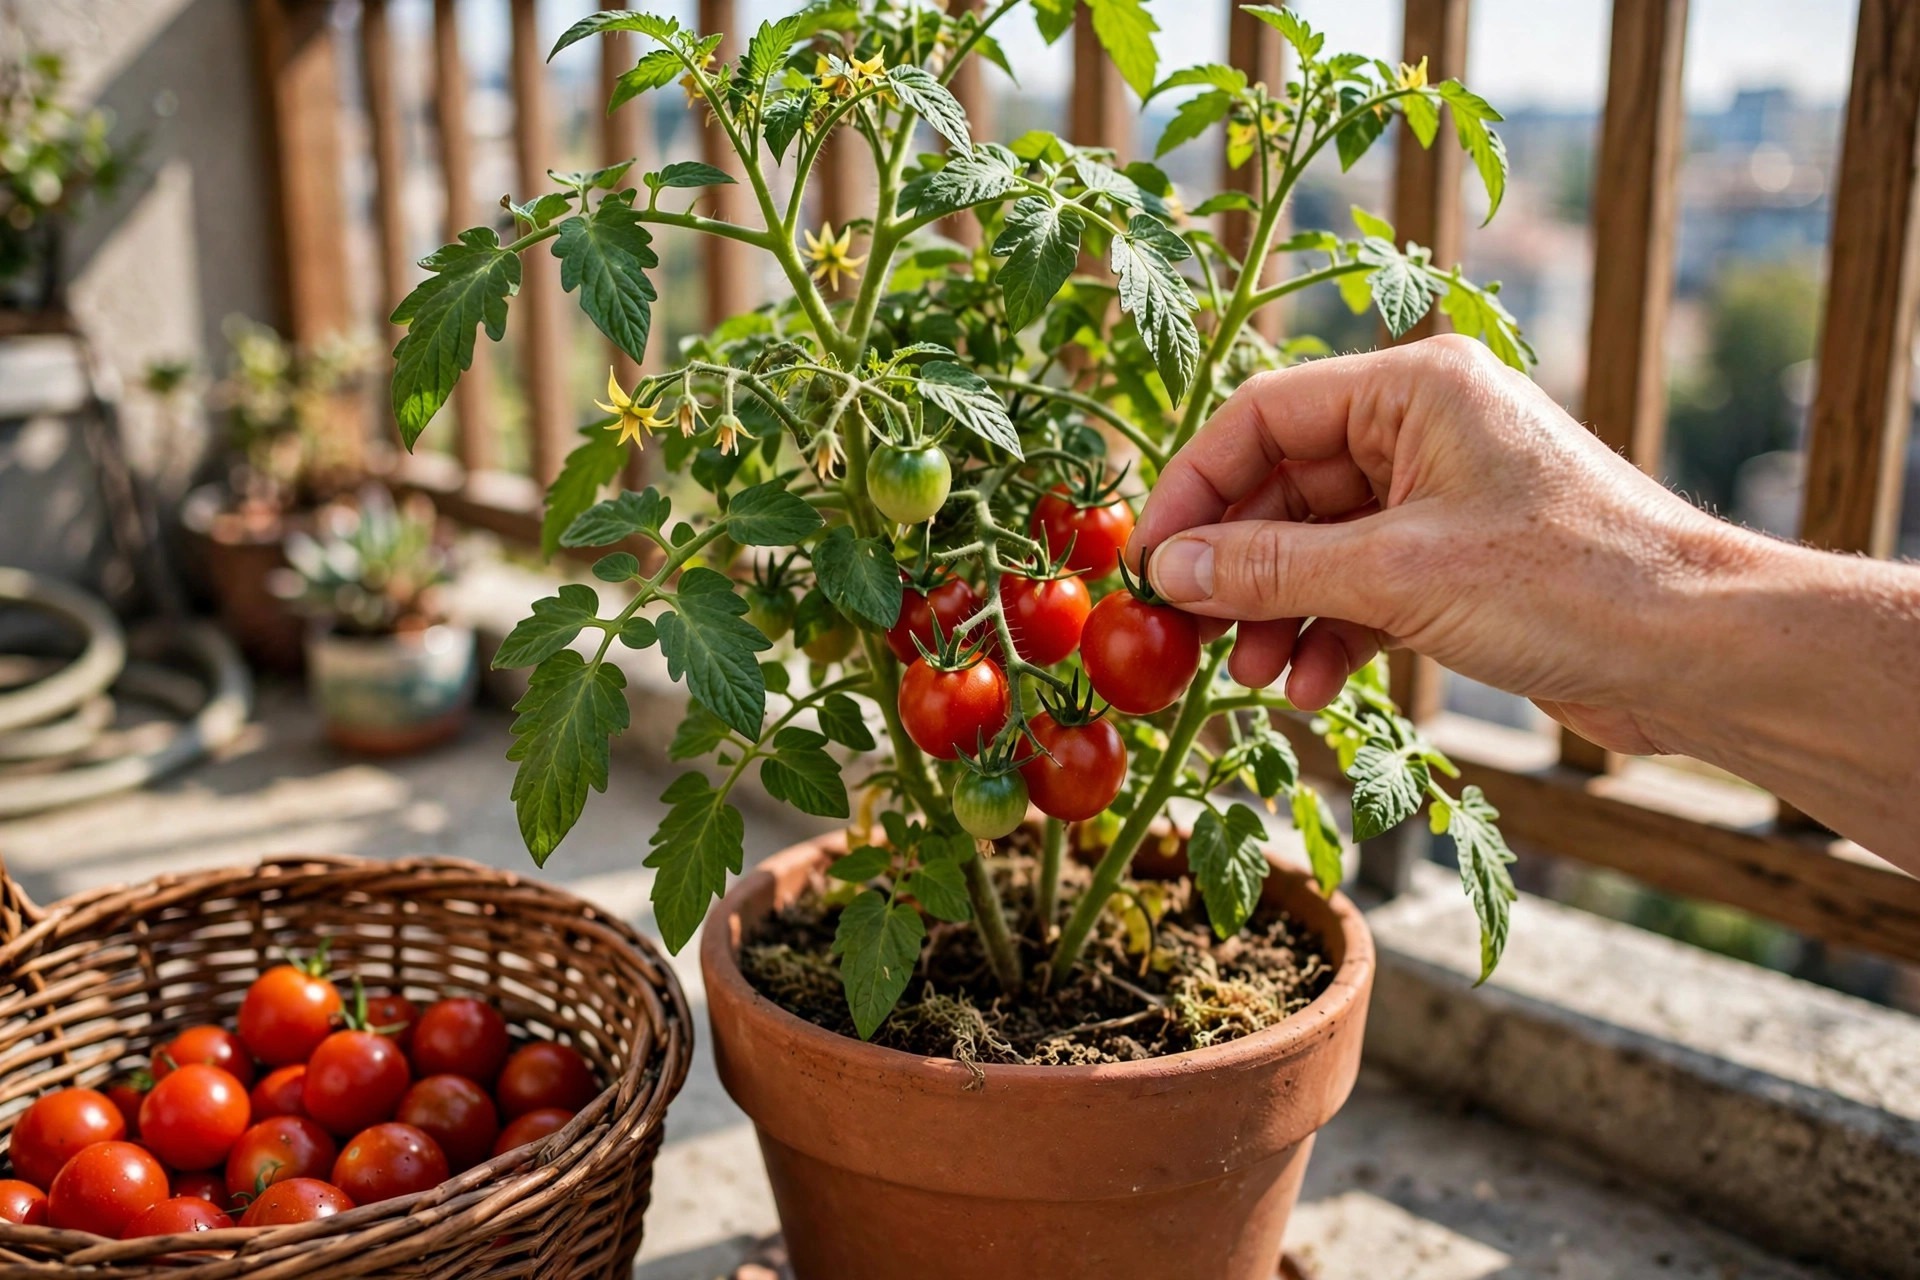
Pick in the morning, when the fruit is cool and firm, and twist gently or cut the stem with scissors rather than yanking. A daily pick keeps overripe fruit from splitting and dropping. At the end of the season, when frost threatens, pick all the fruit and bring it indoors.
Cherry types are the most forgiving first pick for pots, and our cherry tomato guide covers varieties, feeding, and harvest in more detail.
Final Thoughts
How to grow tomatoes from seed in pots comes down to three decisions: a variety that fits the space, a pot that fits the variety, and a watering habit that never lets the mix swing from soaked to bone dry. Get those three right and the rest is routine. Start the seeds 6 to 8 weeks before the last frost, give them strong light, harden them off slowly, and set them deep in good potting mix. Check the soil moisture every morning and water at the base whenever the top two inches of mix feel dry, feed lightly once fruit sets, and pick often.
References
- University of Minnesota Extension. Growing tomatoes in home gardens. Supports seed depth, germination temperatures, growth habits, deep planting, hardening off, and blossom end rot. https://extension.umn.edu/vegetables/growing-tomatoes-home-gardens
- University of Maryland Extension. Growing vegetables in containers and salad tables. Supports minimum container sizes, 6 to 8 hours of sun, and potting mix instead of garden soil. https://extension.umd.edu/resource/growing-vegetables-containers-and-salad-tables
- University of Maryland Extension. Starting vegetable seeds indoors. Supports sowing tomatoes 5 to 6 weeks before planting out, and potting mix feeding plants for about six weeks. http://www.extension.umd.edu/resource/started-seed-indoors
- Cornell University. Home Gardening Vegetable Growing Guides: Tomatoes. Supports at least 8 hours of sun daily, small determinate varieties as the best fit for containers, and frequent watering. http://gardening.cornell.edu/homegardening/sceneea10.html
FAQ
Can you grow tomatoes from seed in pots?
Yes. Tomatoes grow well in pots when the variety matches the container. Choose a compact determinate variety or a dwarf cherry type for a 5-gallon pot as a minimum (7 gallons is recommended), give Roma a minimum of 7 gallons (10 gallons is recommended), and give a tall indeterminate variety a minimum of 10 gallons (15 gallons is recommended). Fill the pot with bagged potting mix, make sure it has drainage holes, and give it 6 to 8 hours of sun, with 8 or more hours recommended for good yield.
What size pot do I need for one tomato plant?
One plant needs a minimum of 5 gallons if it is a compact determinate variety (7 gallons is recommended), a minimum of 7 gallons for Roma (10 gallons is recommended), and a minimum of 10 gallons if it is indeterminate (15 gallons is recommended). Cherry tomatoes need a minimum of 2 gallons, and only micro-dwarf types like Tiny Tim do well in 3 gallons.
When should I transplant tomato seedlings into pots?
Move seedlings into their final pots after your average last frost date, when the soil has warmed to 60 degrees or more and nights stay above 50 degrees. Harden them off for 7 to 10 days first, moving them outdoors for longer stretches each day.
How often should I water tomatoes in pots?
Check the mix daily in warm weather and water whenever the top two inches feel dry. In summer heat that usually means once a day, and small pots in hot, windy weather may need water twice a day.
Do tomatoes grow better in pots or in the ground?
Tomatoes in the ground get more root room and dry out more slowly, so they need less daily care. Tomatoes in pots give you control over the soil, fewer soil-borne diseases, and the freedom to move the plant. With the right pot size and steady watering, a potted tomato can yield as well as a garden plant.
Can I grow tomatoes in pots on a balcony?
Yes, as long as the balcony gets 6 to 8 hours of direct sun a day, with 8 or more hours recommended for good yield. Choose a compact determinate or dwarf variety, use a 5-gallon pot or larger, and check the balcony weight limit before you set out several large pots of wet mix. Water daily in summer.

Thesis Link : https://saulibrary.edu.bd/daatj/public/uploads/BAU200601_19-Pp_5.pdf
- 10 Best Organic Pesticides for Gardens - November 19, 2026
- 10 Best Mycorrhizal Fungi Products - November 18, 2026
- How to Grow Tomatoes from Seed in Pots - November 17, 2026